Best Of
Re: What are you working on 3D? 2021
troll for 3d printing  need feedback,critics on this one
wip
 need feedback,critics on this one
wip
 ibrahim05
1 ·
Re: What are you working on 3D? 2021
Hello! First time posting here! I just finished modelling my stylised Clara and the Rat King. My next steps will be rigging and possibly some animation. More images: https://www.artstation.com/artwork/R3VwRO


1 ·
[PAID] Looking for someone to help mod a game called "Fallout 4". NSFW project.
I am currently looking for someone familiar with Fallout 4, it's engine, tools, and modding to help me with a big project. 18+ project.
3 ·
The Desert(What can you do with no diffuse maps?)
What's up, you, guys. Long time no post. How've you all been around here?)
So yeah I just thought I drop here something I've been working on for a little while.
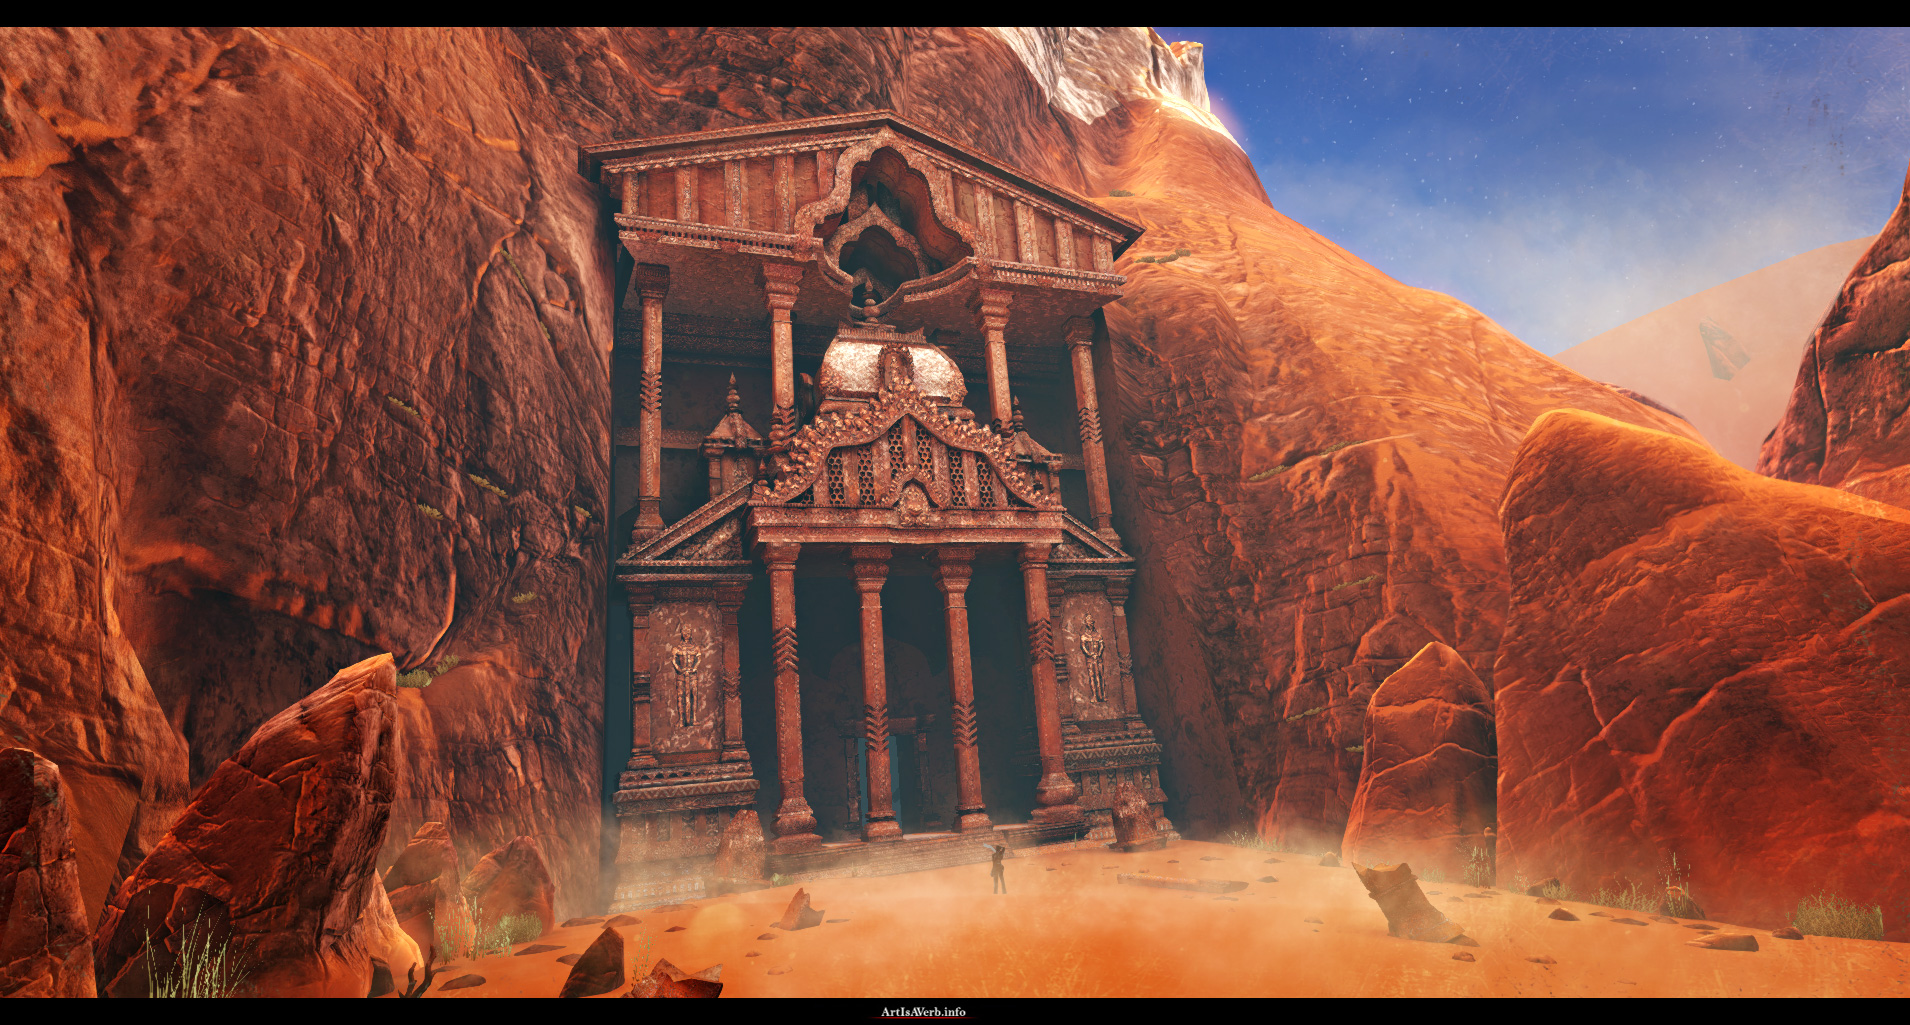
NOW YOU MAKE SURE TO HD OR I'LL FOLLOW YOU HOME AND POOP ON YOUR PORCH
[ame="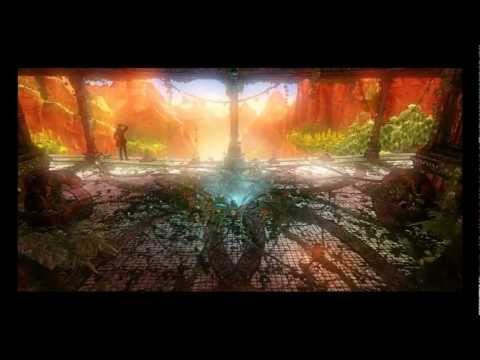
 https://www.youtube.com/watch?v=QtSbrIupviQ"]The Desert - YouTube[/ame]
Unfortunately youtube blocks the video in some countries so here it is on Vimeo:
https://vimeo.com/43720484
I won't be posting much screenshots for now because this work is not about static images at all and I really want everyone to check the video out.
Now you've probably guessed by the thread title that this environment has some kind of shader trickery in it.) And you're totally right!
I figured I'd dump all the diffuse maps and do an environment without them for a change.(And a whole lot of other shader magic)
I thought I saw an opportunity to improve the way we make our games technically, production-wise and hopefully not make them worse visually.
I've written a little [size=+1]paper on "procedural" materials[/size] and if you have any ideas on the subject I'm always up for chatting.) Now for those of you who ain't gonna read it I thought I'd post a couple images from it here to give you the gist of it:
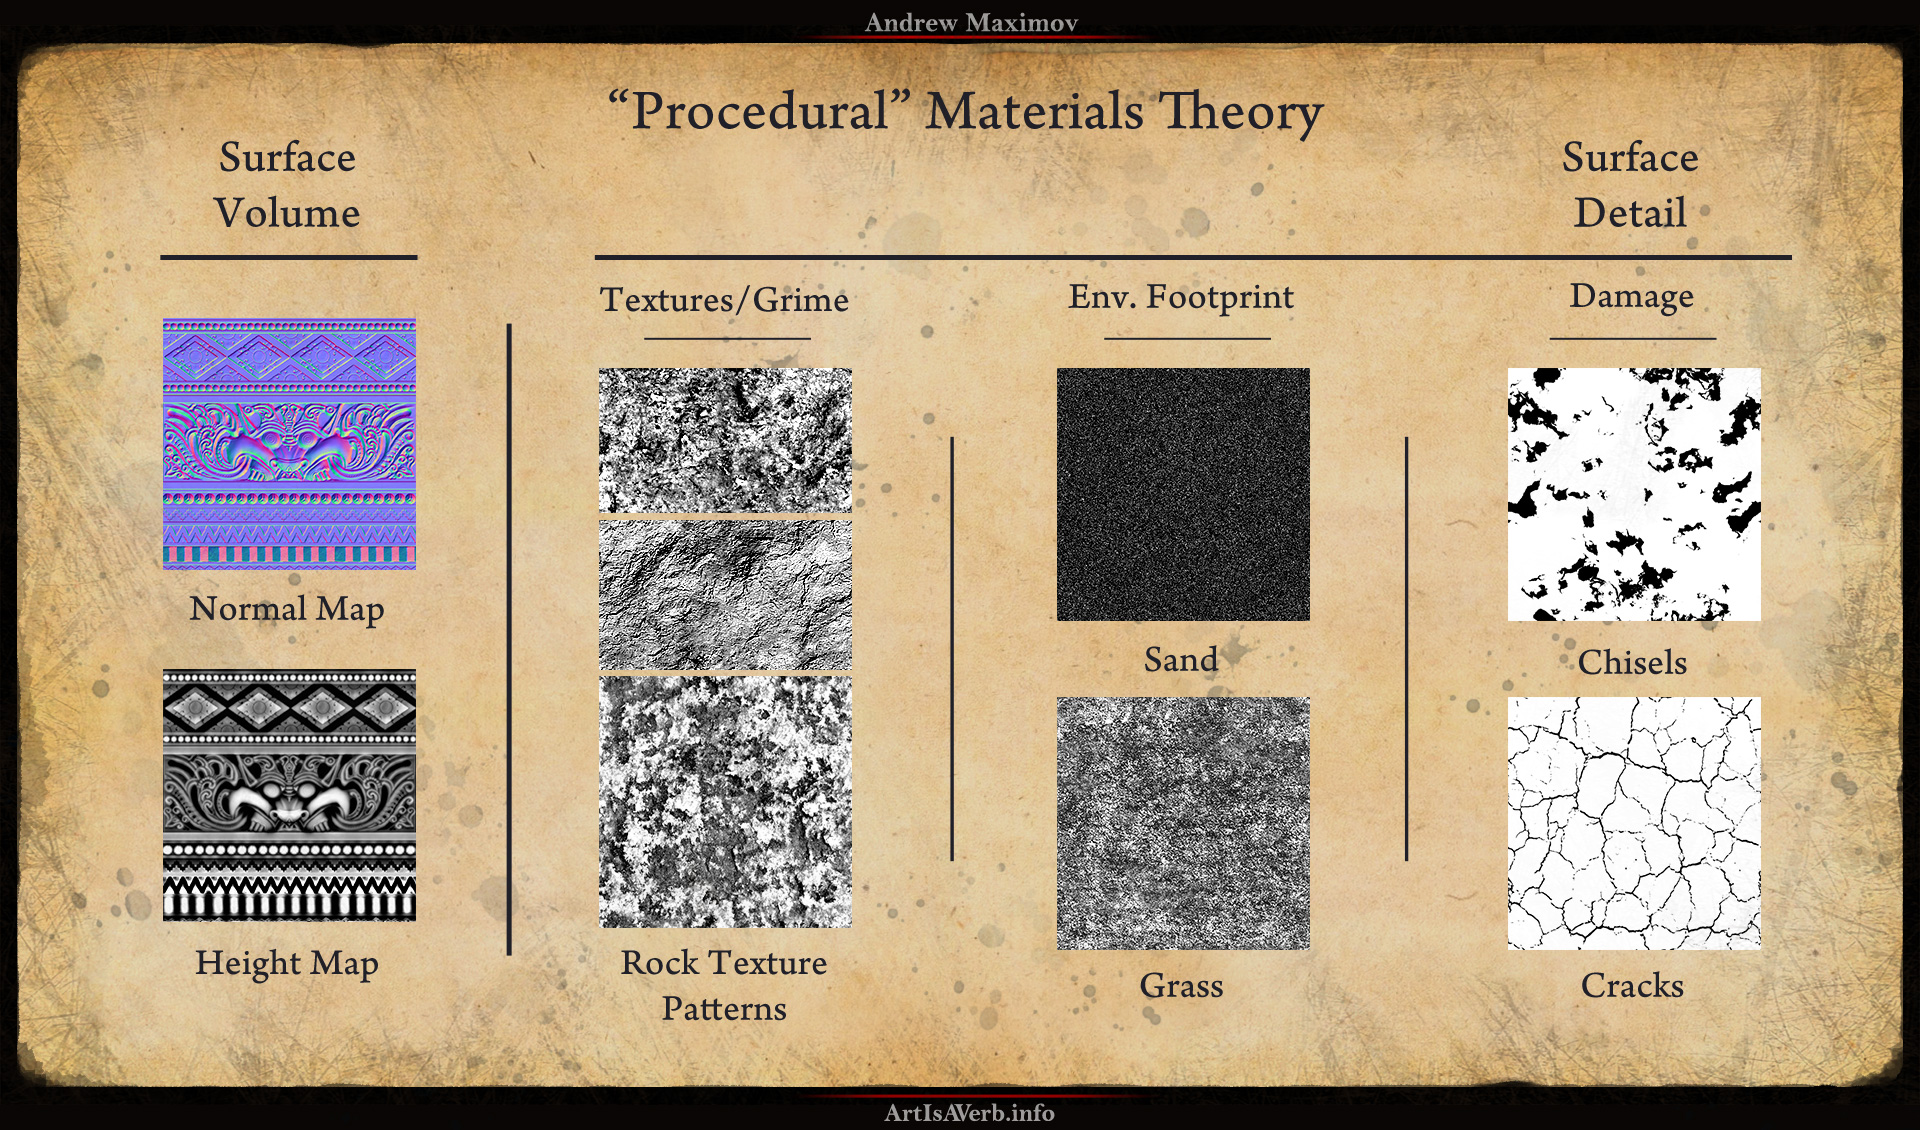
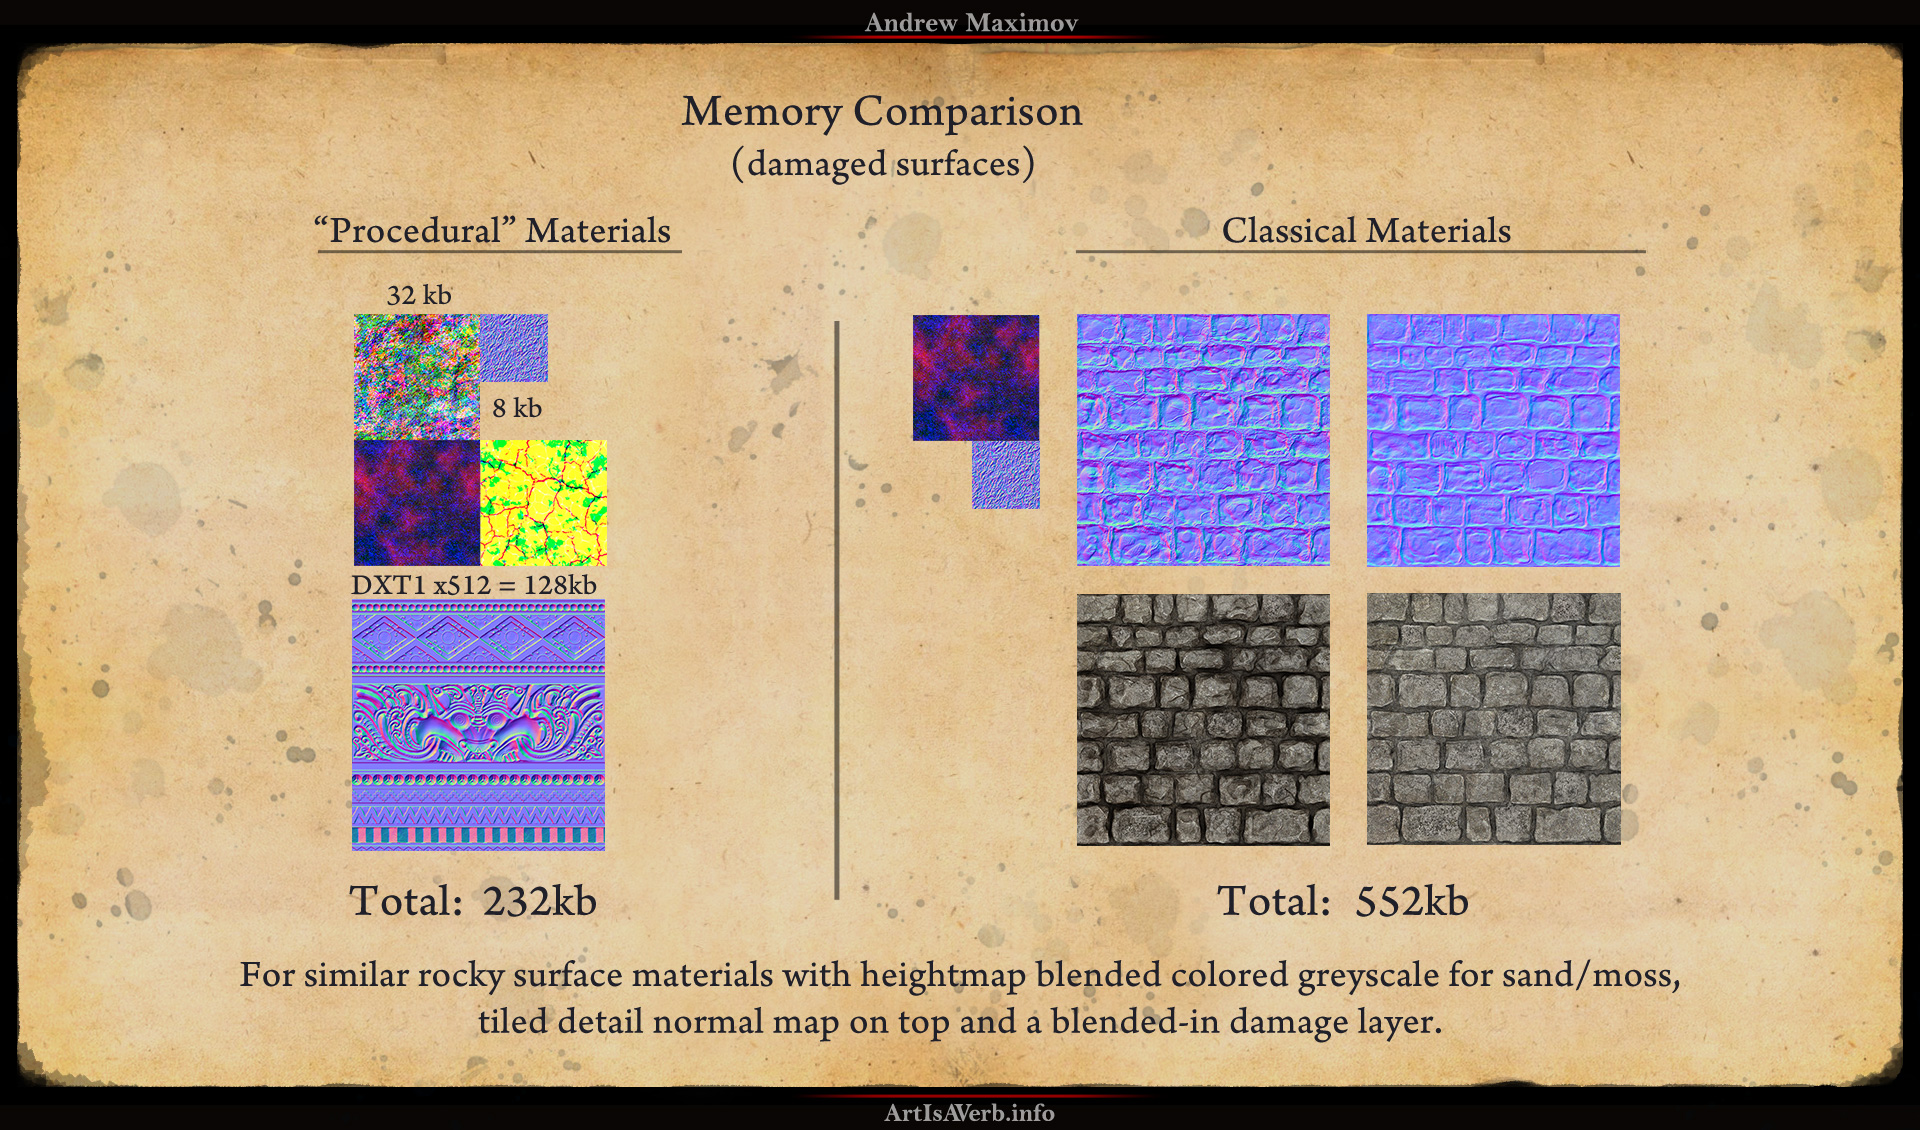
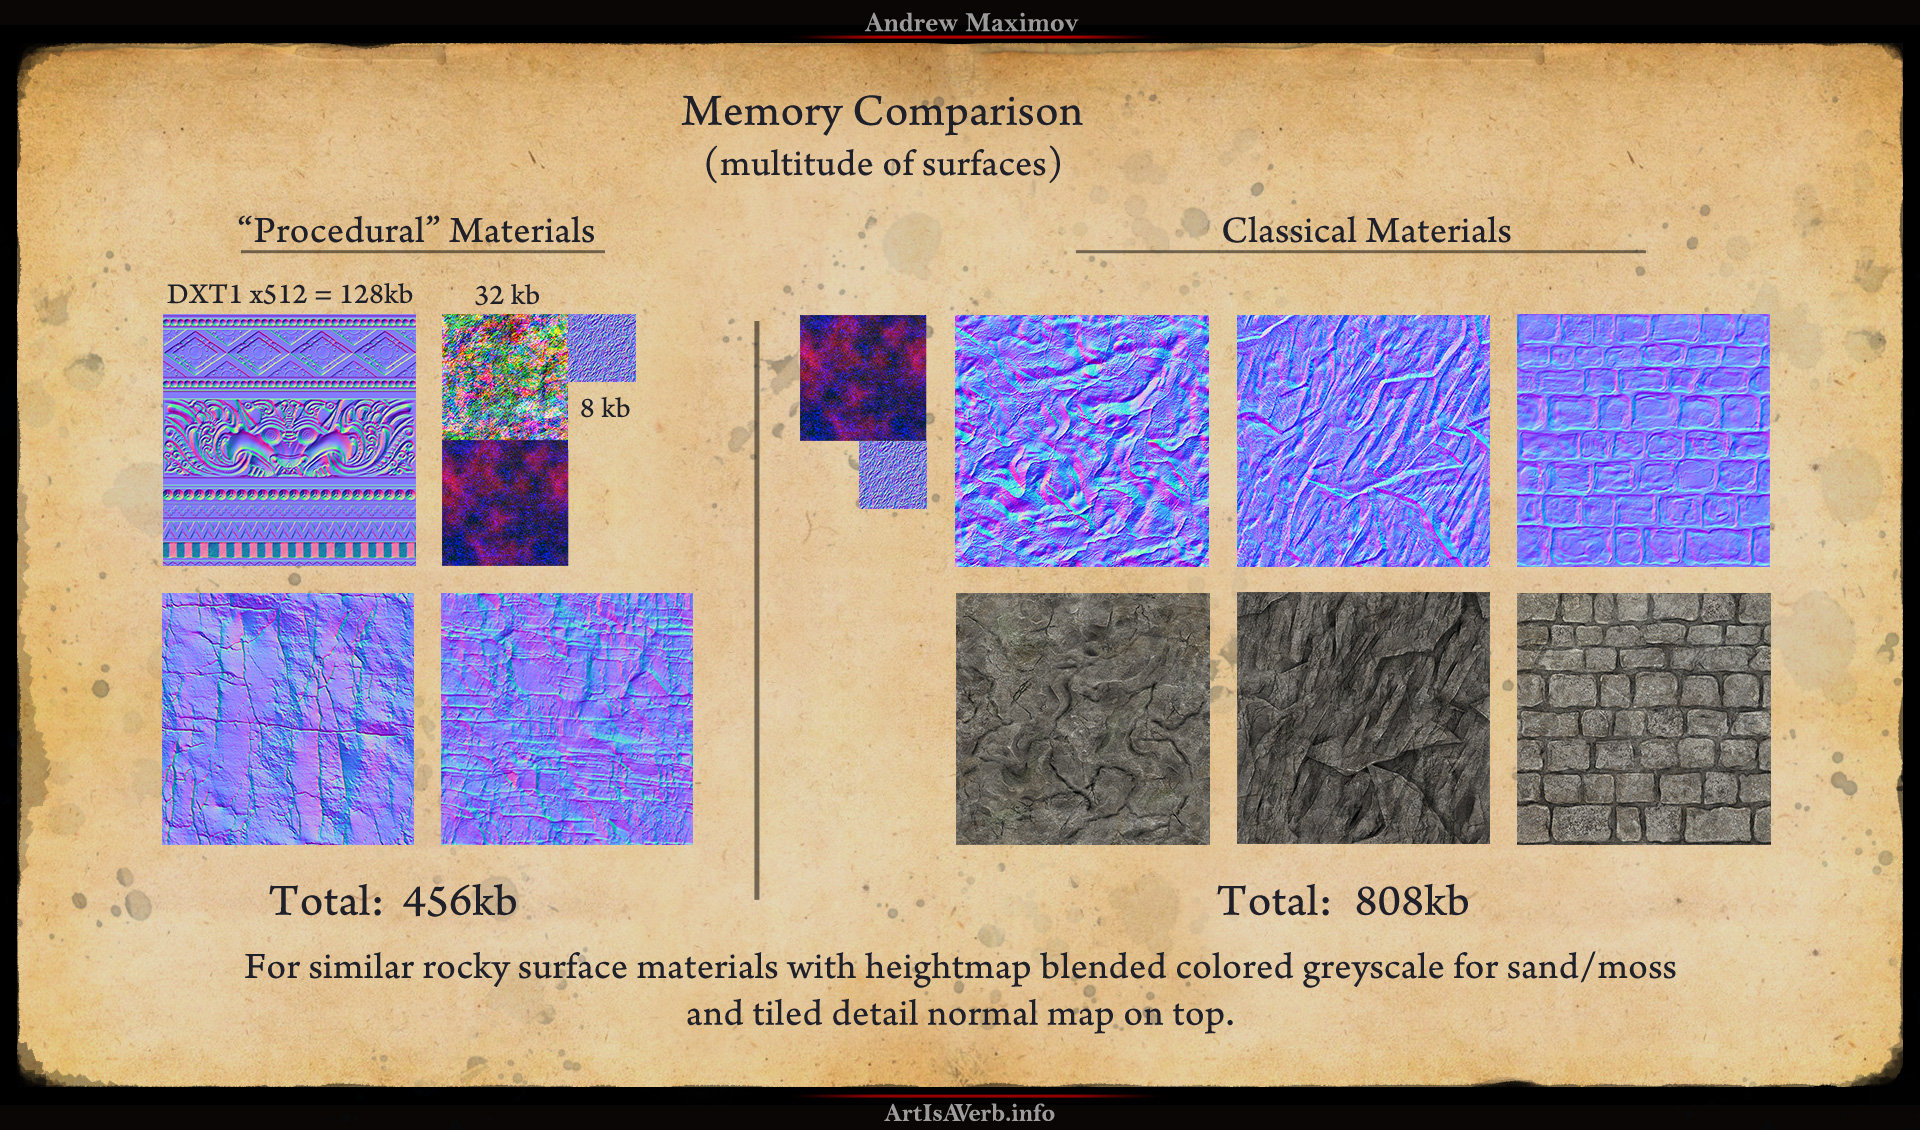
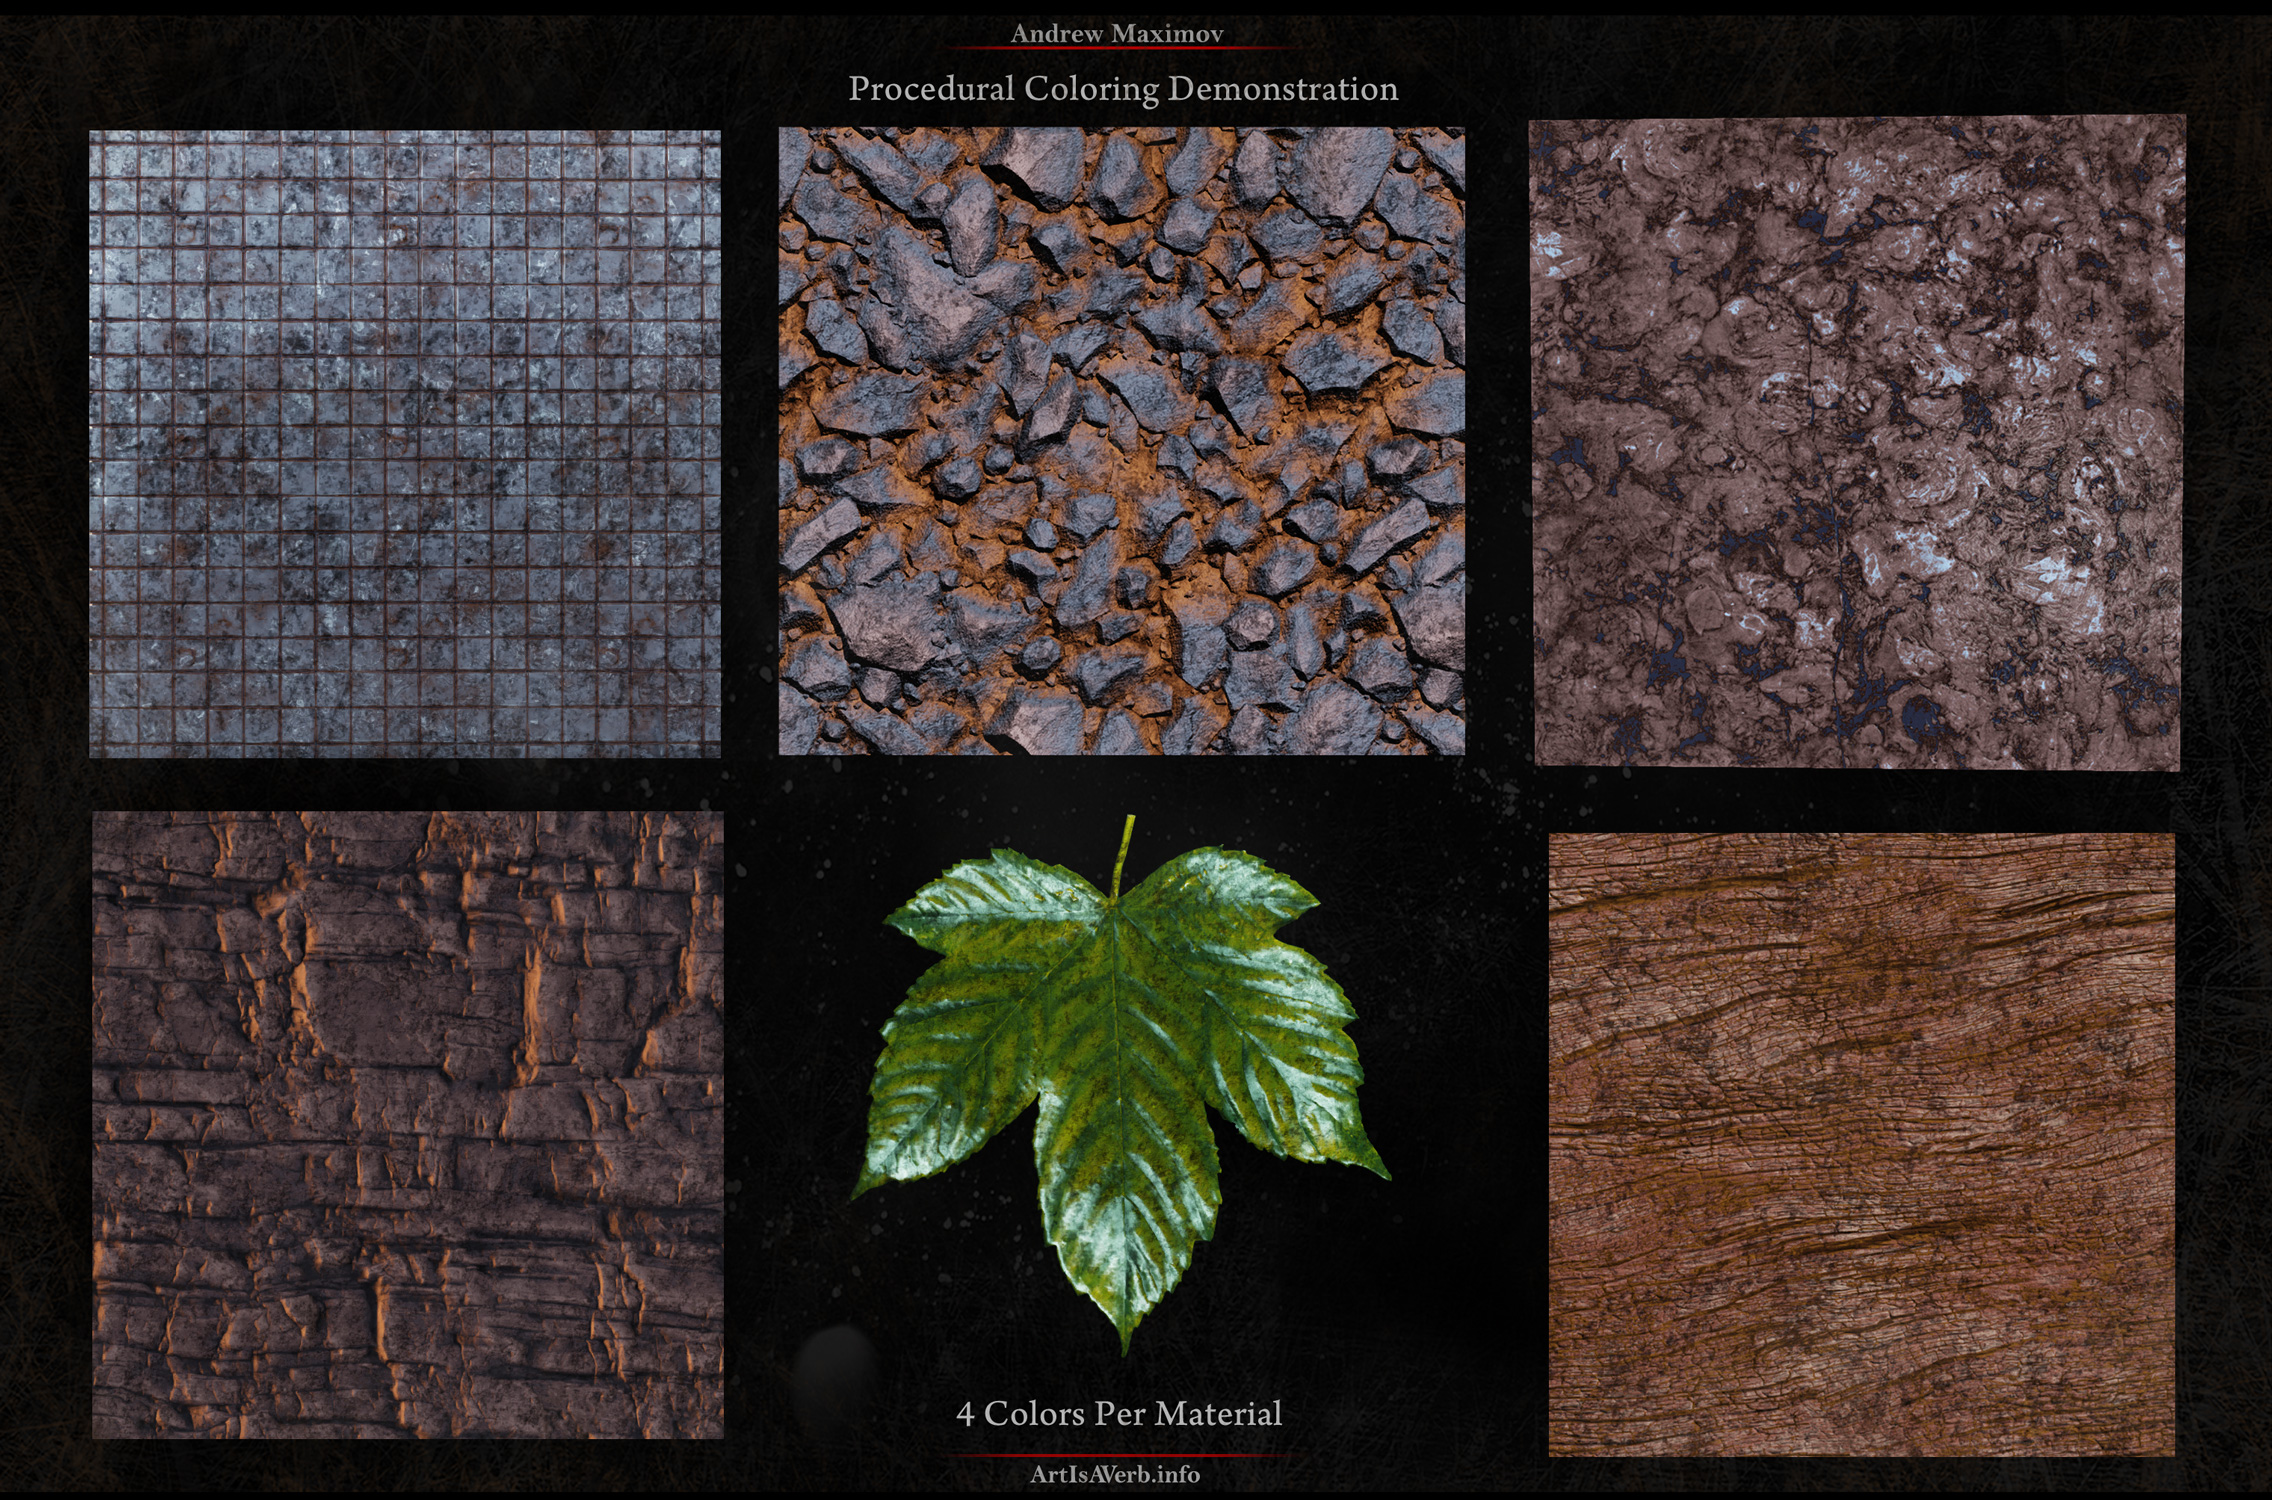
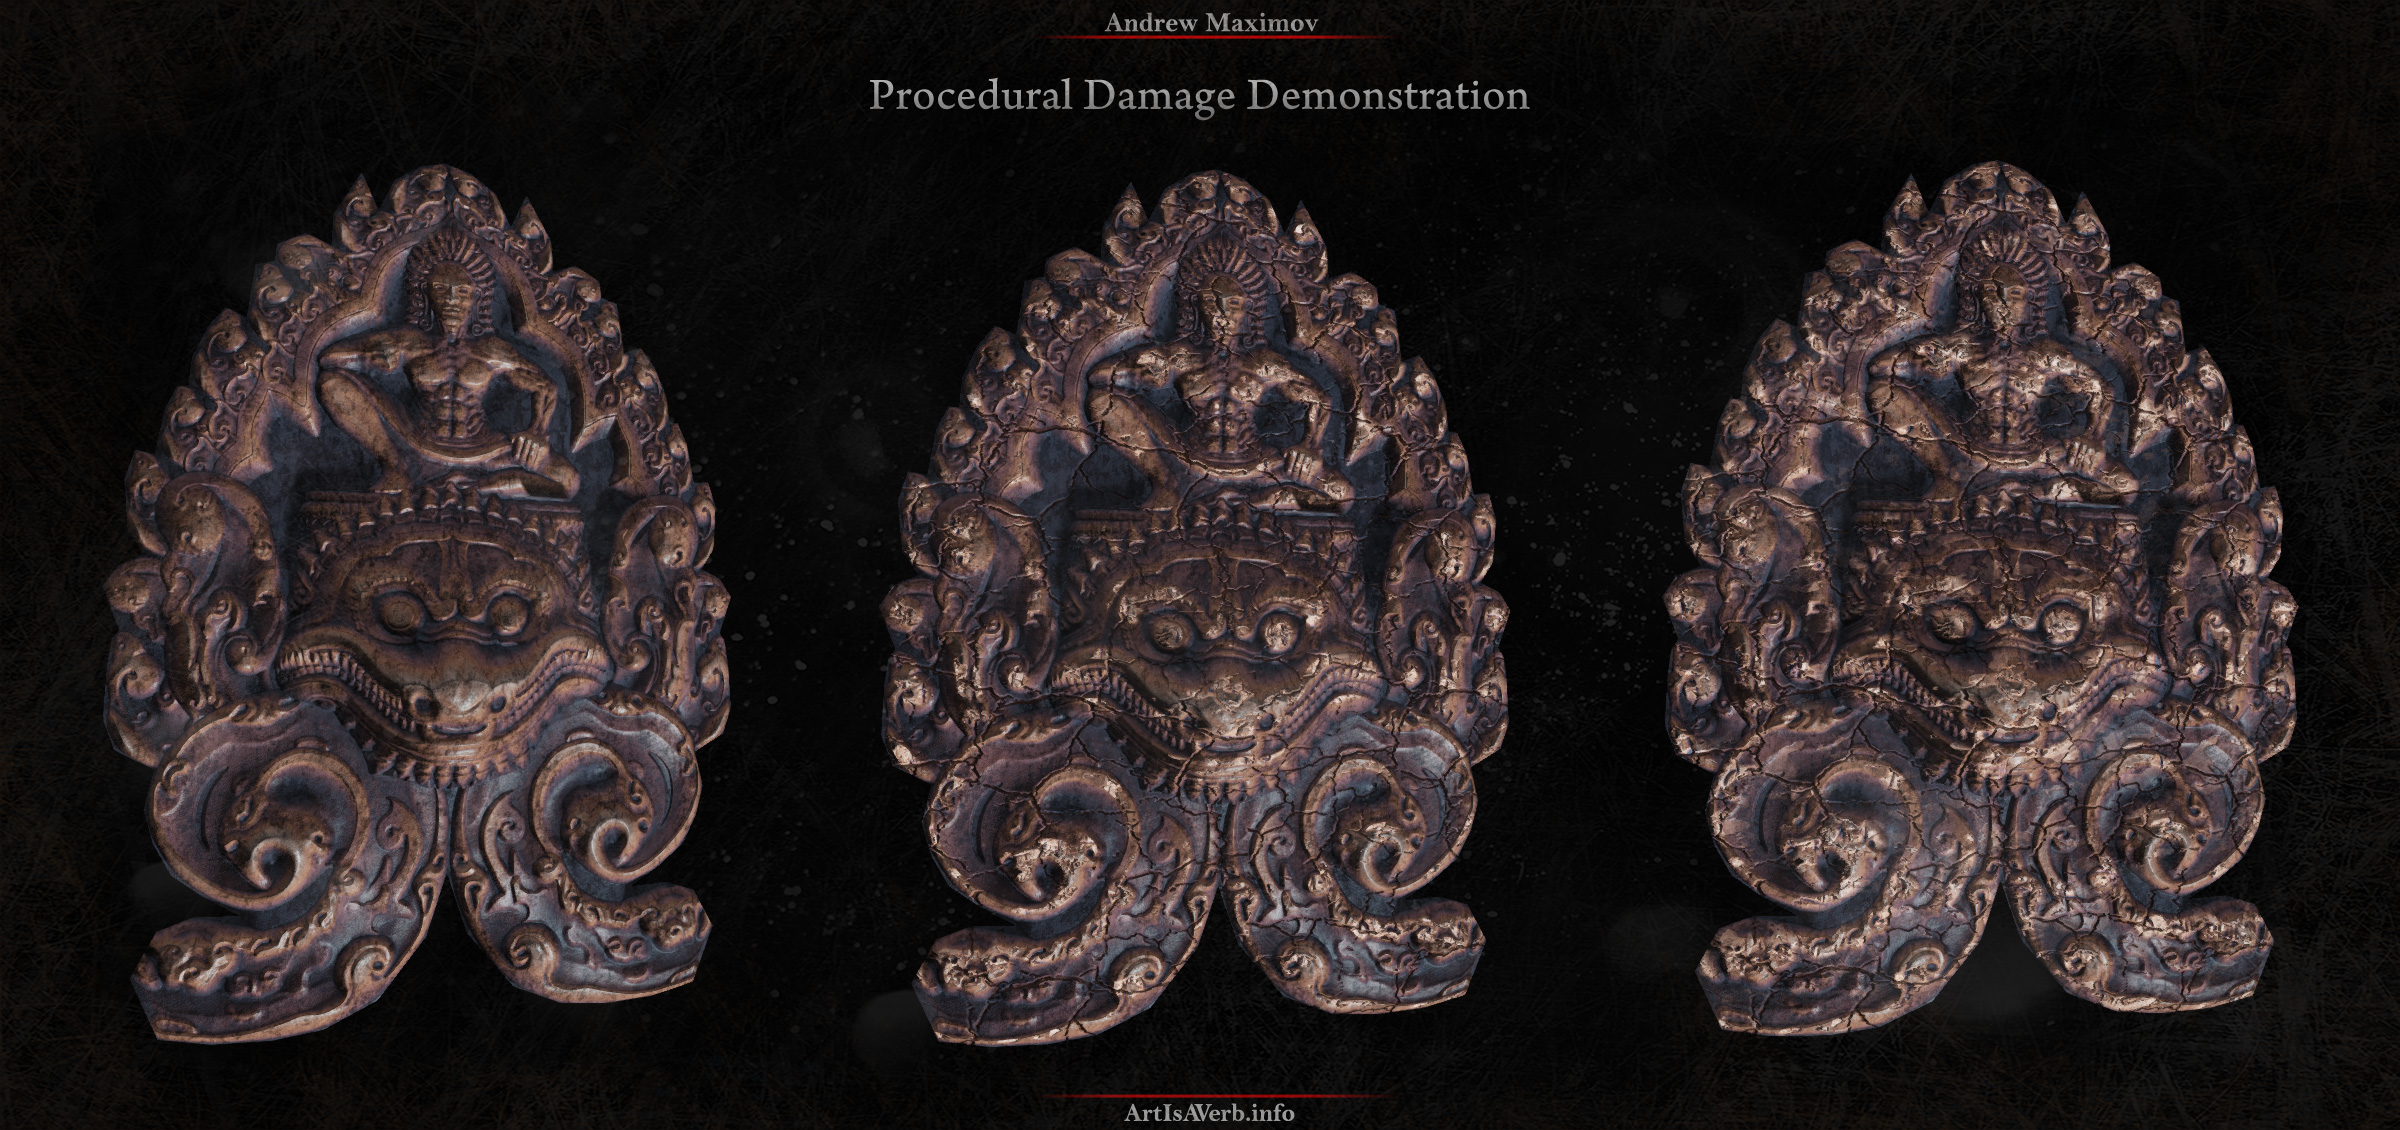
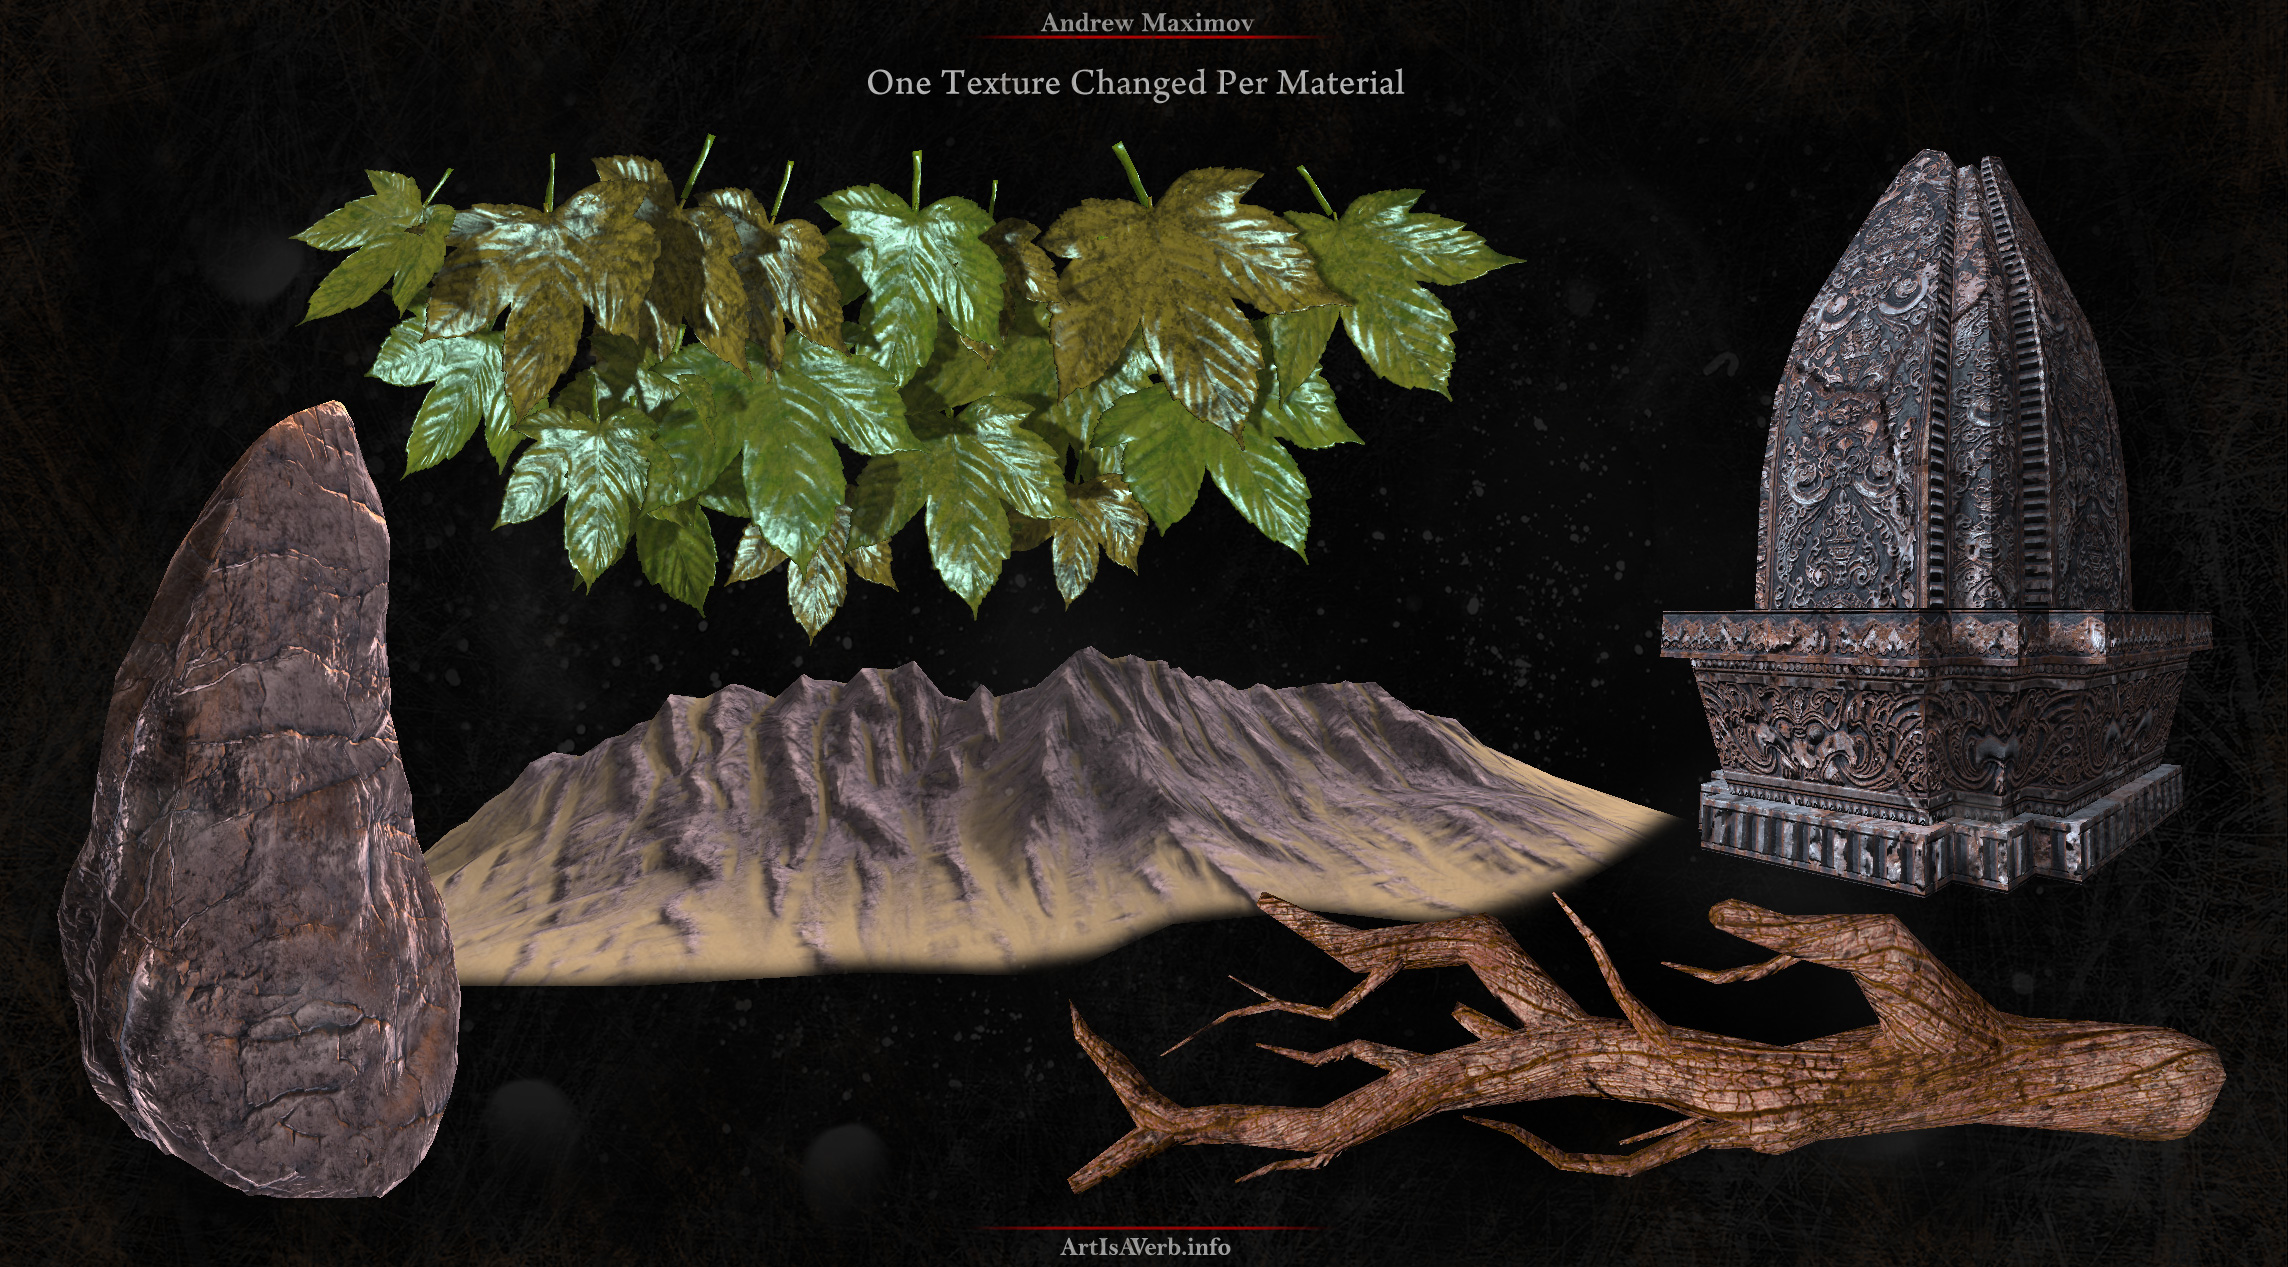
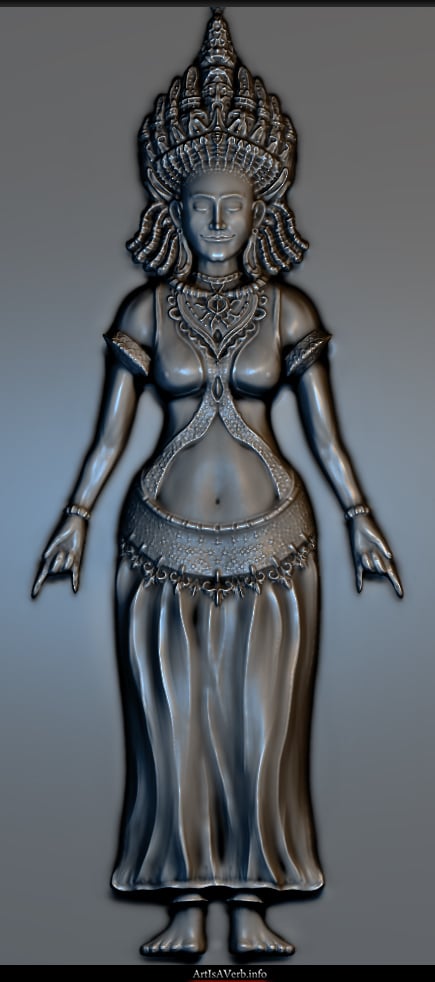
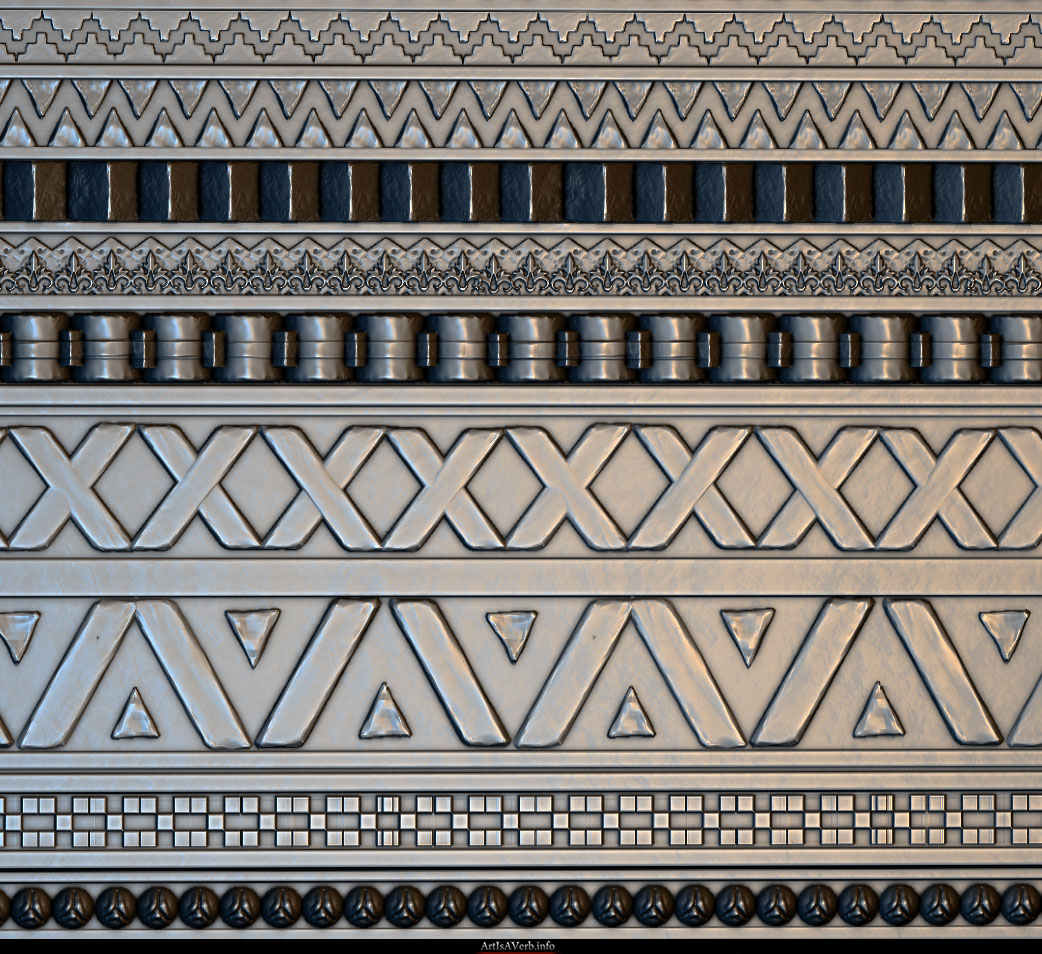
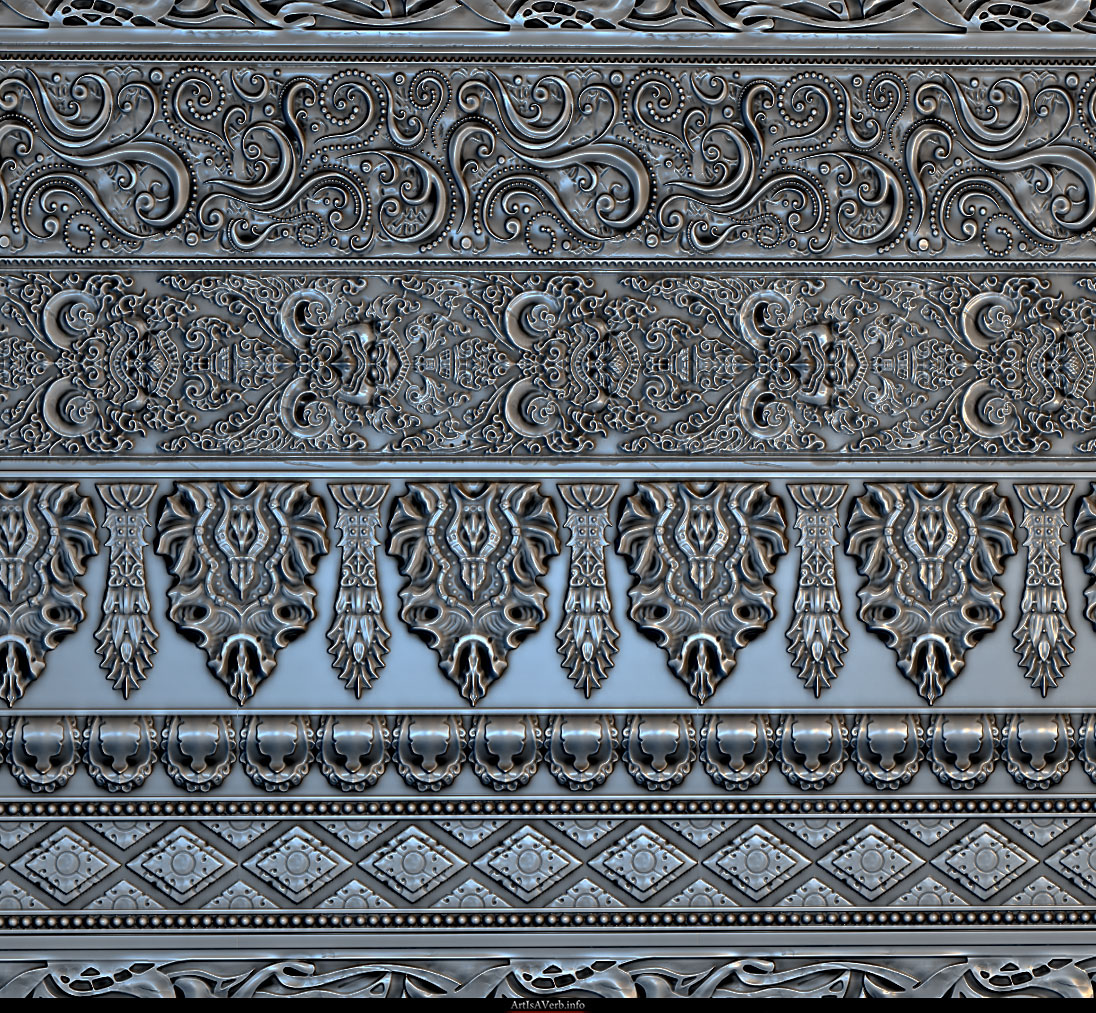
Some sculpts, or Normal Map renders to be precise: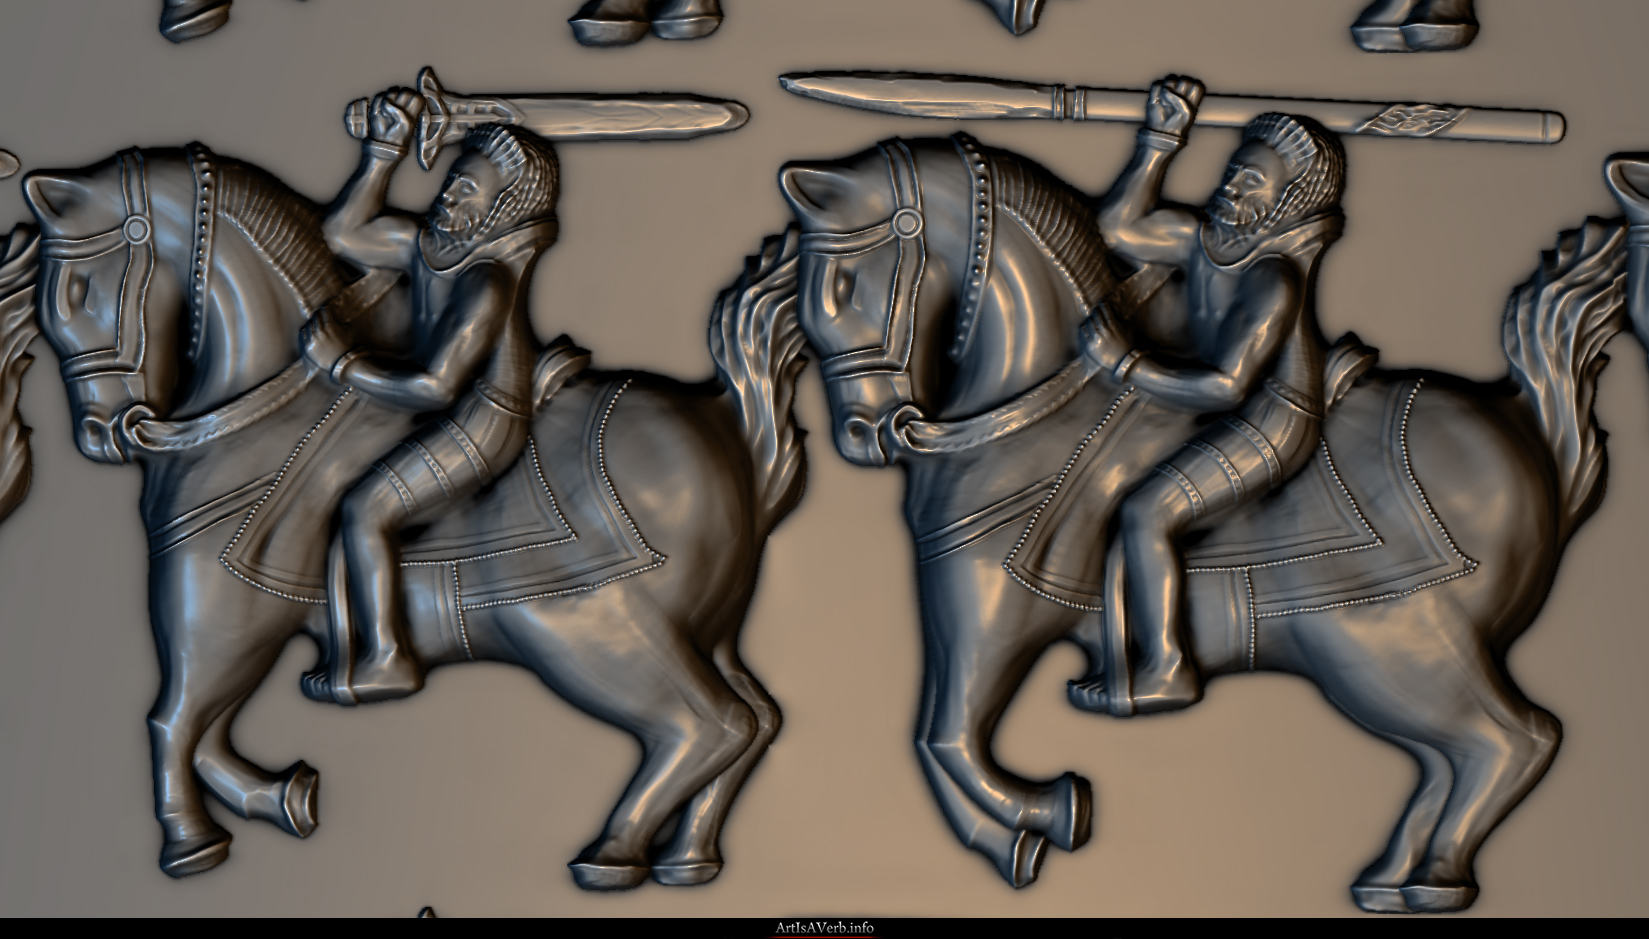
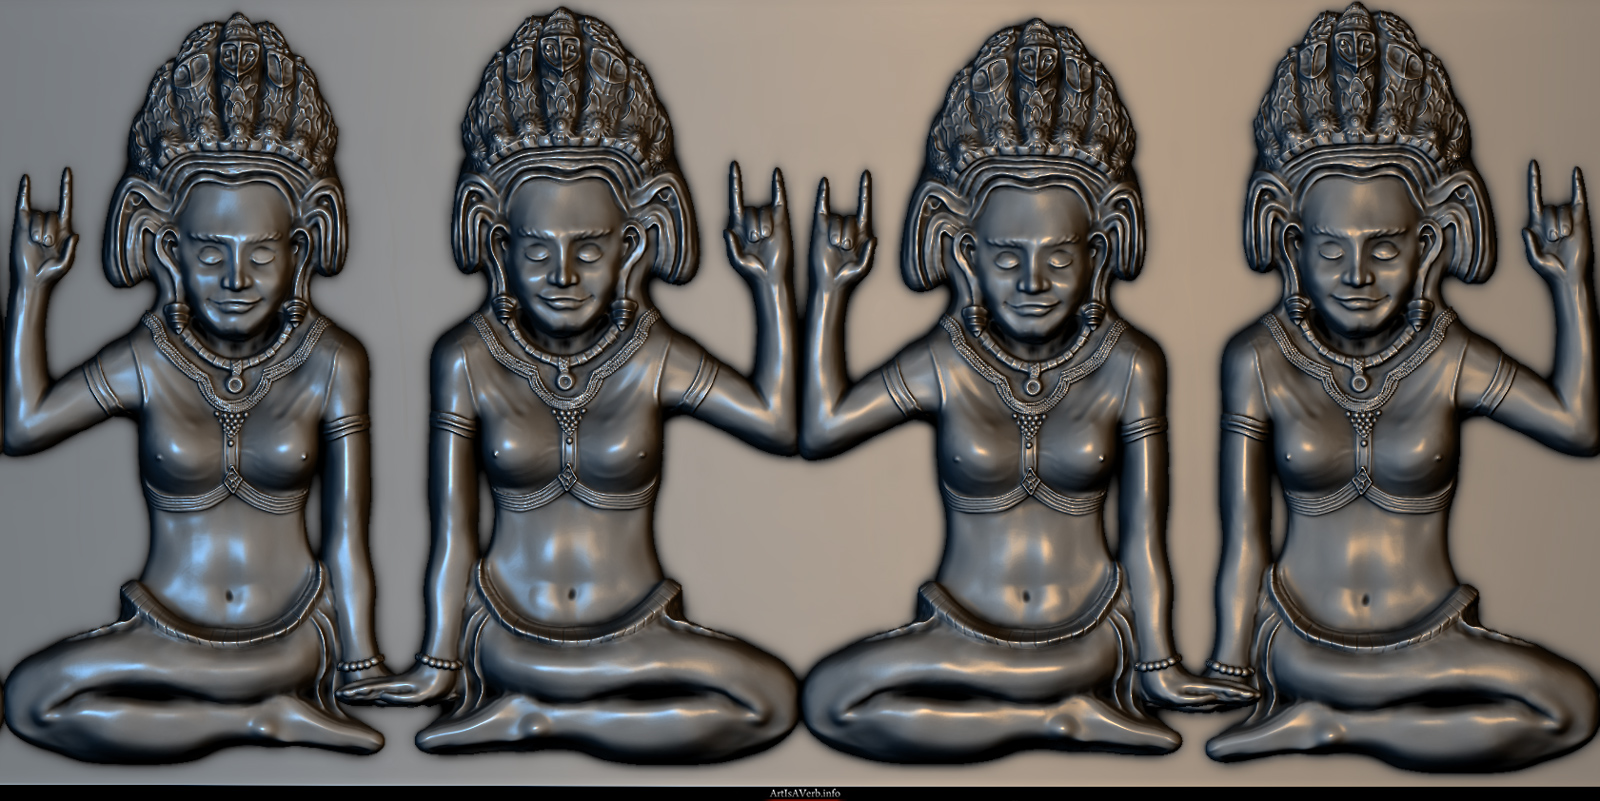
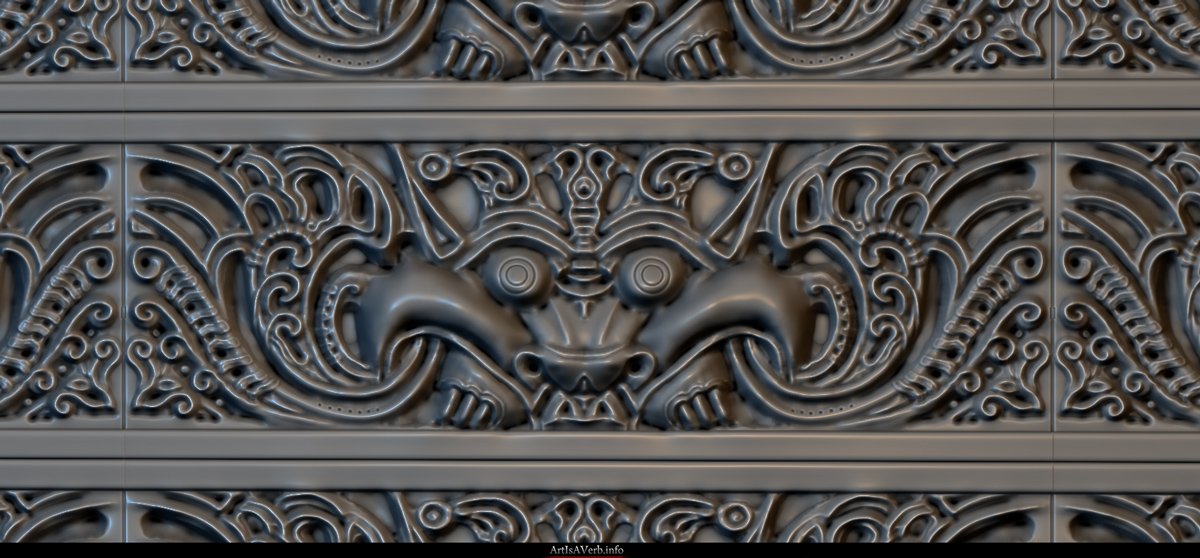
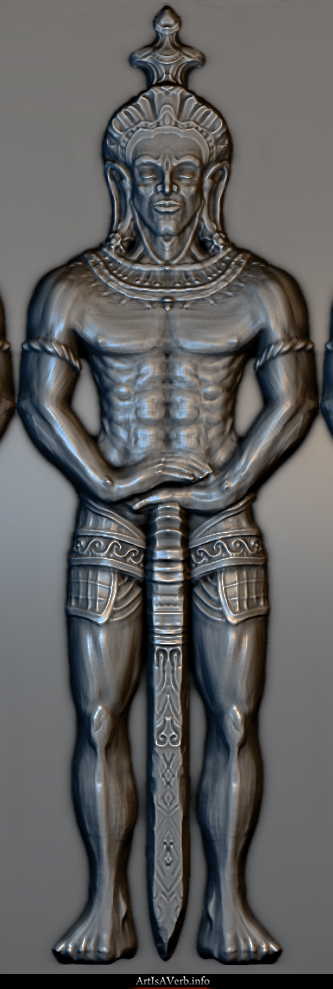
So yeah I just thought I drop here something I've been working on for a little while.

NOW YOU MAKE SURE TO HD OR I'LL FOLLOW YOU HOME AND POOP ON YOUR PORCH
[ame="

 https://www.youtube.com/watch?v=QtSbrIupviQ"]The Desert - YouTube[/ame]
[size=+1]Please make sure to watch the video until the very end, because that's where all the project is! All the following images are merely a bunch of working materials. Thank you very much:)[/size]
Unfortunately youtube blocks the video in some countries so here it is on Vimeo:
https://vimeo.com/43720484
I won't be posting much screenshots for now because this work is not about static images at all and I really want everyone to check the video out.
Now you've probably guessed by the thread title that this environment has some kind of shader trickery in it.) And you're totally right!
I figured I'd dump all the diffuse maps and do an environment without them for a change.(And a whole lot of other shader magic)
I thought I saw an opportunity to improve the way we make our games technically, production-wise and hopefully not make them worse visually.
I've written a little [size=+1]paper on "procedural" materials[/size] and if you have any ideas on the subject I'm always up for chatting.) Now for those of you who ain't gonna read it I thought I'd post a couple images from it here to give you the gist of it:


Some sculpts, or Normal Map renders to be precise:


1 ·
Re: The Desert(What can you do with no diffuse maps?)
Admin edit: fixed most of the broken images (forum software now requires https: for all embeds).
 Eric Chadwick
2 ·
Re: [3ds Max 2025] FBX Export with Path deform for Unity
Just tried it, and the Spline IK is a very good addition.
Note that the important part in step 5 is to replace the XYZ position sub-controller with a path contraint (or use a list controller like seen in the image). He probably started to write that, but then jumped ahead to the bezier float. Or maybe that used to be the default setup of the controllers for the Spline IK back then.
Note that the important part in step 5 is to replace the XYZ position sub-controller with a path contraint (or use a list controller like seen in the image). He probably started to write that, but then jumped ahead to the bezier float. Or maybe that used to be the default setup of the controllers for the Spline IK back then.
1 ·
Re: [3ds Max 2025] FBX Export with Path deform for Unity
The controllers look good to me.
As for the motion paths, how fast is your shutter unrolling? If each straight line is the motion from one frame to the other, then a slower animation would give you more "segments".
As for the points not lying exactly on the spline, that might just be due to geometry. Your bones are straight and can't stretch (both points move at the same speed) so they can't follow each and every curvature perfectly. At least that would be my guess. The distance to the IK goal can shrink, but only by bending the overall chain, which would result in some bones moving away from the spline.
But maybe you could try putting a Normalize Spline modifier on your path and see if that helps.
1 ·
Re: Sketchbook: Zetheros
The lumbering pastry chef, rolling pin held aloft in a meaty fist, turned to his protege. "Son, it's time to bake."

Have a great week!

Have a great week!
 zetheros
2 ·


