Best Of
Re: What Are You Working On? (3D) 2022
more doodling, sculpted in blender, painted in zbrush polypaint

 Ruz
Ruz
Re: What Are You Working On? (3D) 2022

 Asura
Asura

Re: What Are You Working On? (3D) 2022
Just wrapped this project for Gnomon Workshop up and it's published now as well!
more images and info: https://www.artstation.com/artwork/ArBZeq

 Dominique_
Re: What Are You Working On? (3D) 2022
I'm working on an environment in UE5, I would love some feedback on it!
Topic: UE5 LANDSCAPE — polycount

Re: How to avoid lumps when working with subdivided mesh
I bet Frank will be tempted to work up some relevant examples. But frankly (!) it's all there in his sketchbook already if you take the time to read, experiment, and absorb the knowledge feast that's being filleted and fricasseed by our fearless Frank.
 Eric Chadwick
Re: The Bi-Monthly Environment Art Challenge | September - October (80)
@wrd0mth Thanks for the flame shader :d
Good job everyone!
I'm a bit late with my final creation, but it's done:
https://www.artstation.com/artwork/3qXGJo

Re: The Bi-Monthly Environment Art Challenge | September - October (80)
Great progress guys! It's nice to see others sticking more to the reference! I felt asymmetry could have definitely helped making the result more interesting, but I got lazy.
I have so many questions about your work :)
@PaulJChris How do you manage many objects in a scene? I feel overwhelmed when using blender and decided to have just few different pieces which is still quite annoying to deal with
@squarebender I projected the UVs from the view in blender, baked ao and curvature and used it as a base to paint the diffuse in gimp. Are you using a similar method?
@SORENU I interpreted the stone in the reference as being bright/brightly lit but not shiny. I think mine is too shiny for example, as it can be seen in the overpaint that Fabi_G did how making it less shiny would probably look better. I think Fabi_G overpaint is an amazing reference on how to improve our work!
@Fabi_G impressive how fast you completed the environment! I actually prefer your lighting more than the reference because it feels more like a night scene. The reference is quite bright and I still can't tell if it's supposed to be a scene light by sun rays coming in or by the moonlight (I think the latter because of the dark window, but who knows)
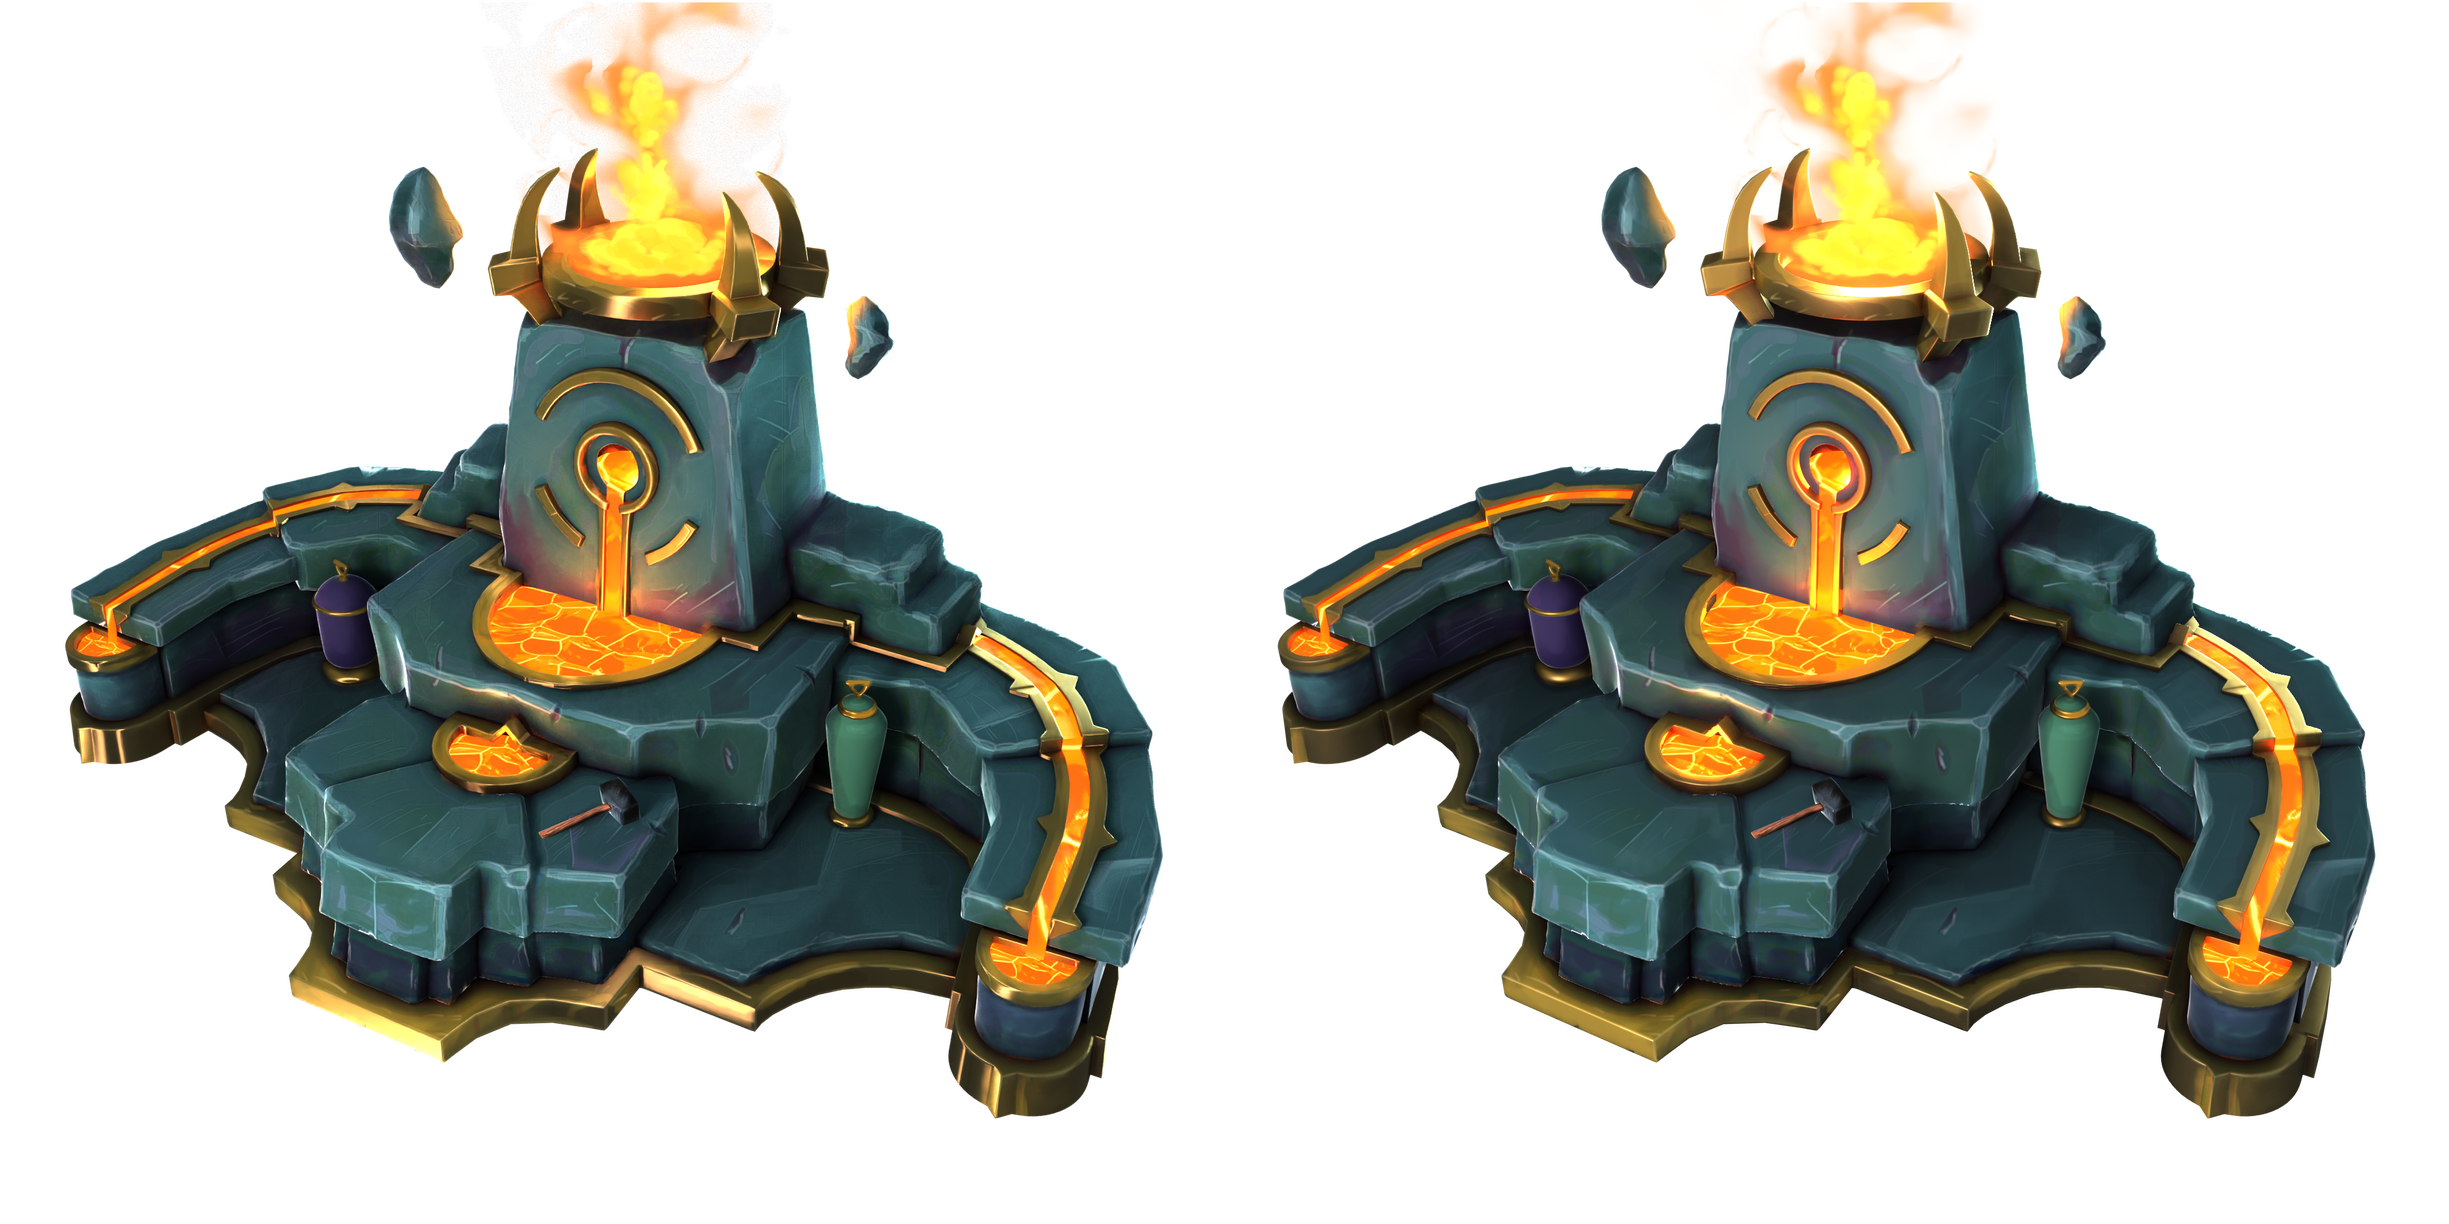
Unfortunately I didn't have much free time in the past few days. I started implementing the advice from Fabi_G. I need to not be afraid of overdoing it :) For example the edges are still overly white and I couldn't add damage/blocky breakup that didn't look too artificial/flat. I think I will leave the rest for later so that I can continue. I added a fire which I need to bring closer to the reference, right now it looks too bubbly. I experimented a bit on texturing the hammer and the vases. I feel they look out of place when textured separately instead of sharing the diffuse with the stone blocks, but of course that does not give much room to later changes in the position of the objects. Maybe that can be solved with better lighting. I also tried using cycles rendering engine instead of eevee for blender. To be honest I can't tell which one yields a better result. The gold in cycles (left) looks better to me and it's higher contrast (too high contrast?).
Re: The Bi-Monthly Environment Art Challenge | September - October (80)
@SORENU Asked out of general curiosity :) Creating a highpoly model to bake from seems quite common today.
Albion Online and the Torchlight games are examples of games that make good use of lowpoly/hard edges look combined with hand painted textures imo.
There is also the method of painting everything in the diffuse texture and using an unlit shader. Couple of small scenes like that on sketchfab, but can't think of any particular game that uses this kind of shading.
Edit: Hopefully enhanced readability of my post :P and uploaded sarcophagus wip
https://sketchfab.com/models/1dc37bbde3ba4bb79e0fe3347e35f0c9#UNIQSKFBVANILLA
 Fabi_G
Re: The Bi-Monthly Environment Art Challenge | September - October (80)
Hi @orangesky, didn't use boolean operations when creating the assets. Other than the sarcophagus (sculpted, subd modeling), It's mostly box modeled lowpoly meshes modified to have rounded/beveled edges (bevel modifiers + faceweighted normals in Blender). This shading was then baked down to the lowpoly. The benefit of this approach is that it's pretty fast. In some cases an instance of the same mesh can be reused as lowpoly (just without the modifiers). Surface details are then added during texturing.
A good case to use booleans would be when prototyping complex shapes or breaking up a mesh with insets/cutouts. To end up with a nicely shaded mesh (to bake down or to use as is) one can go a lot of routes, depends on the case. One could either process the new edges with a modifier or use autosmooth with a fitting threshold to get hard edges at the cuts. If going for a sub-d mesh, either apply the boolean operations and manually clean up the topology or rebuild a clean mesh on top of the boolean prototype. There is also the method to remesh the boolean result and polish the edges, this requires high mesh density (and high resolution input meshes for curved surfaces to avoid faceting), I see people doing this in Zbrush. That's what came to mind, I'm sure there is more ways to incorporate boolean operations in ones workflow.
I recommend to research the background of similar models to what you want to do. Maybe the artists shows some progress pics or describe their progress from which you can learn about their workflows. Check out Franky Poligons Sketchbook for some well written examples.
Good luck!
Fabi_G