Best Of
Re: Show your hand painted stuff, pls!
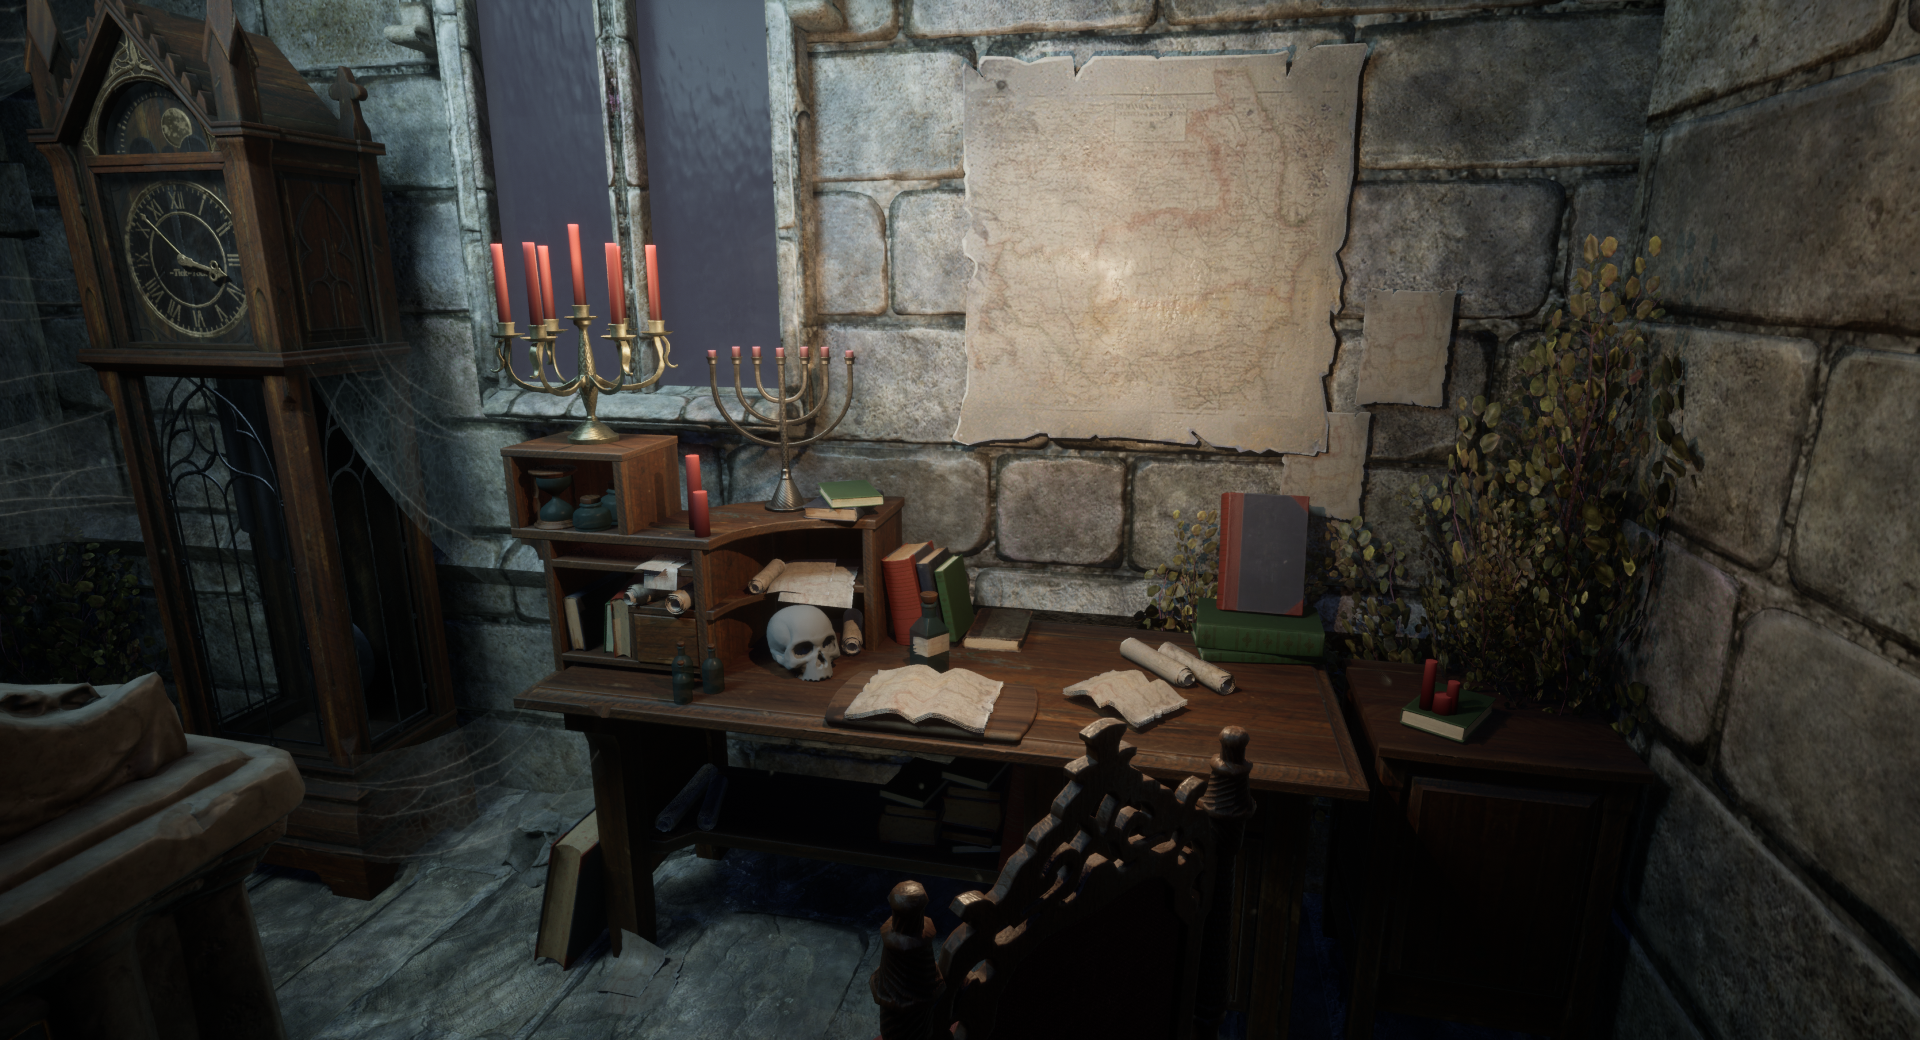
I want to share my work, which I made for Pathfinder: Kingmaker

Other stuff: https://www.artstation.com/artwork/Jy410
 Yunir
Yunir
Re: The Bi-Monthly Environment Art Challenge | September - October (80)
Thanks for the feedback 🙏 Lighting is definitely something I still have to improve - And all of the assets too ofc 🤓
@SORENU If you don't already, you could use the different planes as masks to push color/value range and readability:

@PaulJChris hi! I think it looks good overall, although I find it a bit hard to read with the different colors.
Some nitpicks: I would interpret the concept so that the ground plate on the right extends to the wall of the forge, some larger chips could already be tackled in blockout, curvature of the the lavapools appear to be more pointy, lava-channels appear are bit narrow. Might be changes you made deliberately, just saying 🙂. If you are going the highpoly - lowpoly route, I wouldn't care to much about polycount at this stage, as one would likely do a retopo anyways. More polys, less facetted look - unless you apply subdiv modifier. Or do you plan to keep the blockout as the lowpoly? Keep it up!
@Esselle I think it would be cool to see the model set up in a game engine or 3d viewer. I like to use sketchfab, as it's pretty simple (not so many settings to get lost in).
edit: added most recent screenshots

 Fabi_G
Re: The Bi-Monthly Environment Art Challenge | September - October (80)
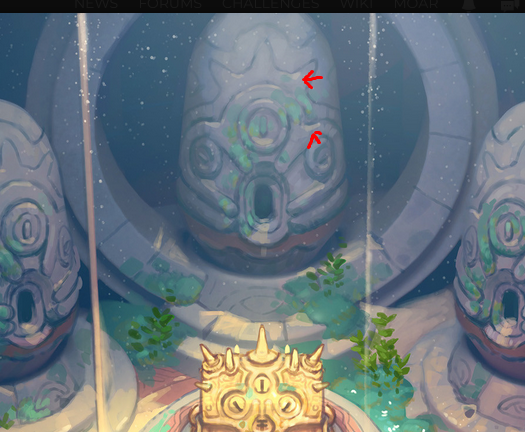
Hi! I am back with progress 😊 I decided to go fully handpainted, I started to work on the stone and gold but I feel like something is off with the stone, it doesn't feel as shiny as the reference... Maybe I should add more contrast? What do you think I could improve?

You guys did nice progress too!
@squarebender I love what you did with the egg statues, they look very handpainted it's super nice 😄 To make them even better maybe you could add some spot of handpainted light as we can see on the reference
@Fabi_G Wow you did a lot of progress, did you do all the props? They look nice! I feel like the image is a little bit too contrasted in comparison with the reference but maybe you're not done with lighting yet
Re: Woodworking and other real world projects
I got help from @R3D on making this live edge desk. Cut it, sanded it, lacquered it, and ordered a standing desk frame. Now have a desk which I'm super happy with (and protective of). Its thiccc and heavy af, and it feels so right.

 Ashervisalis
Re: How long did it take to find your first job in the gaming industry?
Sometimes i wish i could be a gardener. Just planting flowers and driving a lawn mower. And looking at butterfies and bees.
Re: Why is triangle used instead of Quad?
To add to what's already been said and hopefully clarify a few things: there's a number of different reasons why an artist would choose to use a triangle instead of a quad when creating an arch. The relevance of any specific answer really depends on the model's intended use and the desired outcome for the project. Looking at those two images, it's not entirely clear whether this model is just a block out or a final low poly.
If it's a block out then it's possible that the triangles provide some additional edges that are required for subsequent modeling operations. Quad corners work well for most linear edge transitions and some types of curved intersections but they can also disrupt the curvature of adjacent edge loops. N-gon corners produce a similar effect.
While it can be beneficial to model with quads and n-gons, triangles can also be useful for pulling support loops inwards along a curve. Below is an example of how quad and n-gon corners can create subtle smoothing artifacts near curved surfaces. Converting these corner faces to triangles produces edge tension that can help reduce the visibility of smoothing artifacts near surfaces that transition from flat to curved.

If it's a low poly model then the mesh may need to be triangulated in certain areas to make seam placement and UV unwrapping easier. While most applications can display quads and n-gons, there are a variety of different triangulation methods and there's no guarantee that the order of the underlying edges and faces will be the same in every application. Which is why it's generally considered best practice to triangulate the final low poly model before exporting for baking and texturing. This will ensure that the model's geometry and smoothing behavior is consistent as it moves through the production pipeline.
Here's an example of just how varied the triangulation methods can be when moving the same mesh between two different applications. This sort of geometry miss match isn't a deal breaker for most simple modeling operations or basic material authoring but it can cause significant issues when working with tangent space normal textures.

Severe gradation in the normal map is often caused by the differences between the shading behavior of the high poly and low poly surfaces. This additional color information is specific to the state of the meshes during the bake. Alterations to the order of the low poly mesh will tend to produce normal artifacts, unless the difference between the shading behavior and baked normal information is resolved.
Which is why normal bakes from meshes without any smoothing splits tend to be sensitive to triangulation changes. The example below shows how the direction and intensity of the normal values changes, based on the low poly's shading splits and edge order.

While it possible to find workarounds for actively controlling mesh triangulation and using smoothing groups, these types of "Never fail, quick and easy!" solutions tend to ignore the fundamentals of established, current generation workflows. Granted there are some situations where it may be beneficial or necessary to use single smoothing groups or add support loops to the low poly or rely heavily on normal data transfers but a lot of the application specific workarounds tend to fall apart when working with a team that uses a wide variety of tools and regularly moves models between applications.
Creating a low poly model with consistent shading behavior goes a long ways towards making tangent space normal bakes a one or two shot deal. Adding smoothing groups is large part of that but controlling mesh triangulation is another important element in the optimization process. A lot of current, industry standard applications use MikkTSpace. Which makes it relatively easy to create assets in a synced tangent workflow. Yes, there are edge cases but that really isn't a good excuse for actively avoiding contemporary tools and workflows for content destine for popular engines like UE or Unity.
While this following example is far from best practice, it does demonstrate that using smoothing splits, in conjunction with a synced normal workflow, is fairly robust when it comes to accidental or unintentional changes in the triangulation after baking. All of the meshes have the same hard edges and only use the texture baked from the quad / n-gon low poly. Much less impressive when considering that the application automatically triangulated the low poly during the baking process but still a reasonable demonstration of how important it is to control the shading behavior with smoothing splits.

As shown below, when using a single smoothing group, even quad geometry doesn't guarantee that the triangulation order won't affect the surface shading and normal data. Using hard edges [smoothing groups] with a synced normal workflow tends to produce clean bakes that can be more resilient but curved surfaces and single smoothing group workflows tend to be more sensitive towards changes to the edge and face order after baking.

Another thing to consider about triangulation order is that the placement of the edges can skew surface details. Which, though it's often quite subtle, can have a negative impact on the overall quality of the bakes. In the example below, the diagonal surface elements have a slight distortion wherever a low poly edge crossed over a change in the high poly's surface.
While it may be possible to resolve some of these issues with a skew map or custom low poly cage, it's worth noting that the low poly that has a triangulation order with similar diagonal edges does have less overall distortion. Simple stuff like this can help avoid unnecessary complexity and extra work that comes with trying to resolve visible baking errors that are caused by letting the software choose the triangulation method on critical areas.

In a workflow with synced tangent space and smoothing splits, edge triangulation in low value areas can be largely ignored, provided it remains consistent during the baking, texturing and importing. However, it is worth running some quick test bakes to evaluate how the current low poly triangulation is affecting areas that are right in-front of the player.
The mesh used to demonstrate these principles is fairly simple, so the issues are quite subtle but carelessness towards these sort of things tends to compound in a way that produces a lot of small errors that bring down the overall quality of a project. Often with no tradeoff for a tangible benefit. Below is a short animation that compares a few different triangulation methods and better highlights how these changes impact the details baked into the normal texture.

There's a lot of great resources on these topics here on polycount and on the help pages of the various texturing applications. Here's a few links that are a good jumping off point for additional self guided learning:
https://polycount.com/discussion/41232/lowpoly-or-the-optimisation-appreciation-organisation
https://polycount.com/discussion/163872/long-running-technical-talk-threads
https://www.youtube.com/watch?v=ciXTyOOnBZQ
https://marmoset.co/posts/toolbag-baking-tutorial/
https://substance3d.adobe.com/documentation/spdoc/baking-109608997.html


Re: The Bi-Monthly Environment Art Challenge | September - October (80)
It's looking great @Fabi_G! Is it the final version or still WIP? I think the bottom could use some more breakdown of the shape like you did in the overpaint.
Then I have a question for both you and @creepyhooman. What's your texturing workflow? Substance painter or photoshop?
I continued my prop, sculpting it again to give it more damages and better edges. I think I will move on to texturing for now. After some research I decided to try the camera projected workflow to get a handpainted look.

Re: The Bi-Monthly Environment Art Challenge | September - October (80)
@Esselle Many thanks for the feedback 👍️ I would call it done for the most part, but I'm sure I will give it another pass before the end of the challenge. Nice progress on your side too. I think adding some gradients and color variation based on planes, as well as some tweaks to color and saturation would push it further:

About texturing process: Currently using a lot of Painter, plus some blender and photoshop for hand-painted textures. When the model has reached a certain state, I like to build a layer stack in Painter, mixing/modulating surface layers with object maps, then continue iterating the mesh and reimport. Probably also good to check the result in engine sooner than later to avoid a surprise 😅 Once the model close to being finished, there is adding some touches by hand.
Fabi_G
3dsMax 2023.2
More videos here
What's new list.
Some goodies :)
https://www.youtube.com/watch?v=kzcAlF44KIo