The BRAWL² Tournament Challenge has been announced!
It starts May 12, and ends Oct 17. Let's see what you got!
https://polycount.com/discussion/237047/the-brawl²-tournament
It starts May 12, and ends Oct 17. Let's see what you got!
https://polycount.com/discussion/237047/the-brawl²-tournament
Best Of
Re: Tech Artist - What are you working on: FOREVER Edition!
I've been mucking round in Godot lately trying to get some nice npr/toon shading stuff going and I got upset with reflections because they look smooth and realistic and boring.
I don't want smooth and realistic and boring, I want my reflections to look like they're toon shaded as well.
so..
To get toon lighting you posterize the result of your lighting calculations. The obvious answer to this would be to do the same thing to your reflections.
sadly though, Godot does not let you get at the reflection calculations (neither do most engines afaik) so you must build your own.
Sampling a cubemap is simple enough so no problem there but then you're kinda knackered.
Making a nice toon style cubemap or posterizing a normal looking one kinda work but cubemaps exhibit a wide range of nasty artefacting (filtering/texel density etc.) and I don't like nasty artefacting.
Throwing resolution at the problem kinda works but not really
so - I became sad and angry
But then I realised that if I posterized the vector used to sample the cubemap I'd get what I want.
This isn't a 1 size fits all solution, but it works very well for what I'm trying to achieve.
it's really simple too - just calculate the vector as normal then floor( (v * levels) / levels) before sampling the cubemap texture


3 ·
Racer445 AK Tutorial - does anyone have it?
I know I am 10+ years late but I am wondering if anyone can reupload this ancient tutorial. It is full of great techniques from that early-mid 2000s era of texturing.
3 ·
Re: The Bi-Monthly Environment Art Challenge | November - December (99)
YOOOO! Okay! I finished it!
I'm really happy with it! I could've kept pushing but overall I'm proud of where it is right now (trying to be deadline-driven, not focusing on perfecting all the details... plus the point was to finish and I did!)
Here are some renders I did within Substance. I was going to try to render in Unreal but I think I'm going to have to save that for later.
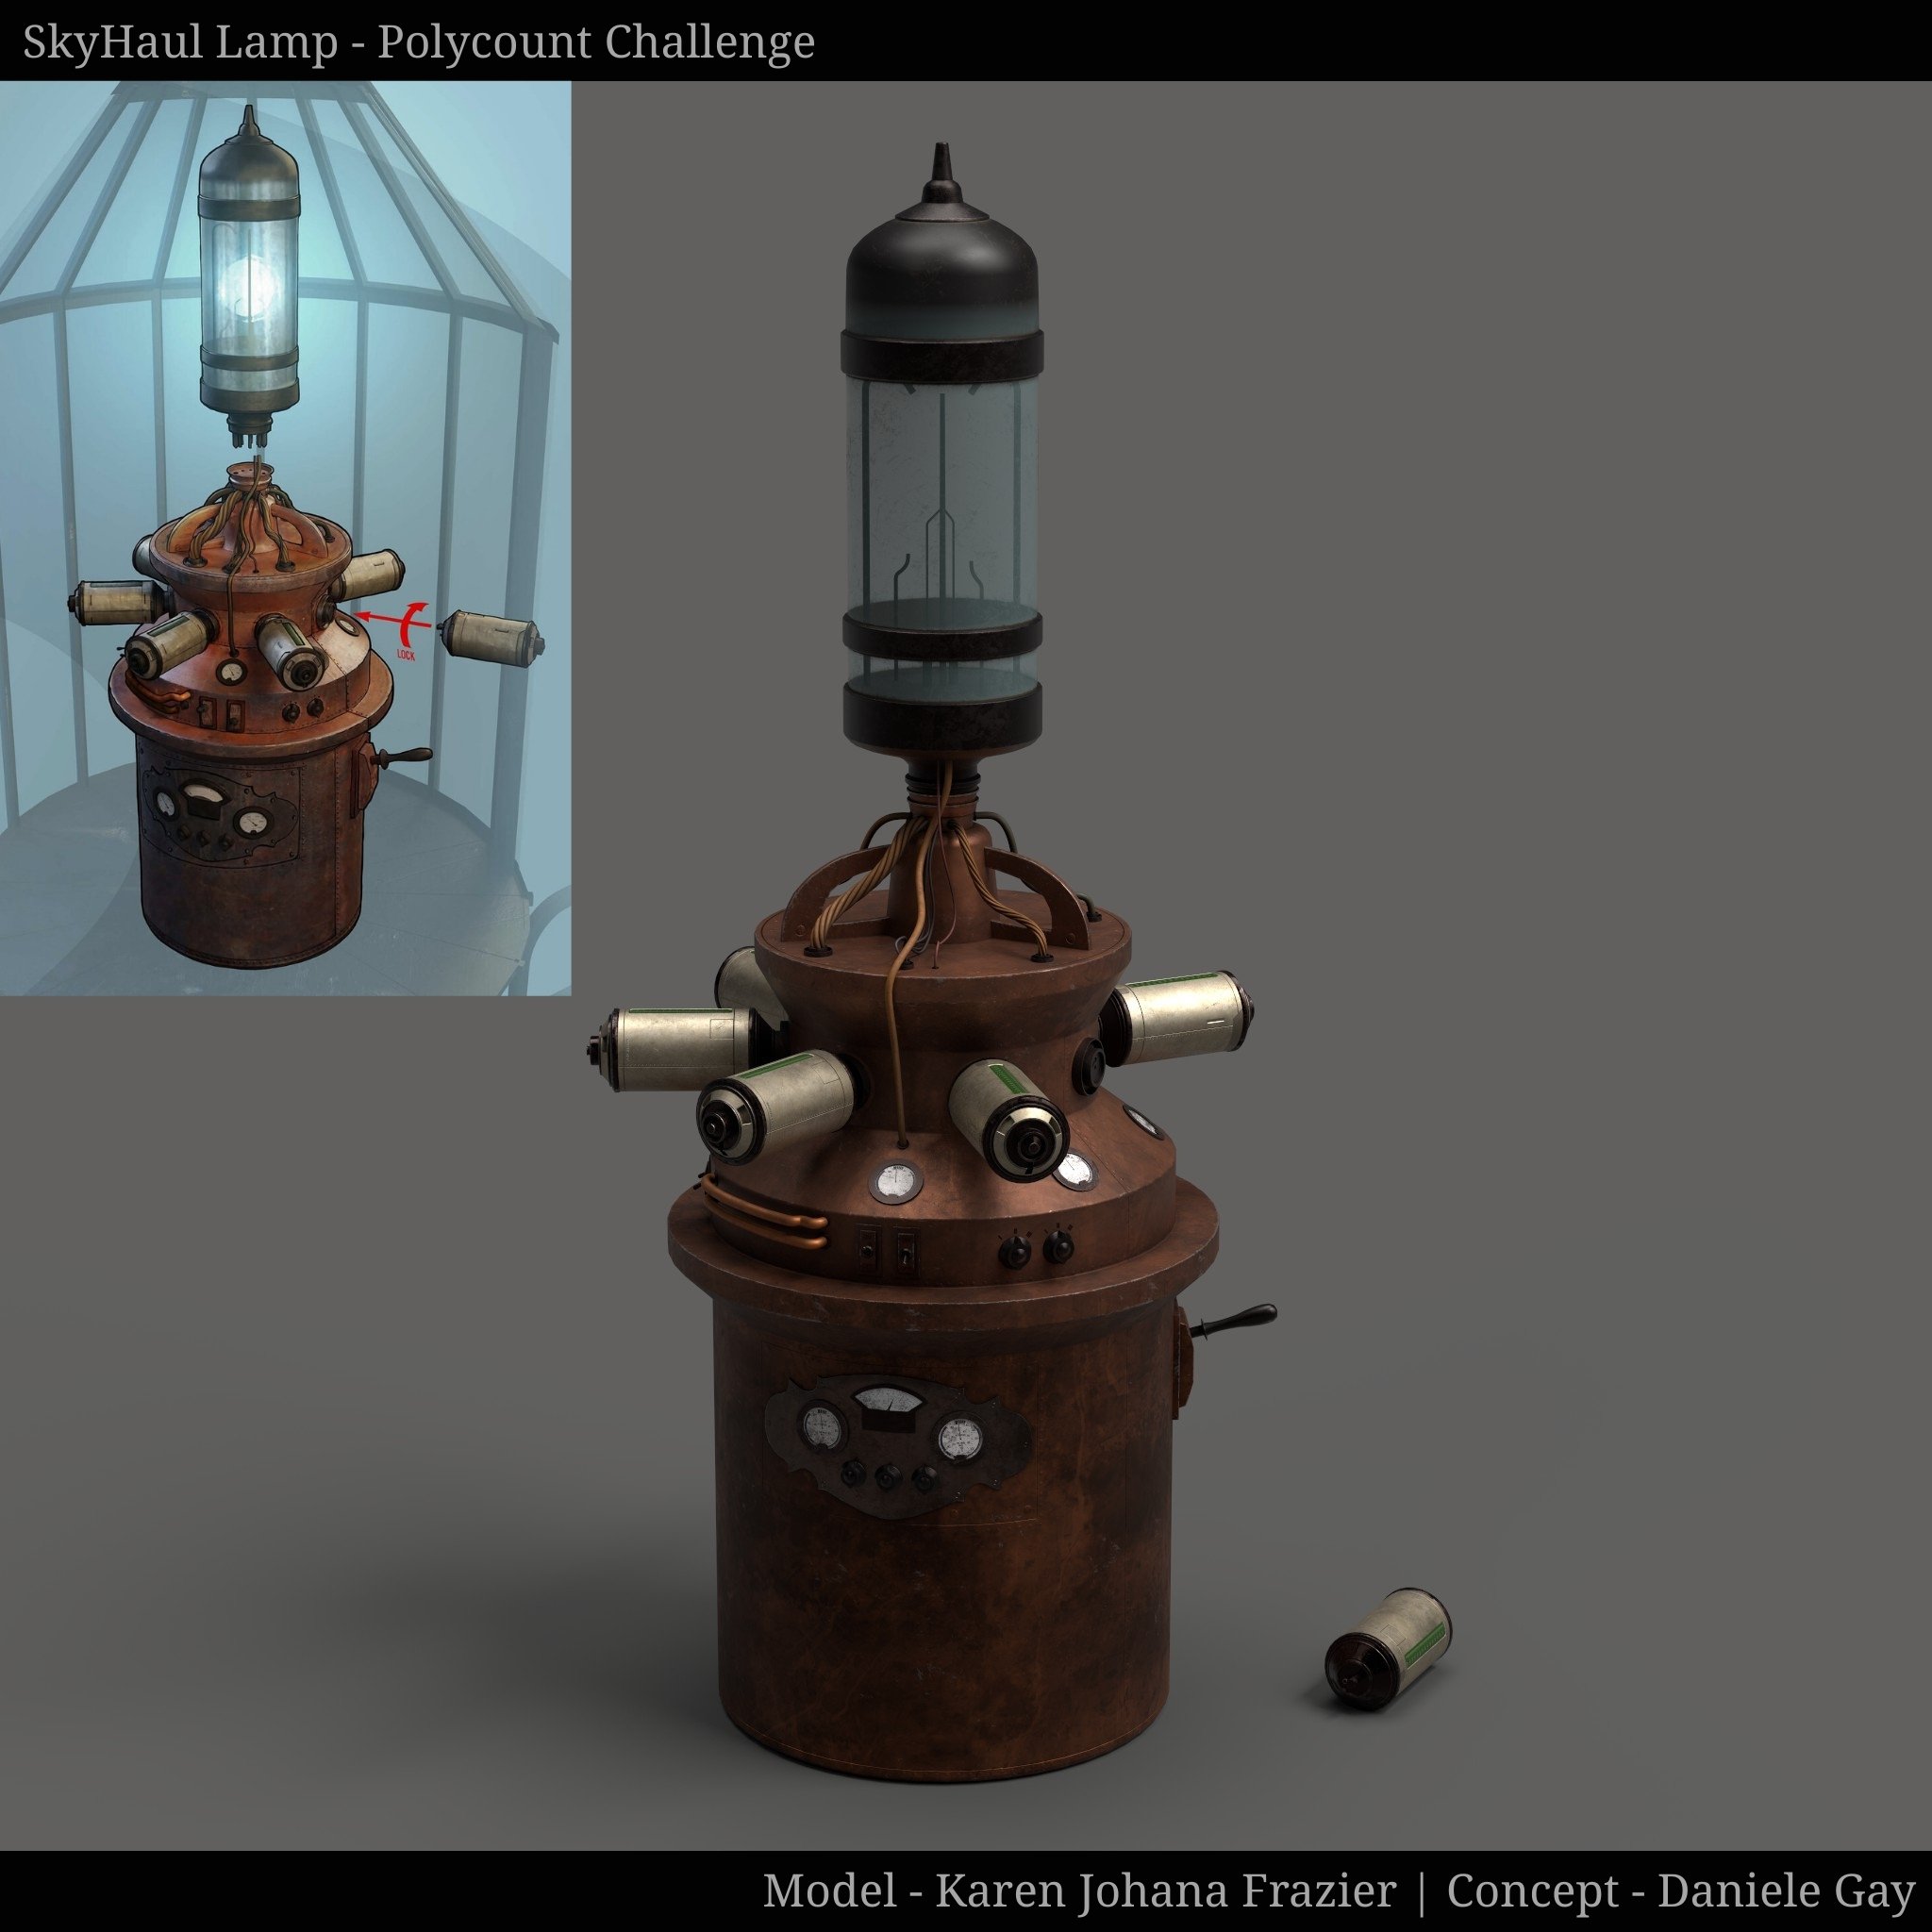
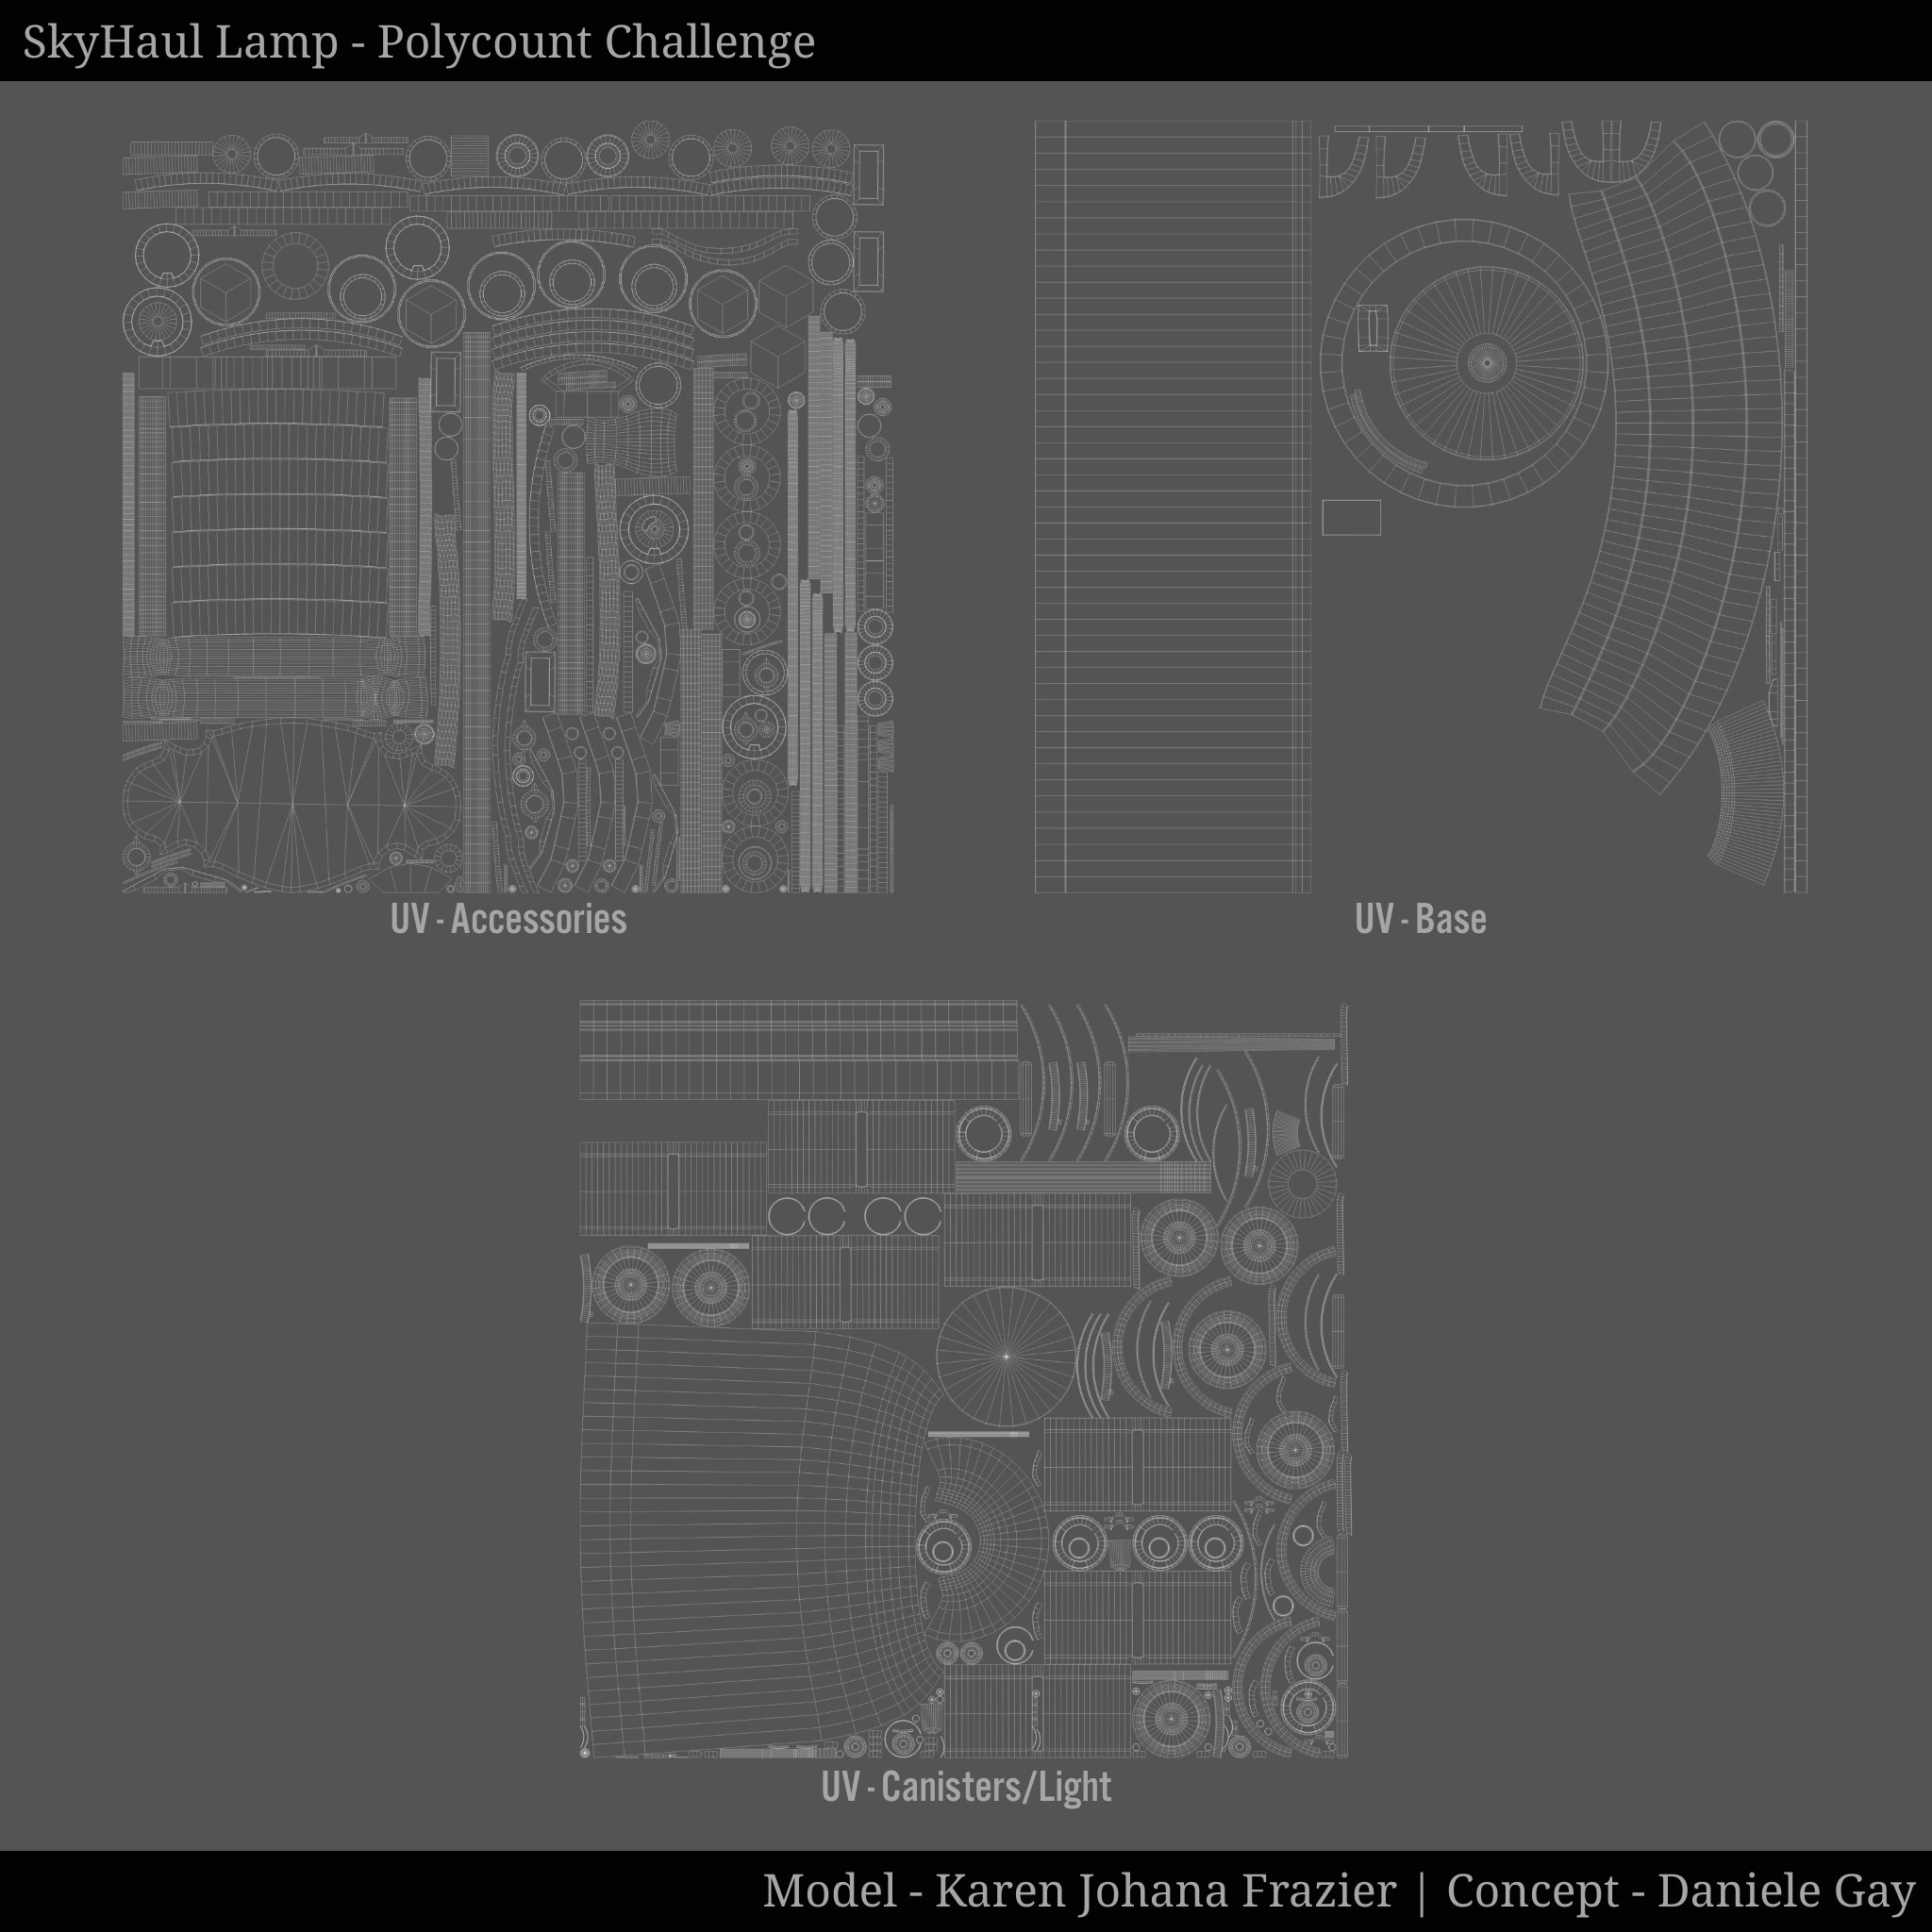

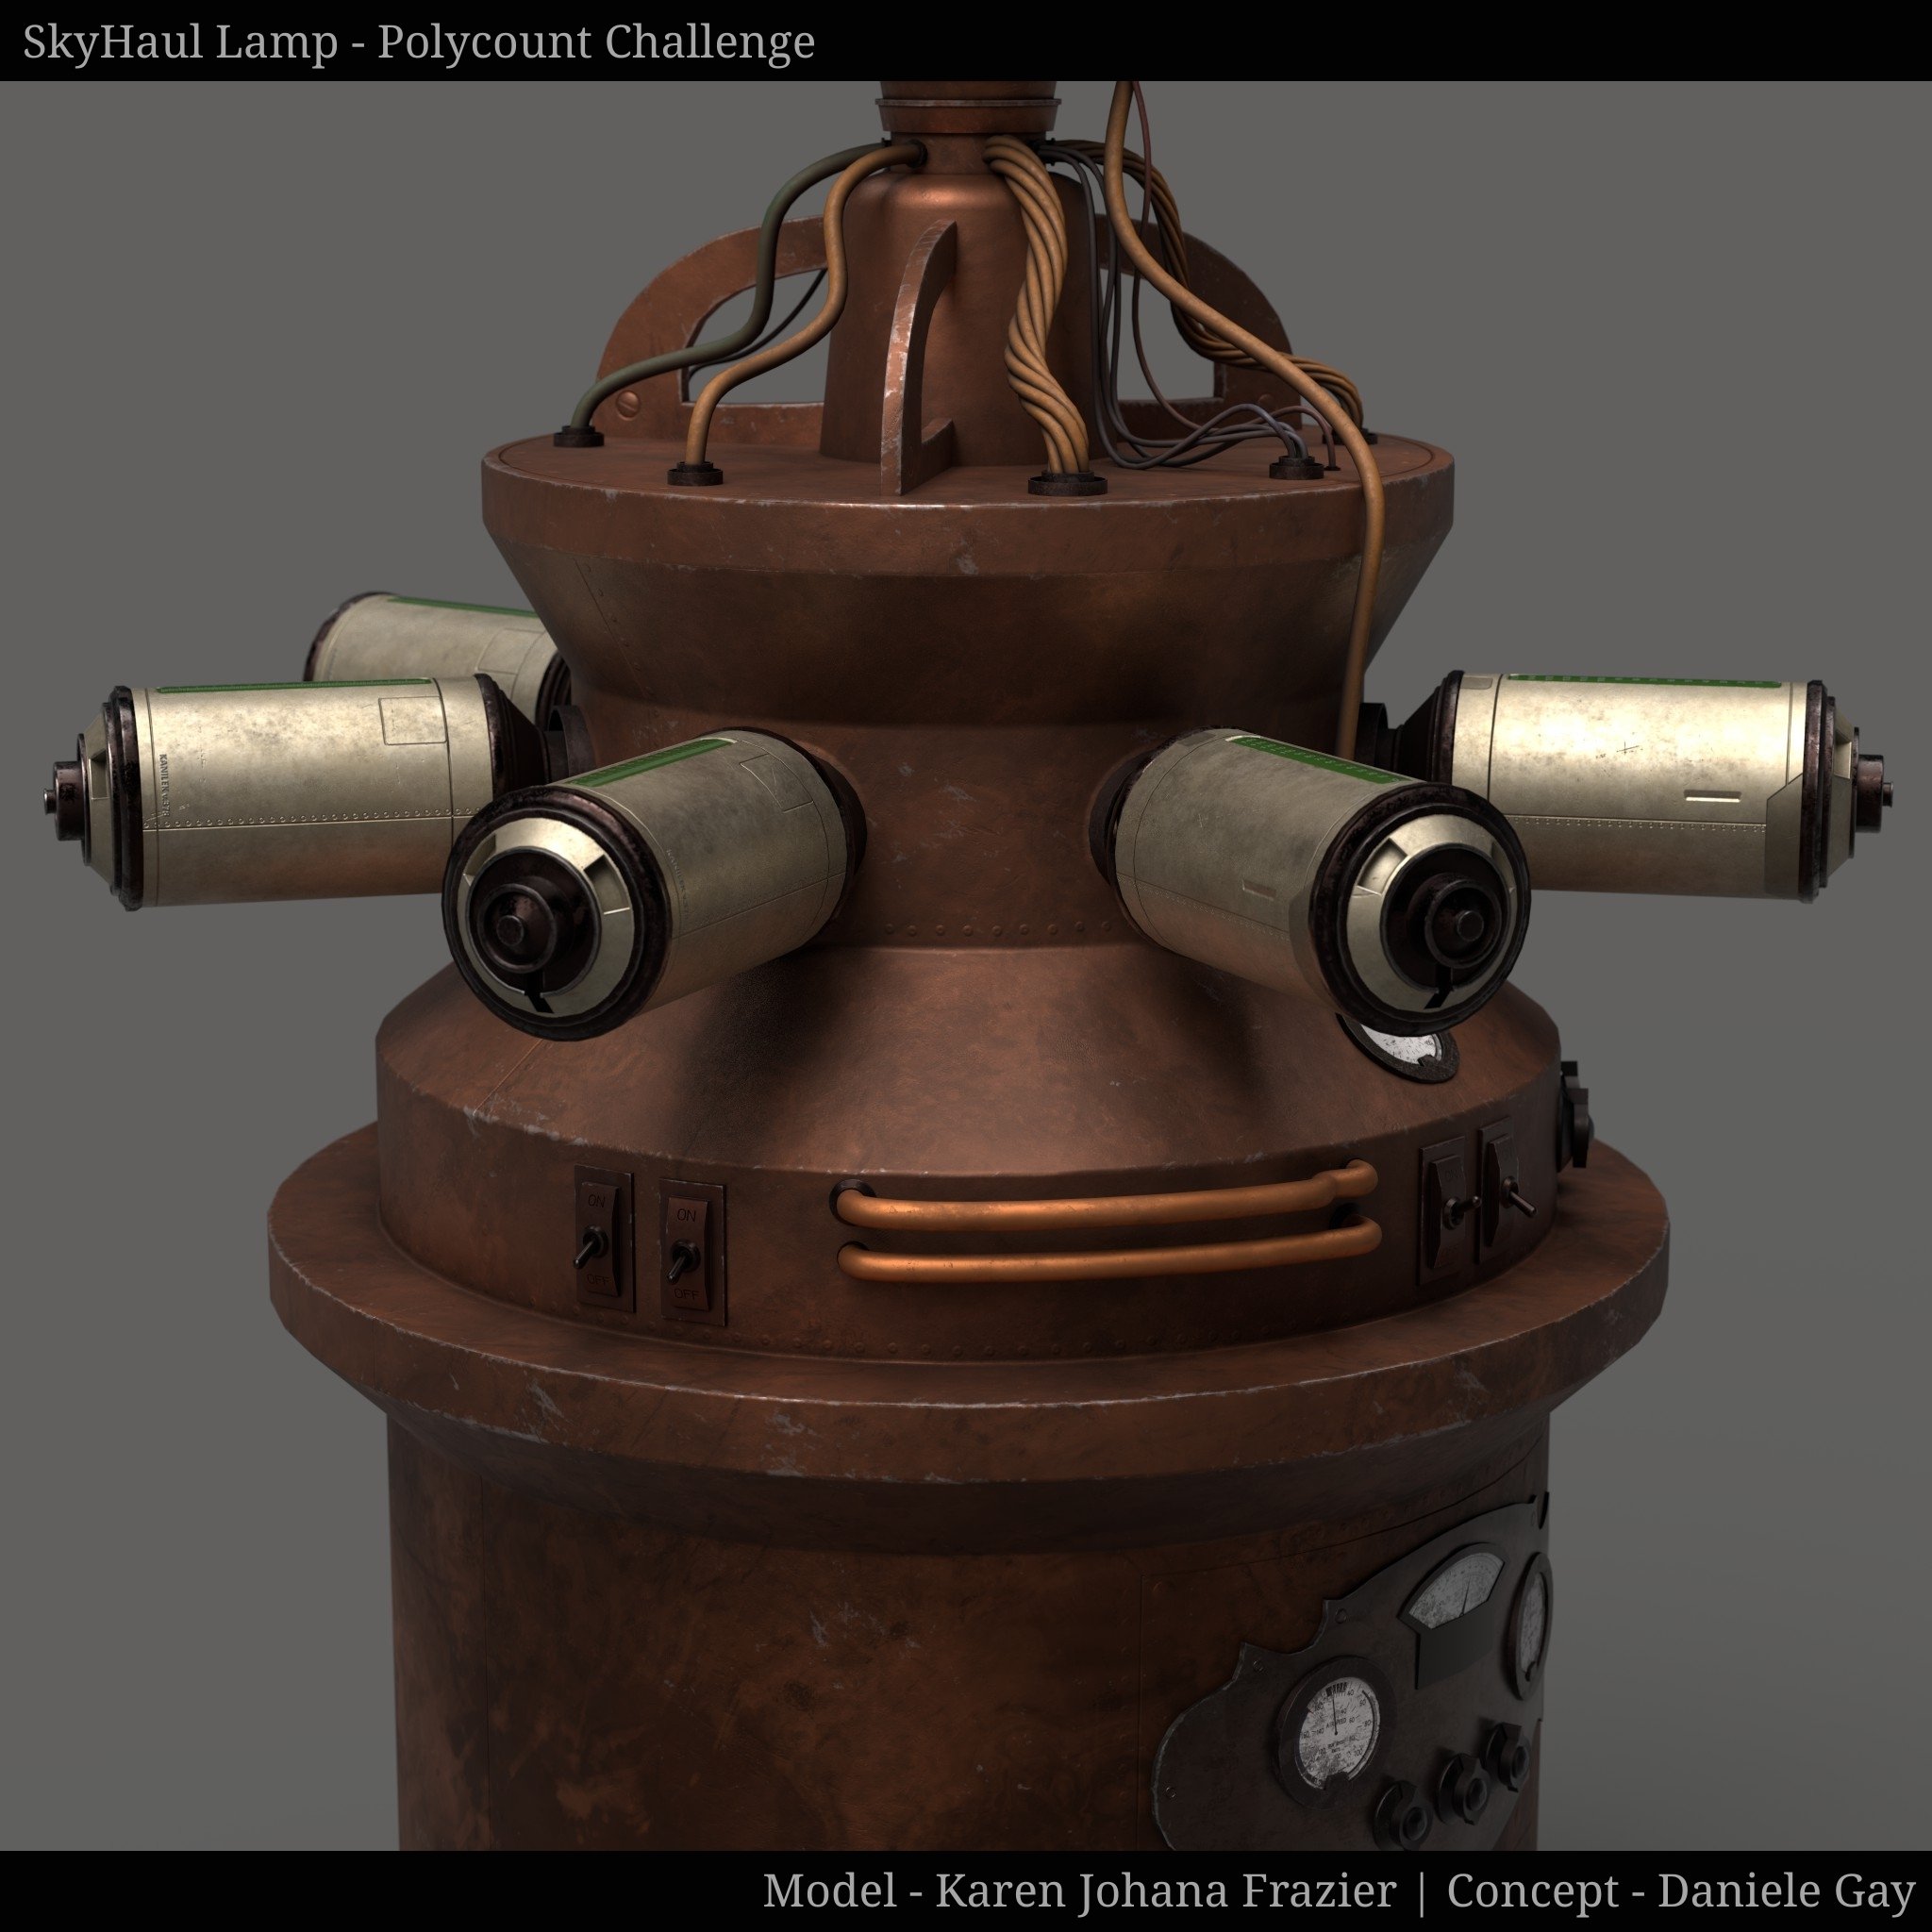
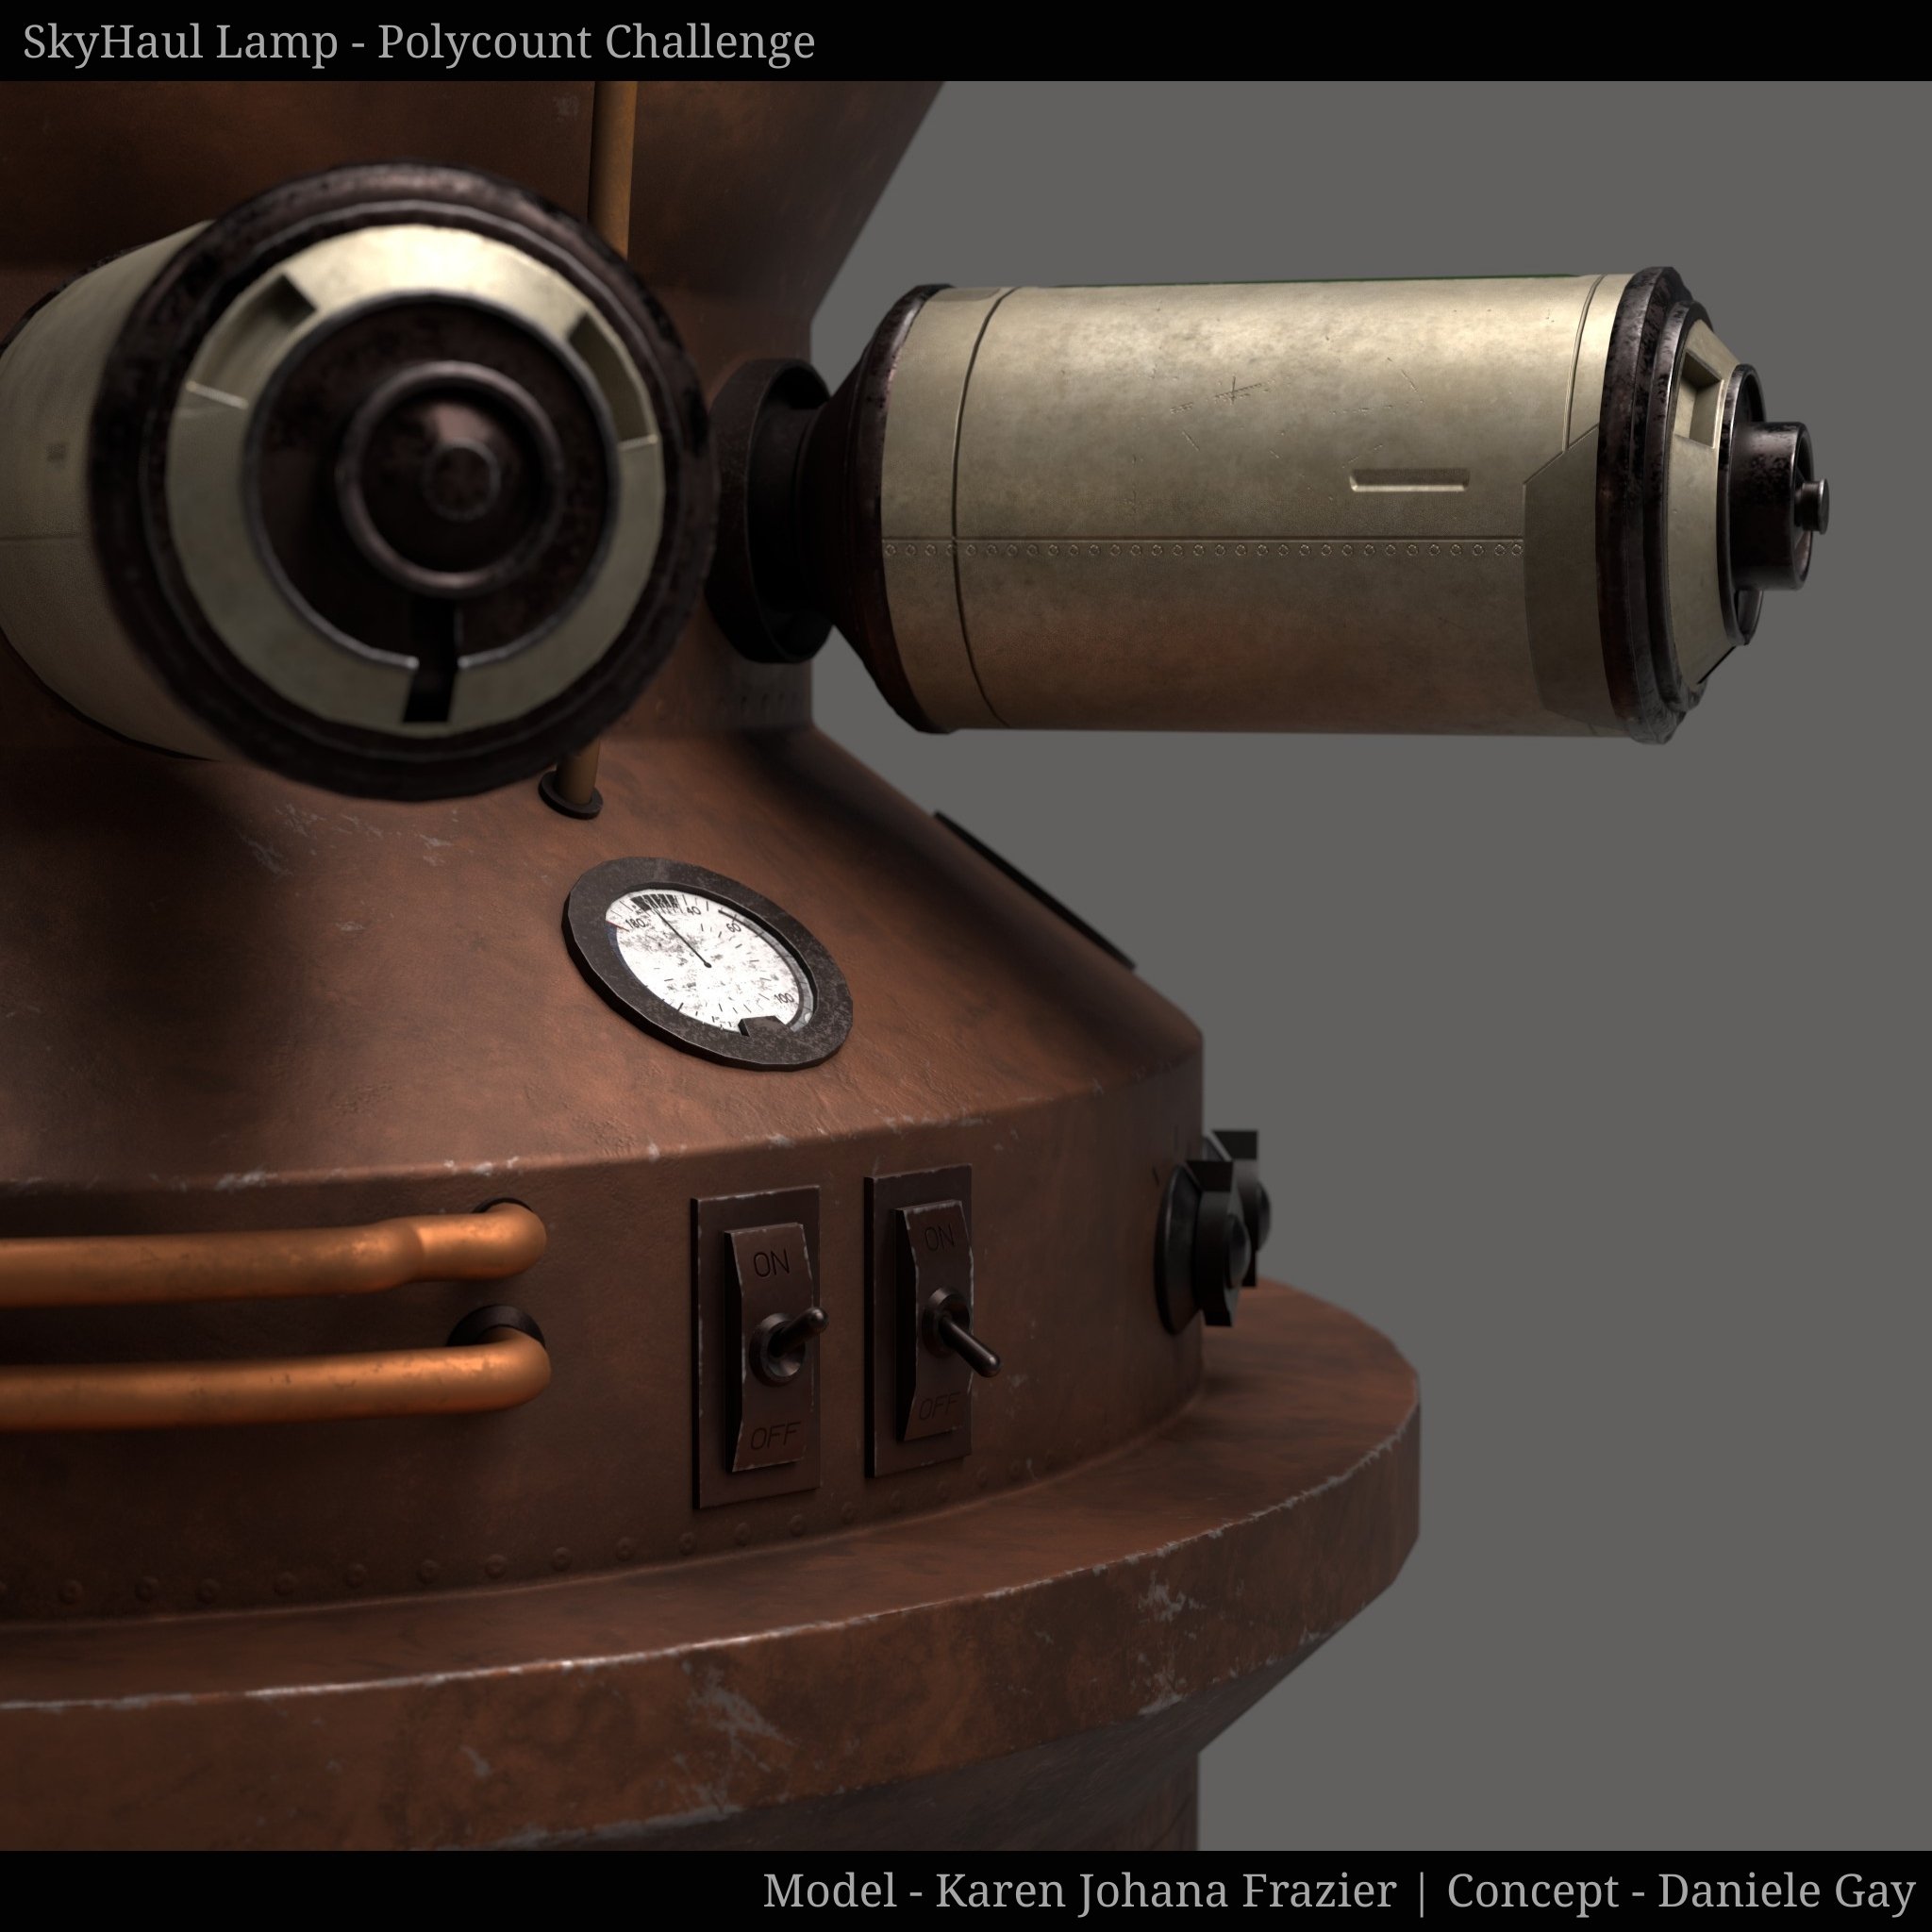
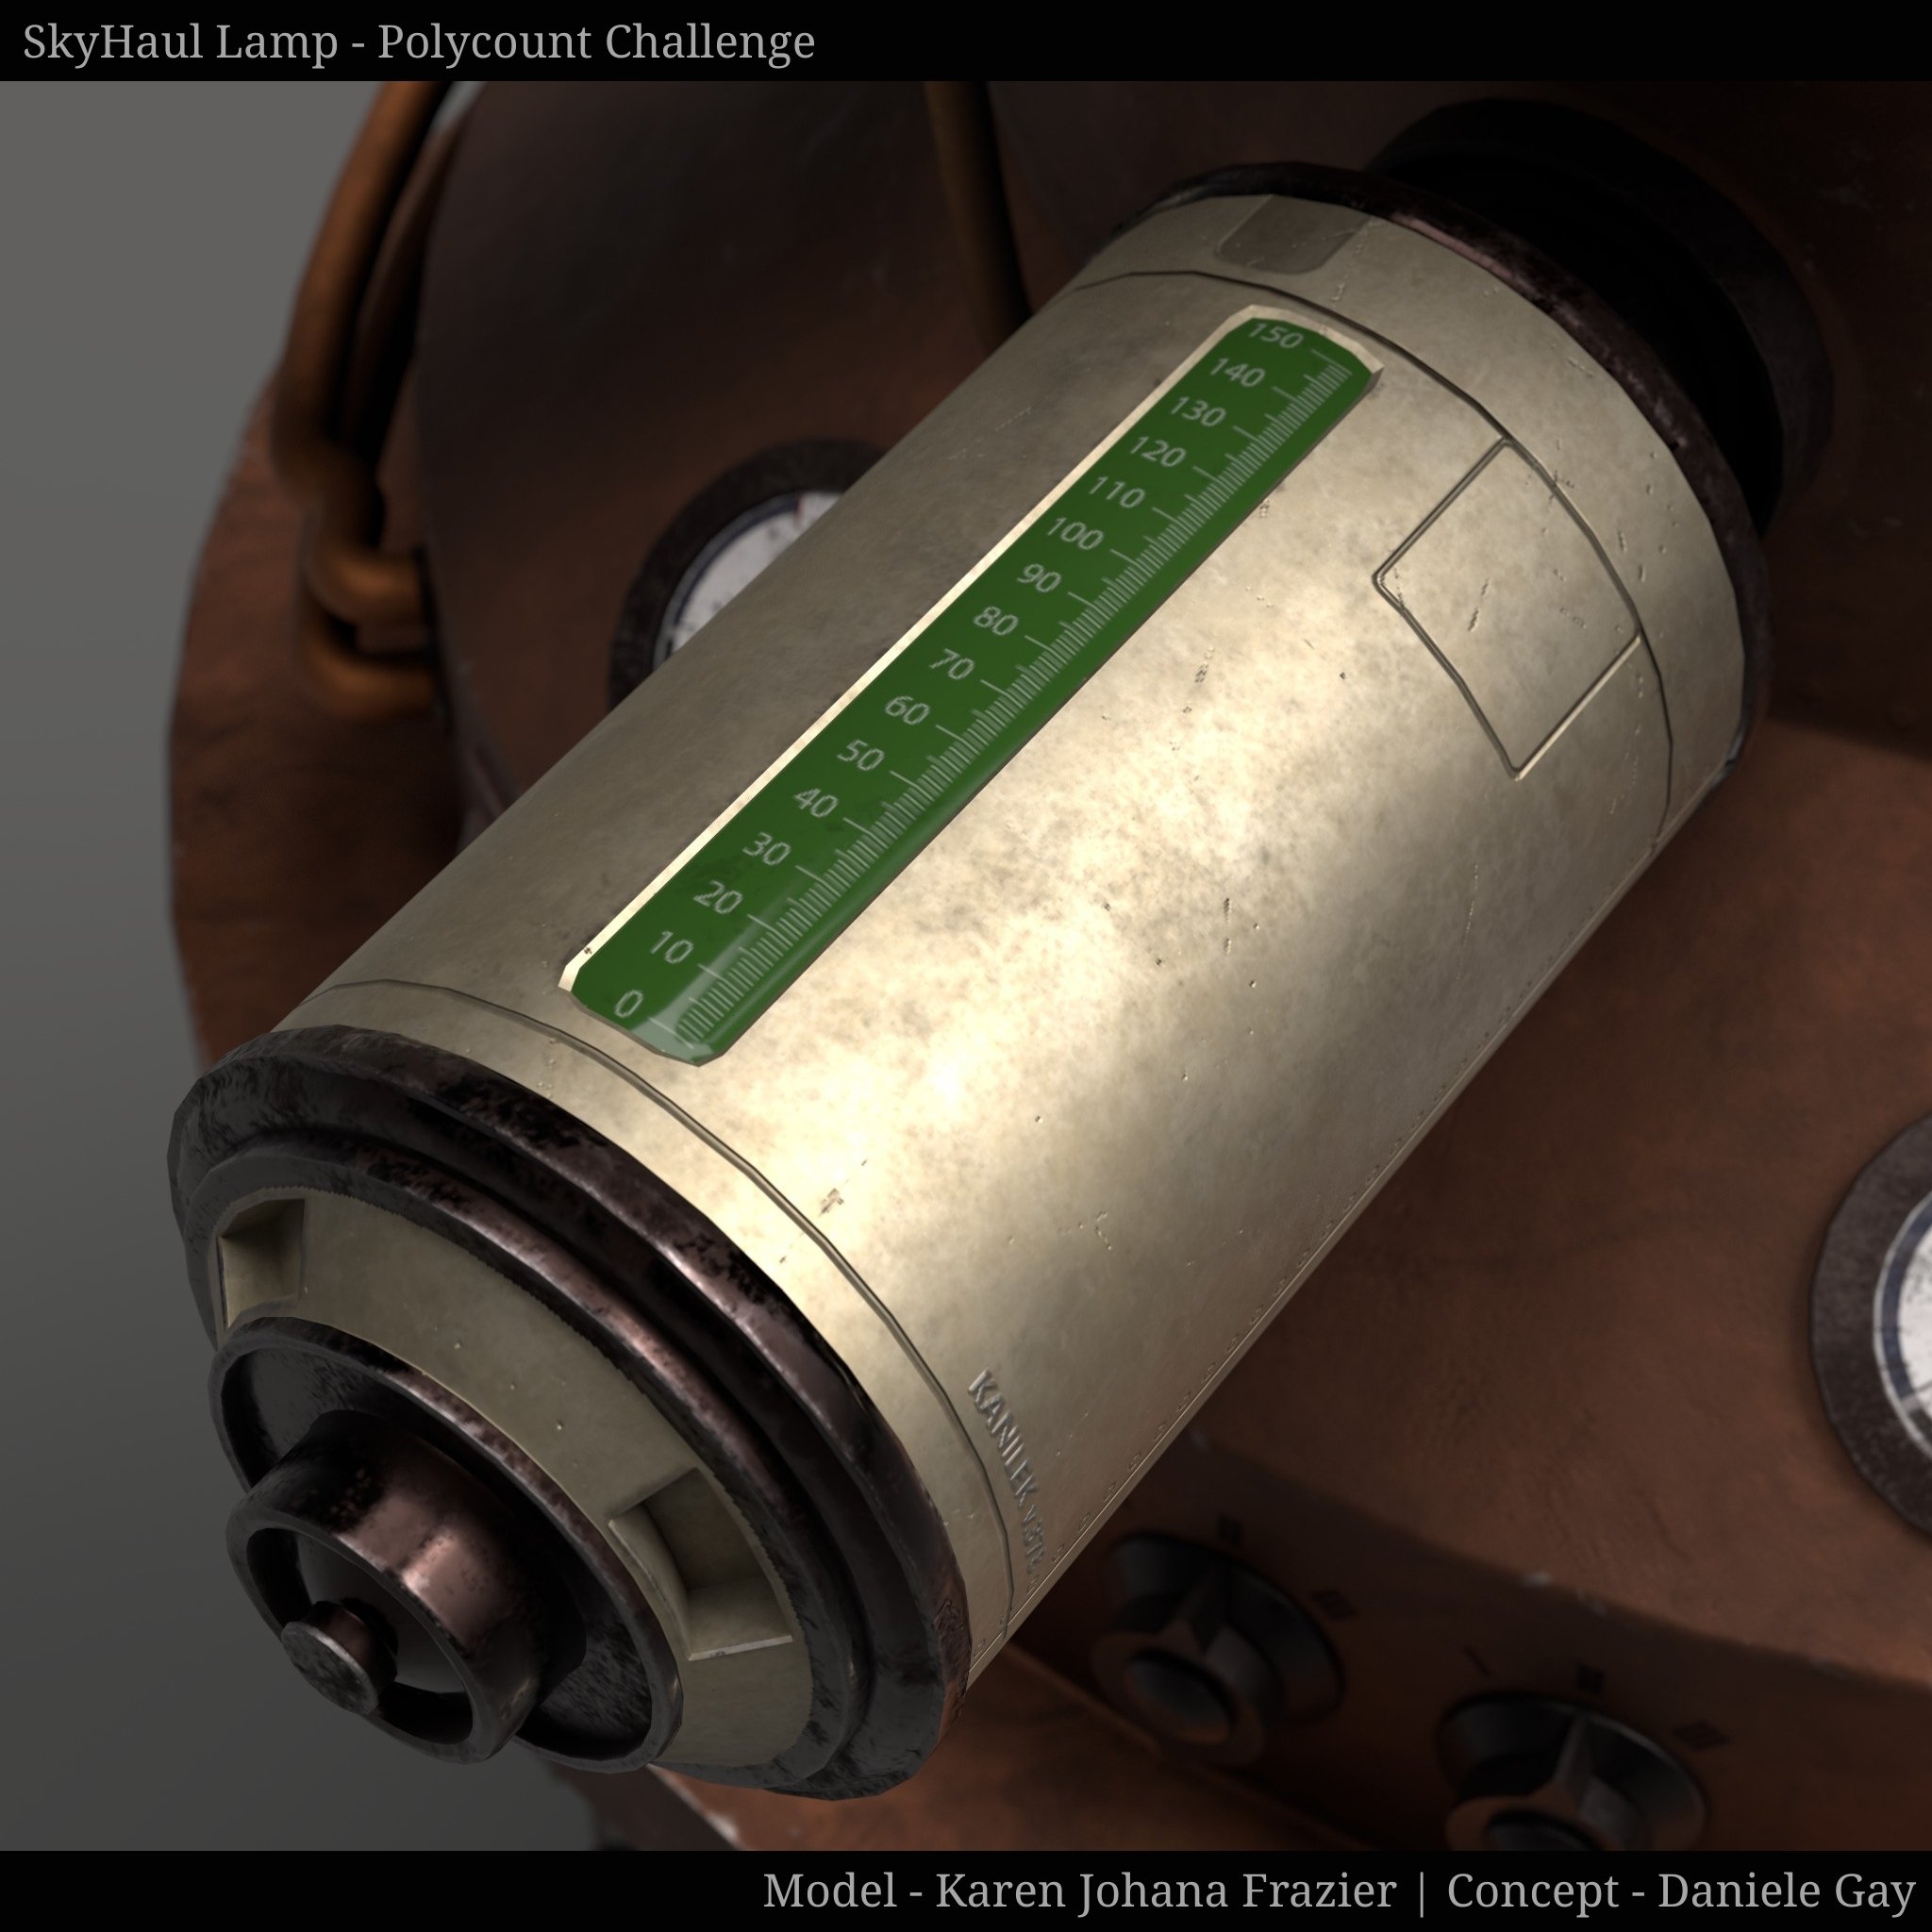
I just uploaded to artstation so if you want to see more renders please check it out: https://www.artstation.com/artwork/RKxabv
It was my first time doing a challenge online and this was honestly really fun. Thank you @Fabi_G and everyone who's been quietly cheering us on!
Happy winter solstice everyone! Happy New Year!
I'm really happy with it! I could've kept pushing but overall I'm proud of where it is right now (trying to be deadline-driven, not focusing on perfecting all the details... plus the point was to finish and I did!)
Here are some renders I did within Substance. I was going to try to render in Unreal but I think I'm going to have to save that for later.


I just uploaded to artstation so if you want to see more renders please check it out: https://www.artstation.com/artwork/RKxabv
It was my first time doing a challenge online and this was honestly really fun. Thank you @Fabi_G and everyone who's been quietly cheering us on!
Happy winter solstice everyone! Happy New Year!
 fairlyBread
3 ·
[PAID] 3D Hard-Surface Artist — Stylized PBR Sci-Fi Factory/RPG (Unity/PC)
Hi guys,
I'm looking to contract a 3D artist to create game-ready (real-time) assets for a new Unity game currently in development.
The game is a (futuristic/sci-fi themed) Factory/RPG, for PC only, top-down/isometric camera.
The entire project requires roughly:
* 40 sci-fi buildings (1 model each + simple animation loop)
* 60 props for various resources and items produced by the factory (1 model each, no animations)
* 10 robotic enemies (1 model each + walk & attack animations)
In terms of style, I'm looking for:
* Hard-surface
* Clean stylized PBR
* Optimized for heavy re-use on-screen (low/mid-poly)
A close example of the general style I'm looking for is Dyson Sphere Program (see example image from that game below).
Payment: Per milestone (advance possible).
Deliverables: Unity importable (FBX preferred) + any required texture/material files + source files.
To apply send a link to your portfolio (or relevant similar work), cost estimates, availability, and relevant industry experience.
Looking to have some conversations and possibly lock in a first paid test/milestone this year.

2 ·
Re: Show your 3D Prints!
Hey, guys! This is my latest sculpting for 3D print. the printing needs to be treated and painted.
https://www.artstation.com/artwork/zPbP8m


https://www.artstation.com/artwork/zPbP8m


 GmsDiego
3 ·
Re: What Are You Working On? (3D) 2022
Not really a game ready character, but something I've been working on nonetheless.
Consider visiting the Artstation page for higher resolution renders, a turntable and additional information! https://www.artstation.com/artwork/d0BayK
 Dihemi
3 ·
Re: AI Usage in Indie Games
Games operate with two currencies; dollars and reputation.
An indie company will start with a high amount of reputation in their wallet due to being an underdog, but a low amount of dollars. Using AI will 100% damage an indie studio's reputation to the point where it negates the reputation boost of being an underdog. There are negative reviews on the game at my work purely because we used AI, despite my warnings
An indie company will start with a high amount of reputation in their wallet due to being an underdog, but a low amount of dollars. Using AI will 100% damage an indie studio's reputation to the point where it negates the reputation boost of being an underdog. There are negative reviews on the game at my work purely because we used AI, despite my warnings
 zetheros
3 ·
Re: Greentooth Sightings in Videogames
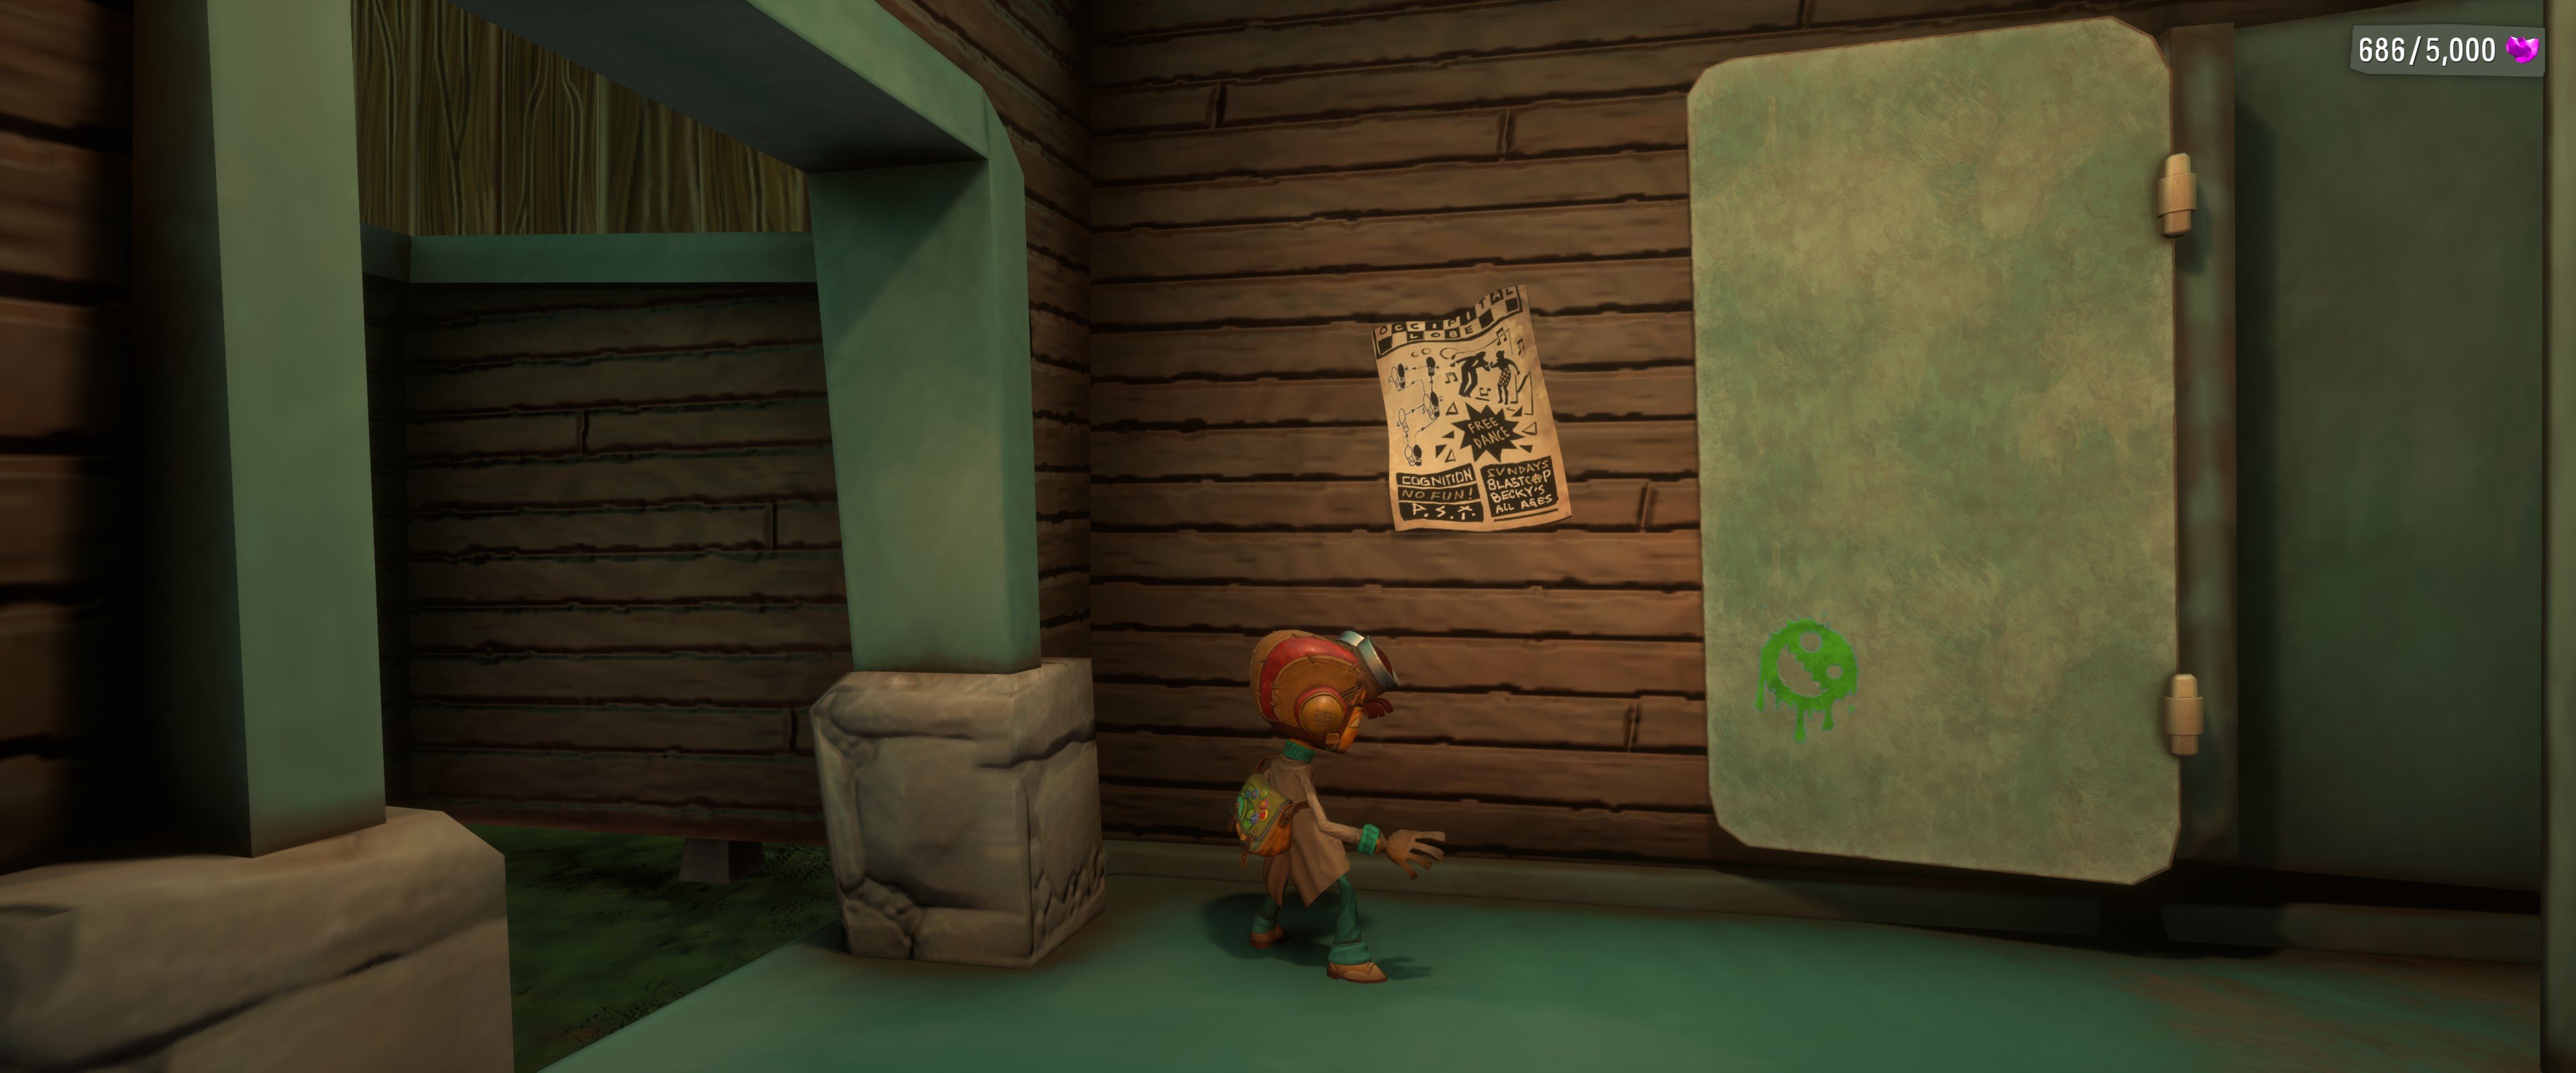
Psychonauts 2 (I see Sacboi posted, but here it is again. I am late af with my game backlog)

 Lamont
3 ·
Re: AI Usage in Indie Games
Until it becomes impossible to avoid, if I see a game that was made with AI, I'm not going to buy it. Not only for the basic unethical, planet-fucking nature of the tech, but also....Why should I pay to play a game you couldn't even be bothered to pay to make?
One of the big benefits of indie games, supposedly, is that they're more creative than big projects, take more risks, make things more unique because they're less corporate, less controlled than in big studios. If you're going to use AI, you've basically taken all that away, because it's only really good for shitting out generic slop; it won't make anything risky, anything original, anything actually new. It's not creative.
Using AI under the excuse of "it's impossible to make X on an indie budget otherwise" pisses me off. The sometimes shitty reality is you have to scope to what you can do, and I'd still rather that than indies have a greater scope because they can increase their possibilities by having AI crap a load of it out. Not to mention, going back one step, those limits are often what leads to the reputation of indie games as more creative in the first place; their greater limits force them to innovate and find clever ways to get the most out of what they can create.
AI art has tells, but if you're using it as the concepting stage, that's probably going to be impossible to see in the final product if you don't disclose it, if you're trying to use it as a basis and not just go straight from there. But that'll still churn out generic slop in all probability, because your concepts are going to be generic slop. How can you make something interesting if the very foundations aren't interesting?
I wouldn't trust documentation to an AI. It can't reliably tell me that 2+2 is 4.
7 ·
Re: AI Usage in Indie Games
At the end of the day, what matters is what the consumers think of it with their wallet. Dont forget that since Artists "know how the sausage is made" they have more emotional responses to AI and their useage ( their validity isnt the point on my post btw ). My friend group doesnt care if a game uses AI or not, all they want is to enjoy their games at the end of a day and couldnt care less about Anti-AI activism. And the market shows that sadly, the consumer doesnt care. At the end of the day we only can individually make a stance like Rima does. To me, i only play older videogames so yeah xD
 Joao Sapiro
3 ·
