Best Of
Re: i dont like how these ue renderings look, why is this? (not me)
Open them in UE5, mess with lighting a little, take screenshots?
What ever your issues are with the look going on there, it's probably not the fault or limitation of the UE renderer. Originially the lighting in the scene are imo kinda flat because of some unrealistic fill lights that'll blow out some areas.
So literally just making the light more realistic by deleting them I think it takes the edge off just in itself.
The other thing that might be borking things is I turned the brightness down on some of the white textures. I think they were a tiny bit too white> once you get to the far ends of value in albedo, they can mess with the amount of ambient light in a scene. So that RGB 255 white texture is going to look off, and make other things look off
I'm not a lighting artist by any stretch, so maybe it still looks weird?
Re: Airbørn
Haha wait what?
Airborn is teasing an update on polycount?? WHAT YEAR IS THIS?????
Re: Airbørn
I have come back from the grave just to express my incomprehensible excitement.
Godspeed Airbørn team.
Godspeed.
Re: Show your hand painted stuff, pls!
I haven't hand painted since my first year of university (3 years ago) so wanted to give it another go with this piece! 😁
More here 👉 https://www.artstation.com/artwork/X1wamn
Based off this gorgeous illustration: https://www.artstation.com/artwork/v2v36O
 SopheeJay
Re: Qwertyuiop
 Ashervisalis
Procedural "Nuragic" house generator in Houdini
Hi! My name is Marc Vives Dalmau, I'm a 3D environment artist and I wanted to share how I made a procedural house generator inside Houdini, in case it may be useful for somebody. I've been integrating this software to my workflow since summer 2021 and I'm very happy with the results. Hope you like it :)
- 1. References and context
This project was made for the videogame Oden, which is in early developement state and in collaboration with the team of Rattingham Studios, an indie studio based in Italy. All concepts for this houses were provided by the team and specially by the concept artist Ludovico Brisotto.
The purpose of these houses are to fill the environment but the players won't have access to the interior of them.
Concept by Ludovico Brisotto.
- 2. Architectural props modelling (Blender)
To build this houses I needed to model some architectural props inside Blender, prepare the UV atlas for them and then export to be used in Houdini as instances.
Architectural prop atlas A (2048x2048).
Architectural prop atlas B (2048x2048).
Architectural prop atlas C (2048x2048).
Some of these props won't be used in the procedural house generator, since are props for the interior of the houses and won't be necessary, but I included them because they will be used in some particular buildings which the players will have access to and are more specific, but won't be covered in this thread.
- 3. Logic and build process in Houdini
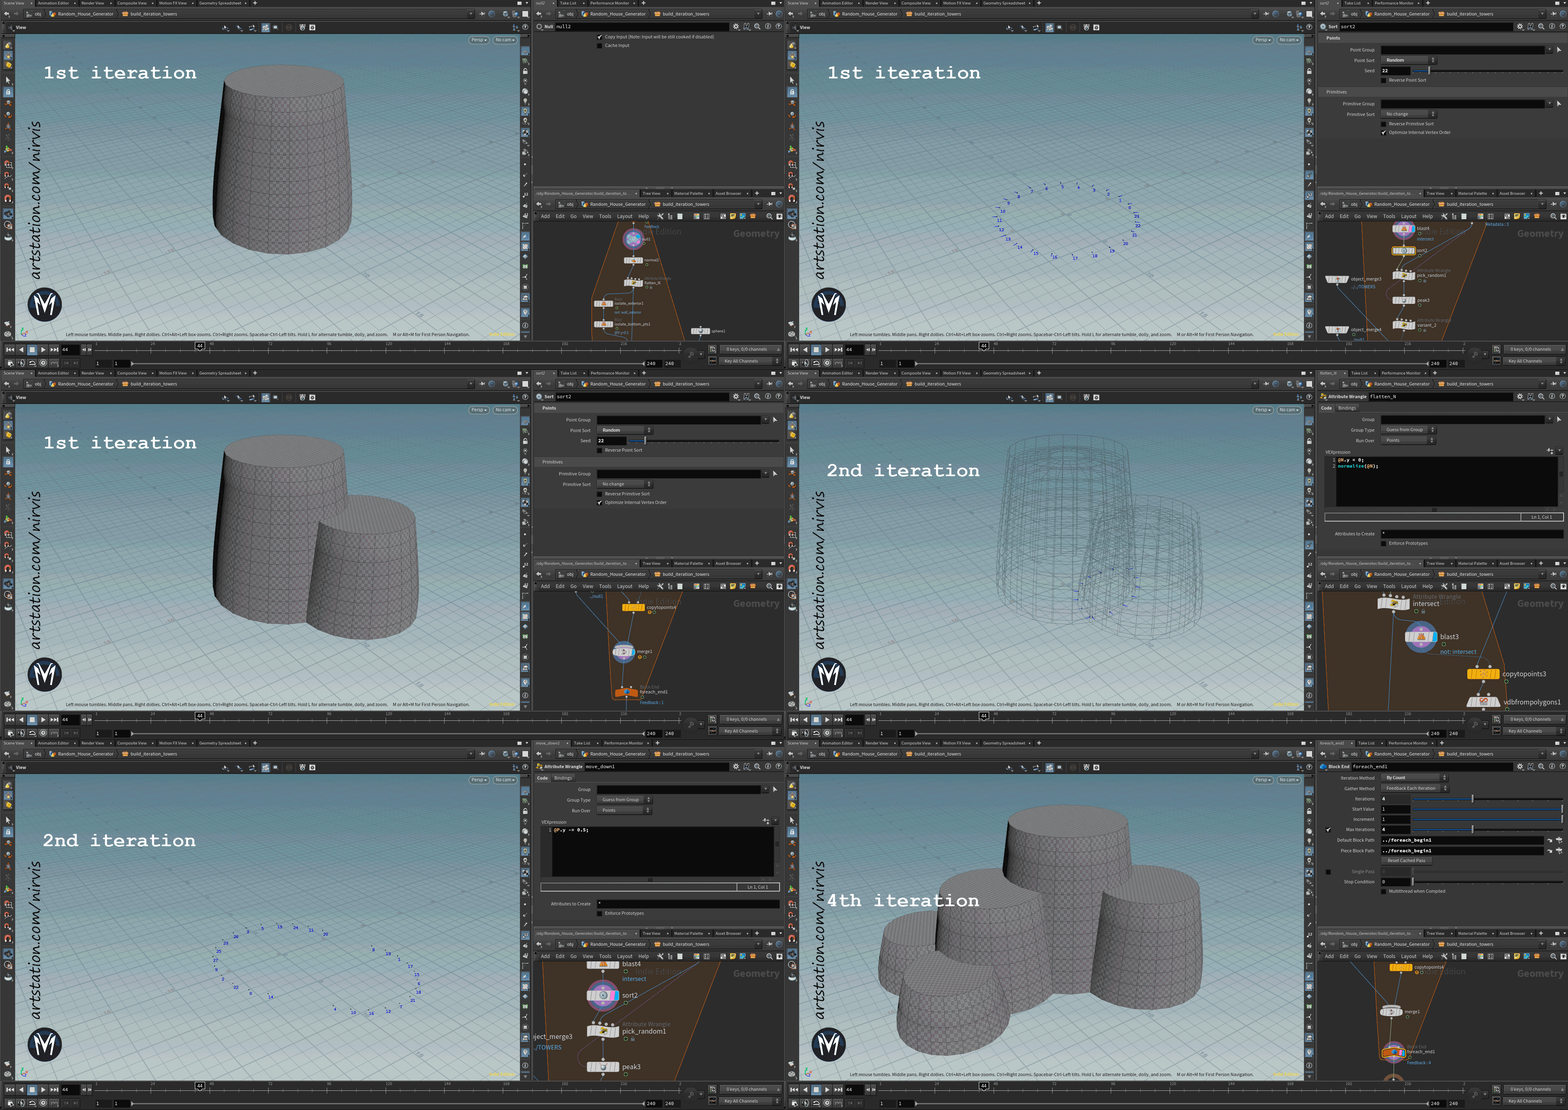
To start I created 3 different tower heights with its UV.
Then, starting from a random height tower, I do a for each loop with feedback, adding in each cycle a tower of 1 height lower than the original one. I do this iteration "n" times, which is driven by a random seed for each house.
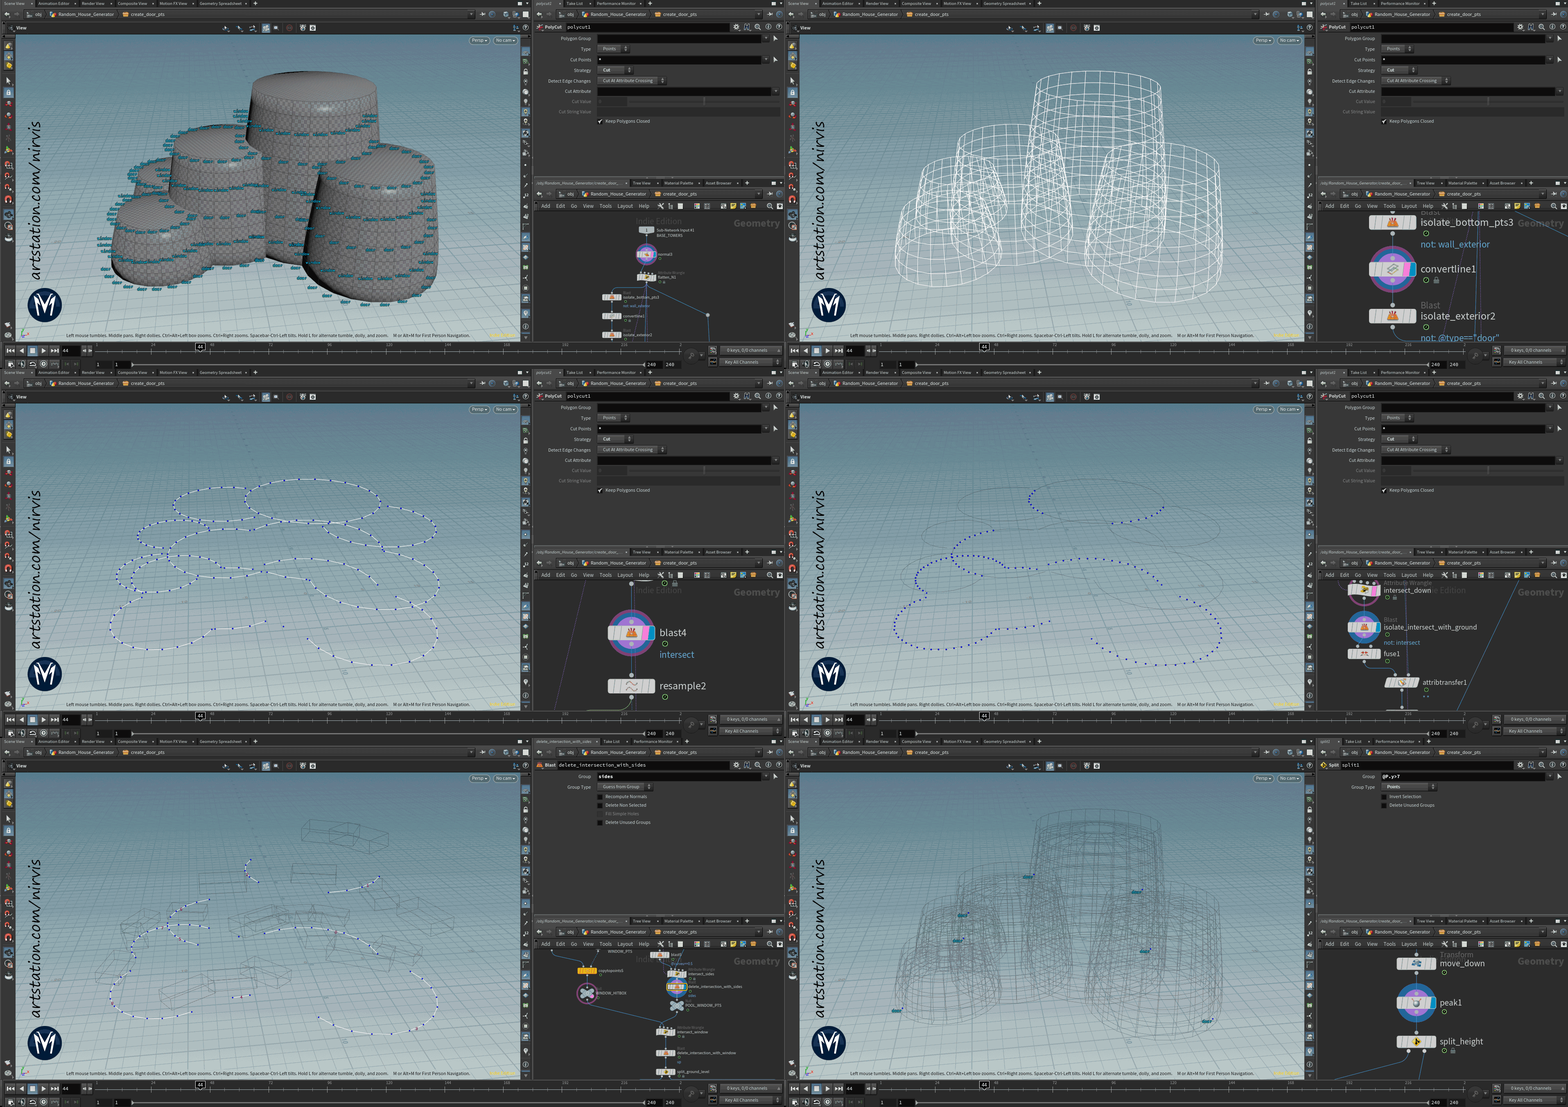
Once I have the base towers it's time to define where the windows and doors will spawn, so I created an attribute "type" for all the window point possibilities according to the "y" position and the same for the doors.
After that, I will define the window positions iterating randomly from all the possibilities and preventing them to spawn too near from each other. To do that first I had to filter the points which were already intersecting between towers and the points that face to a roof. Then created a for each loop with feedback to randomly pick 1 point at a time and repeat that "n" times.
Next is the turn for the door points, which I wanted to spawn facing the ground or any roof, and preventing to be too close to the windows or tower intersections. As a special case, instead of a door, a 2nd floor roof can have a hole in the middle of the floor to access by a ladder from the interior to give more variation.
Once I have the points for the windows and doors to spawn, I also need to get the center of the highest roof and get its radius to set the proper scale of the roof when copying. As a detail, in case that the roof that spawns is the "half" one, I want it to be oriented to one of the nearest roofs and not so random.
Now is the turn for the roof blocks, which will be spawn in the highest roof in different patterns but avoiding to be above the other roofs. There's also the possibility to don't spawn any (which is the case of the example i've been showing).
Once I have all points set for instancing with it's attributes for orientation. scale and variation type, I prepared the different prop instances doing some modifications inside Houdini ready to be copied.
- A. WINDOWS:
For the windows, I created random apperture positions and assigned a variation attribute for each. Then, this value will be used to copy to each window point previously assigned randomly. I looked for almost closed or totally open variations which feels more natural than totally random positions. I also created collision mesh for the windows to be used later for intersections or for the final collision mesh.
- B. DOORS:
For the doors, I created 2 variations (one bigger than the other) and then added ropes to attach the woodplanks. For that I used a simple squared shape and a knot made in Blender and from that I created the ropes, projecting into the door and interacting with each other. Also made it's UV's there.
- C. ROOF:
To create the roofs, I started from a conic mesh did in Blender and a "card" for the straw with their UV's. Then, I scattered the cards along the straw roof.
Then, I need to place the wood poles, which are all the same instance but with different scale according to the rooftop radius and type of roof (half or whole).
- D. HANGING CRYSTALS:
Another kind of prop I wanted to add were ropes with hanging crystals. To do that, I started from the roof polygons and then looked for possible positions that avoid intersecting with windows, roof blocks and doors. Then, I gave a swing shape to the ropes and copied to random positions some crystal props I already made in Blender.
- E. LADDER:
I wanted to add a ladder to the roofs which have a hole in it, to be able to climb to the next roof, so they will only spawn in that case. To start, as common, I use the roofs and look for intersection with the hole roof (in case it exists). From that, I create the points to place the steps along the curve and place the side poles too. To add more detail, I also created procedurally some ropes around the steps that attach with the ladder.
- 4. Merging and exporting
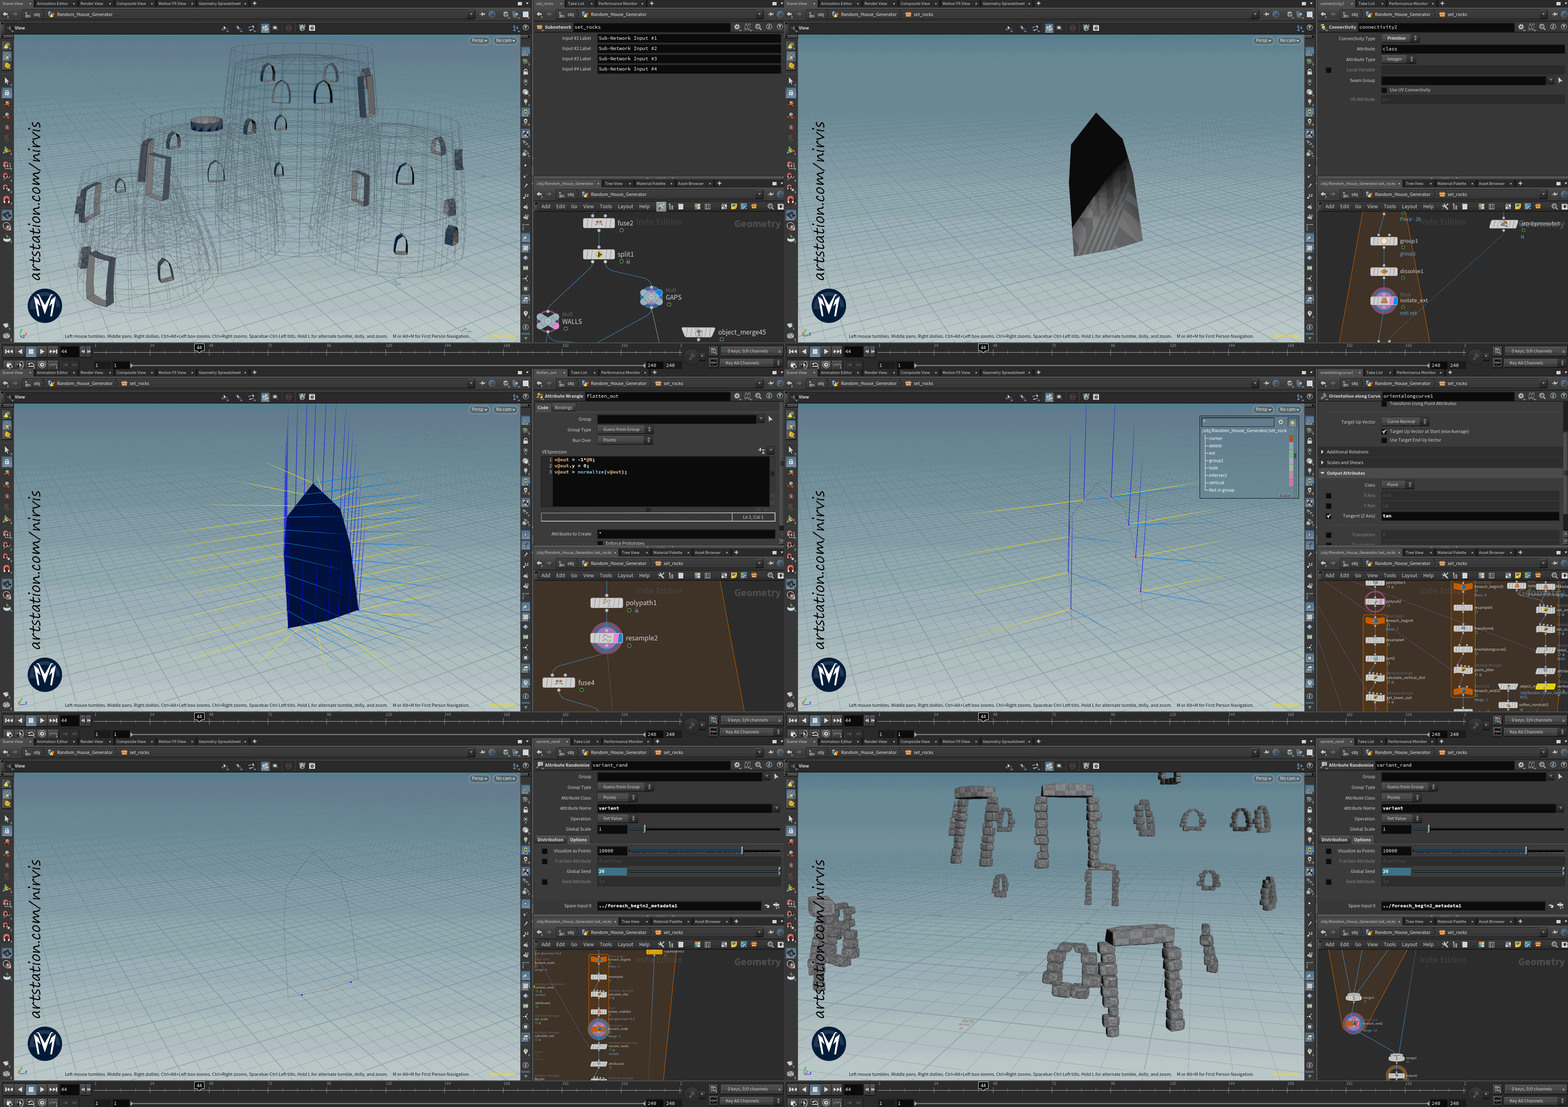
Ok, so now I have the points and the instances ready, it's time to place it all together. For each window, door and hole I need a boolean shape to substract from the base tower meshes. So, after creating it I just need to copy to each point and do the boolean substract.
Then, an important step: I wanted to add stone blocks around borders and windows/doors rims. So to do that I made it procedurally, using the stone blocks and lintels I already made in Blender.
First, starting from the gaps that the boolean subtract made I calculated some vectors, angles and distances around it to set the orientation and scale of the stone blocks.
Lastly, for the borders I used the bottom and top polygons from the base towers to resample the points and then, calculate the distance and tangent between each point to set the scale and orientation for the stone blocks copy. Also took profit and extracted the mesh collider for the rims directly from the curve using a sweep.
Finally, I can put together all the pieces build by copying the instances to each point spawn. In addition, for all the architectural props I created a vertex color random variation to be used inside the shader in Unreal Engine.
For the final export, I also setup some LODs, using polyreduce or blasting groups I created during the process specifically for this. Also used LOD4 as mesh collider.
- 5. Render engines
Marmoset Toolbag 3.
Unreal engine 4. Oden village.
Thanks for watching!
 Nirvis
Re: Blender Mega Thread
Sharing my latest finished #blender Project, "Scout Drone".
Its a reference from Roc H's concept art, You can find more renders at: luischerub.com
Enjoy!
 LuisCherubini
Eldorado Cafe
The old Eldorado Cafe sign is looking its age these days.
Blender, Substance Painter, Photoshop
Larger images at dreamscraps.com or artstation.com/Daf57
Thanks for looking!
Daf
 Daf57
Daf57
Re: Condemned Hallway [ WIP - C&C ]
In the previous post, I totally missed that I'd bawked the uvs on the wood panels along the wall, which is why they look alot cleaner and low res. 😅
Today I fixed the UV's and also evened out the paint chipping, so now there aren't some panels that are completely stripped of paint and others untouched. Though looking at it now there are a few parts where the paint peeling could look more realistic. I also made a few more here and there.
And I added some vertex painting to break up some of the clean edges on the peeling wallpaper. After some feedback, I boosted the sunlight so it's now overexposed and looking a bit more realistic.
 iansmithartist
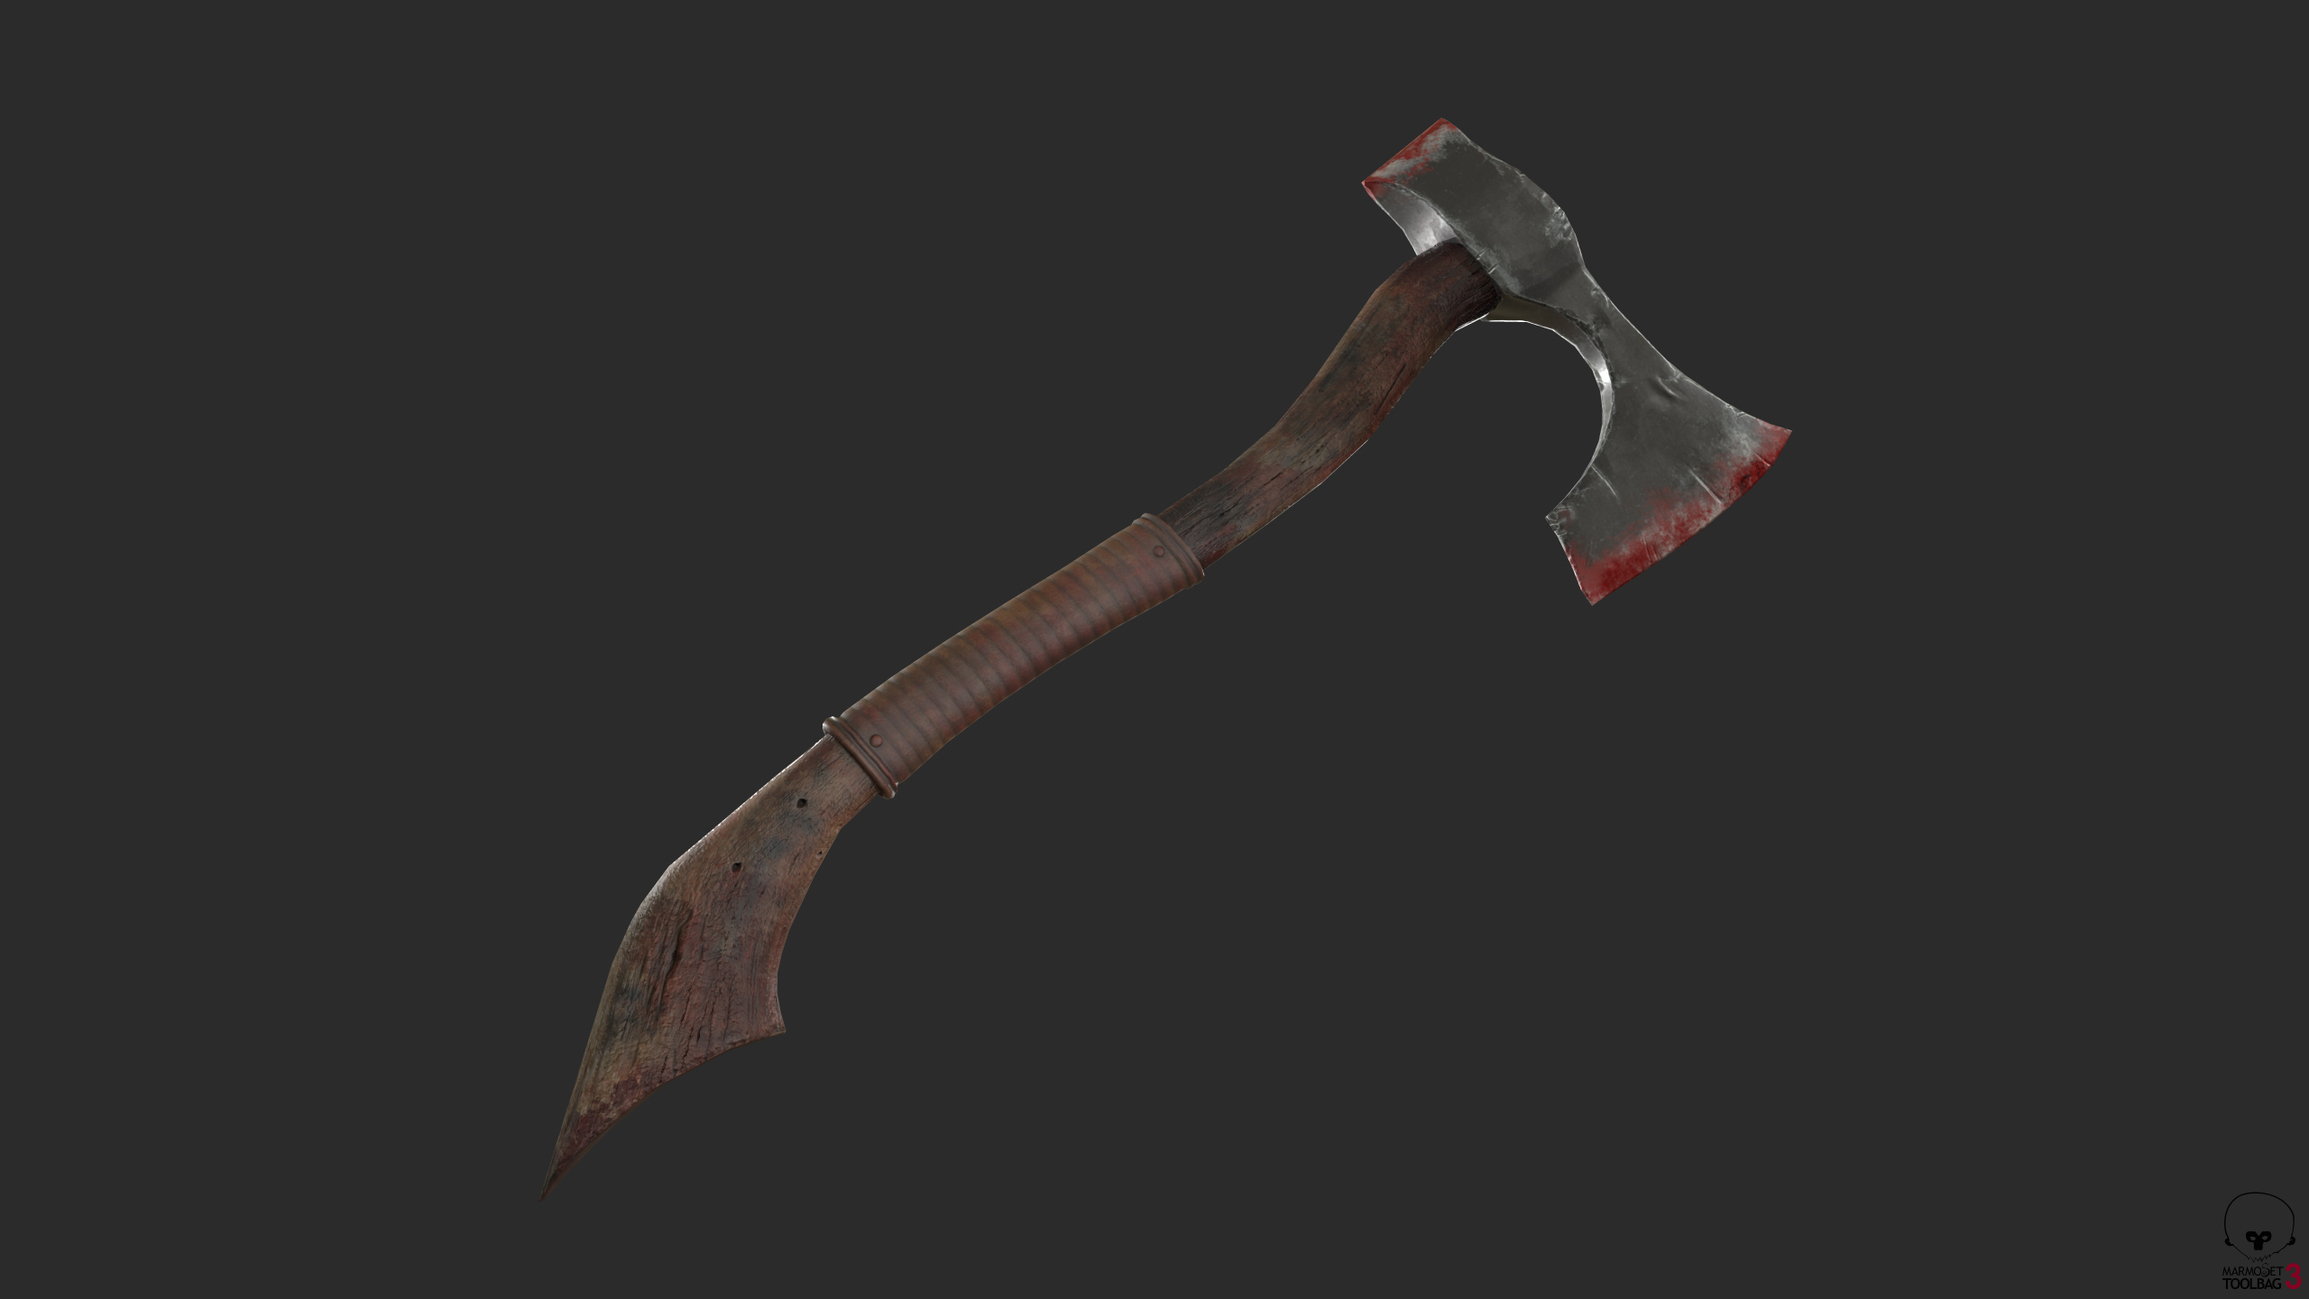
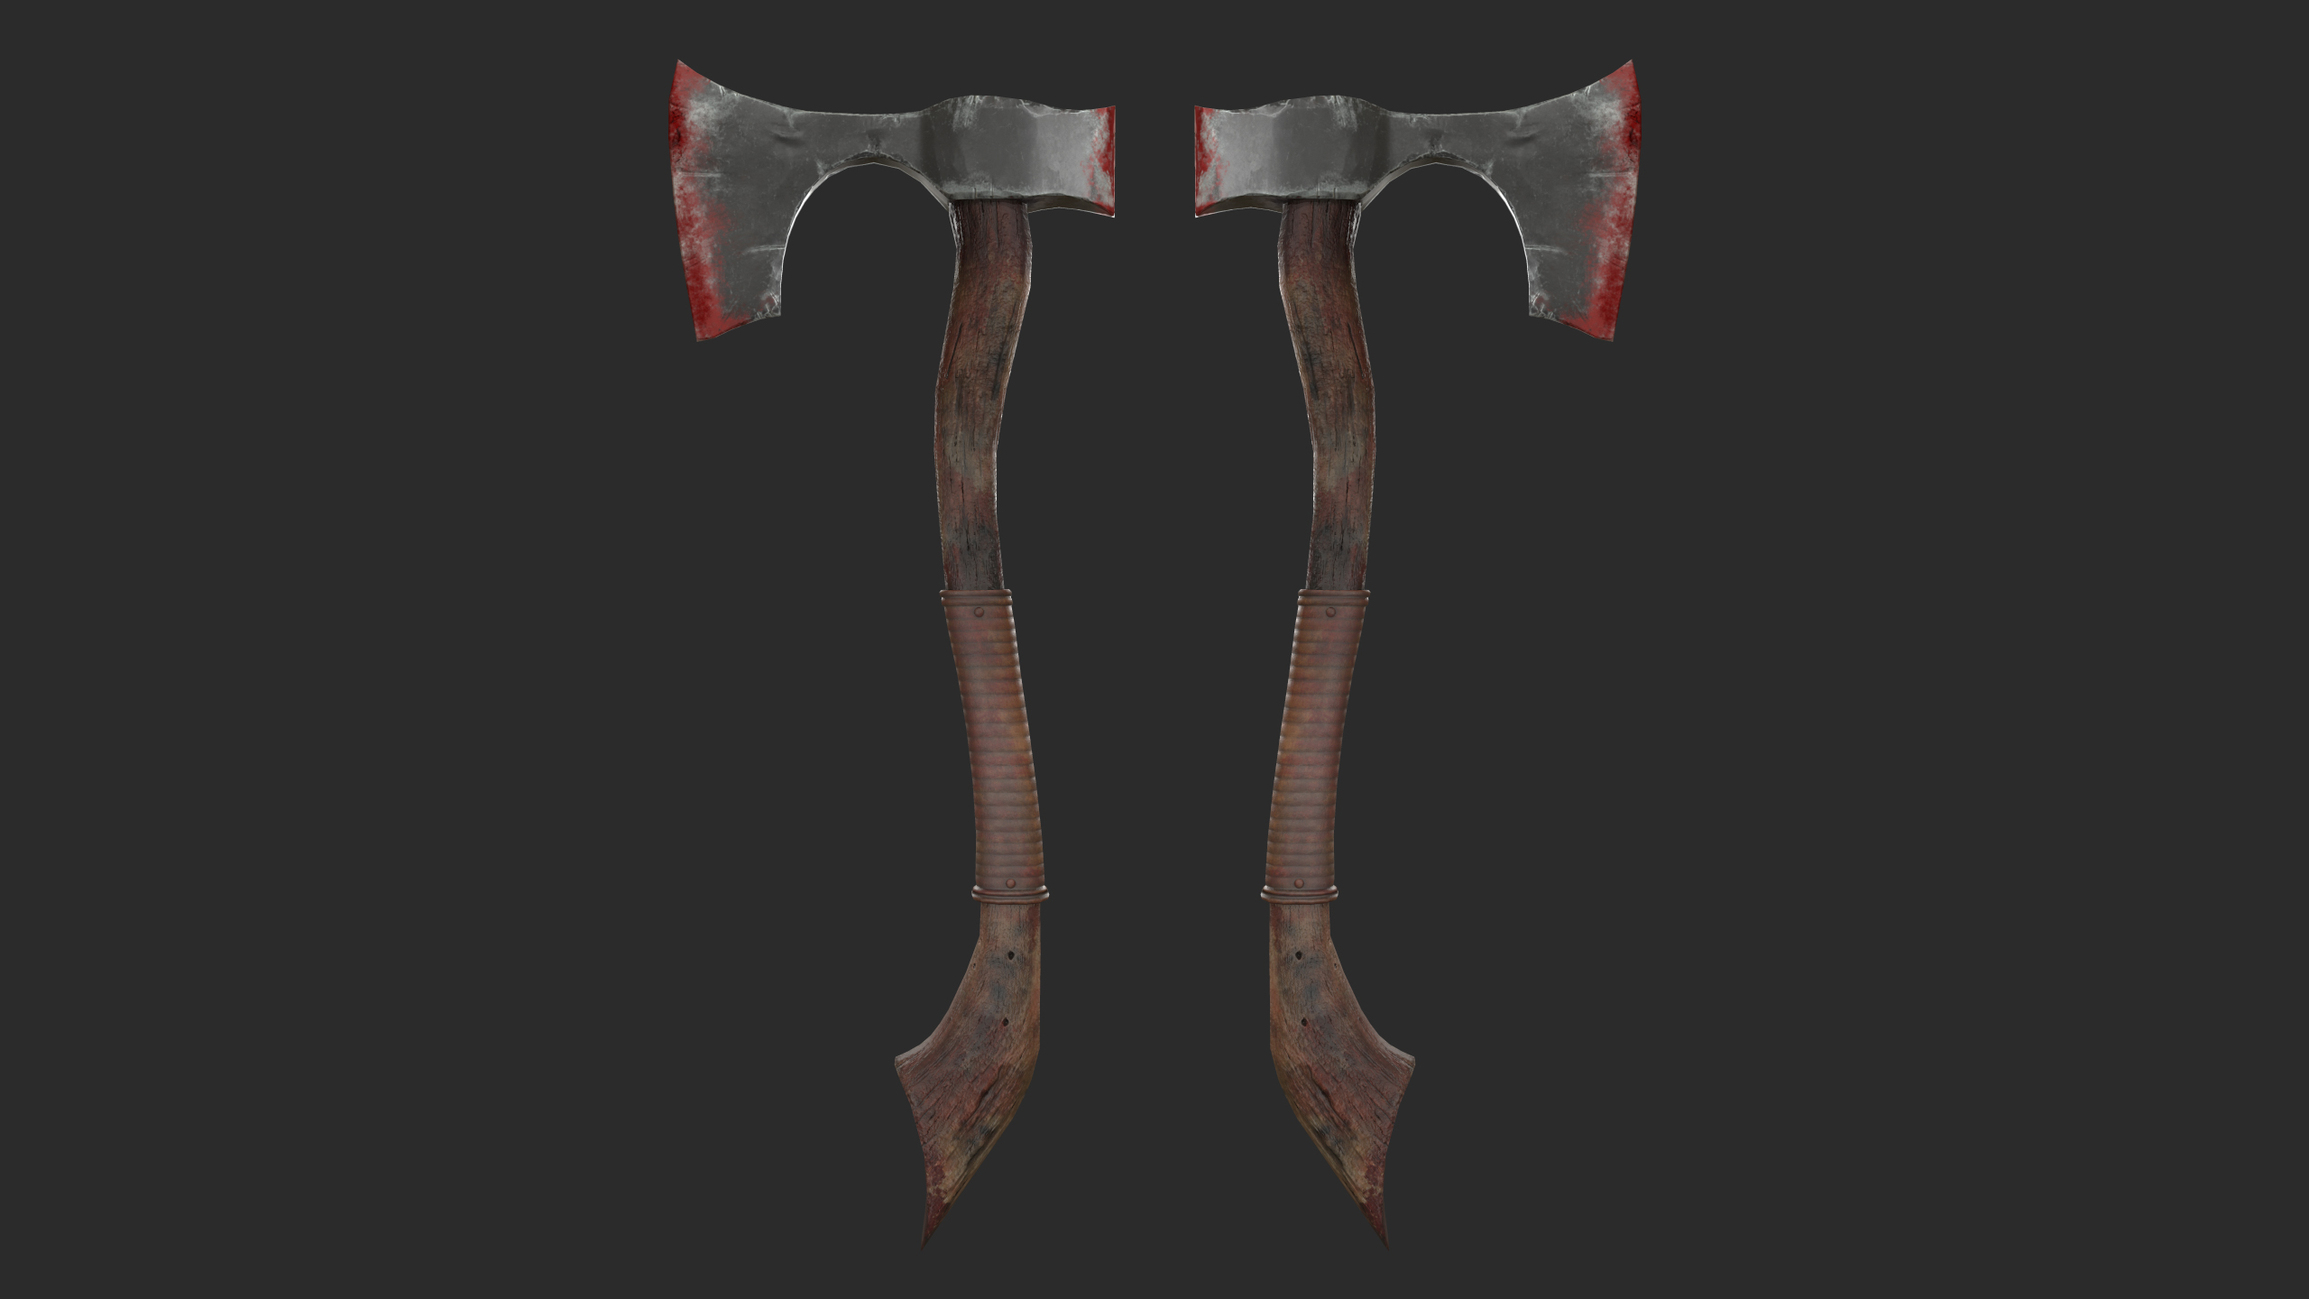
Viking Axe
axe vikings
Viking Axe
non-profit work
Personal project
geometry 1886 tris
visualization in Marmoset 3
textures in substance painter
you can twist the model and see the details
 zakazchik81

