It starts May 12, and ends Oct 17. Let's see what you got!
https://polycount.com/discussion/237047/the-brawl²-tournament
Best Of
Re: Sketchbook: Frank Polygon
Subdivision sketches: miscellaneous cylinder topology.
These are a few examples of simple topology layouts that use segment matching to resolve shape intersections on curved surfaces. Only the key loop paths are shown, to simplify the presentation, and the n-gons could be resolved to all quad geometry using grid fill or manual loop cuts. Most of these shapes can be created with basic modeling operations. So this post is just a test for smaller pieces of content that don't require a lot of explanation. The next couple of posts will be the usual long form write-ups.
Angled cylindrical boss intersecting both flat and curved surfaces.

Toroidal section with intersecting cylinder.

Chamfered cylinder with rounded boss.

Re: Sketchbook: Frank Polygon
Subdivision modeling: mesh density Vs loop structure on curved surfaces.


In this case very few of the support loops actually displace or disrupt the vertical edges of the cylinder so it doesn't cause a smoothing issue. On this shape the reasons this works is because most of the support loops are perpendicular or diagonal to the existing edges that make up the wall of the cylinder so instead of displacing the geometry sideways it just moves it upwards which doesn't effect the underlying curvature.
Re: Brutal Knights - Game Project/Learning Experience
It's just more fun fighting skeletons when the explode!

 Bolovorix
Re: Natalia's Art corner


Hi Polycount! Here's my latest sculpt! :) More on https://www.artstation.com/artwork/4XxLKL & https://www.instagram.com/natalia_p_gutierrez/ if you're interested! Thank you!
 Cersei_Lannister


Dragon hunters weapons
Finished up the props for the character.


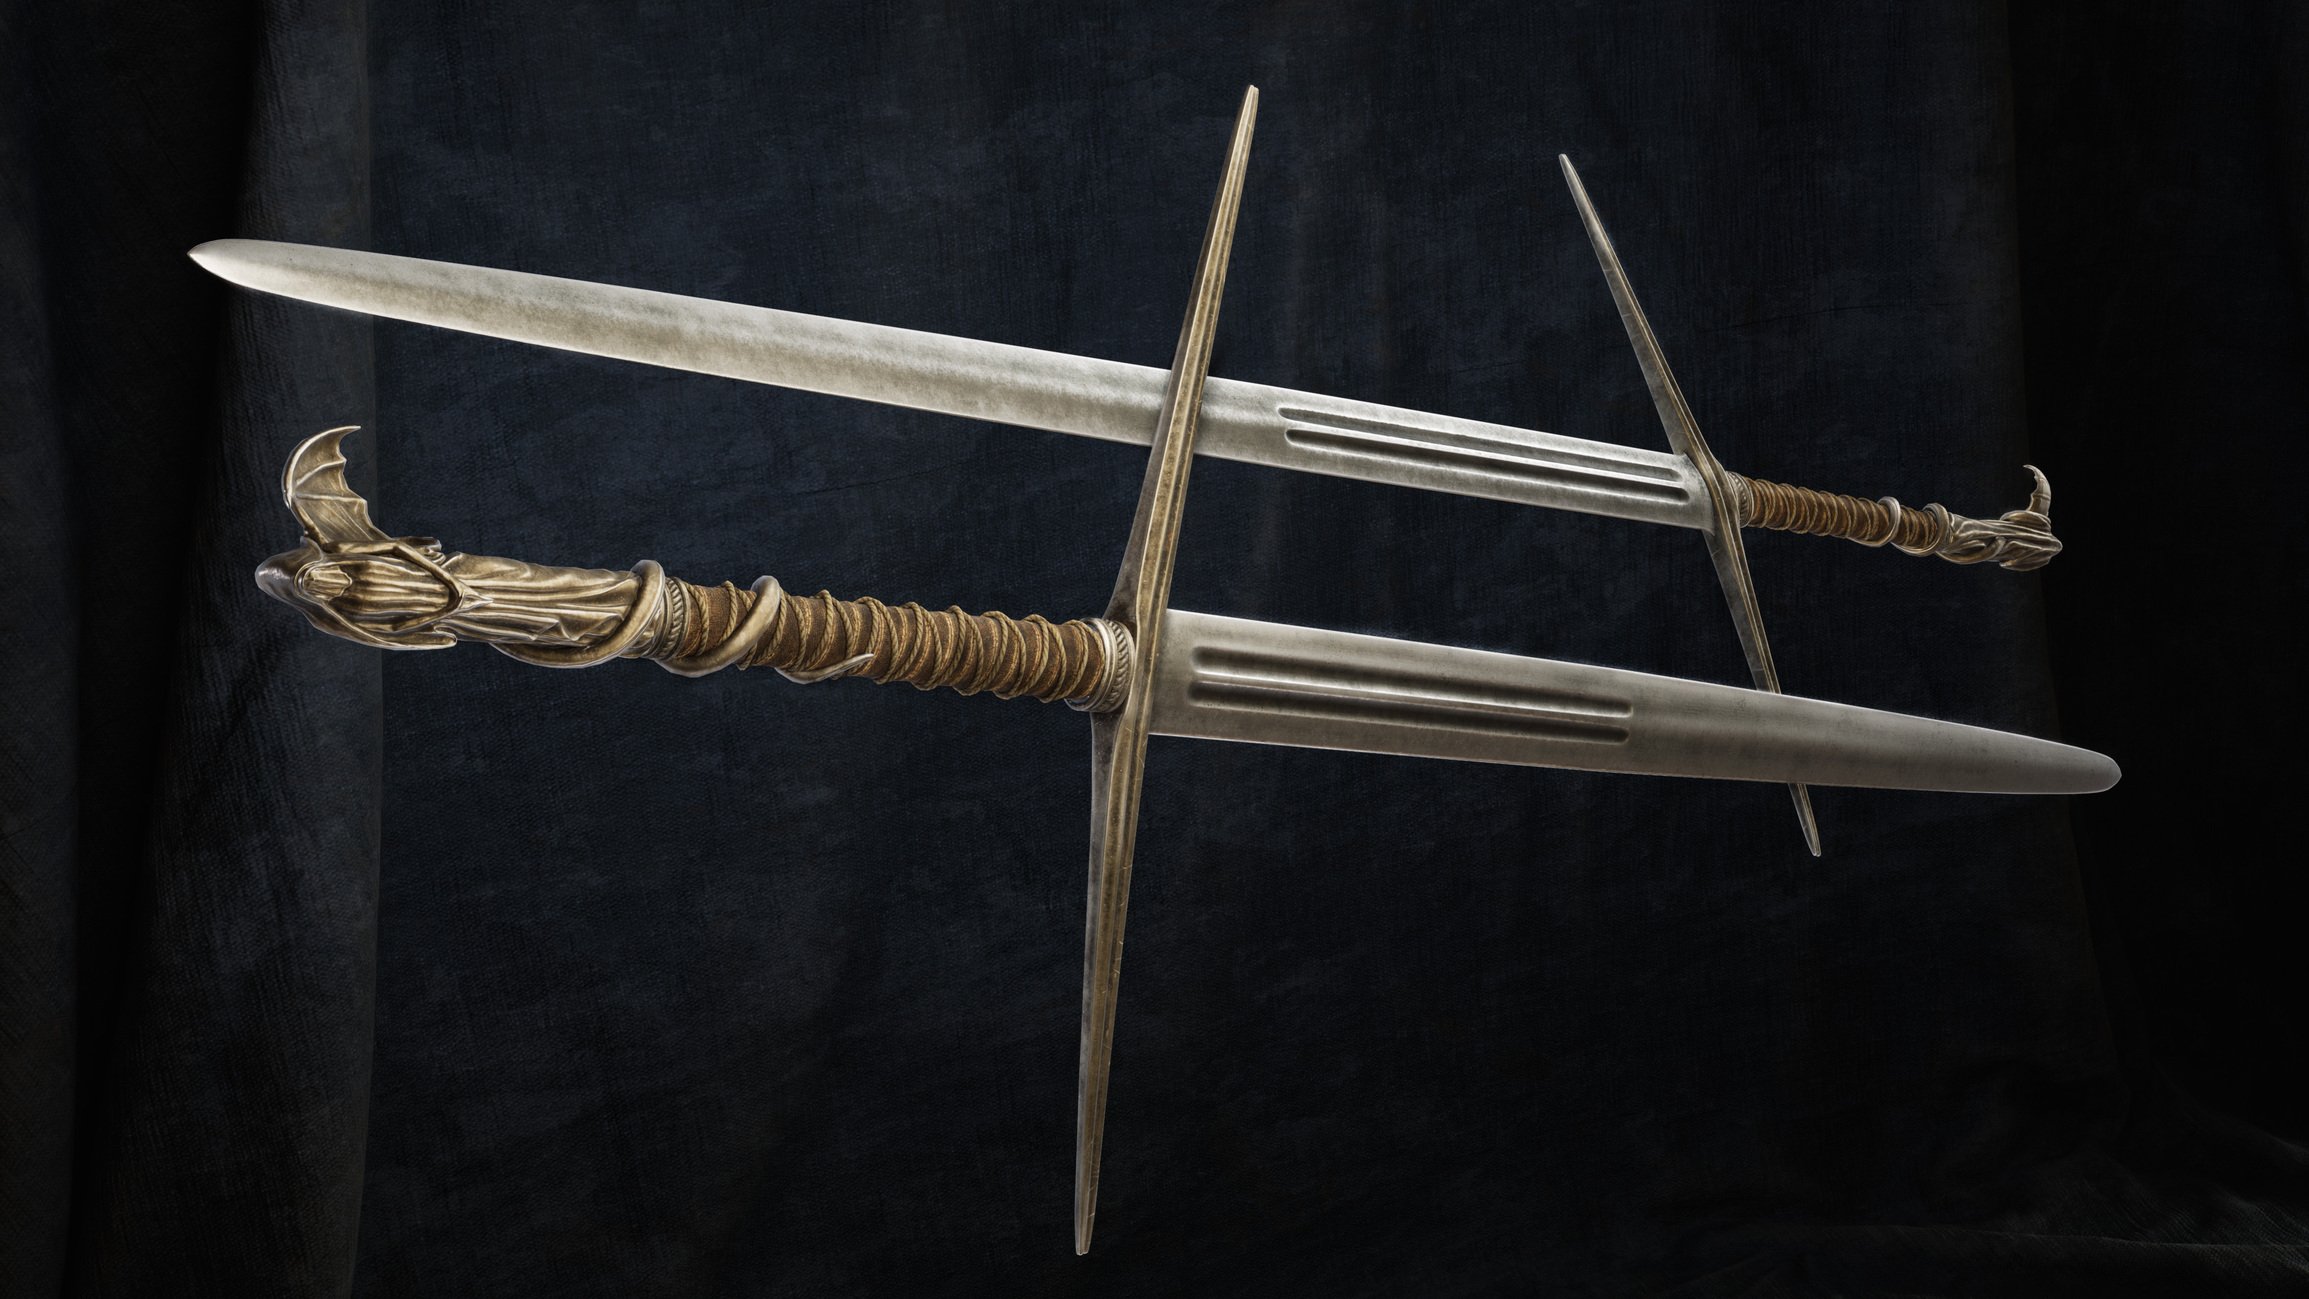
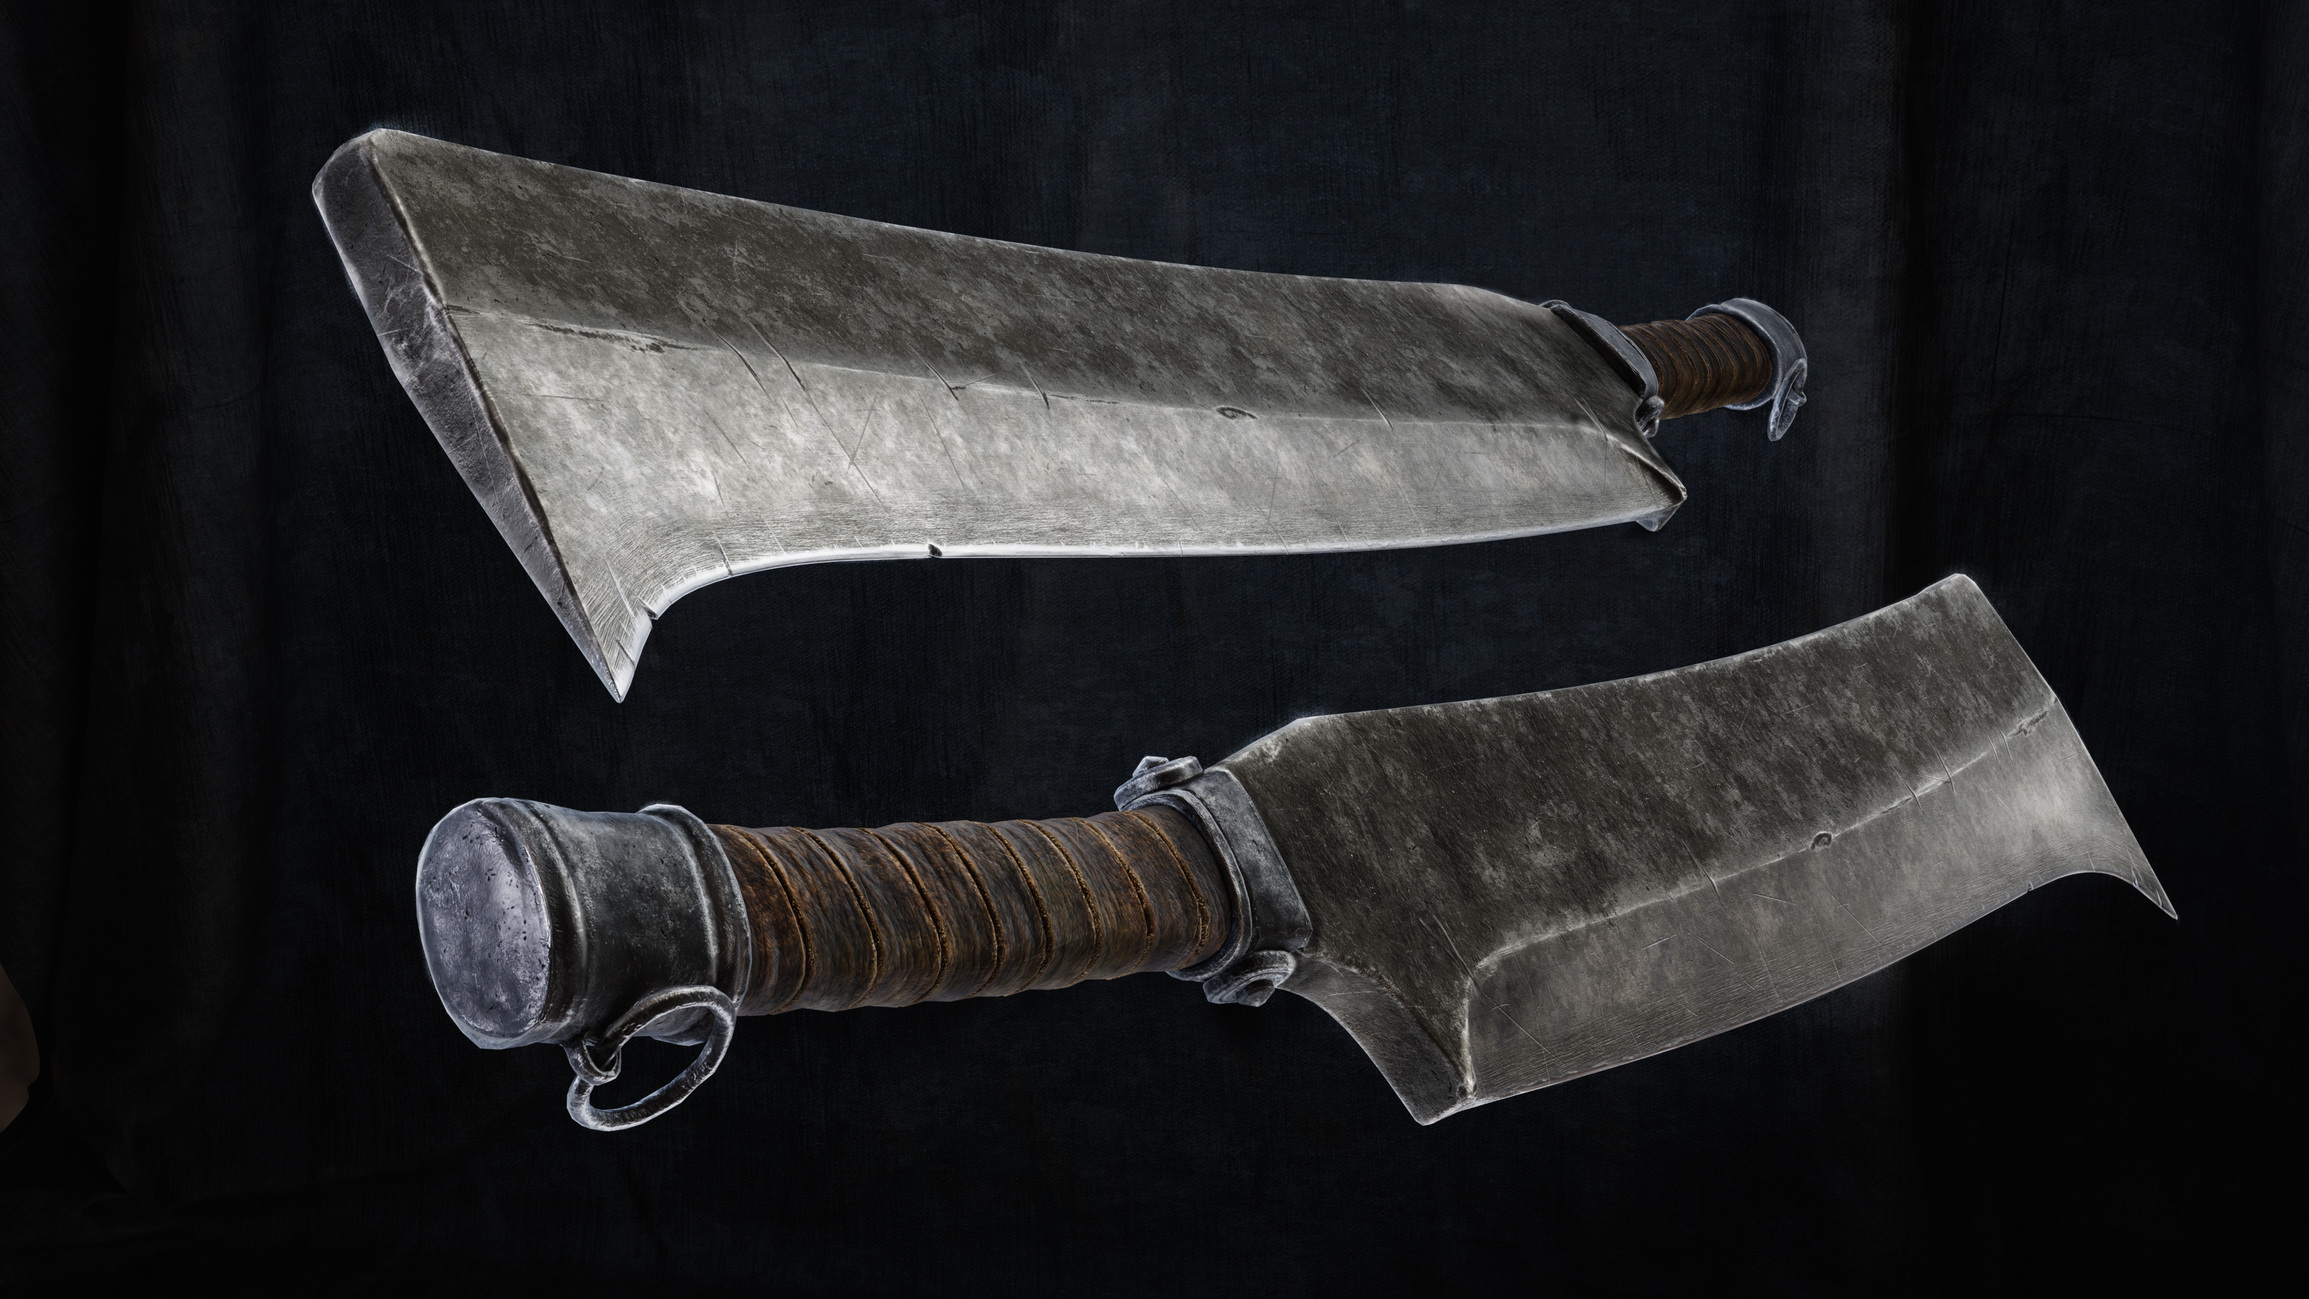


There's also a lighting turnaround vid here https://www.artstation.com/artwork/QnVZJE (not sure if there's a way to embed videos on polycount so I just linked it.)
These shiny metallic props turned out to be trickier than expected. Its tough to make sure details and variation are subtle enough but also visible. I decided to put some extra time on them so I could have them as a separate piece on my portfolio, initially they were just going to be props with a character and I wasn't planning on making them nice enough to be a standalone piece. I think it turned out ok in the end.
Re: The Bi-Monthly Environment Art Challenge | July - August (79)
Hey :) Started on the plant container. My plan is to bake an atlas and then uv the lowpoly to it.

At first I modeled the tubes directly on the cylindrical glass + mirror and shrinkwrap modifier and bent other elements with simple deform modifiers.
Then I switched to UV mesh from cylinder and deformed the elements with it, seems more simple.
However I'm wondering if there is a way to quickly un and rebind multiple objects surface deform modifier after having modied their geometry?
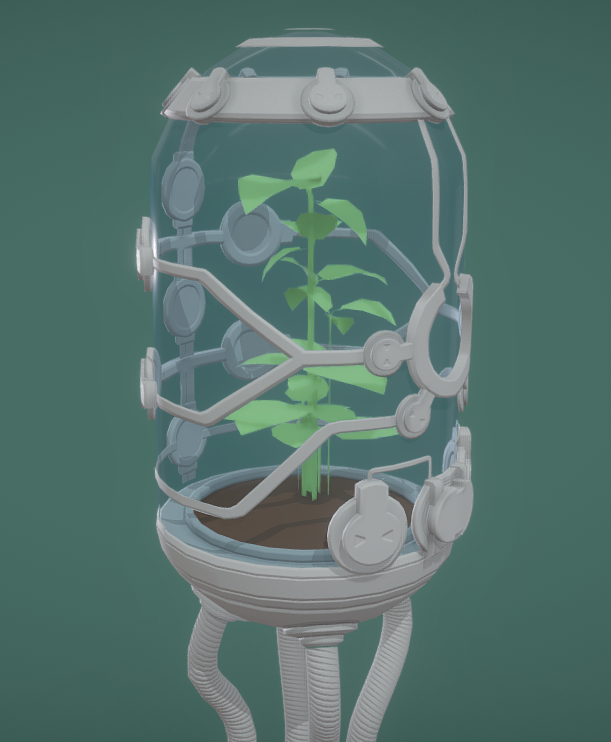
Current wip
 Fabi_G
Re: Is there a way to instantly turn lowpoly model to rough highpoly model?
For UE use : do your best to generate decent-ish UVs (ideally by proactively marking seams on the pieces as you model them), and bake down the Blender bevel node (or the Modo/Max/Maya equivalent) to a normalmap.
Or, bake everything (with hard edges) as an Object Space normalmap, blur it ever so slightly, and convert it back to the desired tangent space. The downside of this is that the blurred edges will only appear as intended over continuous UVs but not at UV splits which will just show a small shading artefact (resulting of the blending of the island color with the background). Whereas if you use the bevel node they will all show up everywhere regardless.
Two benefits from there : no highpoly is ever involved, and you end up with a model with UVs ready for automatic texturing in SP or any other texturing tool.
Lastly, you could also simply model everything with the desired non-destructive bevels/chamfer modifier you mentioned yourself. That is by far the most simple and straightforward solution, so why not just do that ? And for the parts that glitch out like on your screenshot, then just don't use it there. Or stack the effect multiple times depending on the widths you need.
(BTW, sharing some test meshes would probably be a good idea too)
- - - - -
Oh and : I can't help but notice that there aren't any screenshots showing your UE rendering experiments using these models. In practice there is actually no guarantee that you'll even need any these hypothetical edge processing effects on your models to achieve the high level goal you are after... Any conjecture on that is pretty much pointless until you actually test out your final rendering really.
 pior
pior
Re: What Are You Working On? (3D) 2022
Hello people! Here's a sculpt I worked on for the OnePageRules july release, the Mummified Ammut! It was all done in Zbrush and rendered in Keyshot!
More images on AS: https://www.artstation.com/artwork/g8qveG

 DoctorBloup
Re: Airbørn
*cough*
sorry for the spam, but i just had to clear my throat in preparation of whats going to happen soon™
ehem... 😎