It starts May 12, and ends Oct 17. Let's see what you got!
https://polycount.com/discussion/237047/the-brawl²-tournament
Best Of
Re: What Are You Working On? (3D) 2022
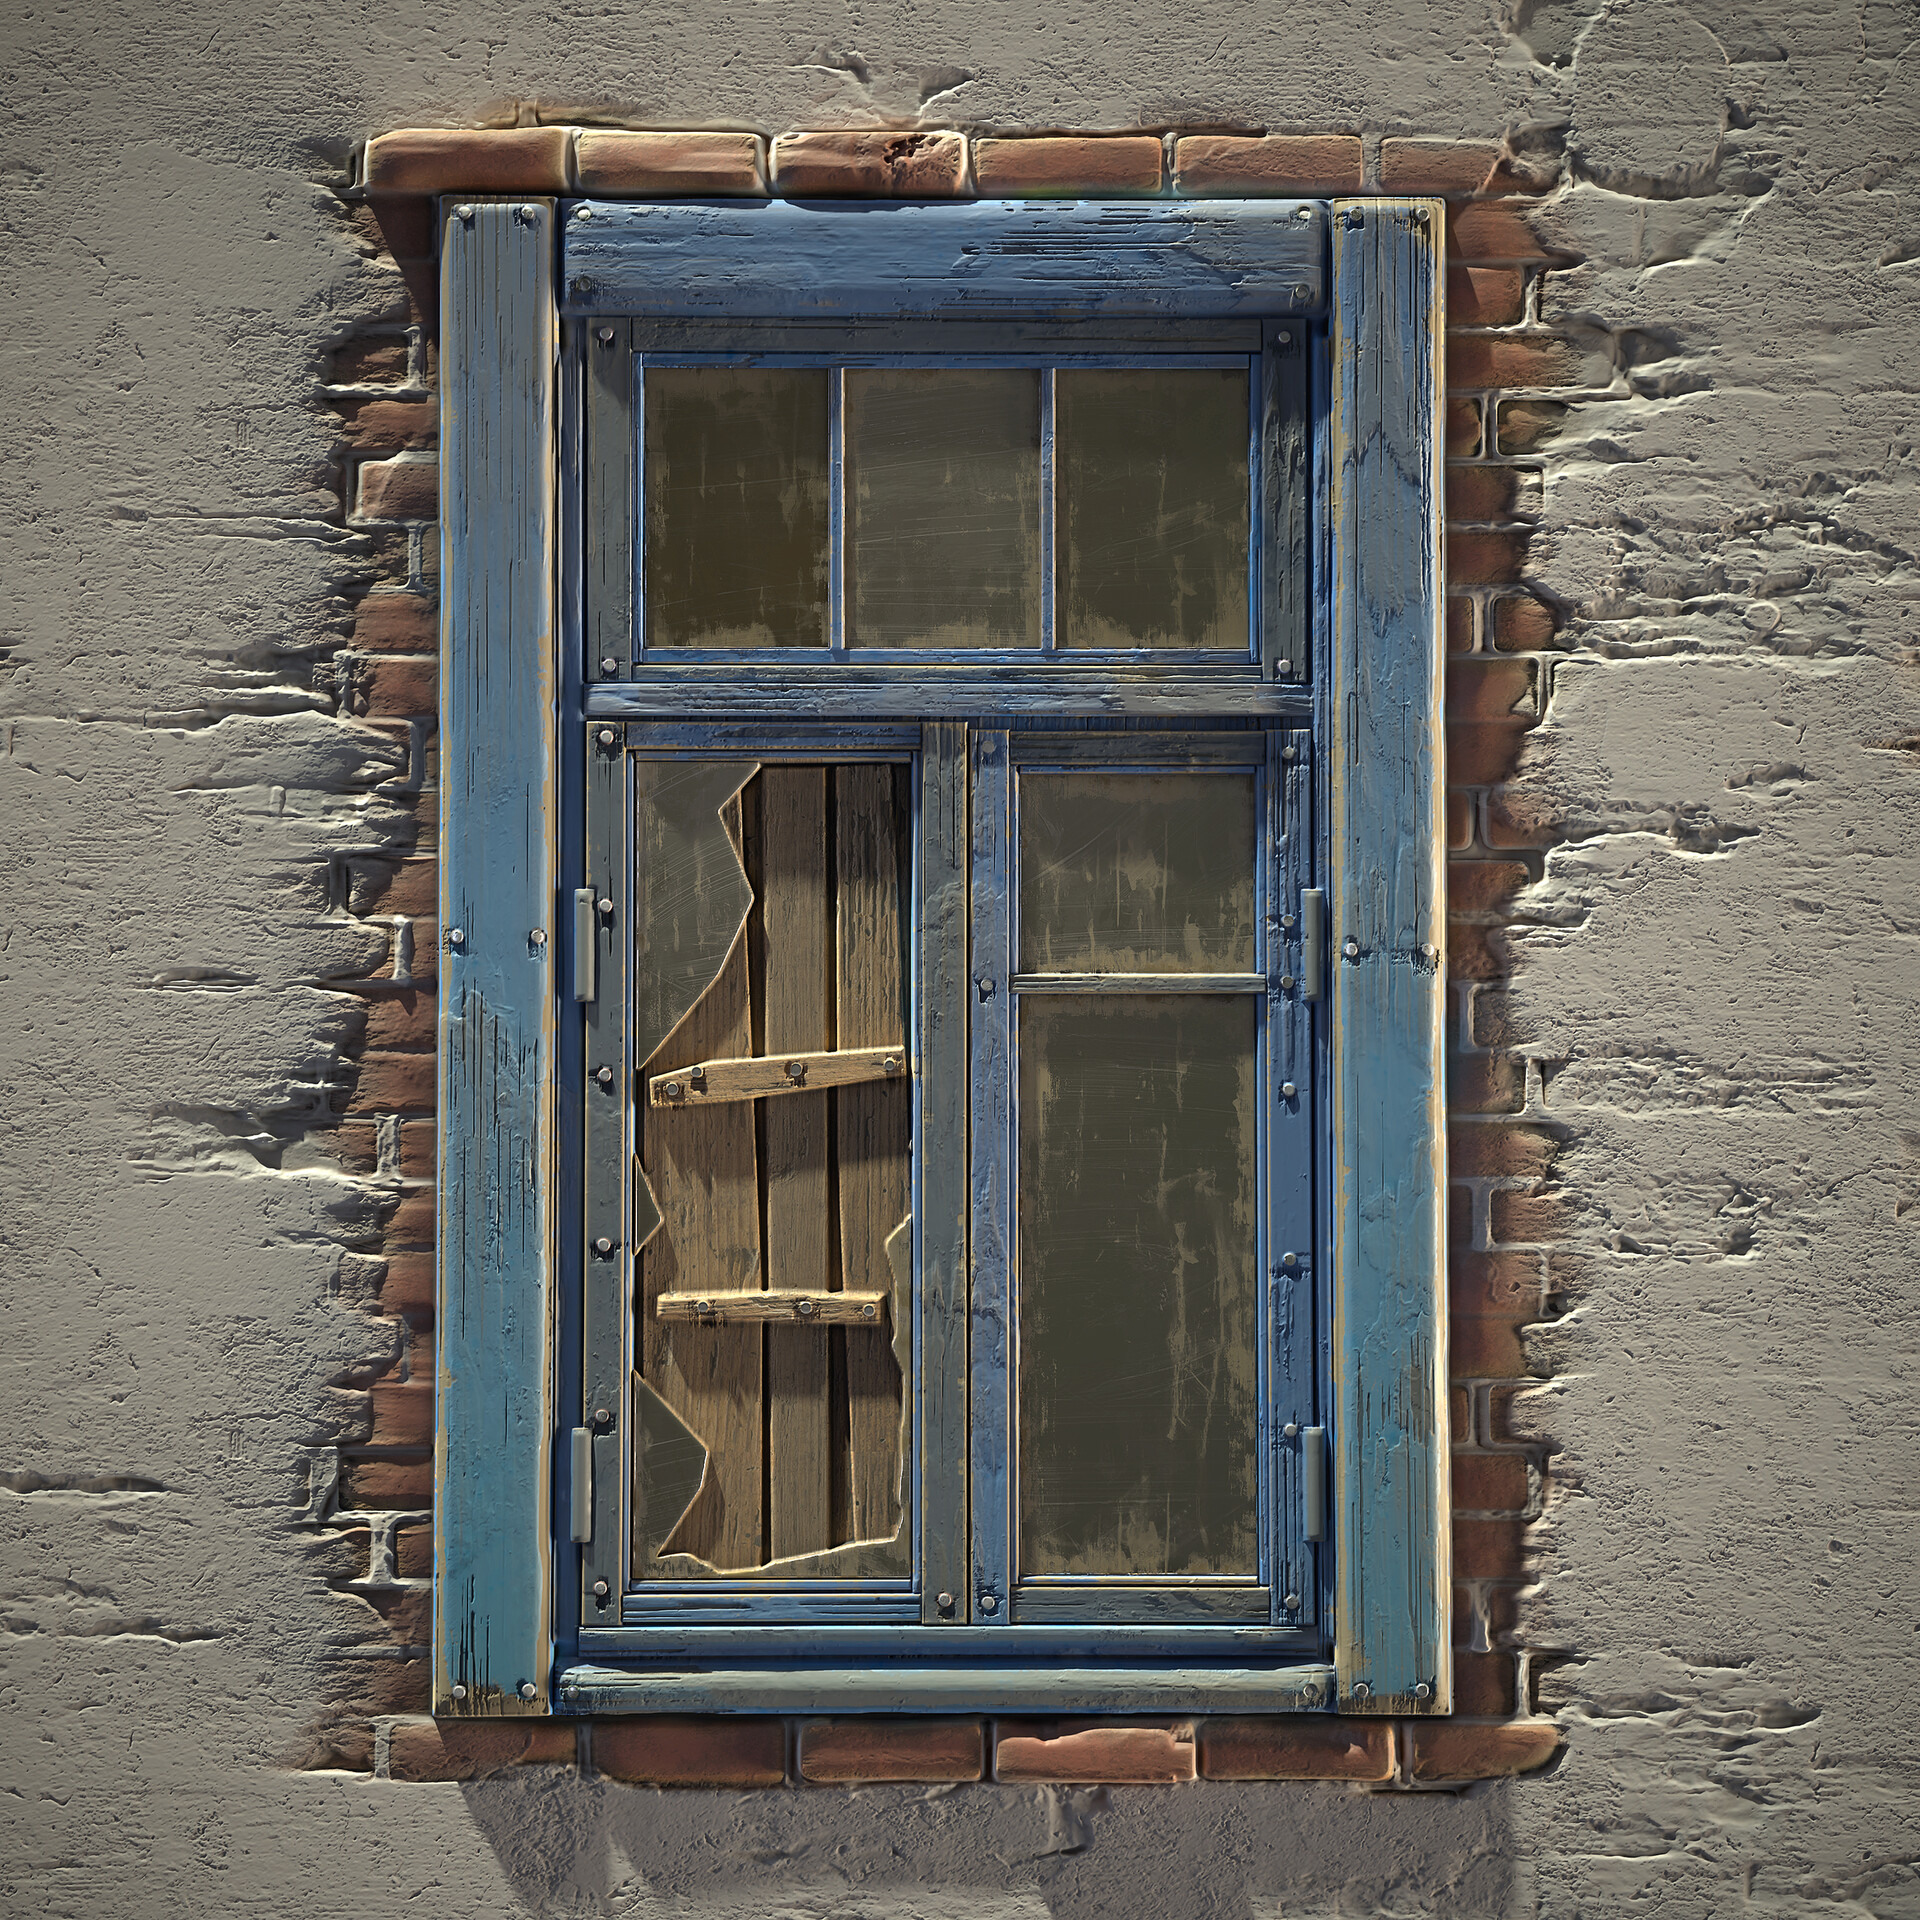
One day challenge. I wanted to check how much I am able to do using only Substance Painter(without using 3d). From zero to visible effect.
Re: What Are You Working On? (3D) 2022
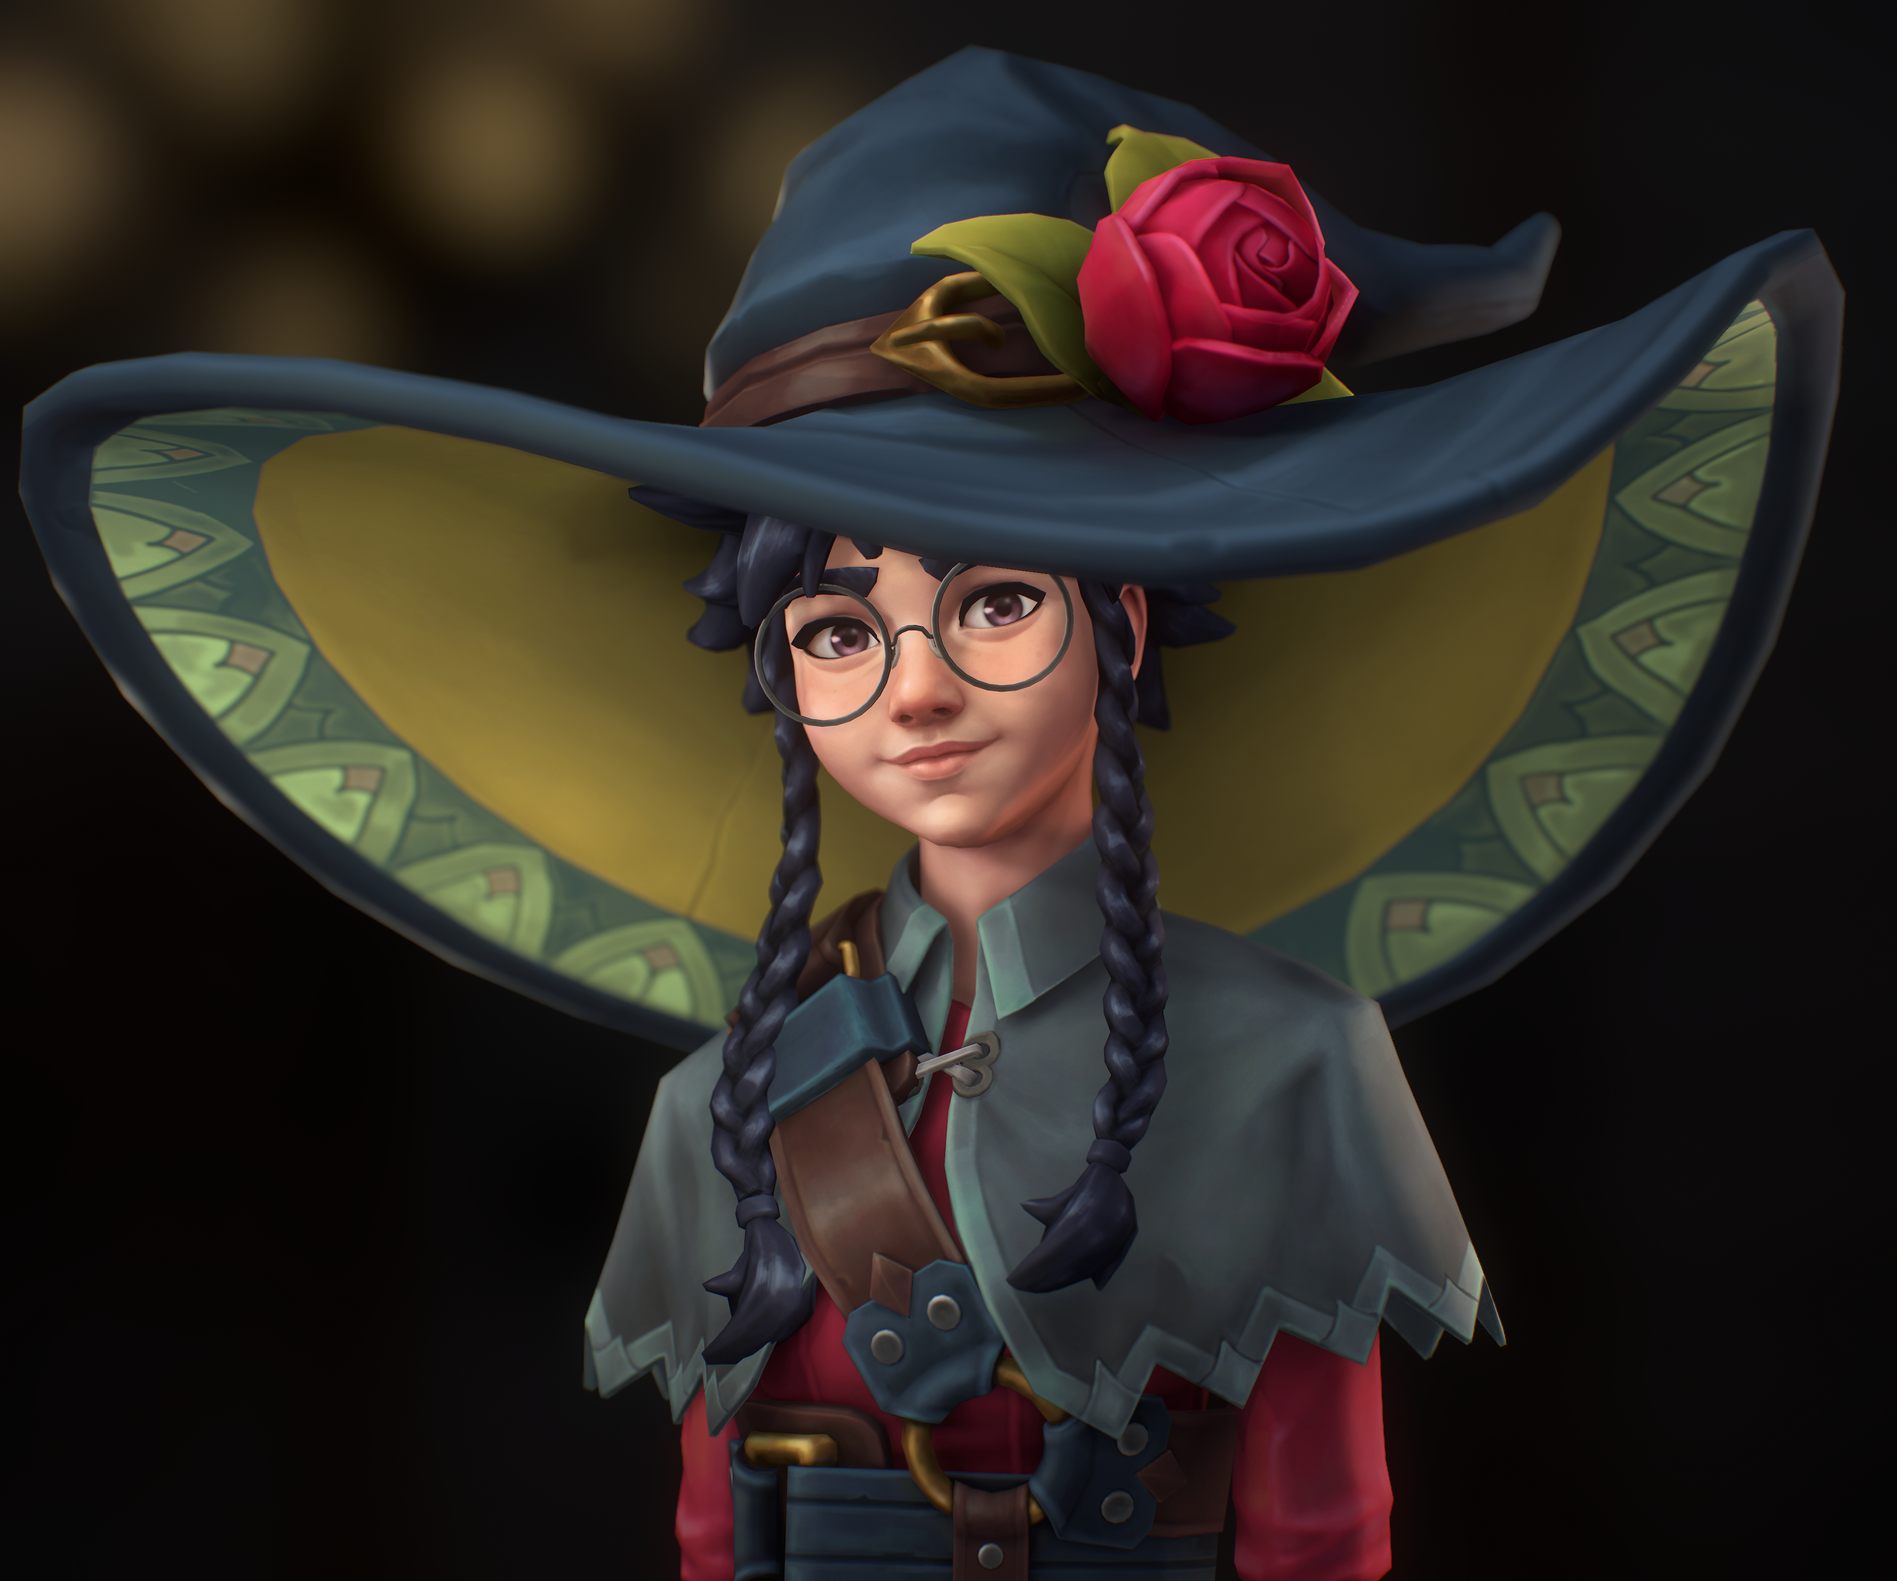
Based on beautiful concept from Ian Su: https://www.artstation.com/artwork/Nx8Naz
 Chung_Jui
Re: Creation Engine and others
"What makes CE better than Unreal in that respect?"
Source: Nexusmods.com
The top 3 most modded games are Creation Engine titles, and the next two are GameByro (which CE is based on).
"...to keep up with the competition they have to heavily invest in updating the tech of their engine, wouln't be just easier to switch to something more advanced and let others do that part of the job?"
No, its not easy. Also, offloading the responsibility isn't always ideal.
"I have read some complains online about the quality results of the Starfield images when compared with other AAA, I personally don't complain but if are beeing sidened to images produced in other AAA engines the difference is visible."
Comparing renders from completely different games is meaningless - the entire art pipeline might be different, you have no idea of the artists involved, or their workflow, or what constraints they had.
People who don't understand things like to complain on the internet - I wouldn't form any opinions from it.
Re: The Bi-Monthly Environment Art Challenge | July - August (79)
"Finished" with the plant container, appreciate any feedback. I ended up changing the design a bit and some areas are still rough.
For re binding the surface deform modifier of multiple objects, with some trial and error, I ended up with a simple script to operate on the surface deform modifier of all selected objects - let me know if you see any problems with the script. Still wondering if there an easy way without scripting. But for the future, makes sense to learn some python anyway 🤓
import bpy

#1) create list of selected objects, then de-select all
selectionList = bpy.context.selected_objects
bpy.ops.object.select_all(action='DESELECT')

#2) For each object in selection list: make it the active obj, then toggle bind in surface deform modifier off/on
for obj in selectionList:
  bpy.context.view_layer.objects.active = obj
  bpy.ops.object.surfacedeform_bind(modifier="SurfaceDeform")
  bpy.ops.object.surfacedeform_bind(modifier="SurfaceDeform")

#3) select all objects in selection list
for obj in selectionList:
  obj.select_set(True)
screenshot from sketchfab viewer
current state of atlas
 Fabi_G
Re: [UE5] - Stylized Environment/ Rock Study
Hey, I think the assets look very nice 👍️
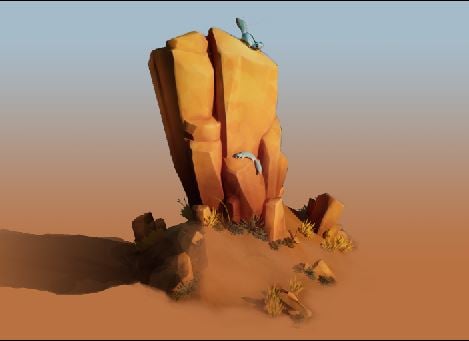
the scene looks a bit cut out imo. You could expand the ground mesh so the chunk feels more grounded - and the shadows of the cool shape can show nicely too. Currently the shadows look pretty dark, in an outside environment I would expect some bounce light or assume it's night (Well, since there is currently no ground, it might be accurate as is)
Here is an overpaint to illustrate
Keep it up 🚀
 Fabi_G
Re: Confusion with producing Flow maps
Well, the first step isn't really to wonder how to do this or that in the so-called "best" way imho ; the first step would be to get one's hands on a material/shader for a 3d app or game engine (or an easily moddable game really) that supports the effect, and use it in practice. Otherwise you're bound to operate on mostly pointless assumptions, that may not even necessarily apply to the environment you're using to display your work.
Also, isn't all this related to these other threads about Red Dead models and textures ?
"For things like hair cards, would they even be necessary?" Just think about it logically. The point of so-called "flow" data (either stored as a texture, or as vertex data ...) is for a vfx to be aware of a sense of direction. In the case of IRL hair, that's in order to simulate the fact that highlights are generated along thousands of tiny parallel cylinders as opposed to a plain smooth surface. So if your hair cards are all oriented the same way UV-wise, then there is no need for anything else to store the direction data, it's already there : along U or V. (Unless the art style requires some painterly touch in the flow data ... and that's precisely why it is much more important to know one's visual goal very clearly, as opposed to wondering about tech and operating on assumptions).
For other cases where direction needs to be stored by other means there are tools for that (some public and generic, and some internal to studios and very specific to a certain pipeline).
But again, none of this manifests out of thin air "just because that's the way things are done". So again I'd suggest to track a material or any way to experiment with the effect first (which may be relying on textures, or vertex colors, or UV direction) ; and then worry about authoring content for it.
But even more importantly : just because a realistic material to simulate shiny hair requires some notion of strand direction for the highlights, there are hundreds of cases where this isn't needed, especially for less shiny hair. And there are also lots of clever solutions to make both shiny and matte hair look good without the effect in the first place.
PSP rendering specs (that's 2004 portable hardware), just shown in HD !
- - - -
BTW, where are your attempts ? Sure enough you've played around with the tech and some test assets already ...
 pior
pior
Re: Environment Art Self-Study Curriculum
 https://youtu.be/fJps8QxOh4s
 https://youtu.be/4wziE0AYCoo
 https://youtu.be/xC0uL_QQWeY
 https://youtu.be/ieGNMntRV4E
 https://youtu.be/LR7s_pFqVWo
 https://youtu.be/jsN0LBgrj14
 PixelMasher
EMD GP20 Train Locomotive
Train Locomotive I Modeled for a client. You can see more of my stuff here: https://www.artstation.com/manosl
 CgManuil
