Search
-
The move tool gizmo is not in position in the polygon mode in 3ds Max

 I was trying to move a polygon in 3ds Max but the gizmo is showing at a different position. Did I hit some shortcut key that I wasn't aware of? Please advice. It was working fine but I don't know what happened.
 -
Re: Soft light blend mode technique for normal mapping
 ALT + L to bring up the levels panel - select the BLUE channel from the RGB dropdown menu - then replace the 255 value with 128. Then set the layer to OVERLAY mode.
 -
Re: Portfolio Review- Prop Artist
 Just in case you're not aware of the current 3D gamedev industry situation: it's not good. Lots of layoffs happened which means you're competing vs. people who have a lot stronger portfolios and most likely more experience. Prop artist role is very rare, Weapons artist role is probably even more rare nowadays and the bar…
 -
Re: Am I stupid for considering this?
 I seem to have not made myself clear :P FIRST! I'll explain the projects workflow! After acquiring a willing asset team and taking care of legal issues so the project doesn't go unfinished. Asset Team - Design a game (base concepts and what the gameplay will hold) Together - Plan out how the mechanics will work and discuss…
 -
Re: Abandoned Dacha Environment - Modular Kit with interiors
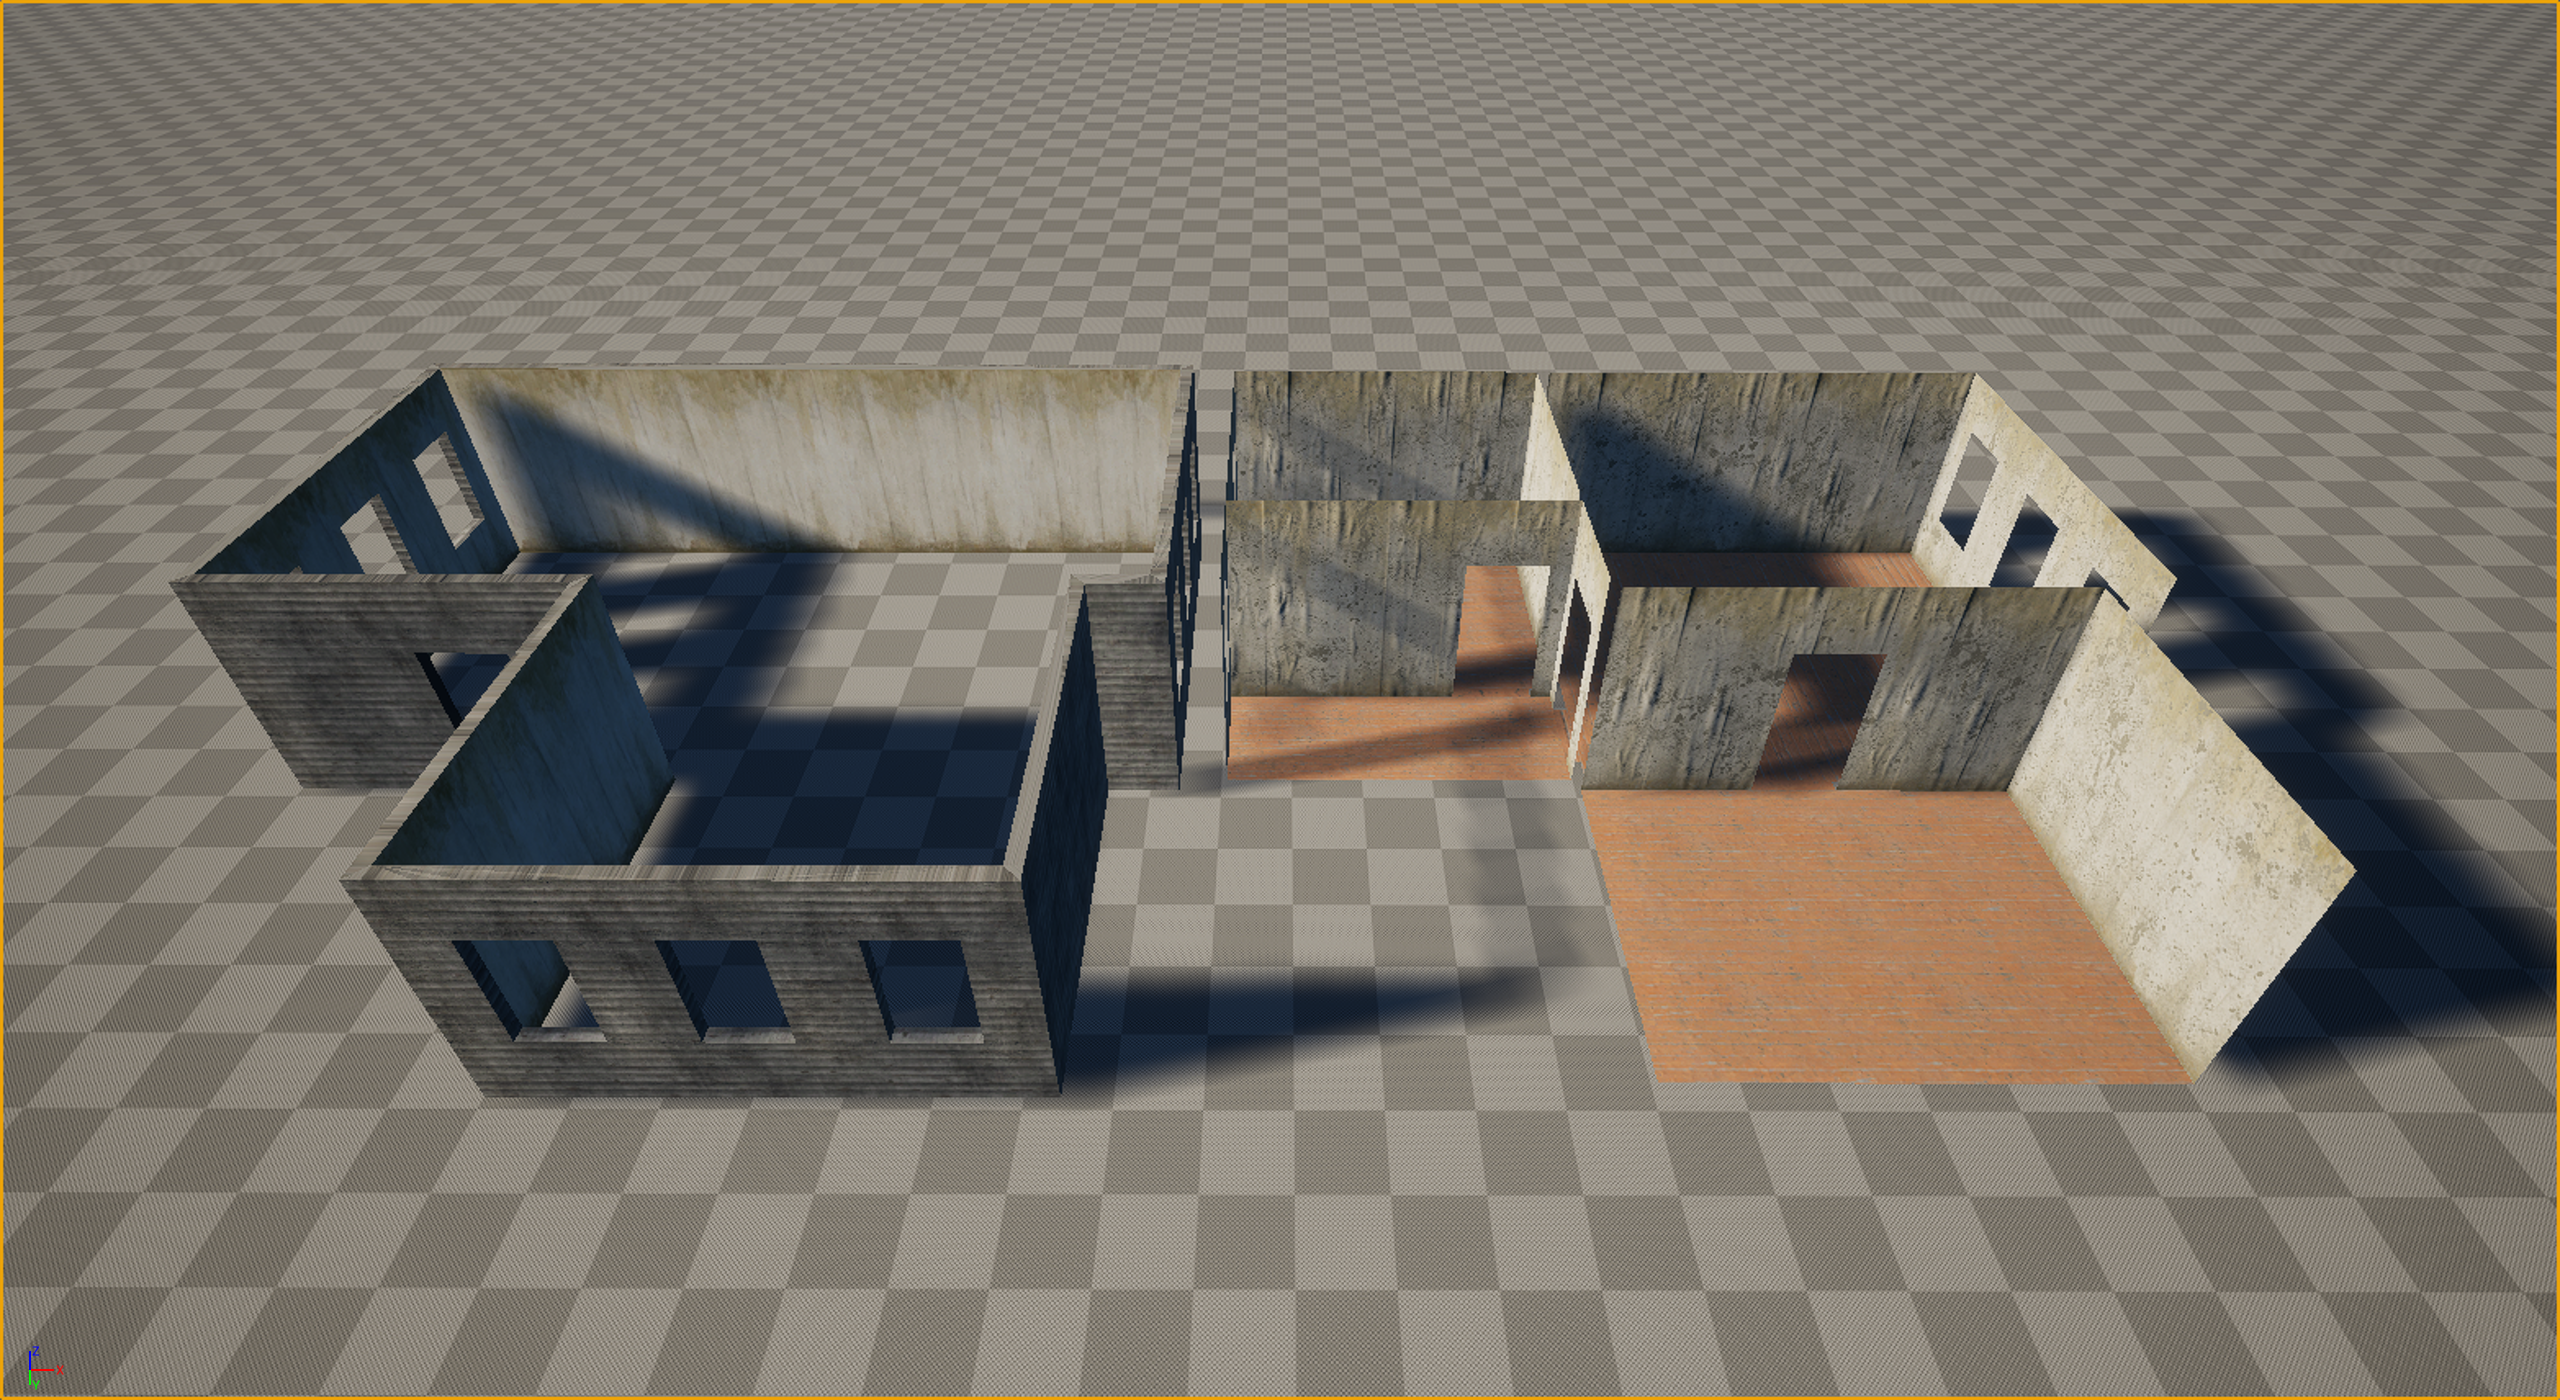 Thanks everyone for the kind words and the great questions! Let’s dive in. Working in VR is truly like walking on a razor's edge. It’s a technical hell where every decision must be calculated ten steps ahead. Performance requirements (high resolution across two displays + high frame rates) leave no room for error, and you…
 -
Re: Another thread about learning Substance Designer
 Not really following any tutorial in particular. I used the intro tutorial on Allegorithmic's site to get the basics and just started messing around from there. I'm pretty comfortable already with node based workflows, so that helped. For the AO, I've just been using the AO node that creates occlusion from the heightmap.…
 -
Re: How do you rig a bag on a character?
 I'm no animator, or really very good at rigging (I guess) but the way I've done this in the past (in 3dsmax) is this: Dummy/Point helper just above the clavicle, as the "root" for the strap. Dummy/Point helper for the bag. Then a Spline-IK setup with 3 or 4 control points (depends how much control you want) down the front…
 -
Re: arsh's maya questions
 okay this is a general overview of how i was up and modeling in maya in about a day or 2 in my freetime.. probably took about 5 to 6 hours total for me to be up and running. another note is i dont use much of the interface in any art package, i always learn the hotkeys or map them to my liking so the interface never gets…
 -
Re: Combining more than two Normal Maps in UE4
 I'd say you're on the right track. I recently went through Anthony Vacarro's World Building CGMA course and we went through adding detail normal maps etc. What nodes are you using to combine the Normal maps? Are you using a Lerp node? posting a good shot of your node graph would help in giving suggestions too. Scratch that…
 -
Re: MacroUV for Static Mesh
 2 options: -In your modelling package add a new UV set that maps the whole mesh in the square(or just use the lightmap uv set if the seams are well placed). Add a "TexCoord" node and set the "Coordinate index" to the uv set you want. (and keep in mind udk starts at 0, in contrary to max wich starts at 1). -Use the world…
>37266 results