Home 3D Art Showcase & Critiques

(WIP) [UE4] Environment -- Sanctuary Revisited (Image Heavy)

interpolator
Offline / Send Message
icegodofhungary interpolator
I wanted to make a current/next gen version of Sanctuary from Borderlands 2. I have been at it for about 1.5 months now and need some feedback before I get any further into it. Any critique would be greatly appreciated. This is quite ambitious for someone who doesn't know what they're doing, but I don't have any real time constraints. If it takes me a year, or more, oh well.

First I did some searching on the google, looked around on polycount and artstation, and took some screenshots from Borderlands 1&2 to get some inspiration. Some of it is photographs, concept art, in-game assets, and artwork by others that is unrelated but has the feel I'm looking for. I didn't do a lick of concept art myself, I'm just iterating meshes as I go and using textures from Borderlands 2 to get ideas for detail.

I used a map from the game as a texture on piece of BSP to trace the layout of the city in Unreal.


I blocked out the entire thing, even the ground in BSP. I started having slowdowns so I imported a really rough modular mesh kit for my graybox.


I took a video of my early WIP after the initial graybox was pretty much done. I neglected to take screenshots so I'll skip ahead to about 1 month and 1 week of work. I got tired of my old graybox meshes and made new ones, making them a bit better and little more detailed. Then I made yet another more detailed version with windows/doors to get a feel where everything would lie.


There were a few player-enterable buildings in the game, I kept those. I elaborated on those buildings a bit more. Here is Moxxi's Bar. I added a stage area (that's currently too big) for the people of Sanctuary to entertain themselves.


I added bathrooms because it's a bar. I also added a small kitchen at the back.


This would be the entrance/exit for kitchen staff and it opens up into an area with dumpsters. In the game this is just a dirt lot.


Crazy Earl's. I kept getting the urge to go down a detail hole and had to resist going too far on a single piece before the city was fully blocked out to my liking.


This is the alley/path that leads from Marcus' to Earls/Moxxis. It runs behind Pierce Station.


Entrance to Marcus' Munitions.


I added a little side path to nowhere that's not in the game. It felt more natural than the stack of buildings I had there initially.


Pierce Station. This is where the player teleports into the city via fast travel. In Borderlands 1 the fast travel system uses big beacons that shoot lasers into the sky. I wanted to bring that back which is why there's a big device thing on top.


In the game, there are curved buildings around the city's center. I wanted to replace these with a market.


Crimson Raiders Headquarters is a repurposed building. It used to be the town's archives. I decided to adjust the design to reflect that more. So there's large computer consoles along the walls where people can visit and access old Dahl/Sanctuary records. Or just access Pandora's internet.  There will be bunks and stuff for the Crimson Raiders just like in the game as well.

I made an reception / public access area with a service window on the right. In the game this is all tables and stuff, and where Tannis hangs out.


I was trying to match the lighting in the game which is red. There will be missing consoles and in their place there will be washing machines and bunks like in the game. The little door in the back is where Roland's armory is in the game.


Upstairs. The green room is where all the computers and stuff is in the game. Where the vault hunters hang out.


2nd floor balcony


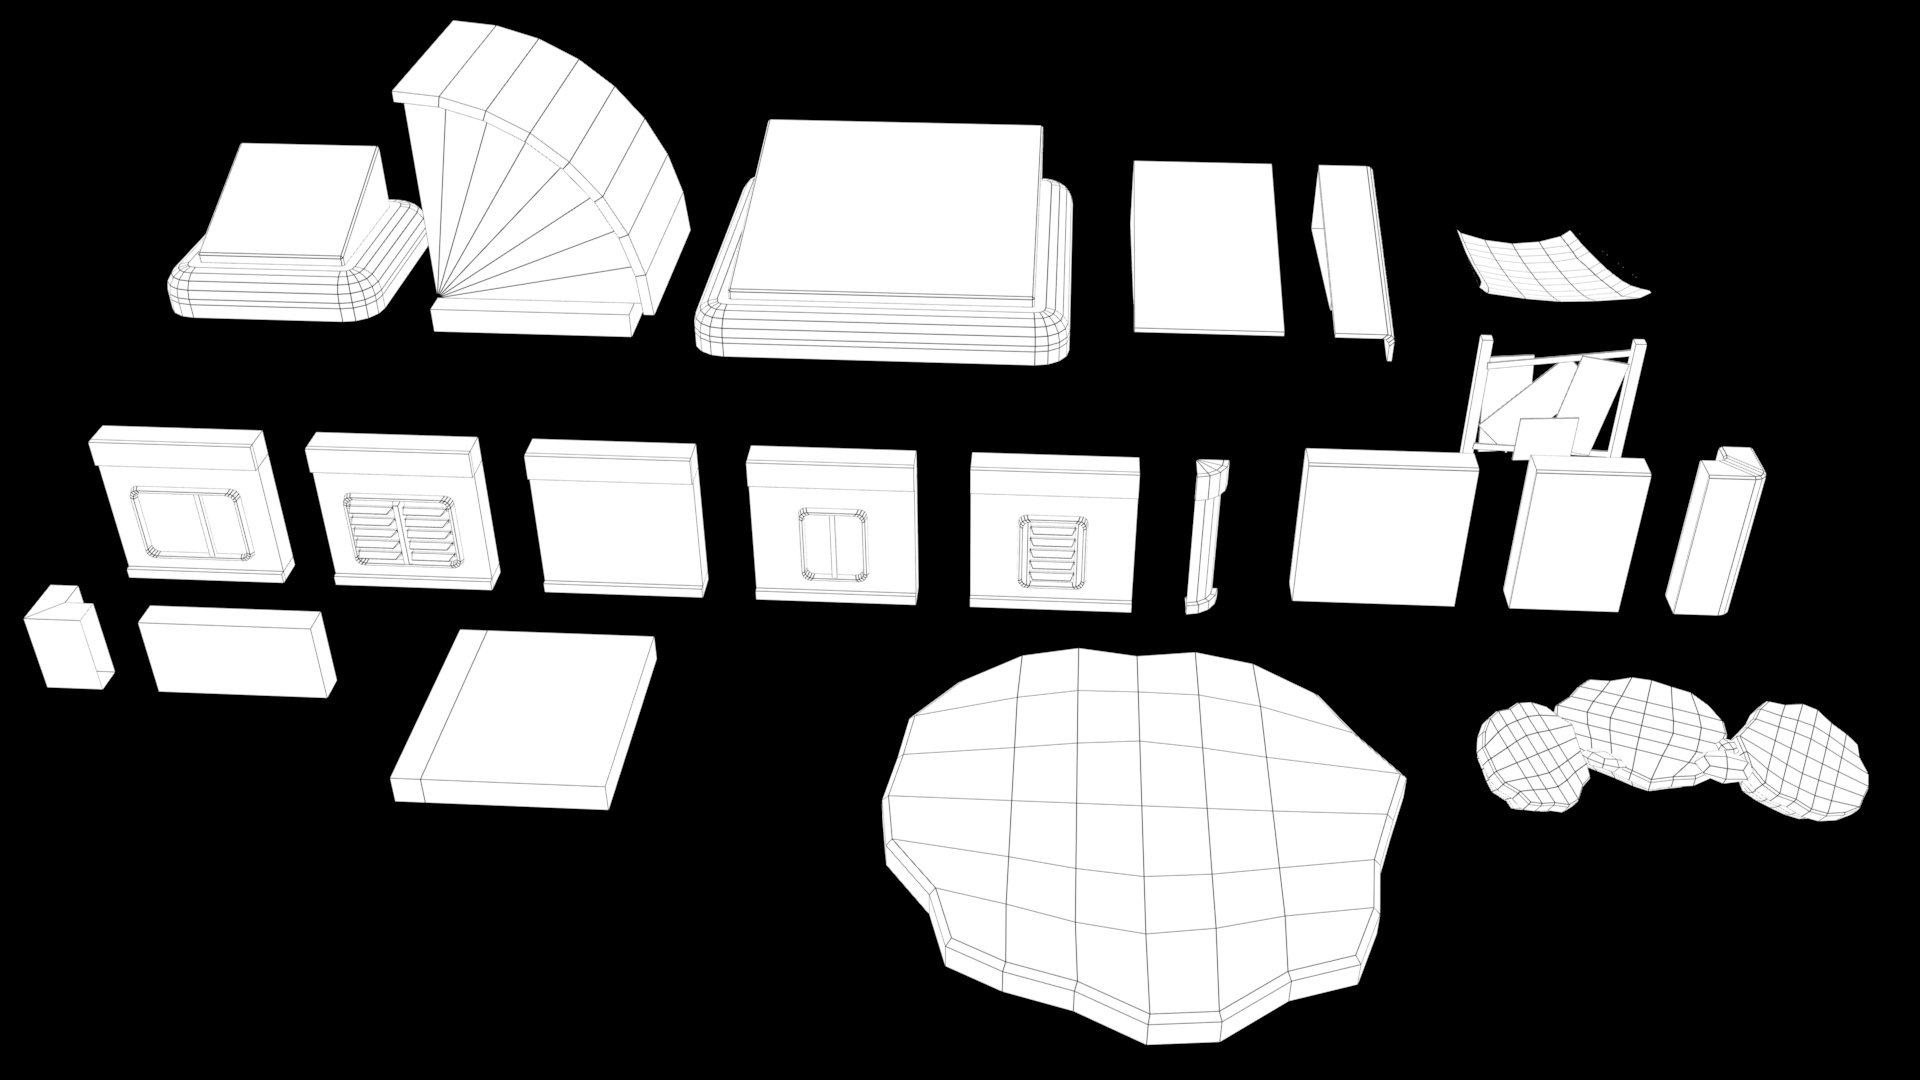
Here are the modular pieces for this building


This is around the corner from CRHQ, past Claptrap's hovel and near Zed's Clinic. In the game it's where the city broke away from the ground and there's some rubble and broken concrete there. I decided to add some destructed buildings to close off the area to the player and add some variety.


Zed's Clinic. Still a WIP. This building has given me more trouble than the others. I added a Buzzard helipad so Zed can airlift in critical patients. The alley on the left wasn't accessible in-game. So I opened it up to lead to some apartments in the back. 


Now we're at Scooter's Garage. I made a more detailed modular kit for it over the past two nights so it looks different than the above screenshot.


I added a little 2 level living area for Scooter. One level will be like a 70s basement of a hotrod enthusiast. The other will be a dingy kitchen/eating area.


Modular kit for Scooter's:


 I also wanted the city to have some small alleys and shortcut paths like real cities. This tunnel runs from outside Scooters to a larger alley not too far away. I wanted to show that buildings were built on top of older buildings. So this will be a dark and dilapidated area with mood lighting. 


This is the way back to Moxxi's bar.  We've come full circle.


Most recent overall shots of the city. I'm adding a wall. The giant boxes are the legs of the city. I added broken concrete meshes where it broke off from the ground.


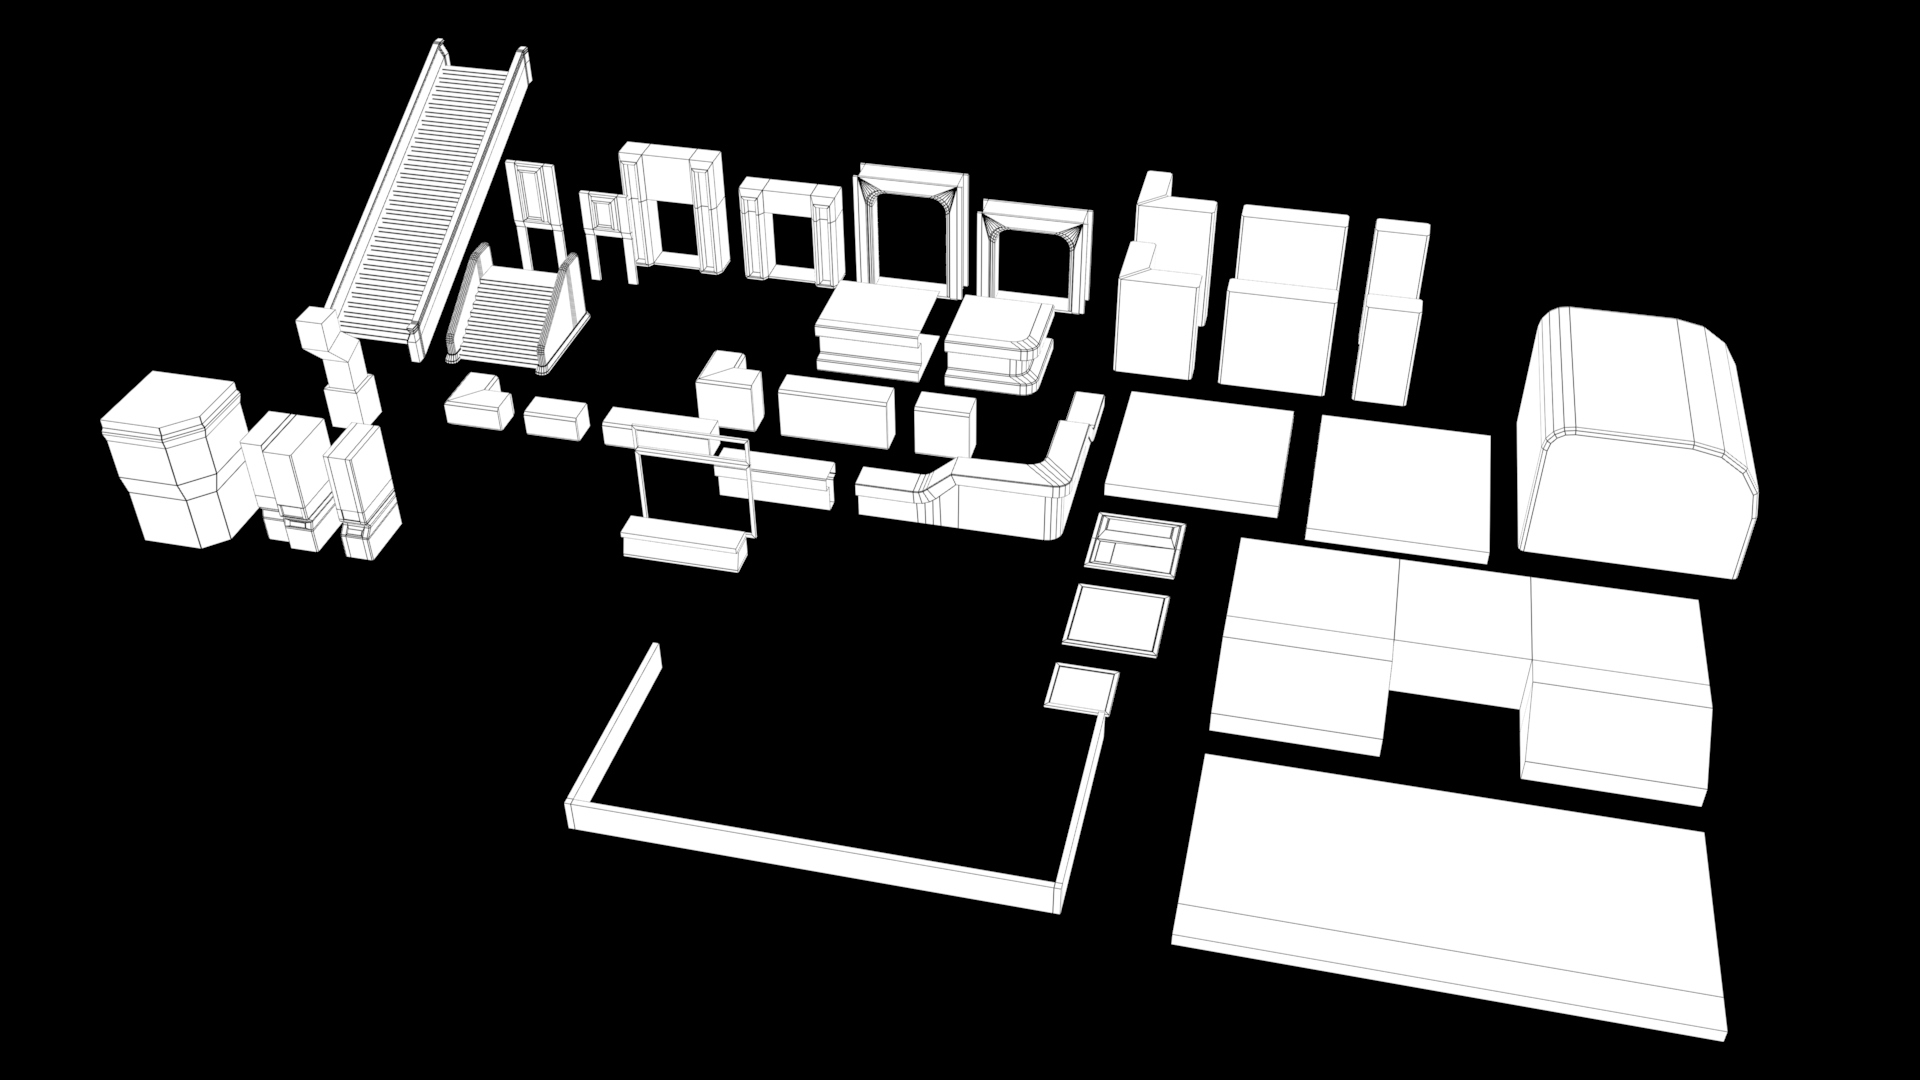
Here is my modular kit for the overall city.


Thanks for looking and any tips you can provide.

Replies

  • icegodofhungary
    Offline / Send Message
    icegodofhungary interpolator
    Just a quick update. Slowly but surely. I tried really hard to figure out the deferred decal method. But I kept having shading problems and couldn't get the decals to blend right. Will keep attacking it. I moved over to total dynamic lighting. I'm learning how to do work with dynamic lights so the interior lighting is bad. I applied a concrete texture using Millennia's tri-planar material in Unreal. The metal is just plain for the moment. I still want to use decals for bolts and lines but need to practice more.


    Wireframes for the kit. I still need to add an interior corner to the roof trim and for the base trim.  My previous modular kit had way too many pieces for the size of the building. I'm kinda learning how to reduce and re-use better. Also I'm using the face weighted normals method. I'm not using UVs so far for anything. Just a triplanar and couple regular materials.


  • icegodofhungary
    Offline / Send Message
    icegodofhungary interpolator
    I'm still here. Been kinda treading water in some places since I'm not totally sure how to proceed.

    I re-did Scooter's building kit and fleshed it out. It was feeling a little too Bioshock so I tried to make it a little more Borderlands. I feel it's too plain, but I'm not sure what to add.
    Here are some variations and new techniques I've been working on. I'm using reference from the game + pictures of Brutalist architecture to get ideas. Still really regretting not drawing any concepts first.
    The good news is that I finally got some buildings going in Unreal.


    Scooter's Garage a little more fleshed out. I was playing around with dynamic lighting and couldn't really settle on something I was happy with. I'm having a hard time finding tutorials for pure dynamic lighting, indoors and out. Usually people use at least some baking.


    I have some towers too. One is modeled closely to the game, the other is my invention. I'm in the process of making both into kits so I can make modular towers.


    I'm open to critiques on anything. Thanks for looking.
  • ArcaneOwl
    Offline / Send Message
    ArcaneOwl polycounter lvl 3
    Really dig the modeling stylization and overall composition of shots. 

    What we would suggest is a bit more attention to the texturing/material part though. It's a starting phase sure, but it's not completely accurate which materials should the current ones represent because the rough/metal values on some are a bit off. 

    Then again, it all depends on which references you have by your side, and which direction should it go for, of course!
  • icegodofhungary
    Offline / Send Message
    icegodofhungary interpolator
    Thanks for the feedback. I completely agree about the texture/material.

    When I first started this I was trying to picture what a current gen BL2 would look like. I was picturing something more PBR heavy. I had read up on the Star Citizen stuff and thought it would be cool to interpret the BL2 world in that way. I thought that if I could use the right details, the stylization would still come through without the illustrative textures and ink-lines. I got stumped pretty hard with a technical problem implementing the deferred decals though, and gave up after several nights of pulling my hair out.

    Since then BL3 came out and I had my answer as to what it would look like. Since I played it I have been retooling this environment in the back of my mind for a while while working on other things and learning more. After some feedback on several fronts, I don't think the SC technique is right for this project. If I was a bit more experienced and talented with modeling, and I had the right frame of mind I think it could work.

    That being said I have decided to stick to trim sheets and tiling textures.  I've looked over all the env art dumps I could find for the game. I have a better idea on what I need to do now. A few weeks ago I started working on the project again. I am just doing one building now and will move on from there. That way I can get at least complete something, and have it for my portfolio.


    Here is a texture test I was working on to see how the procedural ink lines and all would work. I was trying to make sure details were large enough to read clearly and all.


    I'm still having some struggles though.

    - For one I noticed assets from BL3 are very expressive. Things are stylized in the right way for a certain look. I'm still trying to find that for myself.

    - I need *very* clean high-poly geometry to generate ink from curvature. Bevels have to be wide and neat. When I attempt the same thing with damaged edges, it comes out very messy and look horrible. The edges being so straight makes the thing look too sterile.

    - Some textures were hand-inked ala this. But some seem procedural like this. There are procedural concrete textures for the game like here. I can't imagine all that edge damage is simply done by hand. It would take forever. I gotta find a procedural solution.

    -Still working on the color. The actual game assets blow me out of the water in terms of variety and expressiveness. I feel like mine are just very plain.

    - There is a way out in terms of worrying about the ink lines as seen here:


    That is the closest thing I've come across so far to my original conceptualization of this project. PBR but still stylized enough to read BL2. If I could just ditch the ink lines and go for that level of quality on all my pieces, I'd be happy. That's a unique unwrap from a unique sculpt though. I would have to try to replicate that kind of thing for the buildings and all with trims and tiling textures. The rust and unique marks make that difficult. Too much of that and your trims break and look very repeated. Too little and it looks plane. I have a solution in mind using the brush-strokes and world-space splatter as seen in Sunset Overdrive


  • Minos
    Offline / Send Message
    Minos polycounter lvl 16
    Very cool stuff so far! Love big scale projects like this, made with reusable parts :) 
  • icegodofhungary
    Offline / Send Message
    icegodofhungary interpolator
    Made a 2048x4096 Trim sheet and 3 variants. Supposed to be concrete and painted concrete, though the painted part isn't reading correctly. I'm not super happy with it. The ink lines are too thick and I'm largely constrained on that front by the curvature. So I would have to do smaller bevels to get smaller lines. Unless I do the ink by hand which takes forever and I'm not very good at. Everything looks too flat, like I'm not using enough geometry and the normal map has been largely flattened down by the color/lines. Just going to have to play with it some more.


    Left: exterior side of a wall, Right: interior side.

    Here is an attempt at something more towards PBR without ink lines.


  • icegodofhungary
    Offline / Send Message
    icegodofhungary interpolator
    Small update/breakthrough. Went back to basics. Collected all the official Borderlands 3 work I could find and carefully looked at it. I also did some deeper research specifically on recreating the style. I found this which I hadn't before:


    Which is for BL2 but it works nonetheless. I also found out how to do the post-process sobel outlines in Unreal 4:


    After playing around with Substance Designer I figured out a way to get decent auto-generated ink lines for trims and such. It just takes quite a bit of finessing the curvature, using blurs and levels, and breaking it down per shape. You can't do all the inking in one go.


    I also looked at all the inks I could find from Borderlands 3 and simply just tried to emulated by hand as best I could. I can tell they used a combination of auto-generating the inks and hand-painting. Also each inking is unique to who did it. They overall follow the same style but there are tiny differences in how they place highlights/shading and handling certain details. They also lean towards more PBR effects with some textures and some completely stylized with others. So I figure I get some wiggle-room. Now it's just a matter of pressing on, practicing more with each new object, and just chugging until it's done.


  • pixelpatron
    Online / Send Message
    pixelpatron polycounter
    This is looking aces, Quite the massive scene! I wonder if you bit off more than you should have....I'd say keep things in a central area, iterating on a few assets, wall, floor and lighting to get something you're happy with and solidify your creation pipeline as it will mean a lot less rework since you'll have so many pieces. (you have the right idea for the wall in terms of testing...but I think you should take it a step further and do a mini courtyard and a mini hallway. (so you know indoor/outdoor conditions/lights). Even if these sample scenes don't make the cut to the larger environment, you'll be able to iterate very quickly in a small scene and only have a few assets to update to try different things out). 
  • icegodofhungary
    Offline / Send Message
    icegodofhungary interpolator
    Thank you so much for your comment. I definitely bit off more than I can chew lol. I'm going to make this an ongoing background/passion project that I'll slowly add to as I learn more about environment art. I absolutely agree it would be easier to iterate over a smaller area and nail down what I want first. I've moved to just focusing on a single building at a time, and then still a small part of the building. I didn't post it earlier but this is what I'm currently working with:


    Just focusing on the smaller areas right now, trying to get the walls done for that, and focusing on the props needed for those places first. But also trying to keep in mind that I will need to use this stuff elsewhere too.


Sign In or Register to comment.