Homeโ€บ Digital Sketchbooks

Sketchbook: BlazefuryX

24
BlazefuryX
polygon
Offline / Send Message
Pinned
BlazefuryX polygon

Hello everyone, my name is BlazefuryX and I will be sharing daily updates on my modeling journey. I would love to get as many constructive criticisms as possible. I will be working on simple models around me and I hope I can work on something complex later on.

Replies

  • BlazefuryX
    Options
    Offline / Send Message
    BlazefuryX polygon
    Today marks the 72nd day of my 180-Day topology improvement journey. As you may know, Iโ€™ve been practicing on Blender every day and sharing my progress with you. However, today was a bit different. A power outage hit my area and lasted for more than 12 hours! ๐Ÿ˜ฑ

    But did I let that stop me from learning? Of course not! I used the time to rewatch the John Dickinson Topotalk series on my mobile device and take notes of useful techniques. John Dickinson is a master of topology and his series is a must-watch for anyone who wants to level up their game.๐Ÿ‘

    I managed to complete 7 episodes today and I learned a lot from them. In this post, Iโ€™ll share with you some of what I learned from the first episode.

    Polyquilt: an add-on with many functions. It helps with merging vertices and deleting edges.ย 

    Machine tools Smart faces: a tool that helps to add new faces to a mesh.ย 

    Edge flow: an add-on to improve the flow and distribution of edges on a surface.

    These tools and techniques are very useful for creating good topology in Blender. They can save you time and effort, and give you more control over your mesh. If you want to see them in action, you can watch the full episode here: https://youtu.be/B8dfa6awEXk. I highly recommend it if you want to learn more about topology.๐Ÿ‘

    Thatโ€™s all for today. I hope you enjoyed it and learned something new. If you did, please give me a thumbs up, leave a comment, and share this post with your friends. And donโ€™t forget to follow me for more updates on my 180-Day topology improvement journey. Thanks for reading and happy modeling! ๐Ÿ˜Š
  • BlazefuryX
    Options
    Offline / Send Message
    BlazefuryX polygon
    Hey there, fellow artists! ๐ŸŽจ Welcome to Day 73 of my 180-Day Topology Improvement Journey. Buckle up, because today was an absolute topology rollercoaster! ๐ŸŽข I dived into SnSmntns' mind-blowing video on spiraling Topology, and oh boy, did my brain soak up some serious knowledge! ๐Ÿง ๐Ÿ’ก

    But hold on tight, because SnSmntns didn't stop there. In his video, he dropped a game-changing recommendation: "Pushing Points" by the one and only William Vaughan. ๐Ÿ“š๐Ÿ”ฅ Trust me, this book is like a treasure chest overflowing with pure gold! ๐Ÿ†๐ŸŒŸ

    I've scoured the realm of topology resources, but nothing comes close to the brilliance of "Pushing Points." It's an all-in-one guide that will take your skills to soaring heights! ๐Ÿš€

    Thanks for joining me on this epic journey, and don't worryโ€”I'll be back tomorrow with more mind-blowing updates. Until then, keep pushing boundaries, keep refining those topologies, and keep shining as the true artists you are! ๐ŸŒŸ๐ŸŽ‰ย 
  • killnpc
    Options
    Offline / Send Message
    killnpc polycounter
    Hi BlazefuryX,
    I enjoy your updates, keep it up. Here's some general unsolicitedย advice that might help with your life studies.

    1. Be aware of zoom-in blindness. You must look at your reference, this must happen. But be aware that when focusing intently on a feature, it creates blind spots.


    2. Find repeating shapes or measures in landmarks. Here I notice a similar size relationship of the cord with thin blue panel. This technique can help pull a larger form closer to "what you see" (rather than "what you know"). A good example of this technique would be; "A comic book character is 8 heads high"


    3. Look for and compare edge thicknesses. The edge of a shape, and its relation to neighboring shapes, will describe the inner form more than its surface can. Tuning the thicknesses of your edges to match your reference will capture subconscious characteristics that can often go unseen.

  • BlazefuryX
    Options
    Offline / Send Message
    BlazefuryX polygon
    Thanks you for following along. Thanks for the feedback, I will carefully study all of them
  • BlazefuryX
    Options
    Offline / Send Message
    BlazefuryX polygon
    Today was supposed to be day 74 of my 180 day topology improvement in Blender, but I have decided to make some changes. I will be extending it to 360 days and Iโ€™ll call it โ€œBlaze Art Challenge - 360 days of learning.โ€ Welcome to Day 74 of my 360 days art challenge. Today, I learned that there are three different types of image references. The first one is technical drawing. The second one is using blueprints and the third one is using photos (which are mostly not 100% orthographic). I also learned that technical drawings are the best type of references, followed by blueprints and lastly photos.
  • BlazefuryX
    Options
    Offline / Send Message
    BlazefuryX polygon
    Hello everyone, this is Day 75 of my 360 days art challenge. One of the things I realized today was how important it is to have more than one reference image when modeling. As you can see in the image below, these models all fit the reference image in the front view, but they look very different when you check them in other views. This shows how much variation there can be in modeling and how careful you have to be when matching the reference. I hope you find this useful and interesting. Feel free to comment and critique.ย 

  • BlazefuryX
    Options
    Offline / Send Message
    BlazefuryX polygon
    Day 76/360 of my art challenge: I explored the Coordinate system in Blender. Blender uses a right-angled โ€œCartesianโ€ coordinate system with the Z axis pointing upwards. The Cartesian coordinate system defines the position and orientation of any object in 3D space using three numbers: x, y, and z. The X-axis indicates side-to-side movement, the Y-axis indicates front-to-back movement, and the Z-axis indicates top-to-bottom movement.ย 
  • BlazefuryX
    Options
    Offline / Send Message
    BlazefuryX polygon
    I learned something new today. When you extrude a quad, you create 4 E and N Poles. E poles are Extrude poles (5 edges) and N poles are Nose poles (3 edges). Iโ€™m not sure if those are the right names though ๐Ÿ˜…

  • BlazefuryX
    Options
    Offline / Send Message
    BlazefuryX polygon
    Hi, Polycounters! Welcome to Day 77 of my epic 360-Day Art challenge, and Iโ€™m still improving my torch model. Today, I tackled some obstacles while setting it up in the viewport, but I managed them. I also outlined the topology for some extra details and evaluated some possibilities. Donโ€™t miss out on more updates!


  • BlazefuryX
    Options
    Offline / Send Message
    BlazefuryX polygon
    Welcome to Day 78 of my 360-Day Art challenge! Today, I dedicated several hours to honing my skills in the viewport, exploring new techniques and tools. As I delved into SnSmNtNs YouTube tutorials, I made fascinating observations on his go-to tools: Smooth Vertices, Snapping tools, F to fill, V to rip vertices, miror modifier, and Shift N to recalculate normals. Stay tuned for more exciting discoveries.ย 


  • BlazefuryX
    Options
    Offline / Send Message
    BlazefuryX polygon
    Hey there, art enthusiasts! Welcome to Day 79 of my 360-Day Art challenge. Today, I dedicated several hours to honing my skills in the viewport. Explored a friend's recommendation, the Guide mesh workflow. It involves using the shrinkwrap modifier extensively. Excitingly, I strategized the topology for other sections of my torch model. Familiar with guidemesh? A regular in your creative arsenal?


  • BlazefuryX
    Options
    Offline / Send Message
    BlazefuryX polygon
    Day 80/360: I learned about quadrilaterals and worked on my Torch Model today. Despite some challenges, I made progress. What do you think?


  • BlazefuryX
    Options
    Offline / Send Message
    BlazefuryX polygon
    Day 81/360: Today, I decided to start fresh with my Torch Model after receiving feedback on its quality. To improve my skills, I turned to YouTube for guidemesh workflow tutorials, organized my references, and began the modeling process. Stay tuned for updates!ย 


  • BlazefuryX
    Options
    Offline / Send Message
    BlazefuryX polygon
    Day 82/360 - I think I need to see more approaches to modeling. I started watching a video by mx2.

  • BlazefuryX
    Options
    Offline / Send Message
    BlazefuryX polygon
    Random shape I made today

  • BlazefuryX
    Options
    Offline / Send Message
    BlazefuryX polygon
    Day 83/360: Today, I started watching a tutorial on how to model a gun, just to learn different techniques. I chose one of the tutorials from this helpful site that has a collection of tutorials. https://stylizedstation.com/article/blender-tutorial-bible/

  • BlazefuryX
    Options
    Offline / Send Message
    BlazefuryX polygon
    Then, I did a random shape. I just saw the 6 pole XD

  • BlazefuryX
    Options
    Offline / Send Message
    BlazefuryX polygon
    I did a little practice while reading through Frank Polygon's Sketchbook in Polycount

  • killnpc
    Options
    Offline / Send Message
    killnpc polycounter
    Great work, Blade. You're on the right path with these studies, you're doing good.
  • BlazefuryX
  • BlazefuryX
    Options
    Offline / Send Message
    BlazefuryX polygon
    Day 84/360: I studied and practiced some approaches to modeling, using Frank Polygonโ€™s Sketchbook as a guide. I also made progress on my Torch Light Model. I am gradually learning to accept Ngons.ย 

    I also received the new mouse I ordered. My previous mouse had a defect. Because of the faulty scroll wheel, I had to learn the shortcut Ctrl + middle mb + drag mouse โฌ†โฌ‡ to zoom in and out.

  • BlazefuryX
    Options
    Offline / Send Message
    BlazefuryX polygon
    Day 85/360: Today, I did some research to look for possible learning opportunities. Then, I worked on my Torch Light Model. I wanted to add a specific detail to it, but there was not enough geometry. So, I applied one level of subdivision. I also tried adding some other details, but they did not work out. I will definitely get back to it tomorrow. Thank you for your time.


  • BlazefuryX
    Options
    Offline / Send Message
    BlazefuryX polygon
    Day 86/360: Today, I did some research to find 3D learning opportunities. I also browsed Frank Polygonโ€™s Sketchbook and practiced as much as I could. Iโ€™ll definitely continue tomorrow and try out more interesting ideas. Thank you for your time.

  • BlazefuryX
    Options
    Offline / Send Message
    BlazefuryX polygon
    Frank mentioned that edge tension is not always negative and that increasing the smoothing stress can sometimes reduce smoothing artifacts. Is this one of those cases? ๐Ÿค”
  • BlazefuryX
    Options
    Offline / Send Message
    BlazefuryX polygon
    Also, I observed that many YouTubers disable the loop slide option and set the shape option of the bevel to 1. I think I understand the reason for that now.

  • BlazefuryX
    Options
    Offline / Send Message
    BlazefuryX polygon
    SnSmNtNs created a video for me that explained his approach and I learned a lot from it. I now have a clearer idea of how to tackle something like this in the future.ย 

  • BlazefuryX
    Options
    Offline / Send Message
    BlazefuryX polygon
    Day 87/360: Today, I searched for 3D learning opportunities. I also studied Frank Polygonโ€™s Sketchbook and practiced a lot. I experimented with using a low and high geometry and observed the difference.

  • BlazefuryX
    Options
    Offline / Send Message
    BlazefuryX polygon
    Day 88/360: Today, I studied Frank Polygonโ€™s Sketchbook. I learned that most corners are either boxed or mitered. I tried to understand each example he used by modeling them myself and carefully reading the concepts. Thanks for reading.

  • BlazefuryX
    Options
    Offline / Send Message
    BlazefuryX polygon
    In Blender, you should pay attention to how making insets affects your mesh. Sometimes, you might have to disable the OFFSET EVEN option and use the EDGE RAIL option instead.

  • BlazefuryX
    Options
    Offline / Send Message
    BlazefuryX polygon
    Day 89/360: Today, I tried to resume my torch model from where I left off, but I didnโ€™t like what I had. I decided to start over. I noticed a problem that I had previously ignored. The reference was very confusing. I didnโ€™t have any trouble with modeling this shape, but I had some issues with the reference. Question: In the image below, should I match the circle to the curve indicated by the reference or not? (I also shared an image of a part I tried modeling).ย 


  • BlazefuryX
    Options
    Offline / Send Message
    BlazefuryX polygon
    Day 90/360: I attempted to work on my Torch Model today, but I was unsuccessful. I switched to watching a tutorial on modeling headphones by Derek Elliott. I also learned how to create isometric scenes from another tutorial. I will give it another try tomorrow.ย 
  • BlazefuryX
    Options
    Offline / Send Message
    BlazefuryX polygon
    Day 91/360: Today, I watched Derek Elliotโ€™s tutorial on modeling headphones and shoes. I spent some time modeling a random shape, and then I tried a different approach for my torch model. Thank you for your time ๐Ÿ˜Š


  • BlazefuryX
    Options
    Offline / Send Message
    BlazefuryX polygon
    Day 92 of #360dayofart

    ๐ŸŒŸI worked on my torch light model.
    ๐ŸŒŸI downloaded some YouTube videos on modeling by CRNT Designers, Derek Elliot, and some other content creators.
    ๐ŸŒŸI responded to some feedbacks I received on my recent content.

  • BlazefuryX
    Options
    Offline / Send Message
    BlazefuryX polygon
    Here are some imagesย 

  • BlazefuryX
    Options
    Offline / Send Message
    BlazefuryX polygon
    Day 93 of #360daysofart

    ๐Ÿš€ I worked on my torchlight model.
    ๐Ÿš€ I reached out to artists on Discord, Twitter and Facebook to ask about beginner videos on texturing in Blender
    ๐Ÿš€ I downloaded some YouTube videos on texturing using Blender

  • BlazefuryX
    Options
    Offline / Send Message
    BlazefuryX polygon
    Day 94 of #360daysofart

    ๐ŸŸฆ I watched two modeling videos, one by SnSmNtNs (Pillow Patterns tutorial) and the other by John Dickinson (Barrel Bolt tutorial)
    ๐ŸŸฆ I fixed some parts in the torch light models to properly match the reference
    ๐ŸŸฆ I studied the cover part of my torch-light model and made several attempts to model it, but I couldn't figure out the boolean part. I'll try harder tomorrow


  • BlazefuryX
    Options
    Offline / Send Message
    BlazefuryX polygon
    Day 95 of #360dayofart

    ๐ŸŒปI worked on the lens cover of my torch light model. I could not match the exact detail, but it is good enough.
    ๐ŸŒปI watched some videos on radial array in Blender.
    ๐ŸŒปI responded to all the feedback that I received.

  • BlazefuryX
    Options
    Offline / Send Message
    BlazefuryX polygon
    Day 96 of #360daysofart

    ๐ŸŒŸ Today, I worked on the bulb of my Torchlight model. Thanks to SnSmNtNs I was able to complete it ๐Ÿฅน
    ๐ŸŒŸI watched some videos on Texturing in Blenderย 
    ๐ŸŒŸI replied to all feedbacks from other artists


  • BlazefuryX
    Options
    Offline / Send Message
    BlazefuryX polygon
    Day 97 of #360daysofart

    ๐Ÿ”† Today, I watched several videos on texturing (Blenderguru, Grant Abbitt, etc.)ย 
    ๐Ÿ”† I practiced using a free texture from Poliigon and one of my previous modelsย 
    ๐Ÿ”† I replied to all the feedback I received from my previous post

  • BlazefuryX
    Options
    Offline / Send Message
    BlazefuryX polygon
    Day 98 of #360daysofart

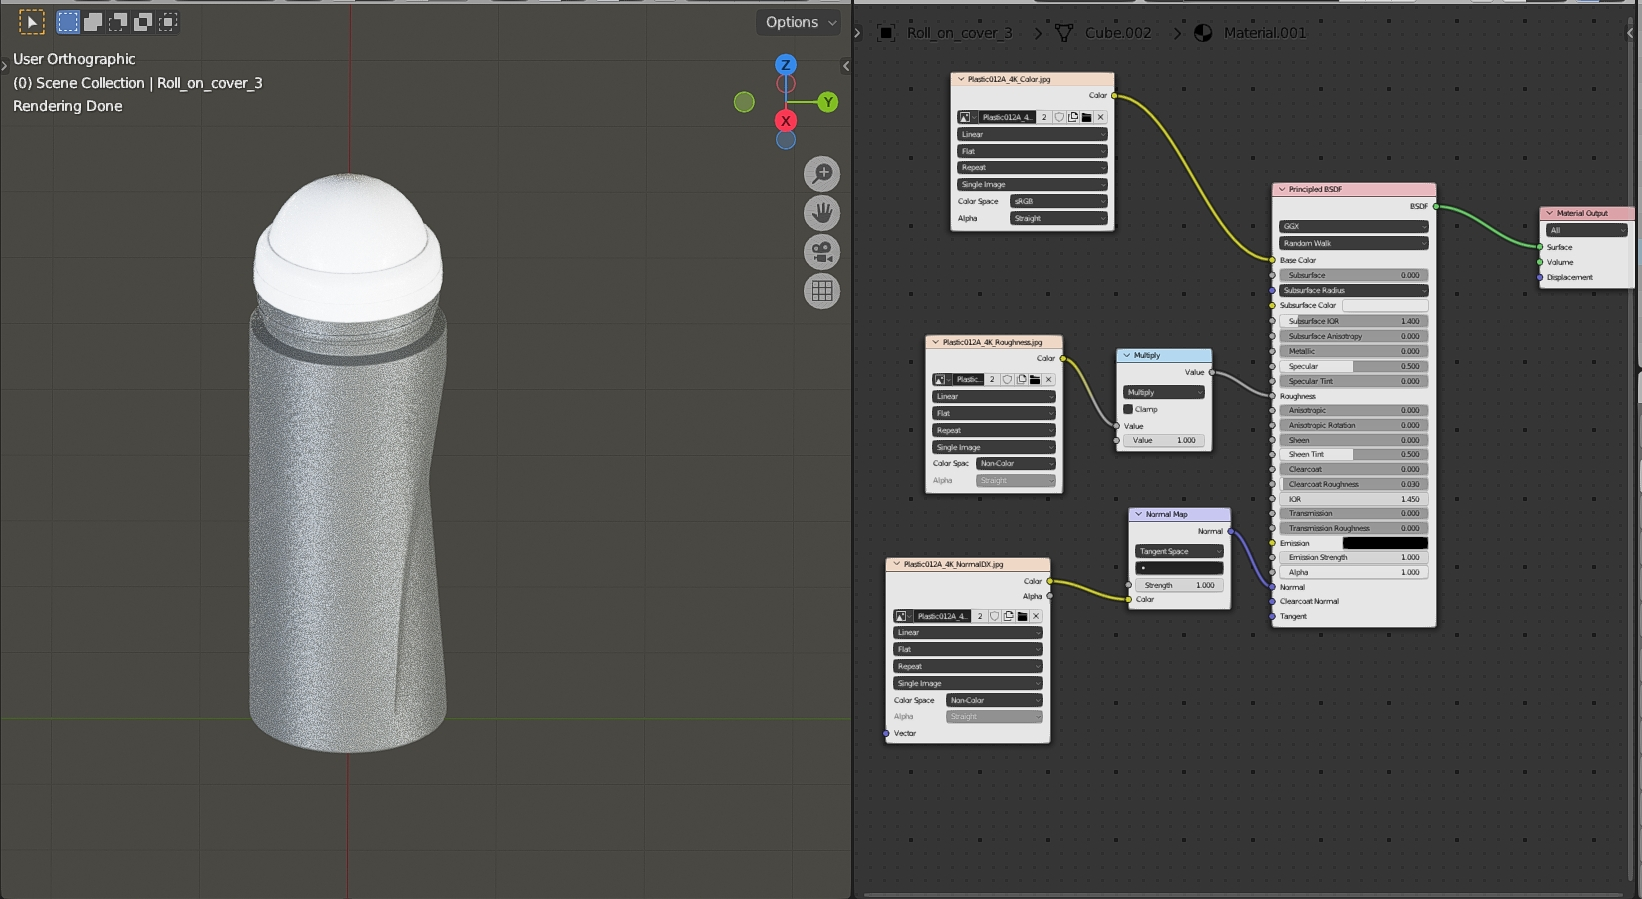
    ๐Ÿ”ต I corrected the topology of my deodorant model.ย 
    ๐Ÿ”ต Because of the unstable power supply, I watched several videos on UV mapping (CG Infinite, Darrin Lile, etc.).ย 
    ๐Ÿ”ต I worked on the UV map of my deodorant model.


  • BlazefuryX
    Options
    Offline / Send Message
    BlazefuryX polygon

    Day 99 of #360daysofart

    ๐ŸŸก I read some articles on uv unwrapping, normal maps and texturing from the Artisticrender blog and @StylizedStation on Twitter.
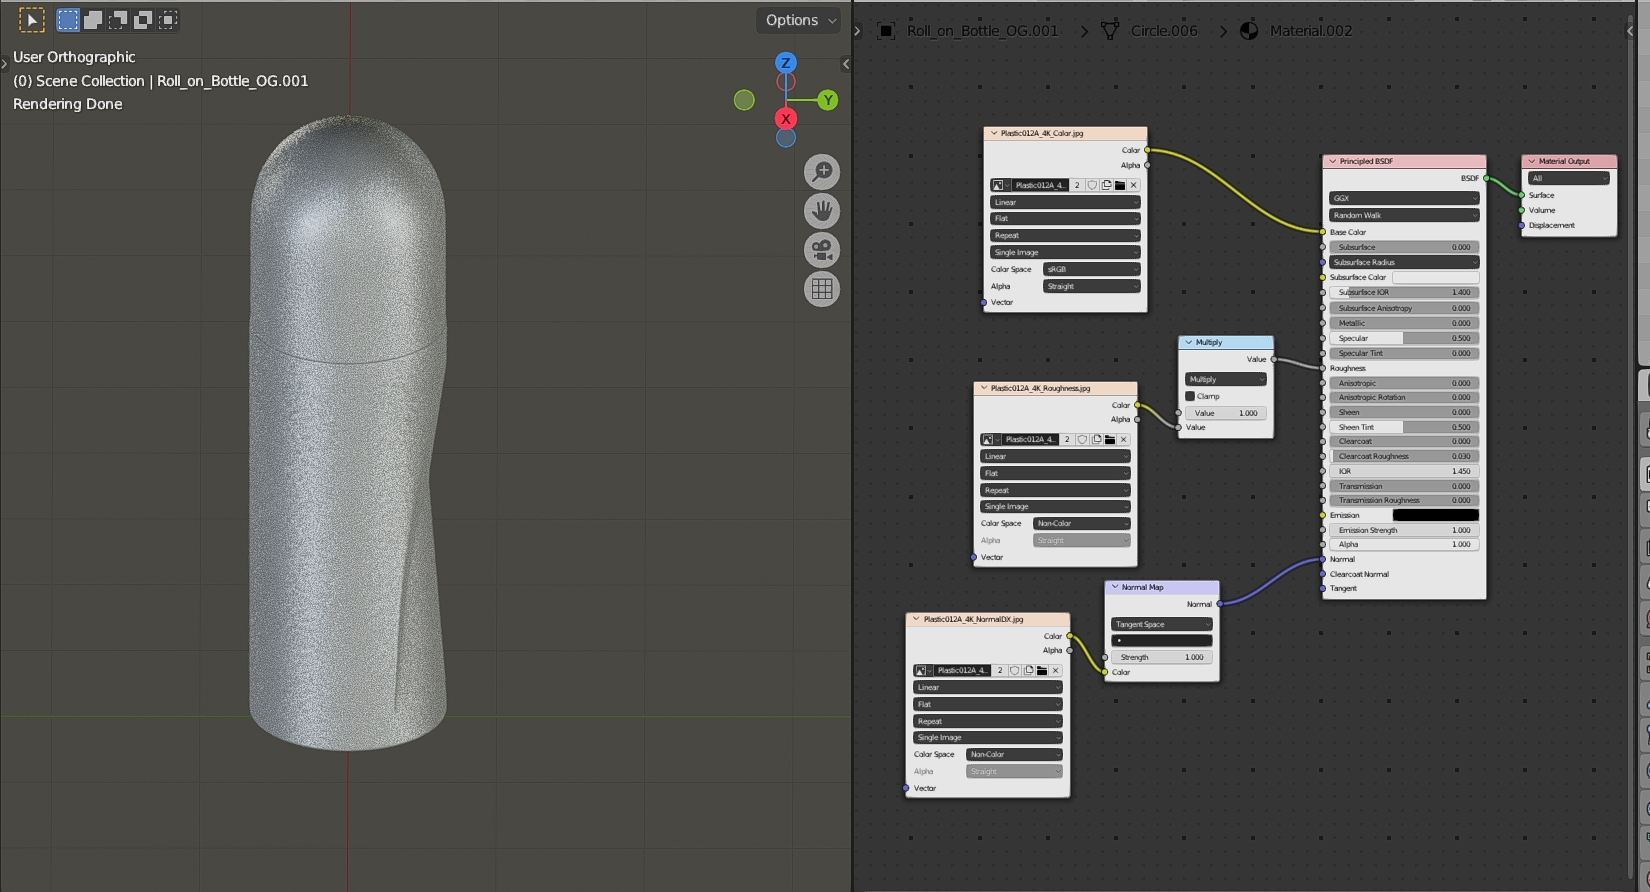
    ๐ŸŸก I downloaded several HDRI files from Polyhaven and textures from ambientcg to practice texturing my deodorant model. Iโ€™ll definitely work harder on it tomorrow.

  • BlazefuryX
    Options
    Offline / Send Message
    BlazefuryX polygon
    Day 100 of #360daysofart

    ๐Ÿ† I watched videos on product design in Blender (Derek Elliot & Creative Sav)
    ๐Ÿ† I did some research on creating textures for 3D Models
    ๐Ÿ† I watched SnSmNtNs model a sci-fi head in Blender
    ๐Ÿ† I took some shots of my torch model to show how cool it is

  • BlazefuryX
    Options
    Offline / Send Message
    BlazefuryX polygon
    Day 101 of #360daysofart

    ๐Ÿ”ท I spent hours trying to remake the lotion cream model, but I couldn't figure out what happened on the side view.
    ๐Ÿ”ท I read 3 blogs on focal lengths in cameras.
    ๐Ÿ”ท I read 2 blogs on cameras in Blender.

  • BlazefuryX
    Options
    Offline / Send Message
    BlazefuryX polygon
    Day 102 of #360daysofart (1/2)

    โšซ I read about 2-3 articles on how to take photos of references for 3D modeling from sources such as CGIFurniture and Welpix
    โšซ I checked out an article on sites to get reference images from All3DP
    โšซ I watched two videos @FlippedNormals YouTube channel


  • BlazefuryX
    Options
    Offline / Send Message
    BlazefuryX polygon
    Day 102 of #360daysofart (2/2)

    ๐Ÿ’ I noticed some improvements in my understanding of topology.
    ๐Ÿ’ I worked on my Lotion Model and I am satisfied with what I have.
    ๐Ÿ’ I replied to all the feedback I received on my previous post.


  • BlazefuryX
    Options
    Offline / Send Message
    BlazefuryX polygon
    Day 103 of #360daysofart

    ๐ŸฎThis time, I did not eyeball my deodorant model. I took photos and used them in the viewport. I learned more about threads from John Dickinson's TopoTalk part 2.ย 
    ๐ŸฎI did more research on UV unwrapping and texturing.


  • BlazefuryX
    Options
    Offline / Send Message
    BlazefuryX polygon
    Day 104 of #360daysofart

    ๐ŸชดI made some corrections to my model after receiving feedback from Discord and Facebook
    ๐ŸชดI watched some videos on how to UV Unwrap bottles in Blender
    ๐ŸชดI did some research on the best software for designing the texture for the deodorant model


  • BlazefuryX
    Options
    Offline / Send Message
    BlazefuryX polygon
    Day 105 of #360daysofart

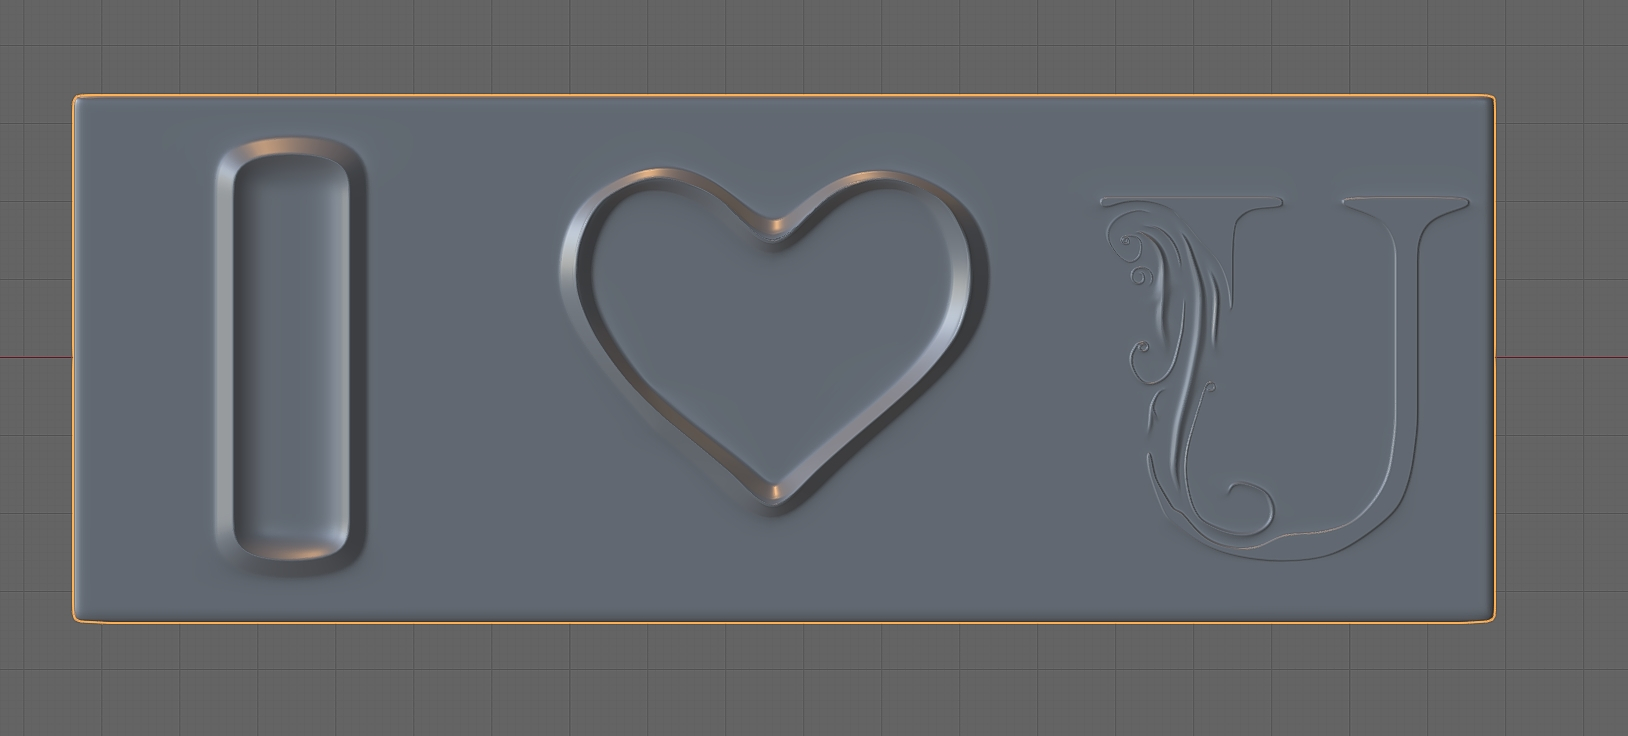
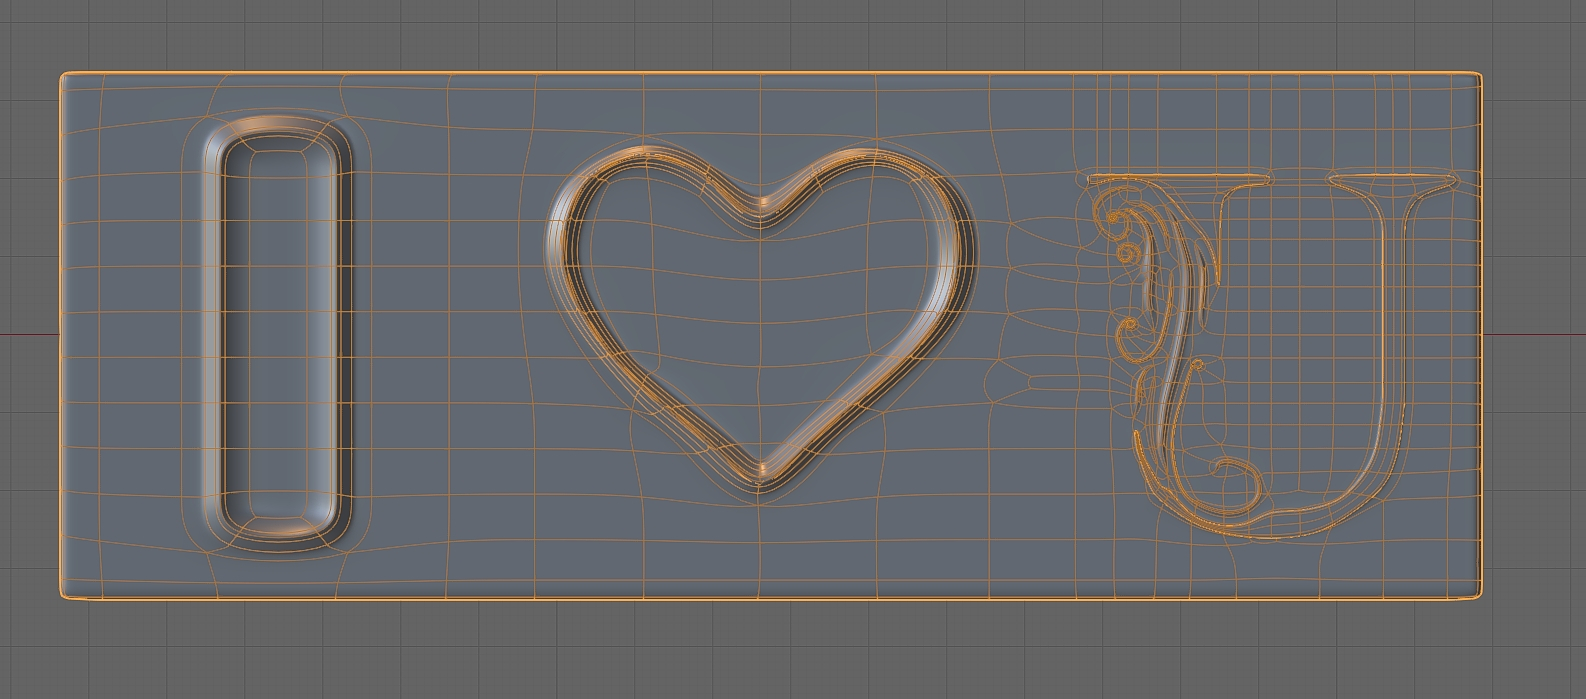
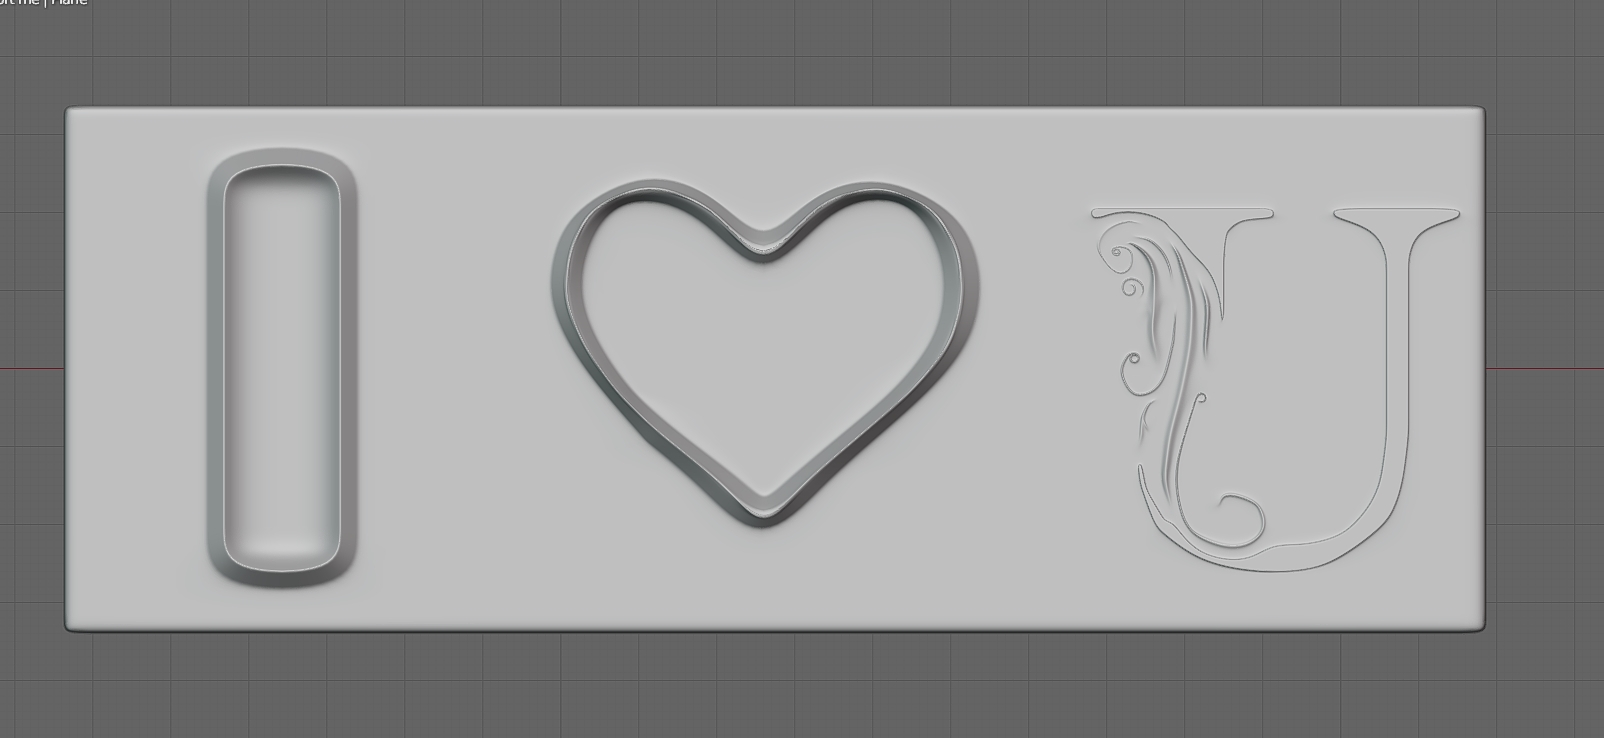
    ๐Ÿ“— I tried to improve my deodorant model after I got some feedback, but I couldnโ€™t get the result I wanted.

    ๐Ÿ“— I took a break and tried to model something weird.

    ๐Ÿ“— I replied to all the feedback I got on Twitter, Facebook, Discord, LinkedIn, Instagram and Reddit.
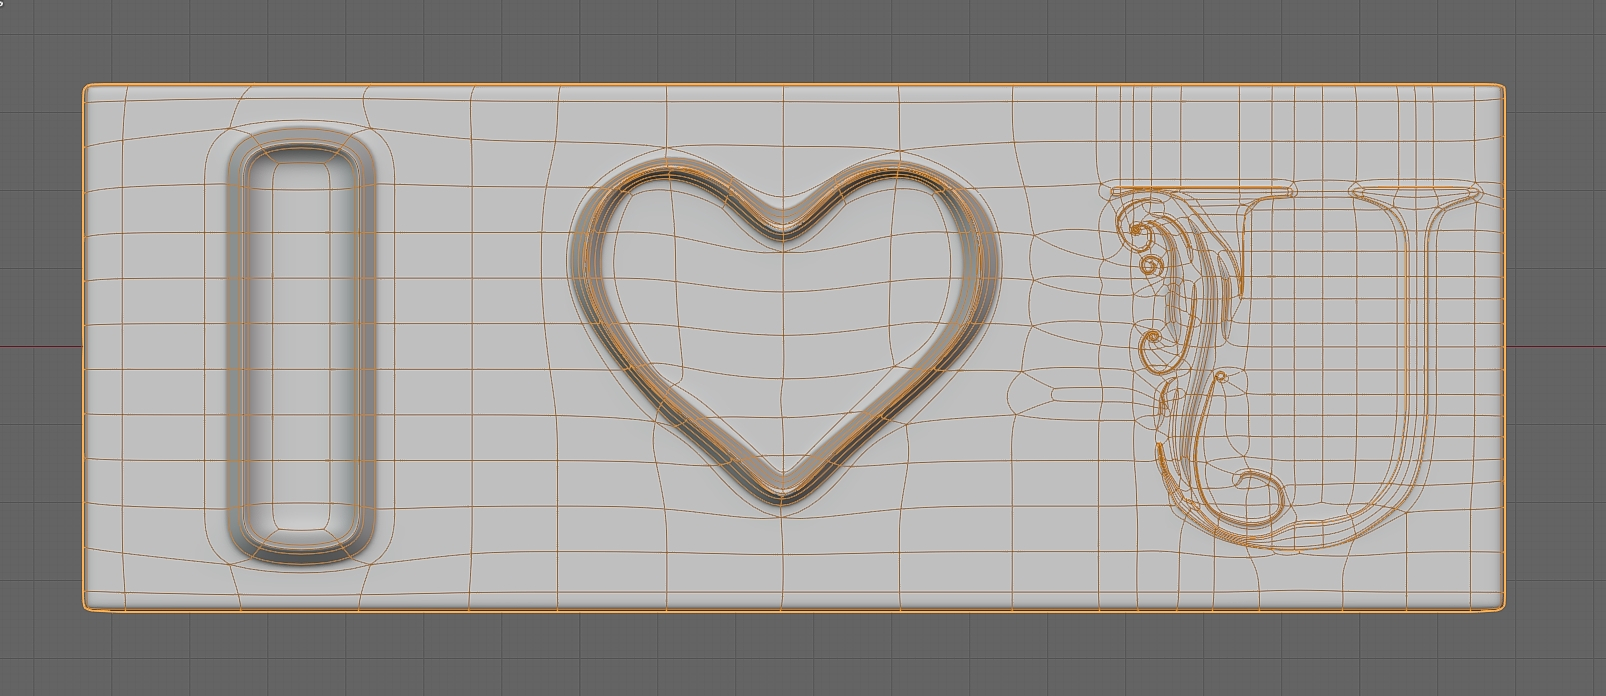
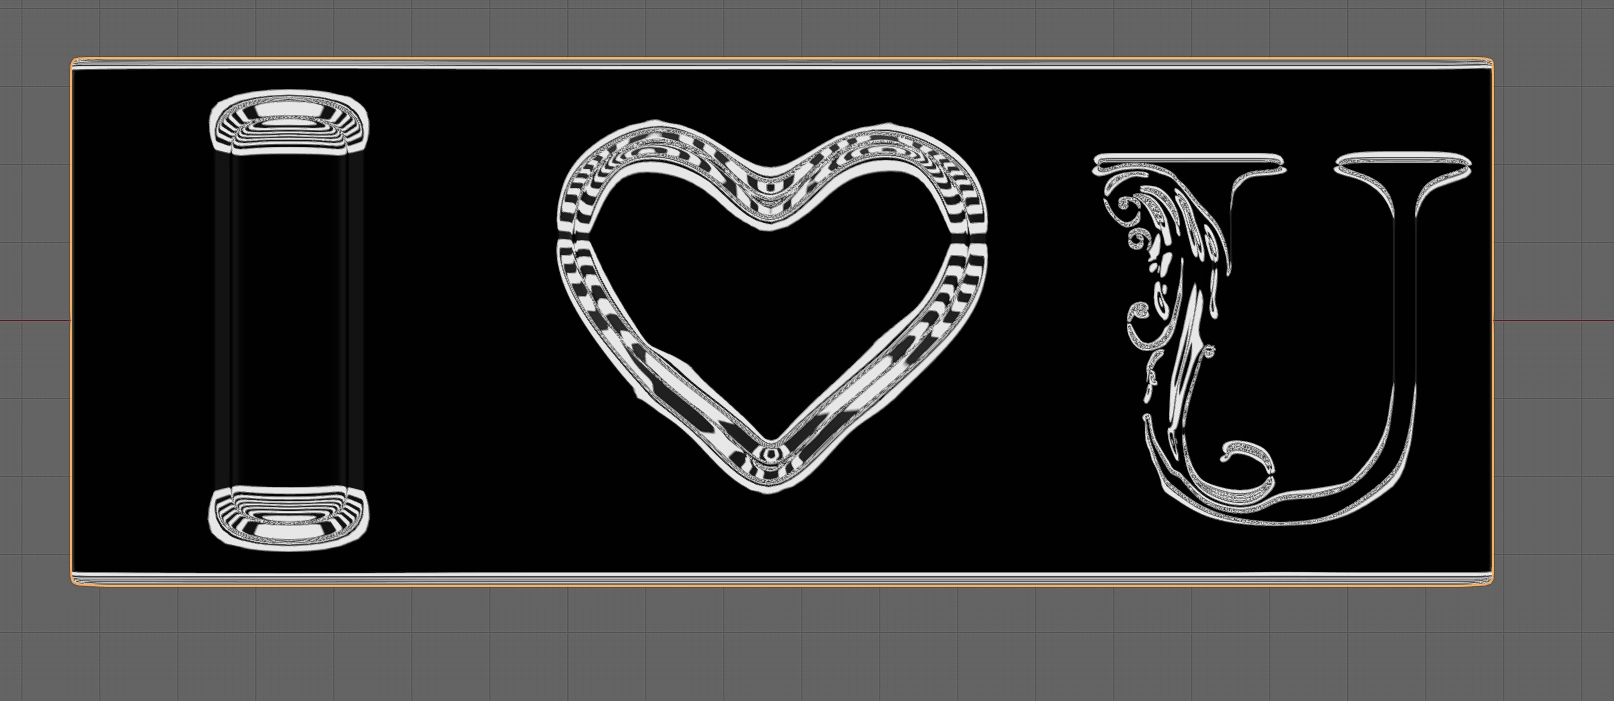
  • BlazefuryX
    Options
    Offline / Send Message
    BlazefuryX polygon
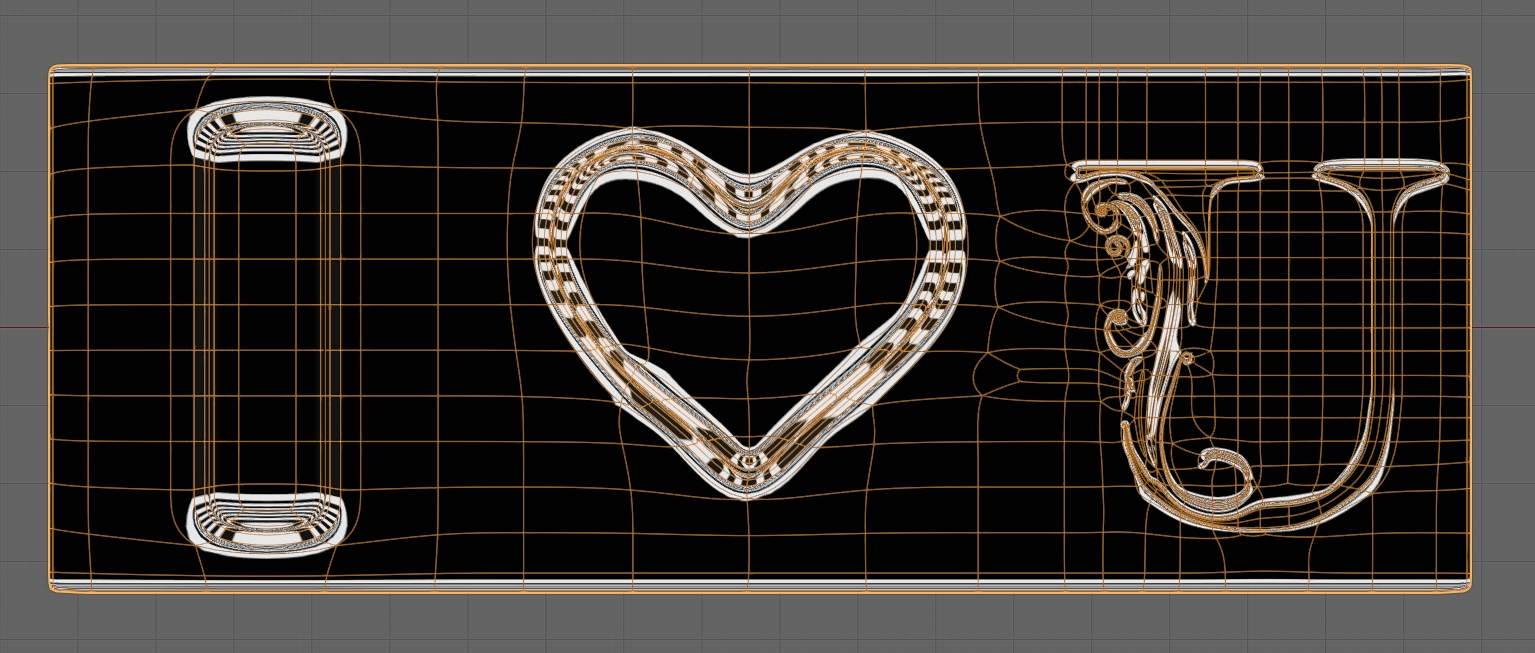
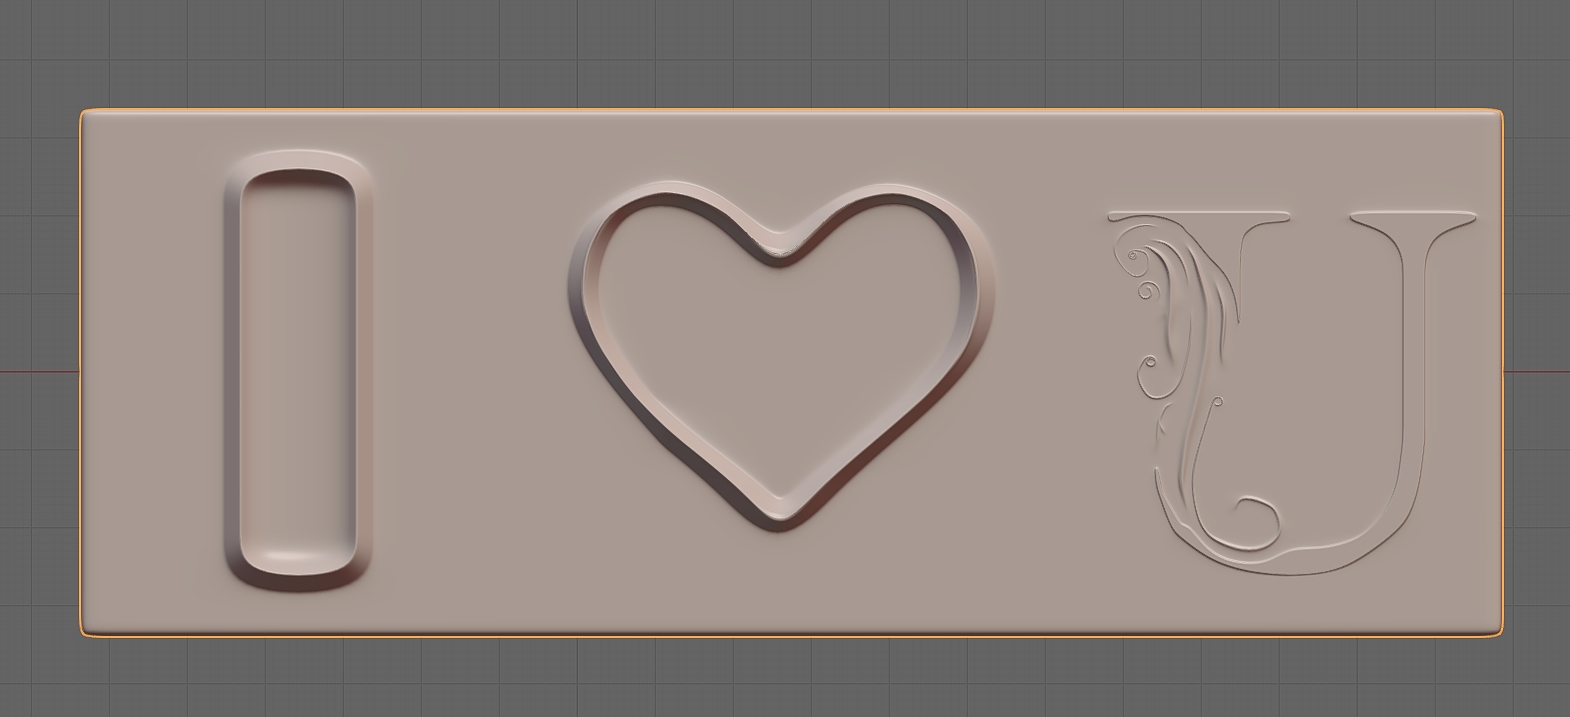
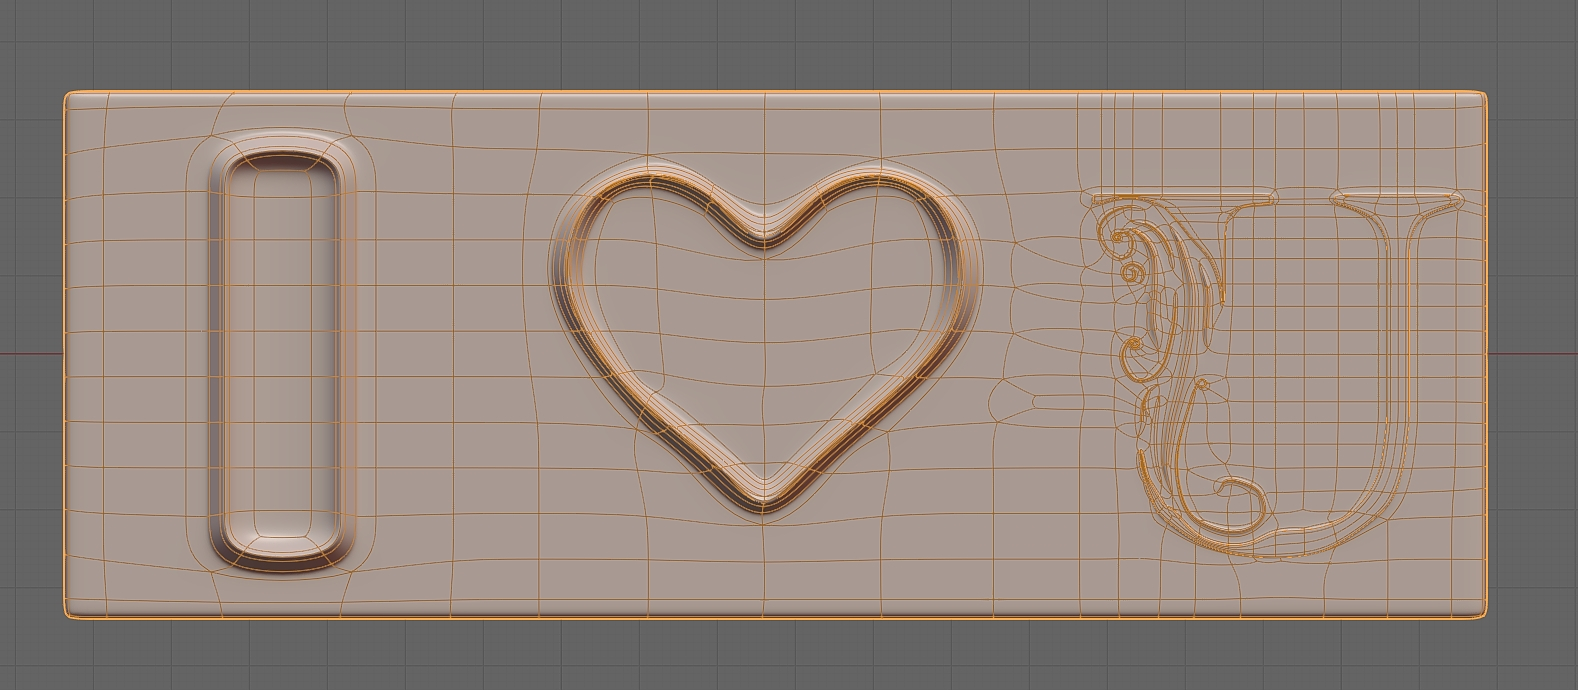
    I downloaded and tried out some of custom Matcap shared by Jan Van Den Hemel. https://www.youtube.com/watch?v=UJSfb3tby6o&feature=youtu.be

  • BlazefuryX
    Options
    Offline / Send Message
    BlazefuryX polygon
    Day 106 of my 360 days of art

    ๐ŸŸฉI downloaded Gimp and researched about Bevels
    ๐ŸŸฉI experimented with some custom matcaps
    ๐ŸŸฉI had some back pains, so I couldn't work on PC. So, I watched some YT videos (Chocofur and Elementza)
    ๐ŸŸฉ I found a new topology approach related to threads

24
Sign In or Register to comment.