It starts May 12, and ends Oct 17. Let's see what you got!
https://polycount.com/discussion/237047/the-brawl²-tournament
Best Of


Re: Marmoset 4043 low VRAM usage
With the 4.04 update, Toolbag's backend switched from DX11 to DX12, and this had some performance and memory management implications. We also switched from Nvidia Optix to the DXR ray-tracing backend that is built in DX12. Generally, you should see improved ray tracing performance (render speed) but the memory use for the ray-traced acceleration structure can be higher than it was with Optix. In cases of very high memory use, you may see decreased performance or instability.
There is no way to configure Toolbag 4.04 to use the rendering backend or memory management systems from earlier versions.
The VRAM counter can be a little confusing. What it represents is the % of VRAM that Toolbag is able to allocate when it launches, not necessarily the % of the total VRAM available. Unfortunately, video card drivers make it difficult to report accurate VRAM information in absolute terms. What this means is that if you launch Toolbag when 6/8GB of VRAM is in use, the counter showing 100% would = 2GB of VRAM used by Toolbag. If Toolbag needs more than that, it will ask the operating system for additional resources, which may be granted. This is how values over 100% can sometimes be displayed. Values over 100% typically indicate very high memory use and potential instability.
Here are some general tips for reducing video memory usage:
- Close any other art applications before launching Toolbag. For instance, Maya, Zbrush, Substance Painter, etc, as these applications may be using the majority of your VRAM. Web browsers with many tabs open can sometimes eat a lot of VRAM as well.
- Remove any objects or materials that you do not currently need from your scene.
- Decimate high polygon meshes to reduce the triangle count.
- Lower the sub-division level to reduce the triangle count.
- Reduce the resolution of textures - 8K textures require 4 times the VRAM as 4K.
- Reduce the bit-depth of textures, if your textures are saved as 16-bit, downsampling to 8-bit may considerably lower your VRAM use.
- If you're baking and using texture projects to 3D paint/texture your asset in Toolbag, consider creating separate scenes so you do not need to store the high poly geometry in the scene that you're texturing in.
- If you're using a 4K monitor, make sure the viewport resolution is set to Standard rather than High-DPI, especially if you're using ray-tracing. This can be set by clicking the gear icon in the corner of each viewport.
- In the Render settings, make sure the Bounces and Transmission settings are not set too high. Generally, a bounce setting of 3 is adequate and you should only increase the transmission setting when dealing with complex objects with refractive surfaces (multiple overlapping refractive surfaces may require a higher setting).
- Make sure Rays Per Pixel is set to 1.
- If you continue to have problems interacting while ray-tracing is enabled, consider disabling it while interacting with the scene or changing the viewport quality mode from Full Quality to Draft.
- Try switching from the Accelerated / RTX to the Generic ray-tracing back end. You can do this in Edit -> Preferences -> GPU. This may result in slower raytracing performance but may use less VRAM resulting in better stability. Be sure to restart Toolbag after changing this setting.
If none of the above suggestions help, we may need to get a copy of your scene file to further debug the problem. In that case please email support@marmoset.co with a link to this thread and a brief description of the problem along. You can go to File -> Export -> Scene Bundle, and then zip up the .tbscene and /assets/ folder to package the scene.
 EarthQuake
Re: I need some advice on my portfolio and jobs seeking.
Asking for feedback is sensible - the downside is that occasionally I have some free time to give it ;)
I don't see any glaring technical problems with your work.
There are two main things you need to improve on from my perspective (its been 5 years since I was last hiring artists at a first party studio so might be a bit out of touch)
1: show scenes or dioramas, not just individual props . ie. make a set of related things, compose them into a little group that makes sense and take some nice pictures. We like that, it shows that you are considering the context in which your assets will be used and have a capacity for worldbuilding.
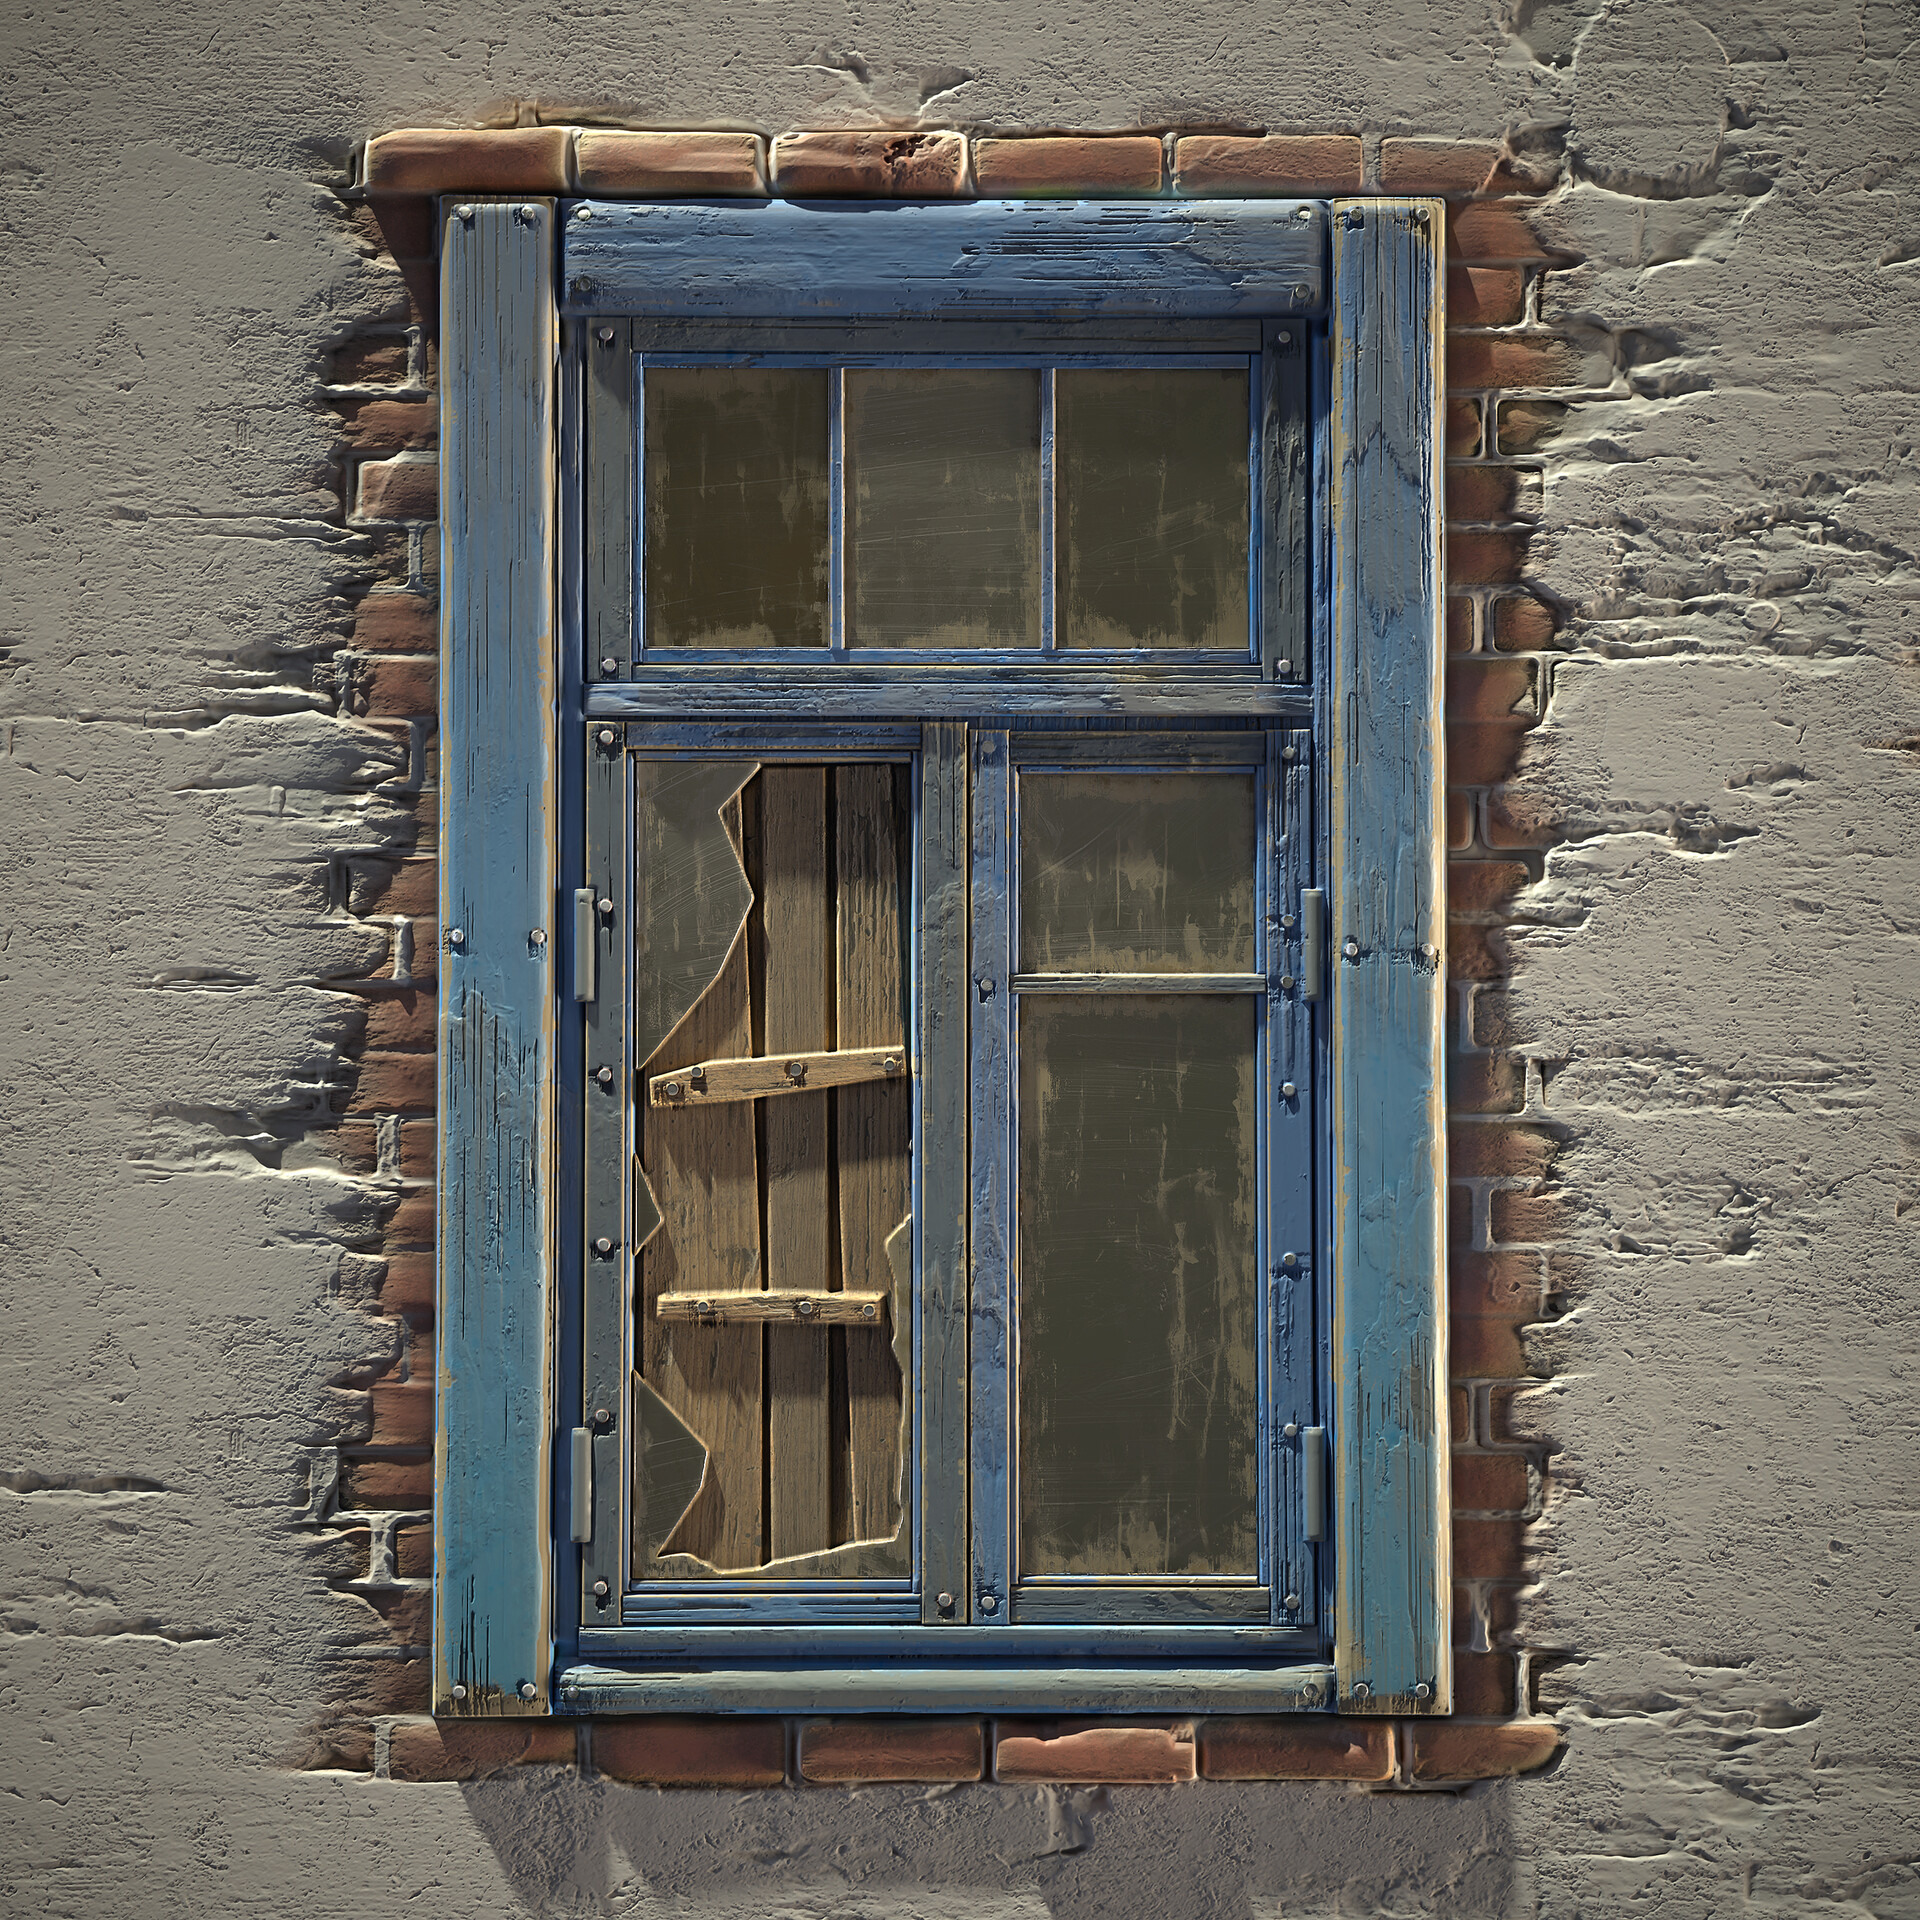
2: I'm not seeing much depth of thought in your surfacing. The asset pictured below looks pretty good at first glance but on closer inspection I'm wondering a few things ...
Why is it so clean in the areas I've indicated ? The rest of it is rusty which means it must have been exposed to moisture. Moisture collects in areas where separate parts meet , dirt sticks to moisture, moisture brings rust and so on...
Further - there's a belt drive so if this thing is still functional would there be rust where the belt rubs on the pulleys? You'd need to grease or oil the pulleys to keep it working nicely too - I'd expect some of that to squeeze out or be spilled and stain the surfaces - similarly, anywhere there is a moving part you'd be seeing grease stains as it works out of bearings or bushings.
I could go on in the same vein for a long time but you get the idea

Here's a couple of bits of advice I've given out many times over the years..
1 : I find it helps to make up little stories about the history of the object - maybe it broke down one day and the engineer got angry and hit it with a wrench - that might leave a dent and crack the paint which would lead to a rust patch forming and paint bubbling off etc.. Maybe parts have been replaced at some point - meaning that there is a much fresher component somewhere with less rust or a mismatched colour..
2 : I'd advise against using built in filters in Painter while you work on this sort of thing. Commonly people apply these, erase some bits and call it done. Instead I'd suggest manually and thoughtfully painting areas of wear/dirt and applying the filters to what you painted - this will force you to think about every mark you place and encourage you to question whether it should be there or not.
Anyway - Good luck with the hunt. The first one is the hardest to get
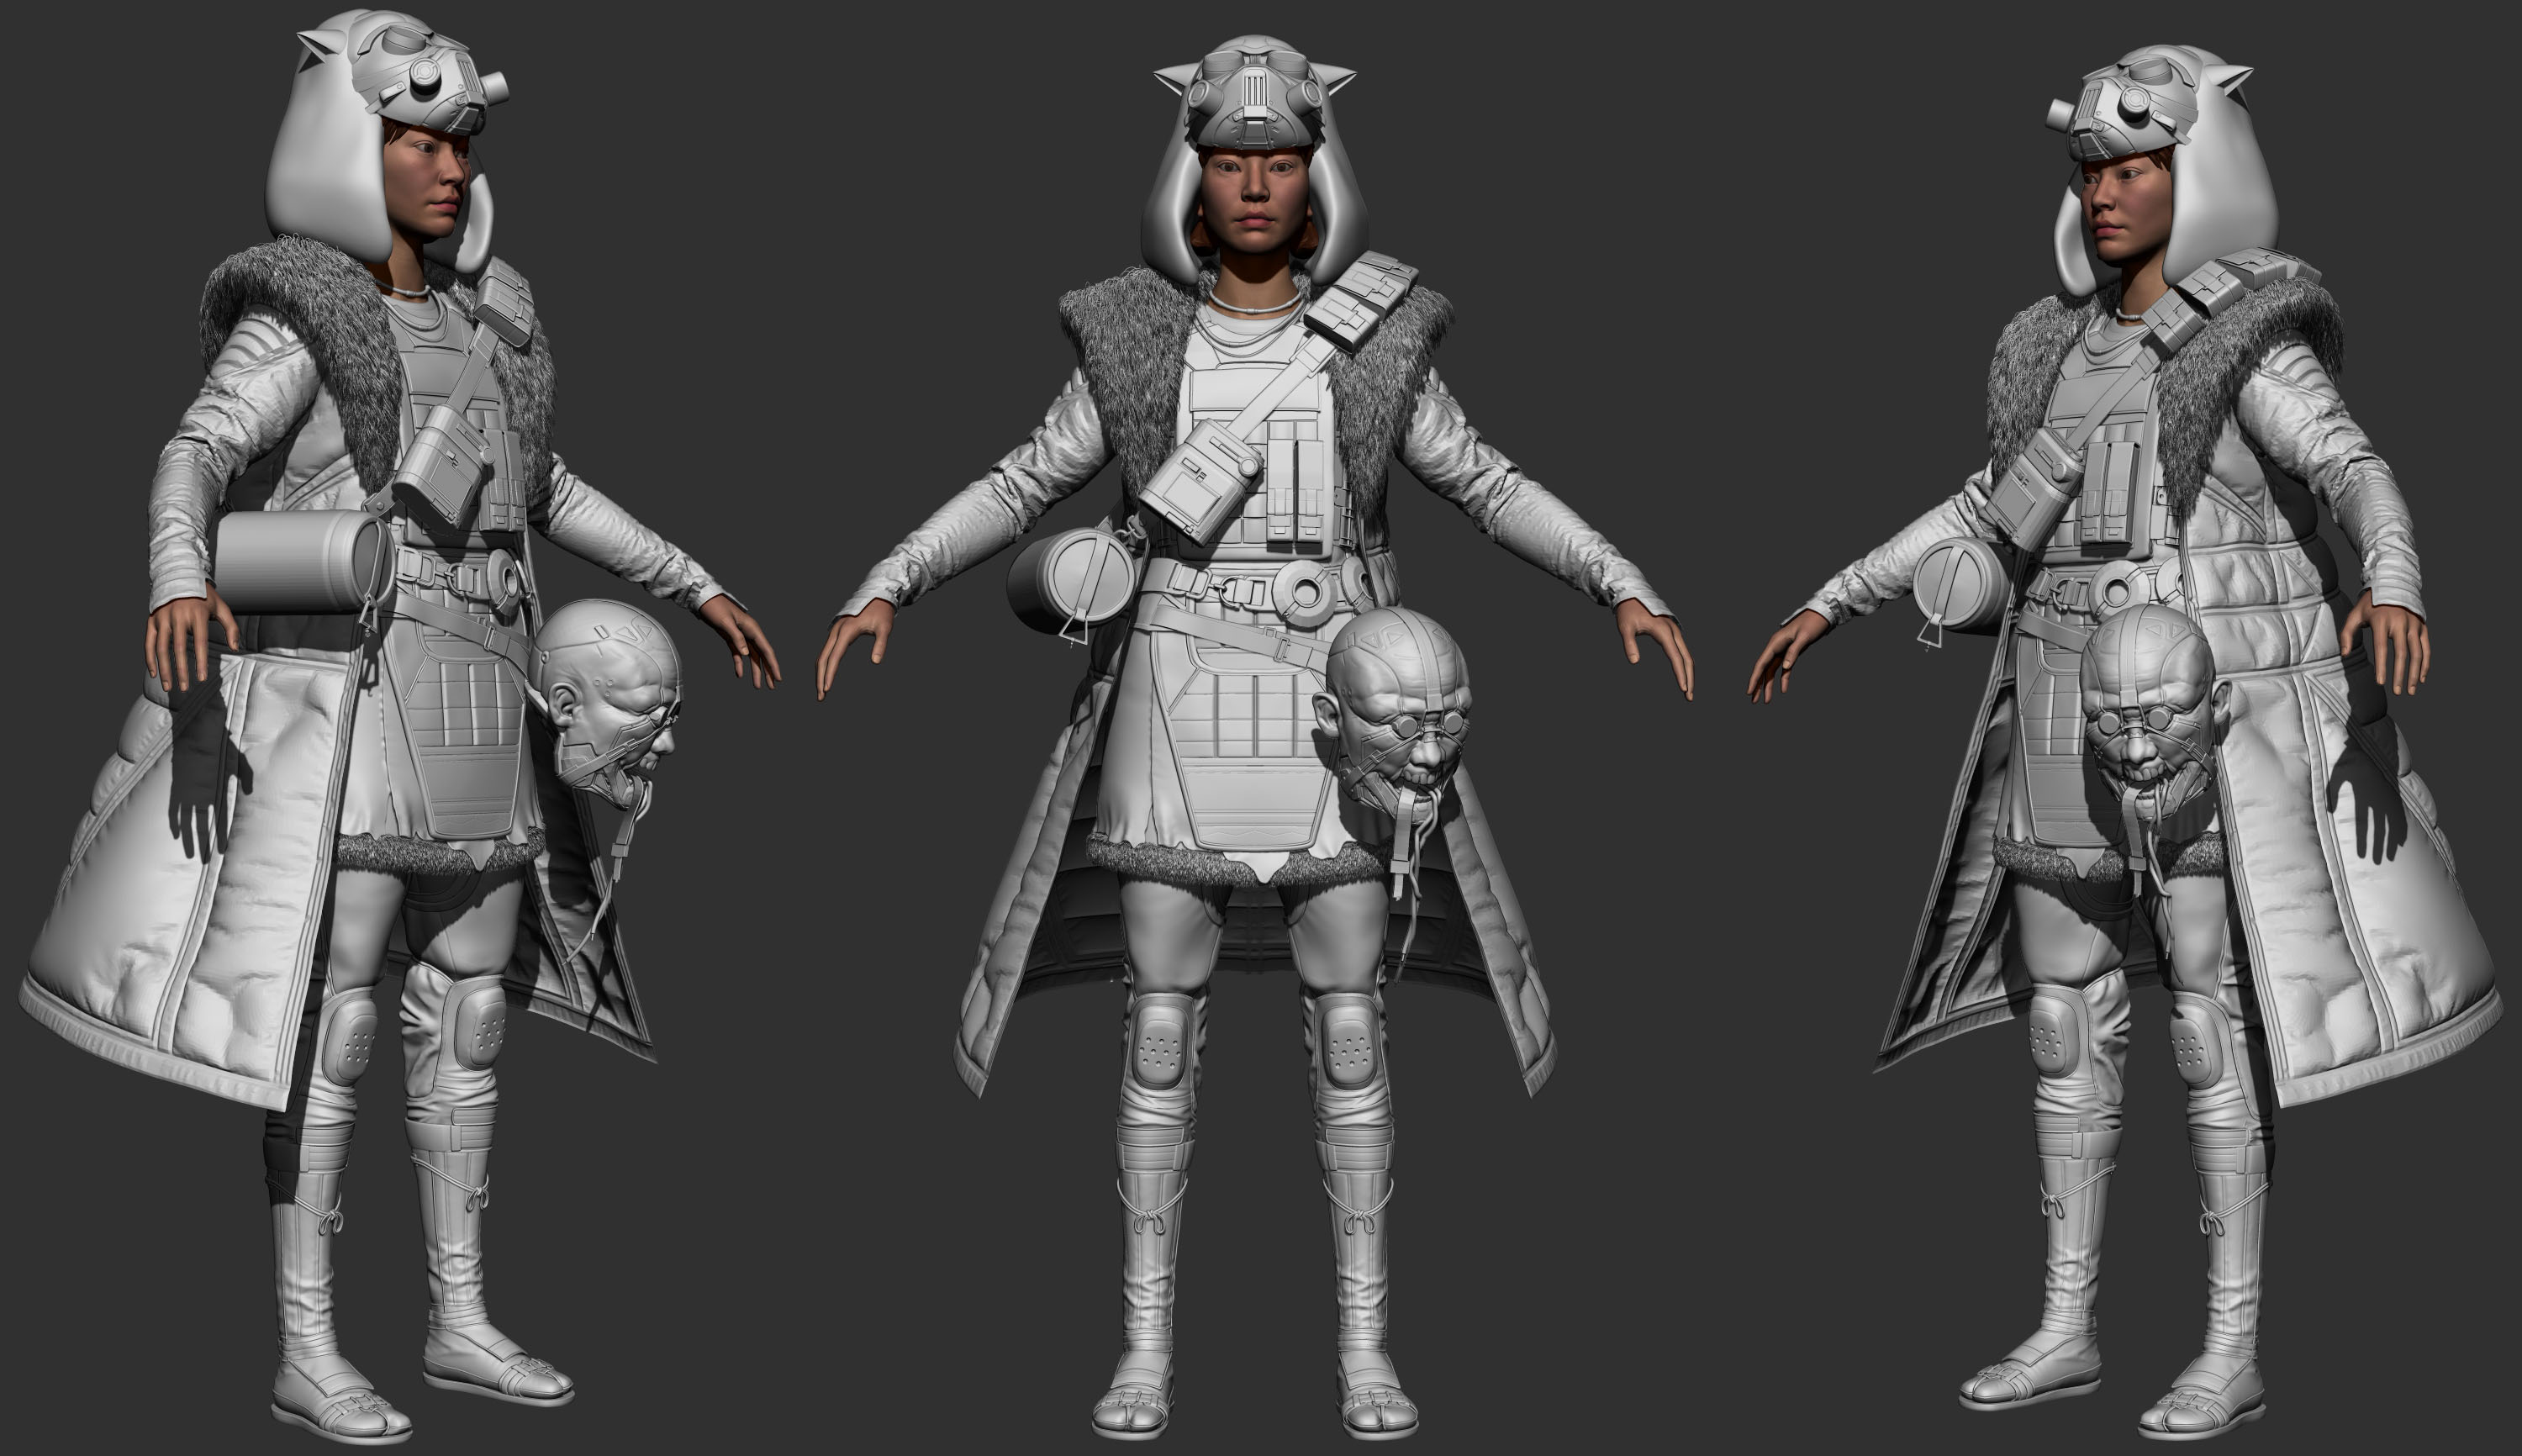
Re: [WIP] Cyberpunk princess Mononoke
Update on the project was bussy with life and the head was a challenge to make for this character as prop but here it is!

 Sora123
Re: Sketchbook: EricElwell
@Tits thanks, Marie! I've been enjoying your traditional work lately as well :)
A few recent digital paintings;


 EricElwell


Re: What Are You Working On? (3D) 2022
Hello! I am back with this High Priest of Ammut character I also made for the OnePageRules july release!
Full project here: https://www.artstation.com/artwork/qQYqDy

 DoctorBloup
 Guess its time to call it done.....for now
Re: What Are You Working On? (3D) 2022
One day challenge. I wanted to check how much I am able to do using only Substance Painter(without using 3d). From zero to visible effect.