It starts May 12, and ends Oct 17. Let's see what you got!
https://polycount.com/discussion/237047/the-brawl²-tournament
Best Of
Re: What Are You Working On? (3D) 2022
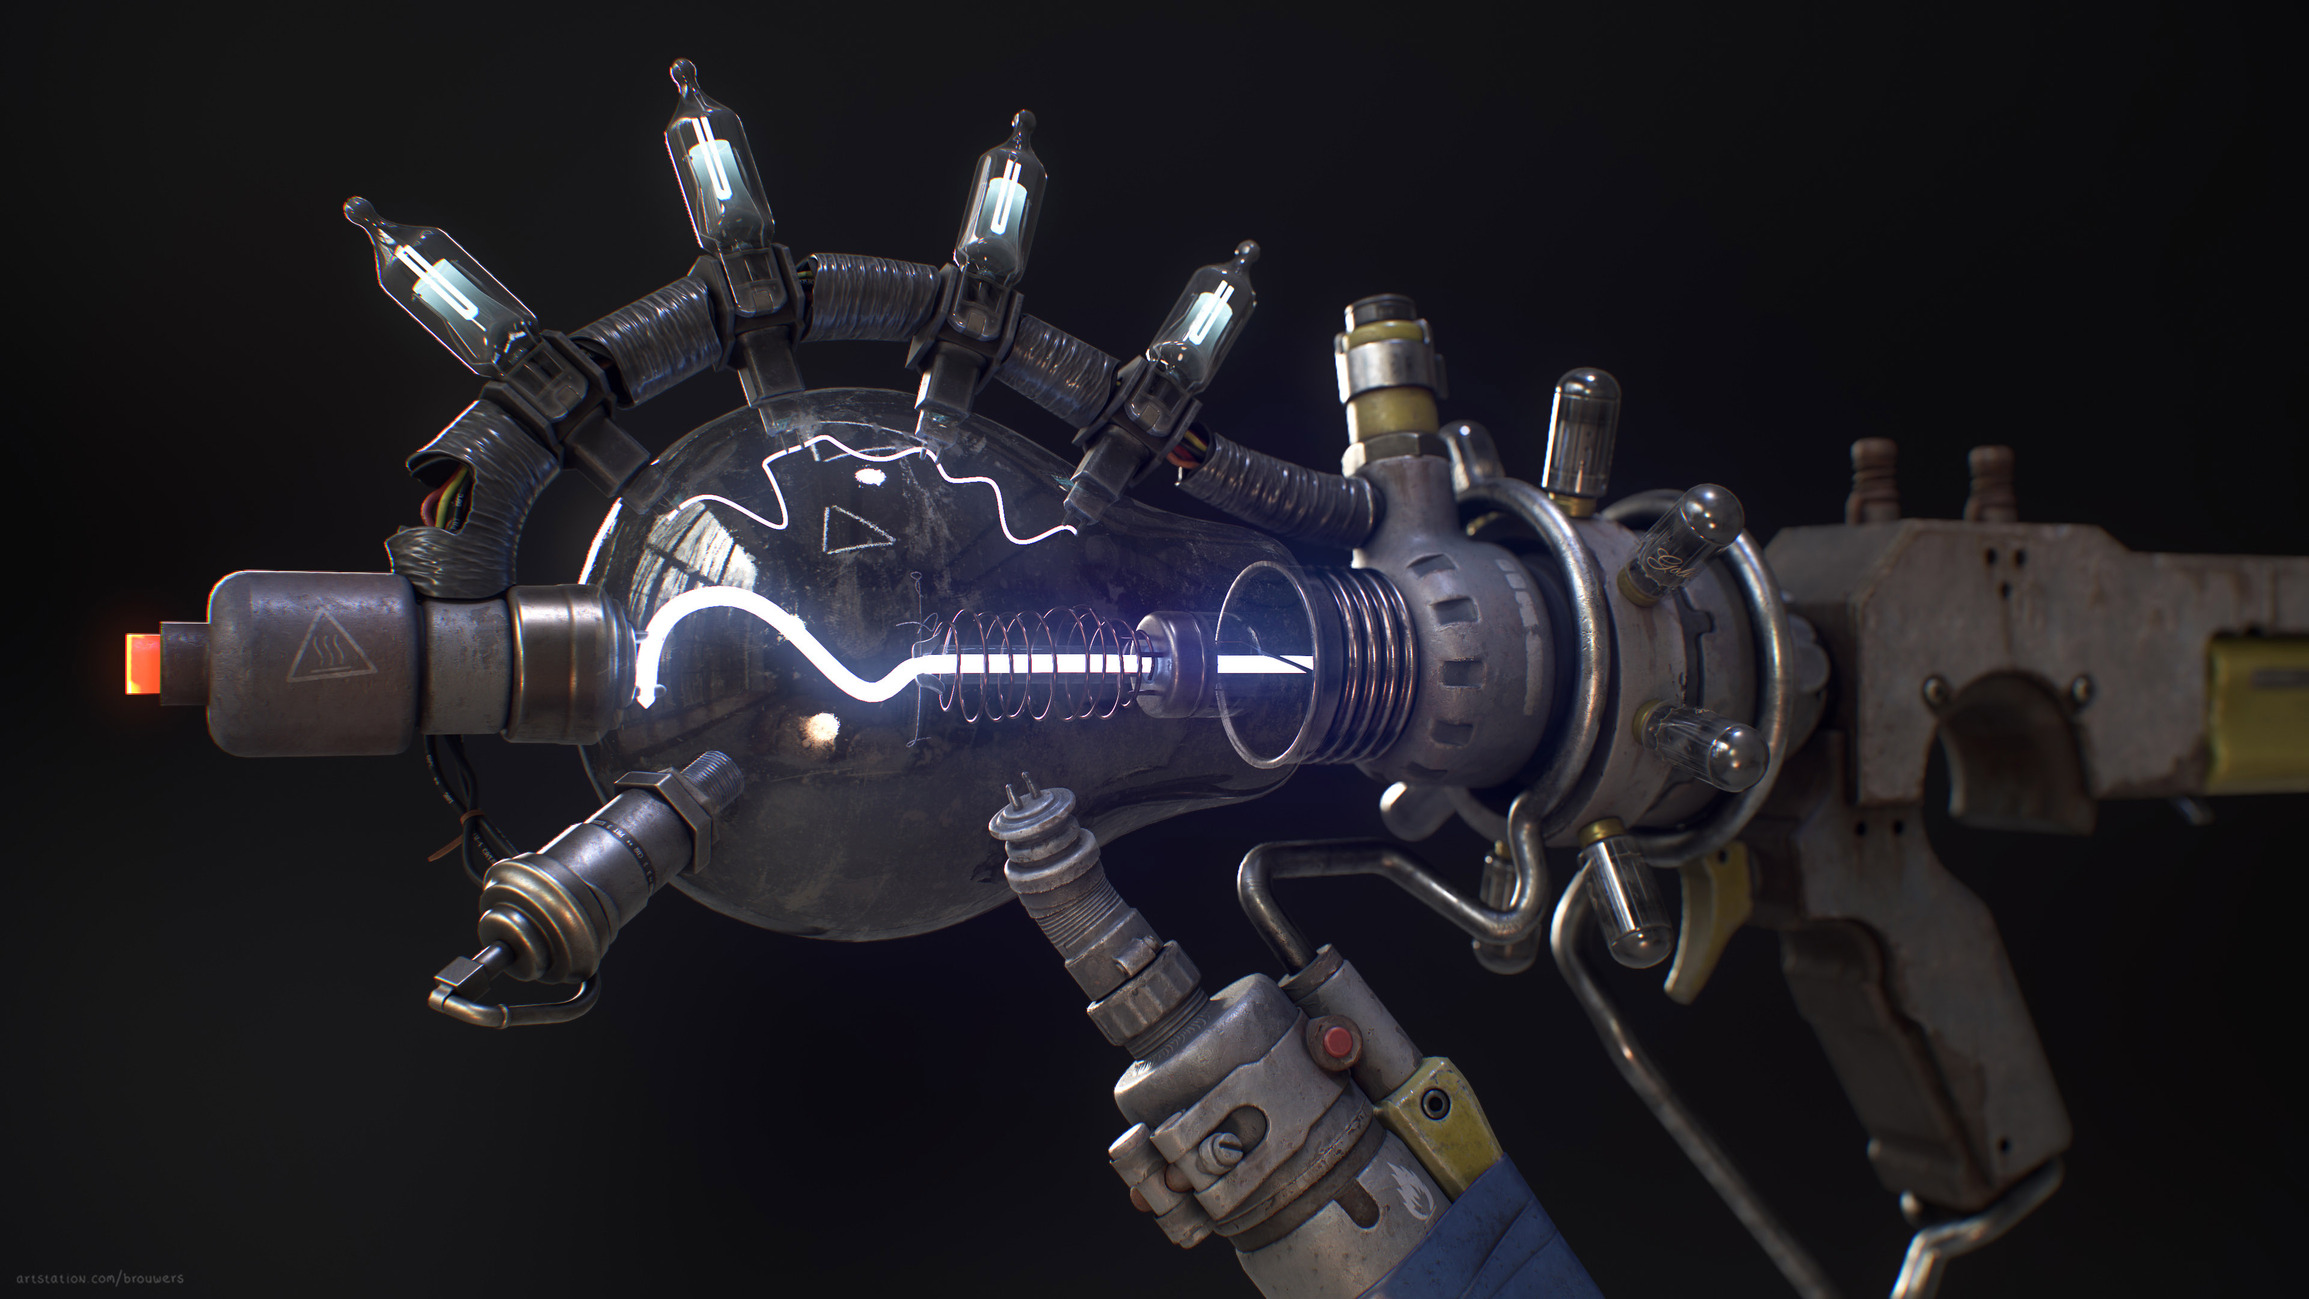
https://www.artstation.com/artwork/Je84gn
This is my old work that I completed during the war in my country to the sound of a siren.
I wish that wars and death were only in computer games, and not in real life.
Peace for everyone!
Re: How The F*#% Do I Model This? - Reply for help with specific shapes - (Post attempt before asking)
the higher density your base mesh is, the less pinch you will see. however. if it's barely visible and you are going to bake down and texture it. The pinch will in the end not really show =)
 wirrexx
Re: How The F*#% Do I Model This? - Reply for help with specific shapes - (Post attempt before asking)
You could always cut the geometry inbetween existing geo. this way you have natural chamfers around your mesh ( you could also select the faces and inset them) .
here is a really really really lazy me doing this in gif, because at work, I have not been doing 3D for a loooong ass time.
 wirrexx
Re: What Are You Working On? (3D) 2022
My current WIP of another mech
My WIP post https://polycount.com/discussion/229486/wip-destroyer-tankhead-stug-v/p1?new=1
My Artstation and blog https://www.artstation.com/blogs/nguyenphan1094/ev4E/destroyer-tankhead-stug-v-updated
 np1094
Re: What Are You Working On? (3D) 2022
Just finished my graduation project a doom inspired character https://www.artstation.com/artwork/Qna2W8
 Sora123
Re: Zbrush- Can you PERMANENTLY disable 'save undo history'?
if you save as ztl not zpr, there will be no undo history involved.
i personally prefer ztl over zpr anyways, as i can have multiple of these open, but always only just one project.
Re: What made you feel good today?
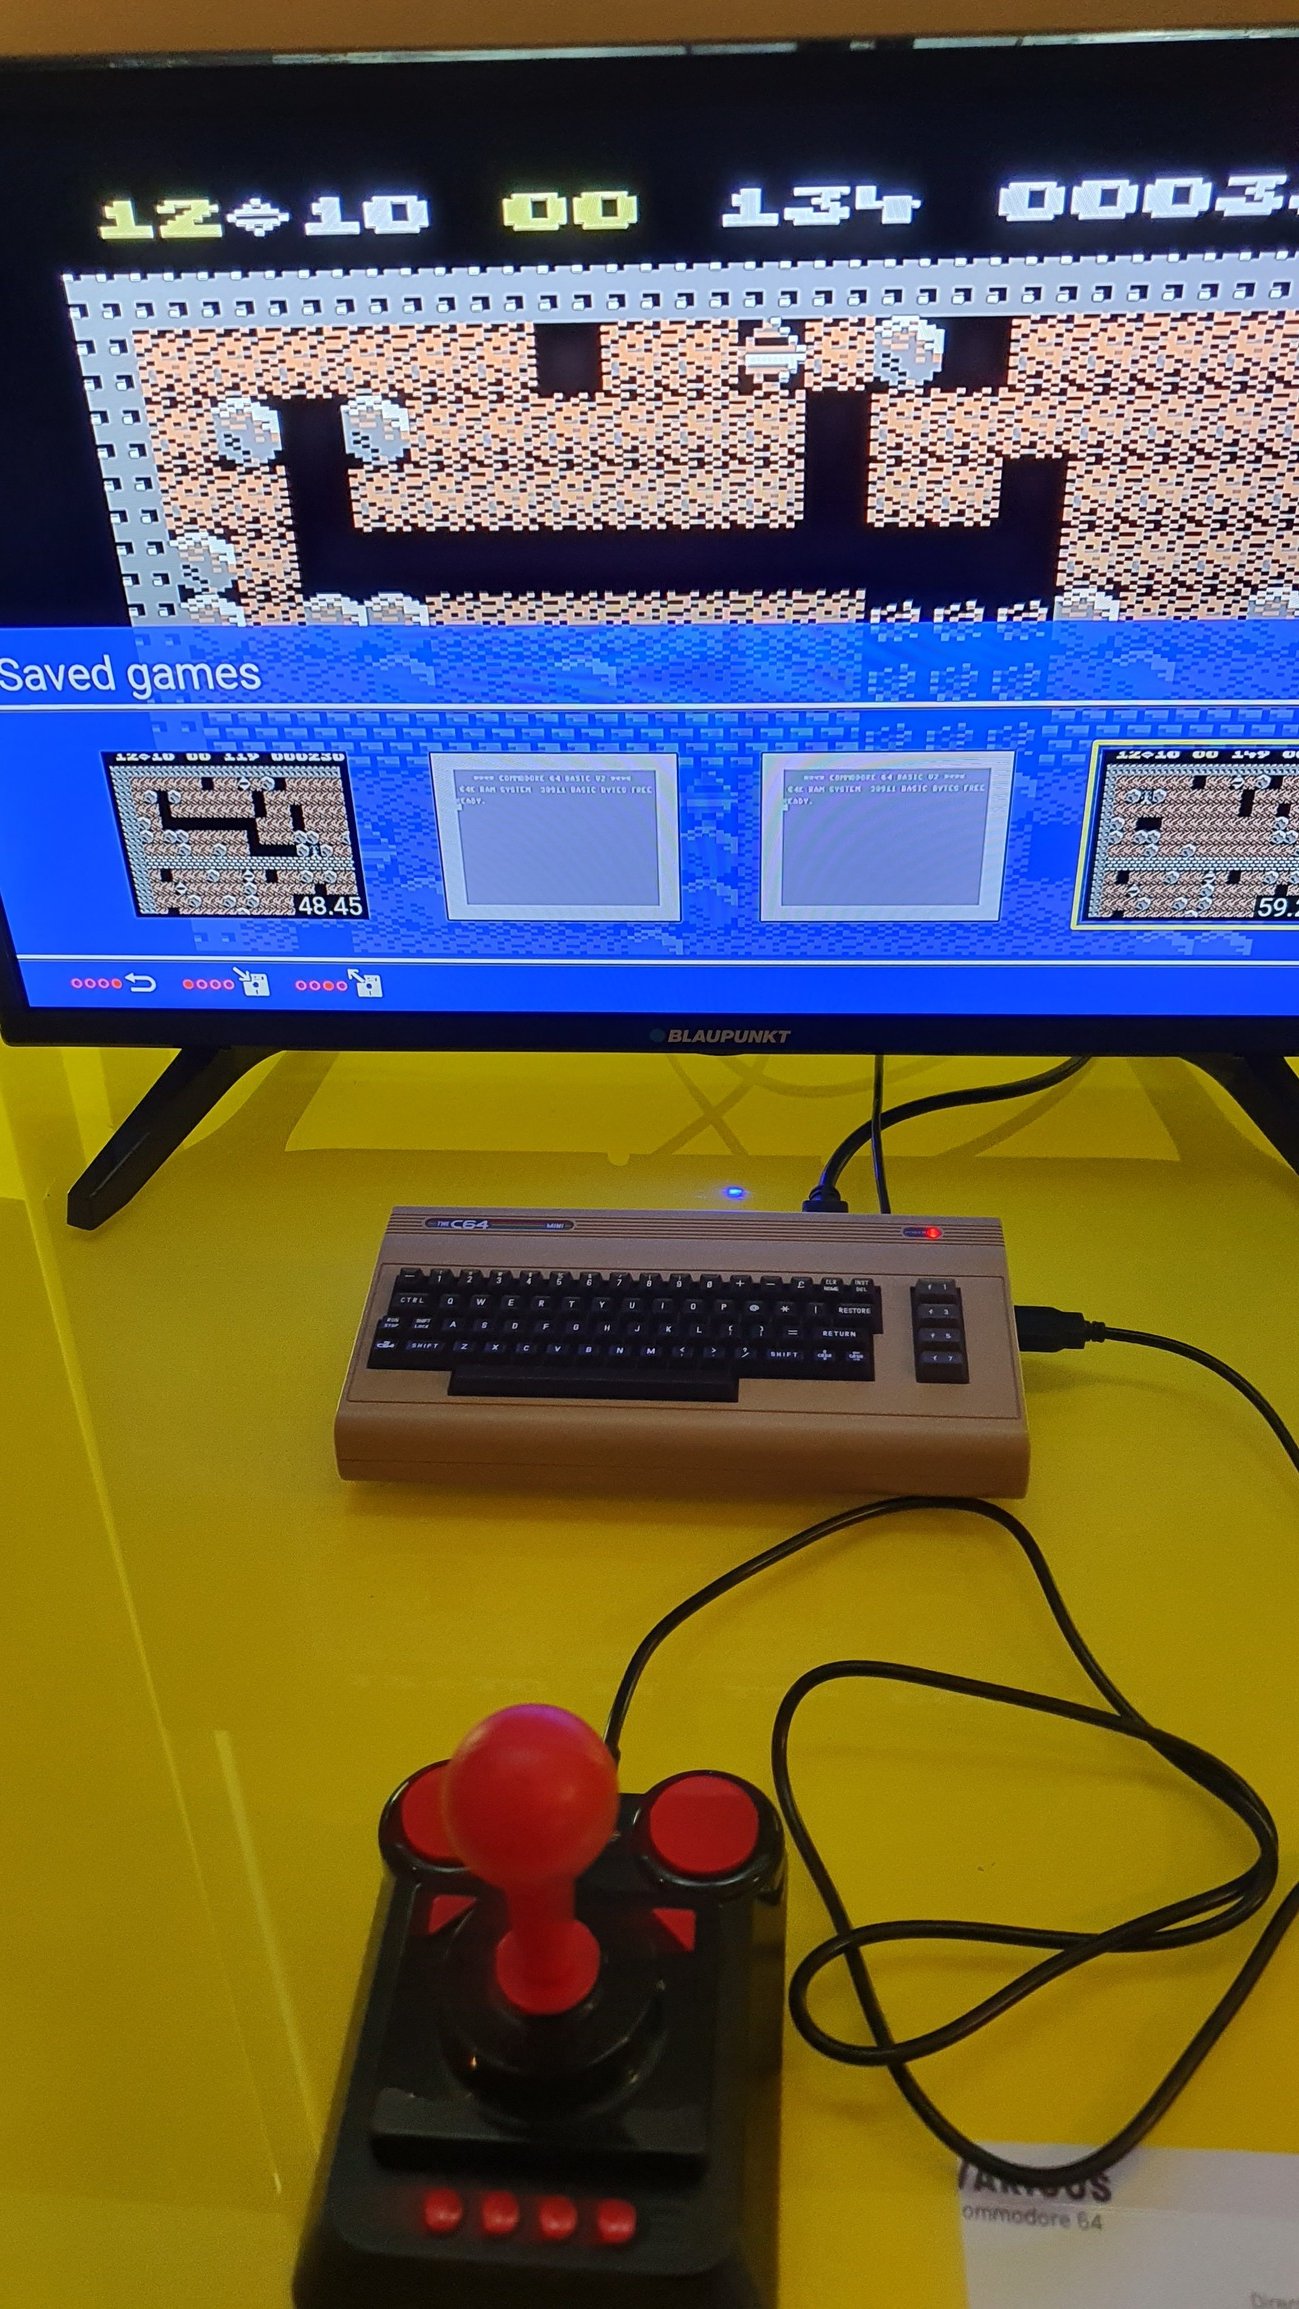
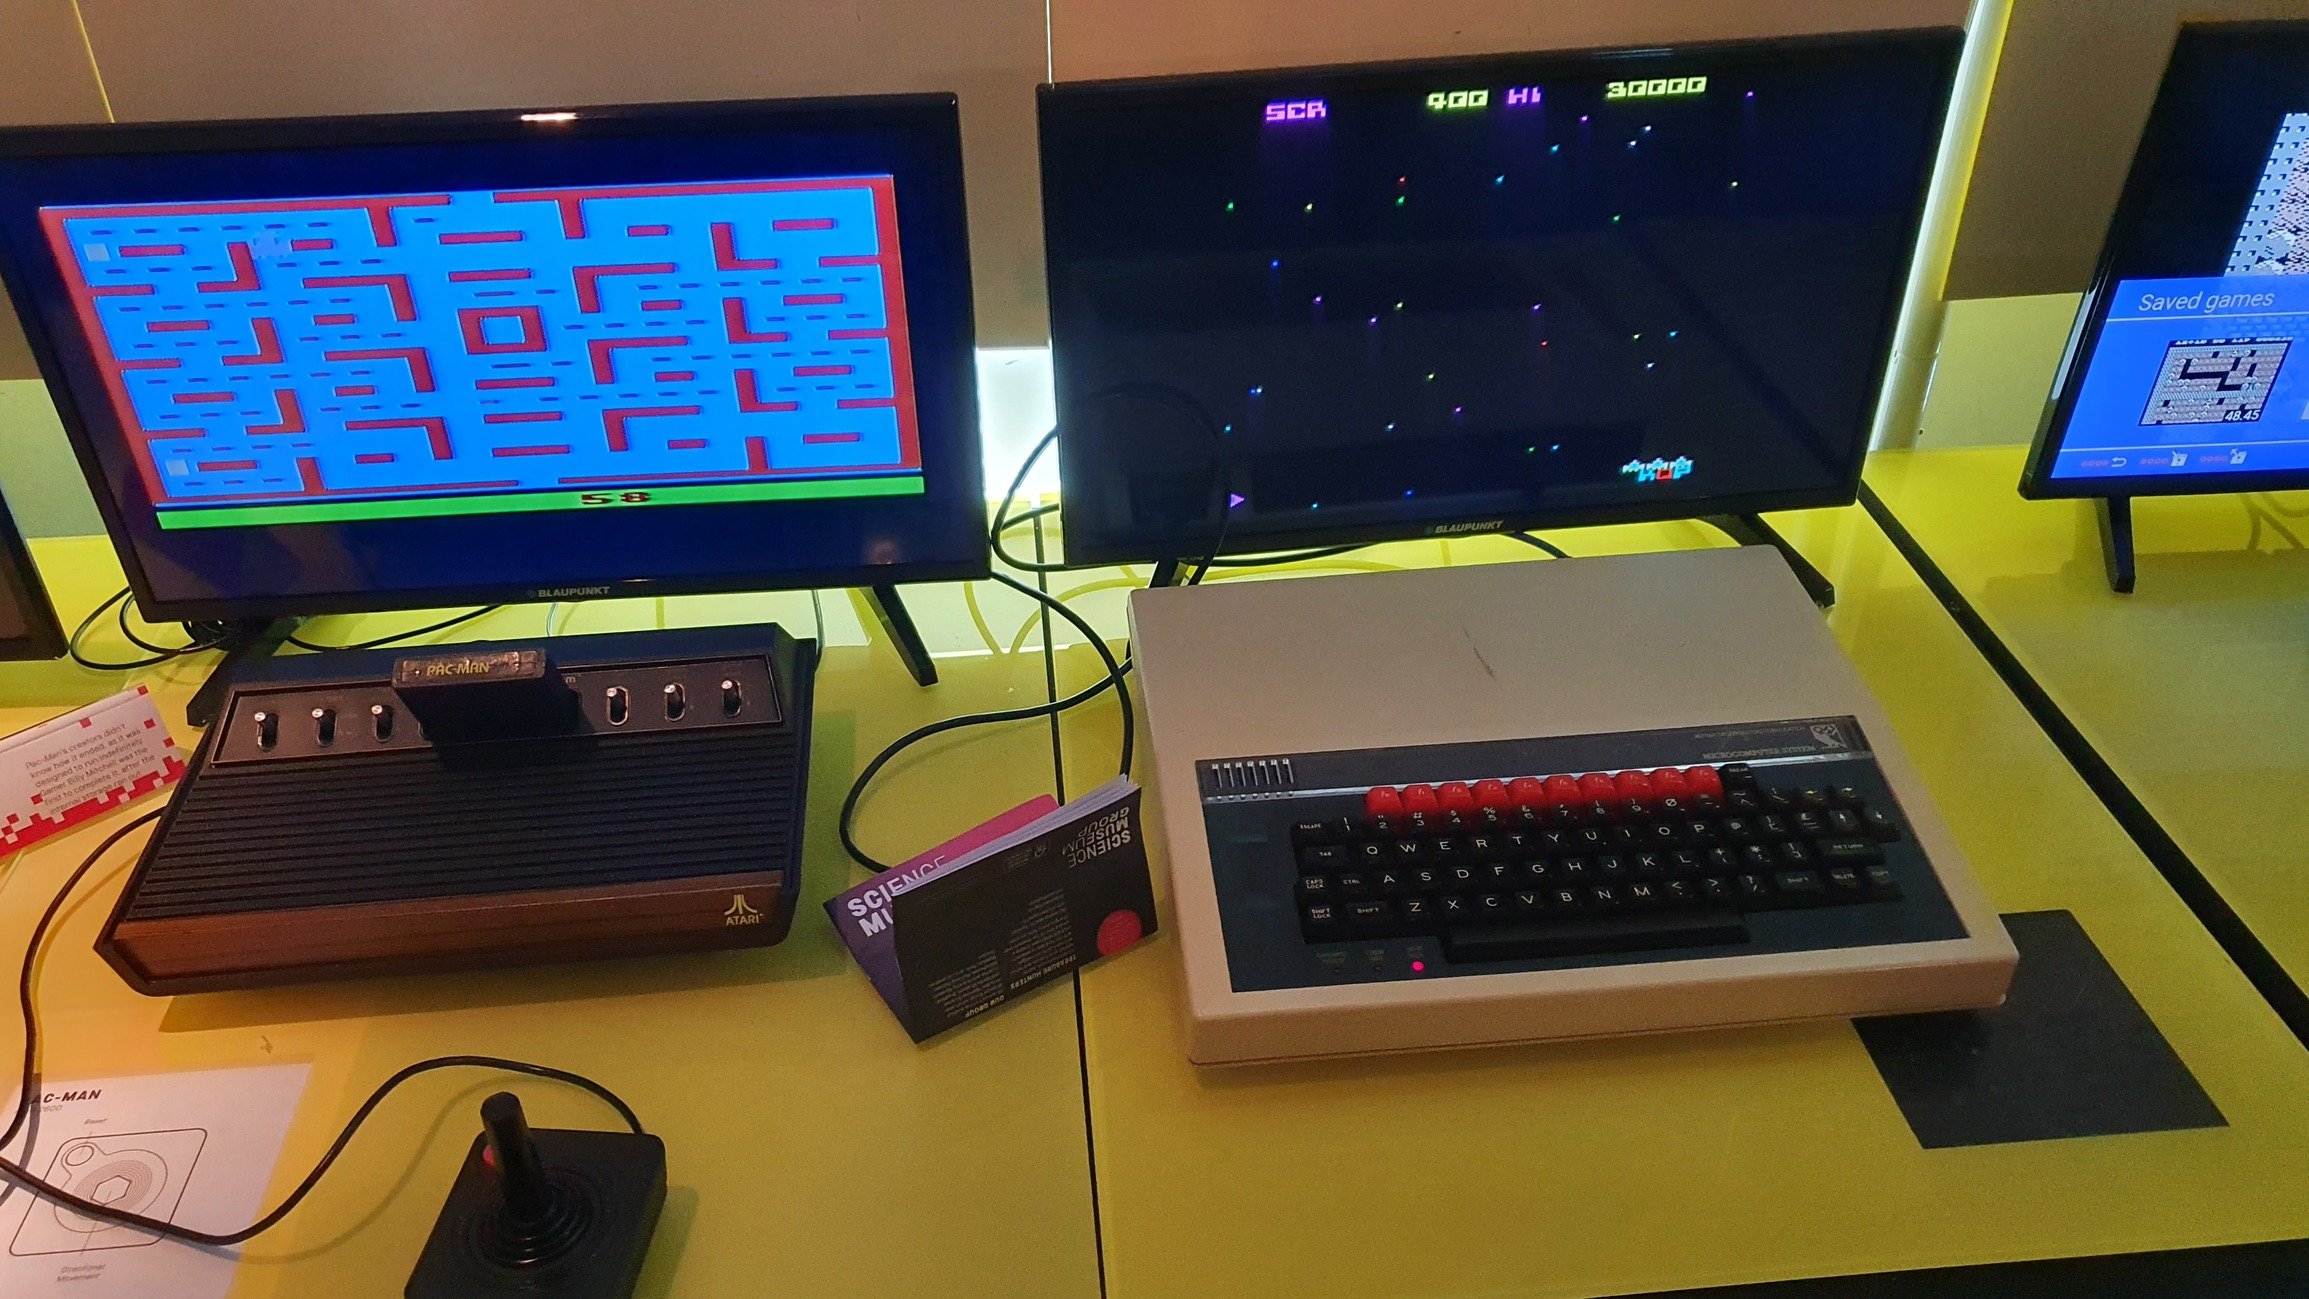
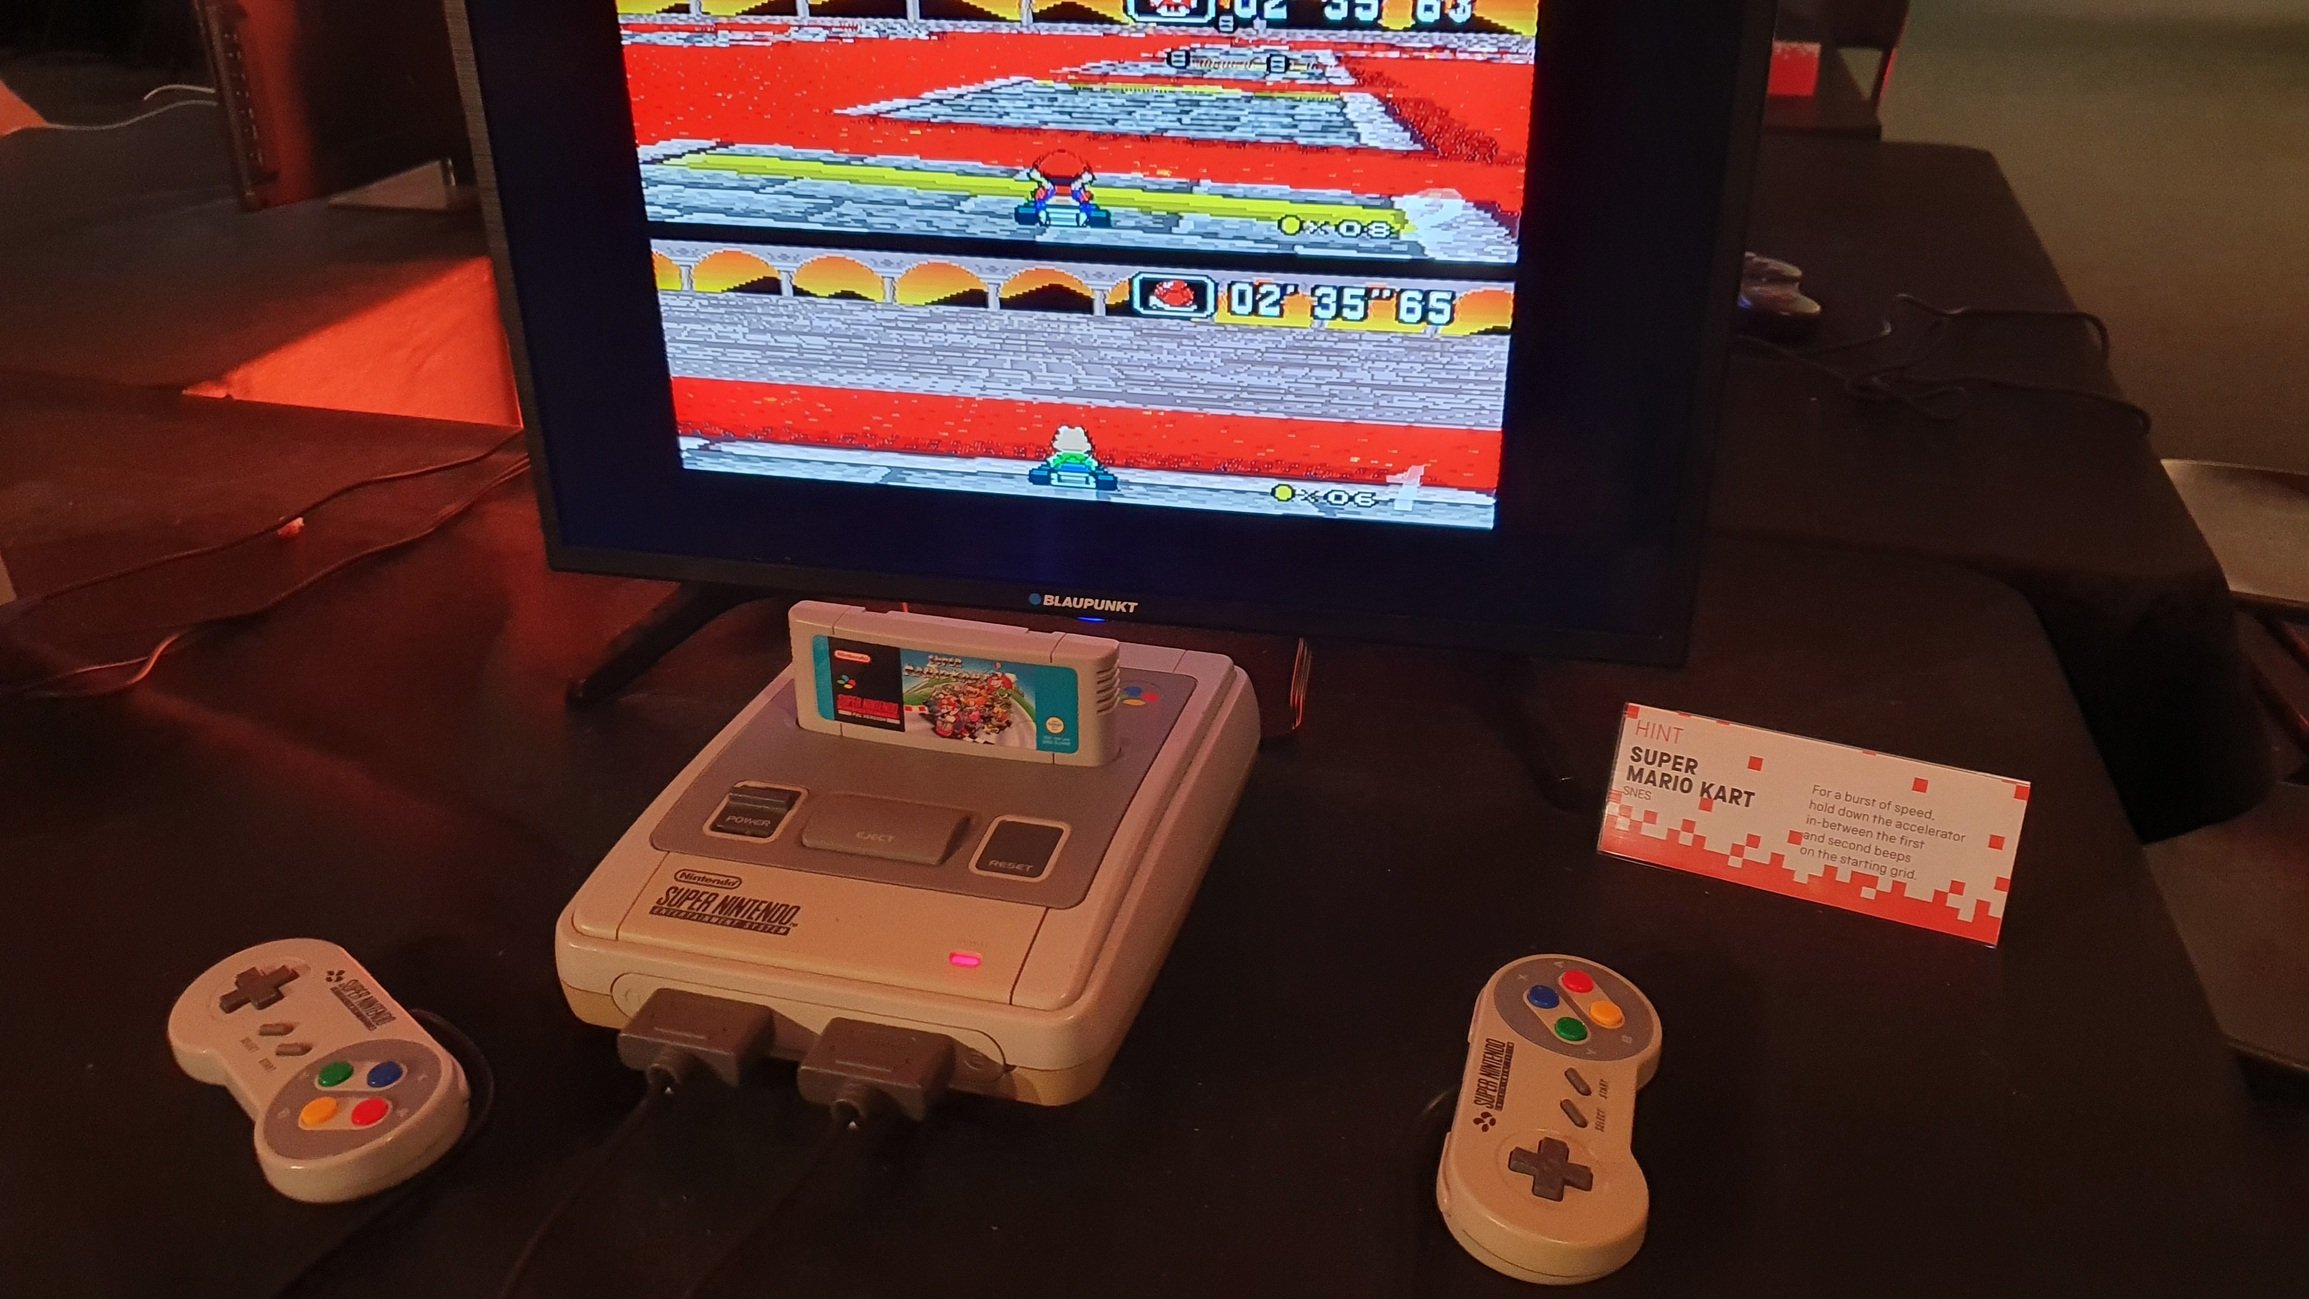
I took a trip to the science museum in London, it was a trip down memory lane, I thought you might enjoy what I found, spent way to long in this area. :)
 littleclaude
Re: [FINISHED] SCI-FI ENVIRONMENT - UE 4.27
Hey, i dont have any good tuts to recommend, i learned this technique from looking at game assets from older games.
One piece of good info i found a few years back is the Sunset overdrive talk, although a bit dated.
I usually model with splines so that i can take advantage of the generated uv. I also use simple shapes for the trimsheet part and if i need to do something more complex i would probably think ahead about how i would do the uv. Dont be afraid of a bit of uv stretching - this was hard for me cause im a bit ocd - but dont overdo it.
To make things easier it would be ideal if you could uv the model in its base form (think of a simple rectangle), then do some edits to the geometry while retaining the uvs so that you dont have to redo them (completely). At least thats how i try to work.
I work in max btw.
Regarding the trim texture creation, try to think in percentage of the unique uv layout (25%, 0.25, 1/4) not in pixels. This will make things easier when uv-ing.
If you use multiple uvs remember that only the first uv map can be rotated, flipped and the normalmap still works. Rotated normalmaps on the other uvs will not look right in engine.
So, because im lazy i try to keep things simple and i suggest you do that too since this is your initiation project so to speak. Later on you can do more with this tecnique because you will gain experience and see what works and what doesnt, what takes more time and what is just frustrating.
Good luck!
 teodar23


