


 Eric Chadwick
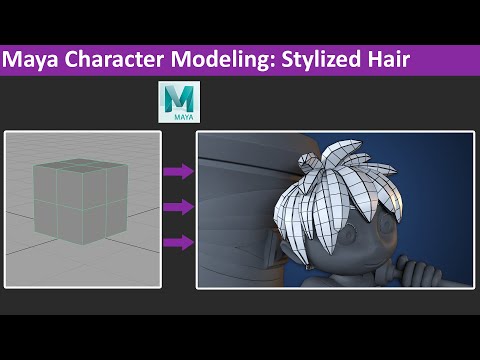 https://www.youtube.com/watch?v=_9mkZLYrEE4
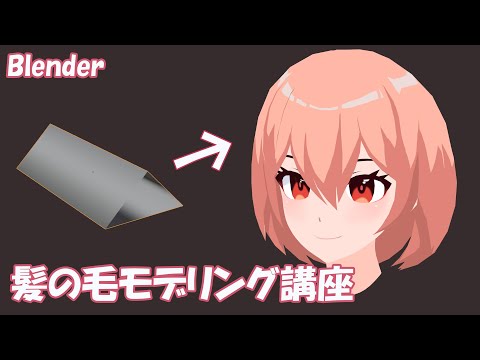 https://www.youtube.com/watch?v=Ng8FbOHvsLQ
 okidoki
 https://youtu.be/nQbmvWPgOps
 zetheros

 Alex_Zlatovchen


 iam717


 Emilia_Krutilina

 meowjesty