Best Of
Re: Early-Late 2000s CGI/Game textures

 Lamont
Re: How do i rig this
 ZacD
ZacD
Re: How do you make the 3D pipeline less painful?
Blanked out the name to discourage SEO, but I'm sure you could find it if you looked hard enough.
Anyhow, it's all a bunch of astroturfing. Looking at you AsdiusWork, kostadina, lucaK25.
I get it, this is how you market these days, embedding things. But at the very least treat us with some level of respect and announce where you're from, don't hide behind some pseudo anonymity.
 Eric Chadwick
Re: Sketchbook: Tim Smith
There are a few other things that could be revised, but the most important is a structural mistake in the head which immediately stands out, specially in profile: Ear placement.
Unfortunately the skull you're using is missing the ear hole, a vital landmark for the head. When it's not being actively considered when placing features and your ref lacks it it's very likely the ear will drift. When it drifts other features tend to also drift, with jaw and sternocleidomastoid and hairline usually being the worst victims.

In this case because the ear is so high the sternocleidomastoid is attaching to the side of the skull instead of to roughly the underside of the protuberance in the temporal bone. He'd also have odd sideburns and beard as it is, and a vast expanse of empty back rim of the jaw below the ear.
 Celosia
Idea for Feedback on Tracking 3D Content Creation Pipelines
I’ve been thinking about a simpler, more modern way to manage the flow of 3D content creation, as an alternative to heavier tools like Shotgrid. The idea is a web app that focuses on clarity and ease of use, with features tailored for artists and teams:
- Kanban-style board that shows what stage of production each asset is at.
- 3D viewers in the browser so assets can be reviewed instantly without extra tools. After reviewing, the user can decide whether to request revisions or approve the asset to the next steps.
- Requesting revisions directly on assets, and assigning to teammates or external collaborators. This will include a simple UI to annotate on top of 3D models and add notes.
- Onboarding team members and external contributors, and assigning them to specific steps of the pipeline so responsibilities are always clear.
- To-do lists for each team member, showing just the assets assigned to them.
- Custom properties and filtering, inspired by tools like Notion and Linear, to let teams organize things the way they want.
- Grouping assets into projects and milestones, with deadlines to track progress.
I’d love to hear your thoughts: would a tool like this help simplify your workflow, or are there other pain points in your process that should be addressed first?
Re: How do you make the 3D pipeline less painful?
 zetheros
Re: Theoden King of Rohan
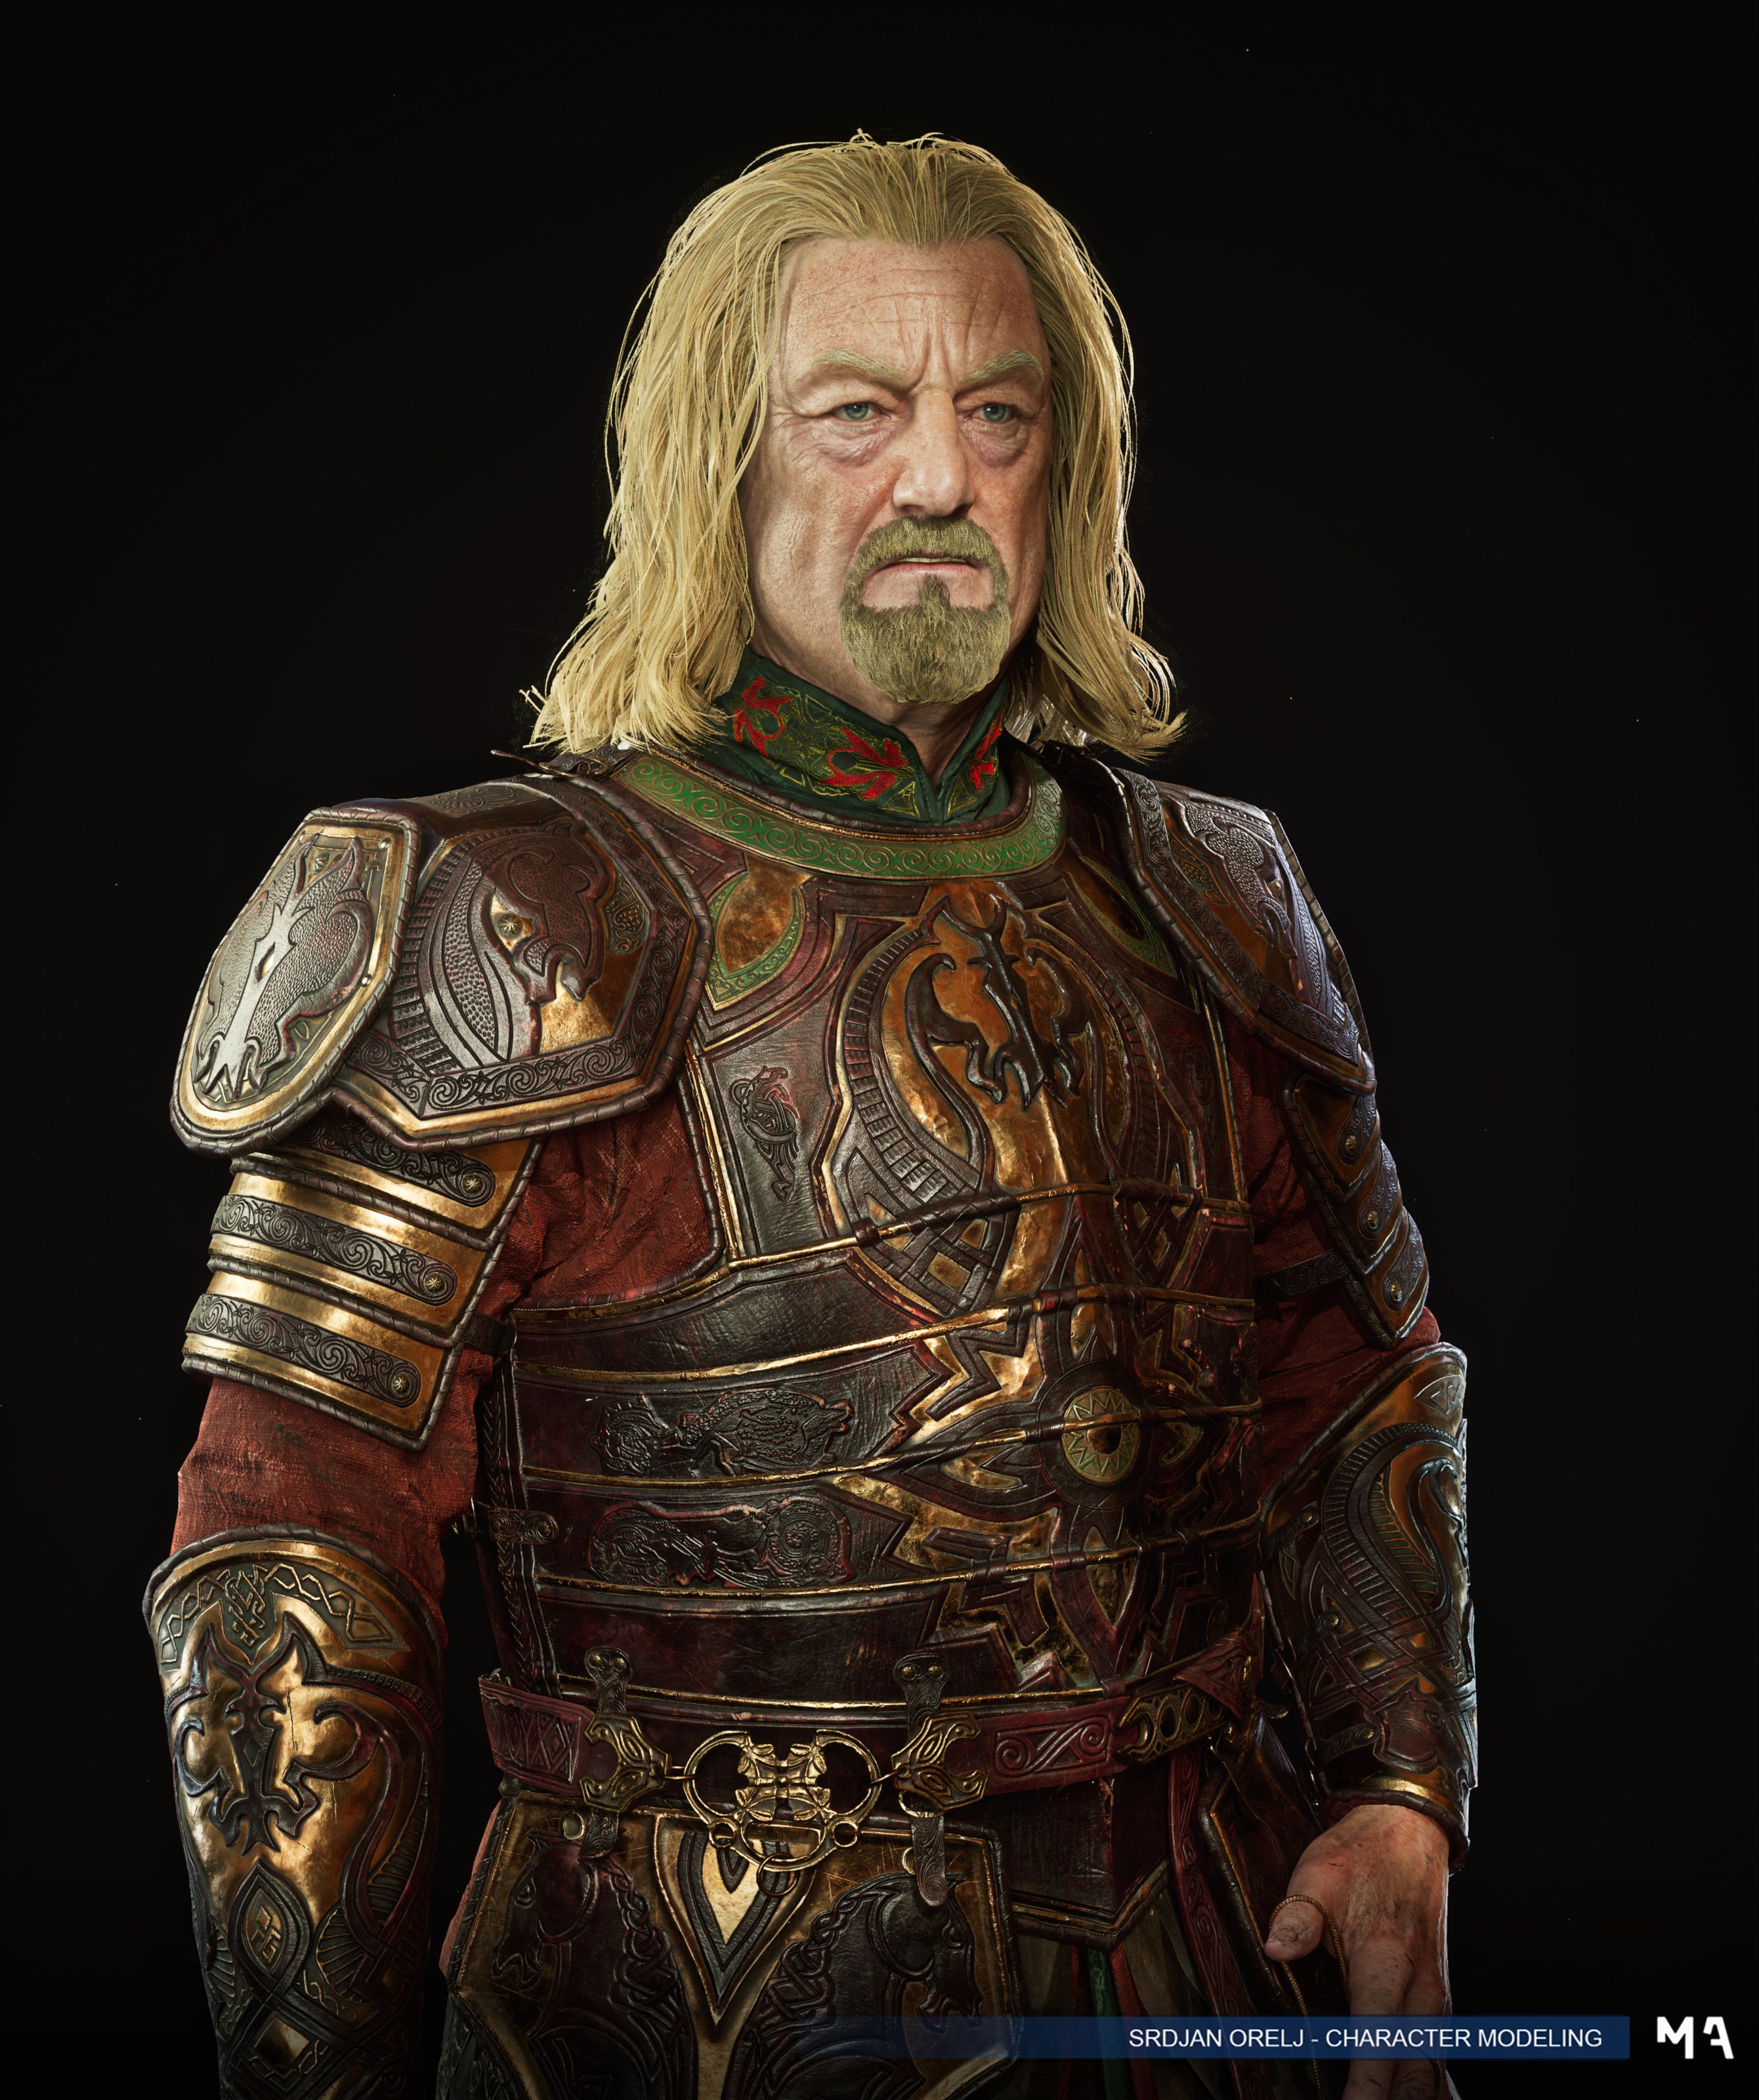
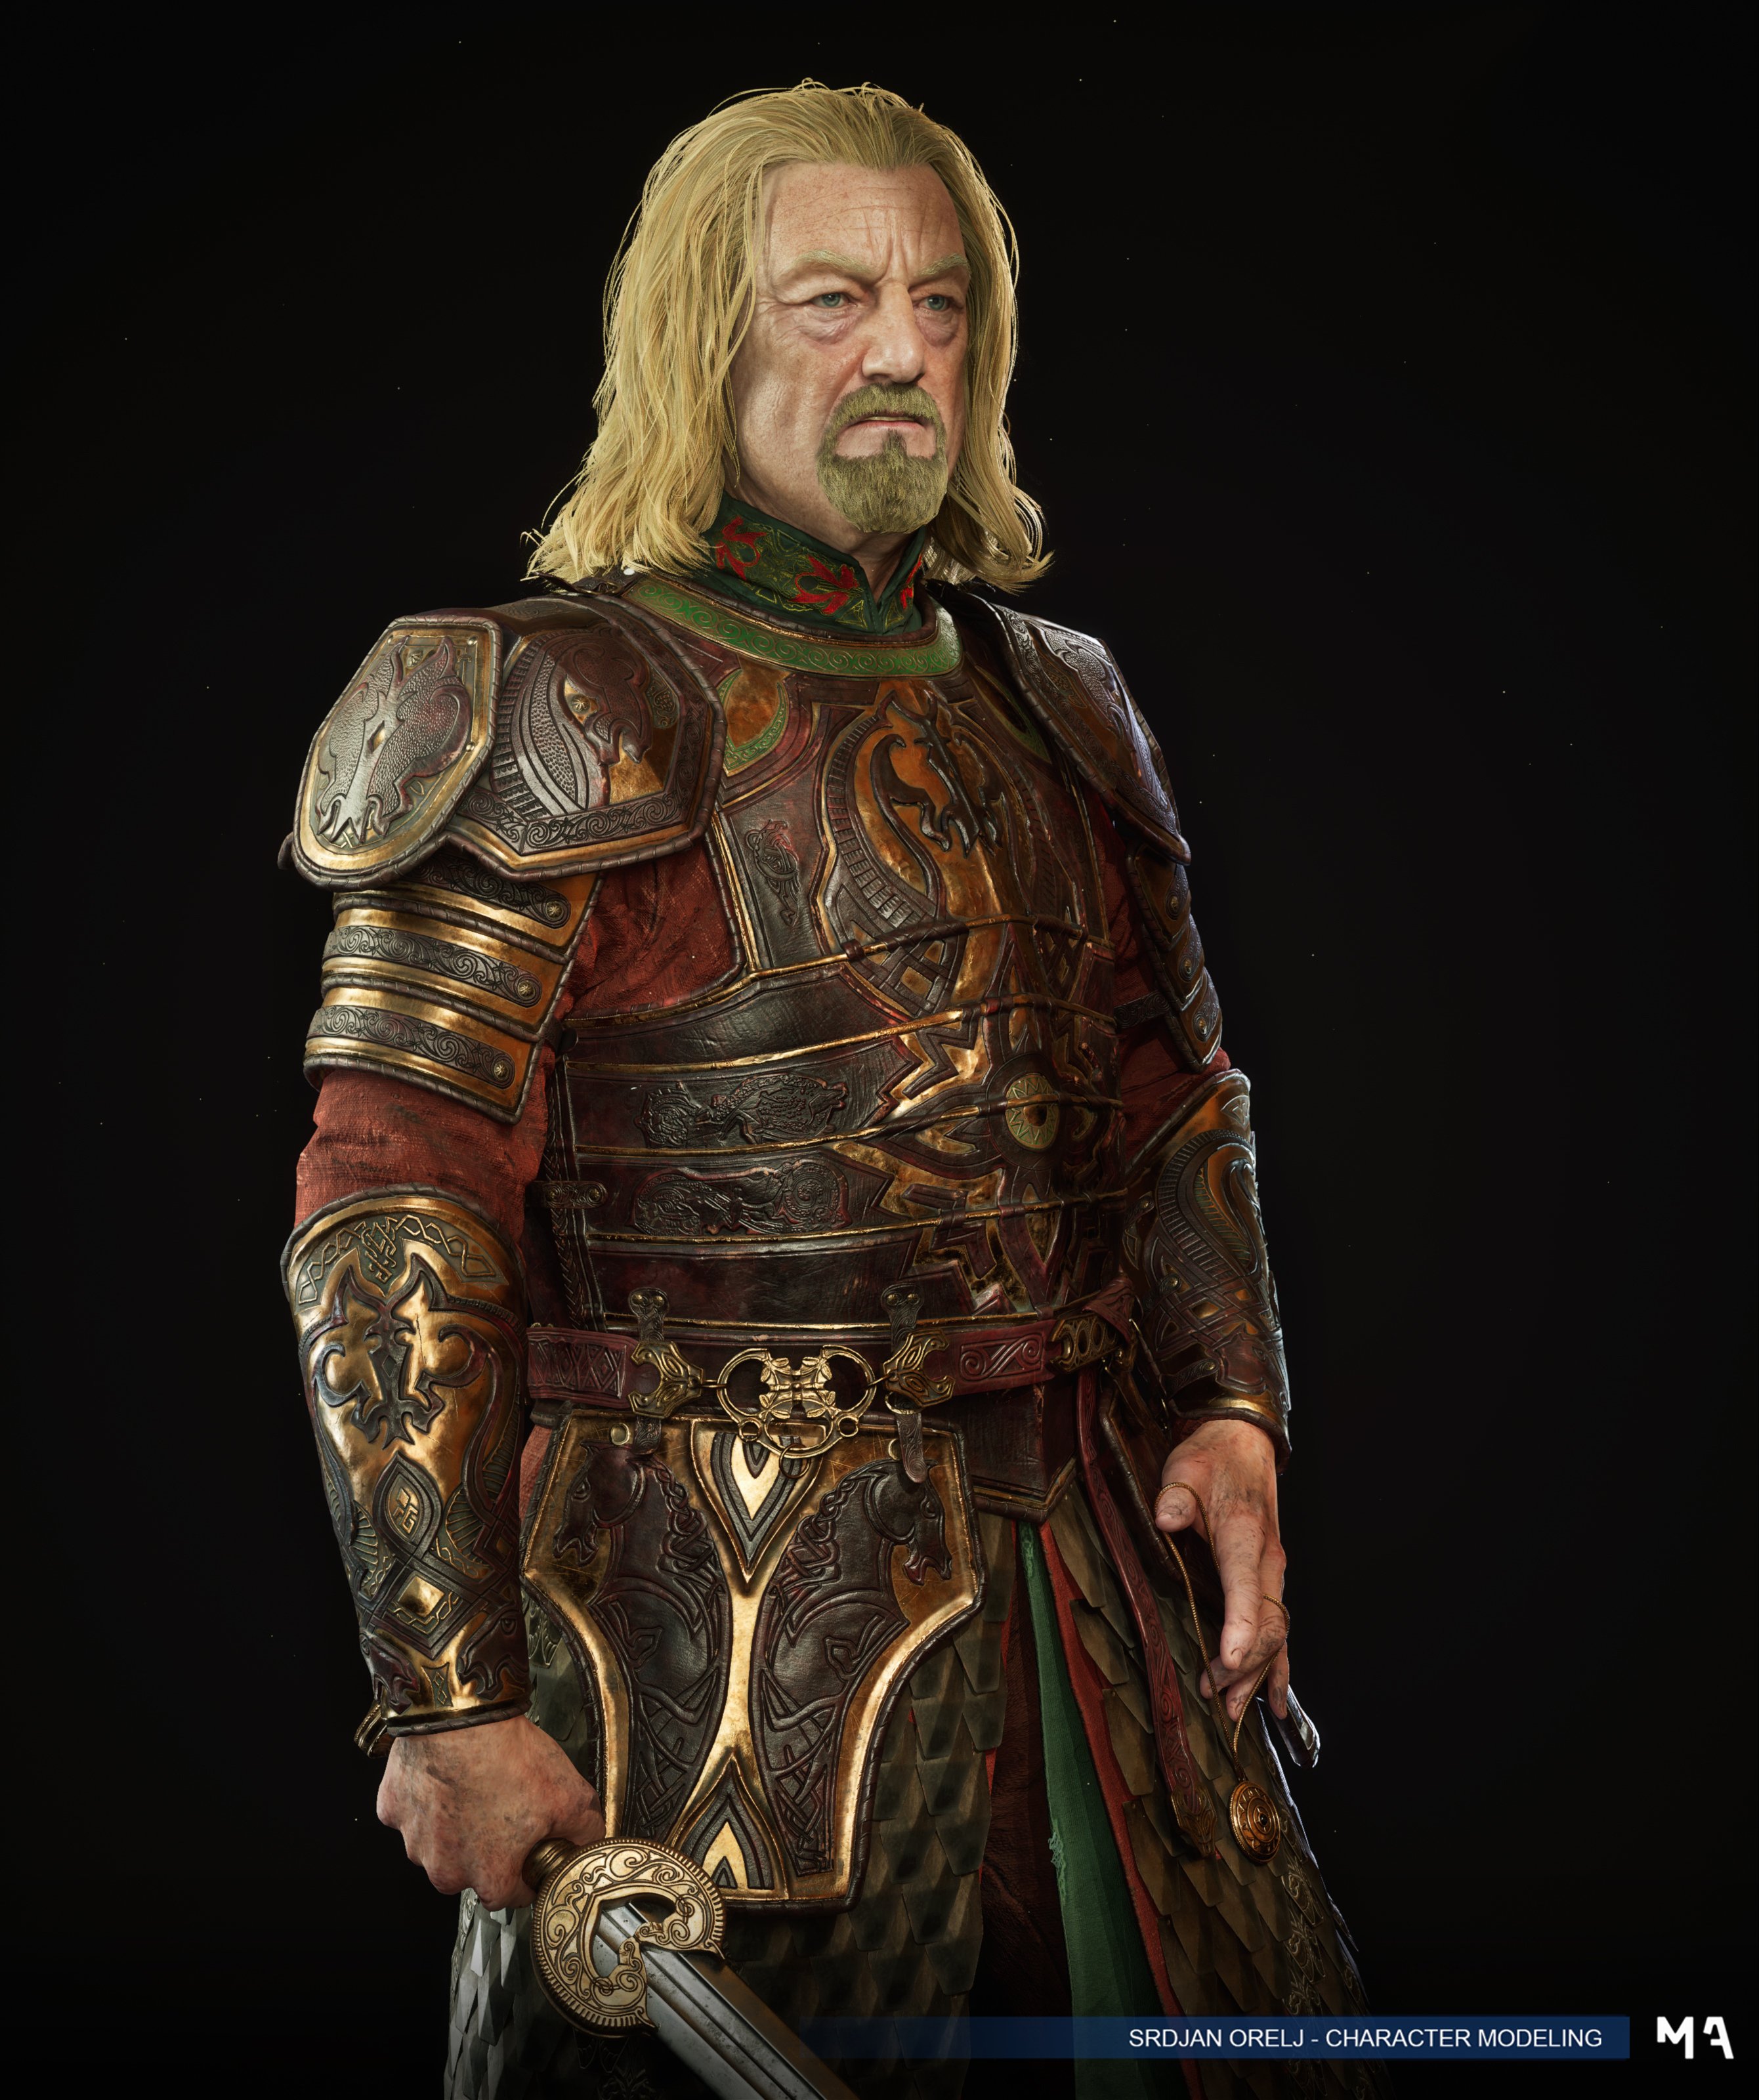
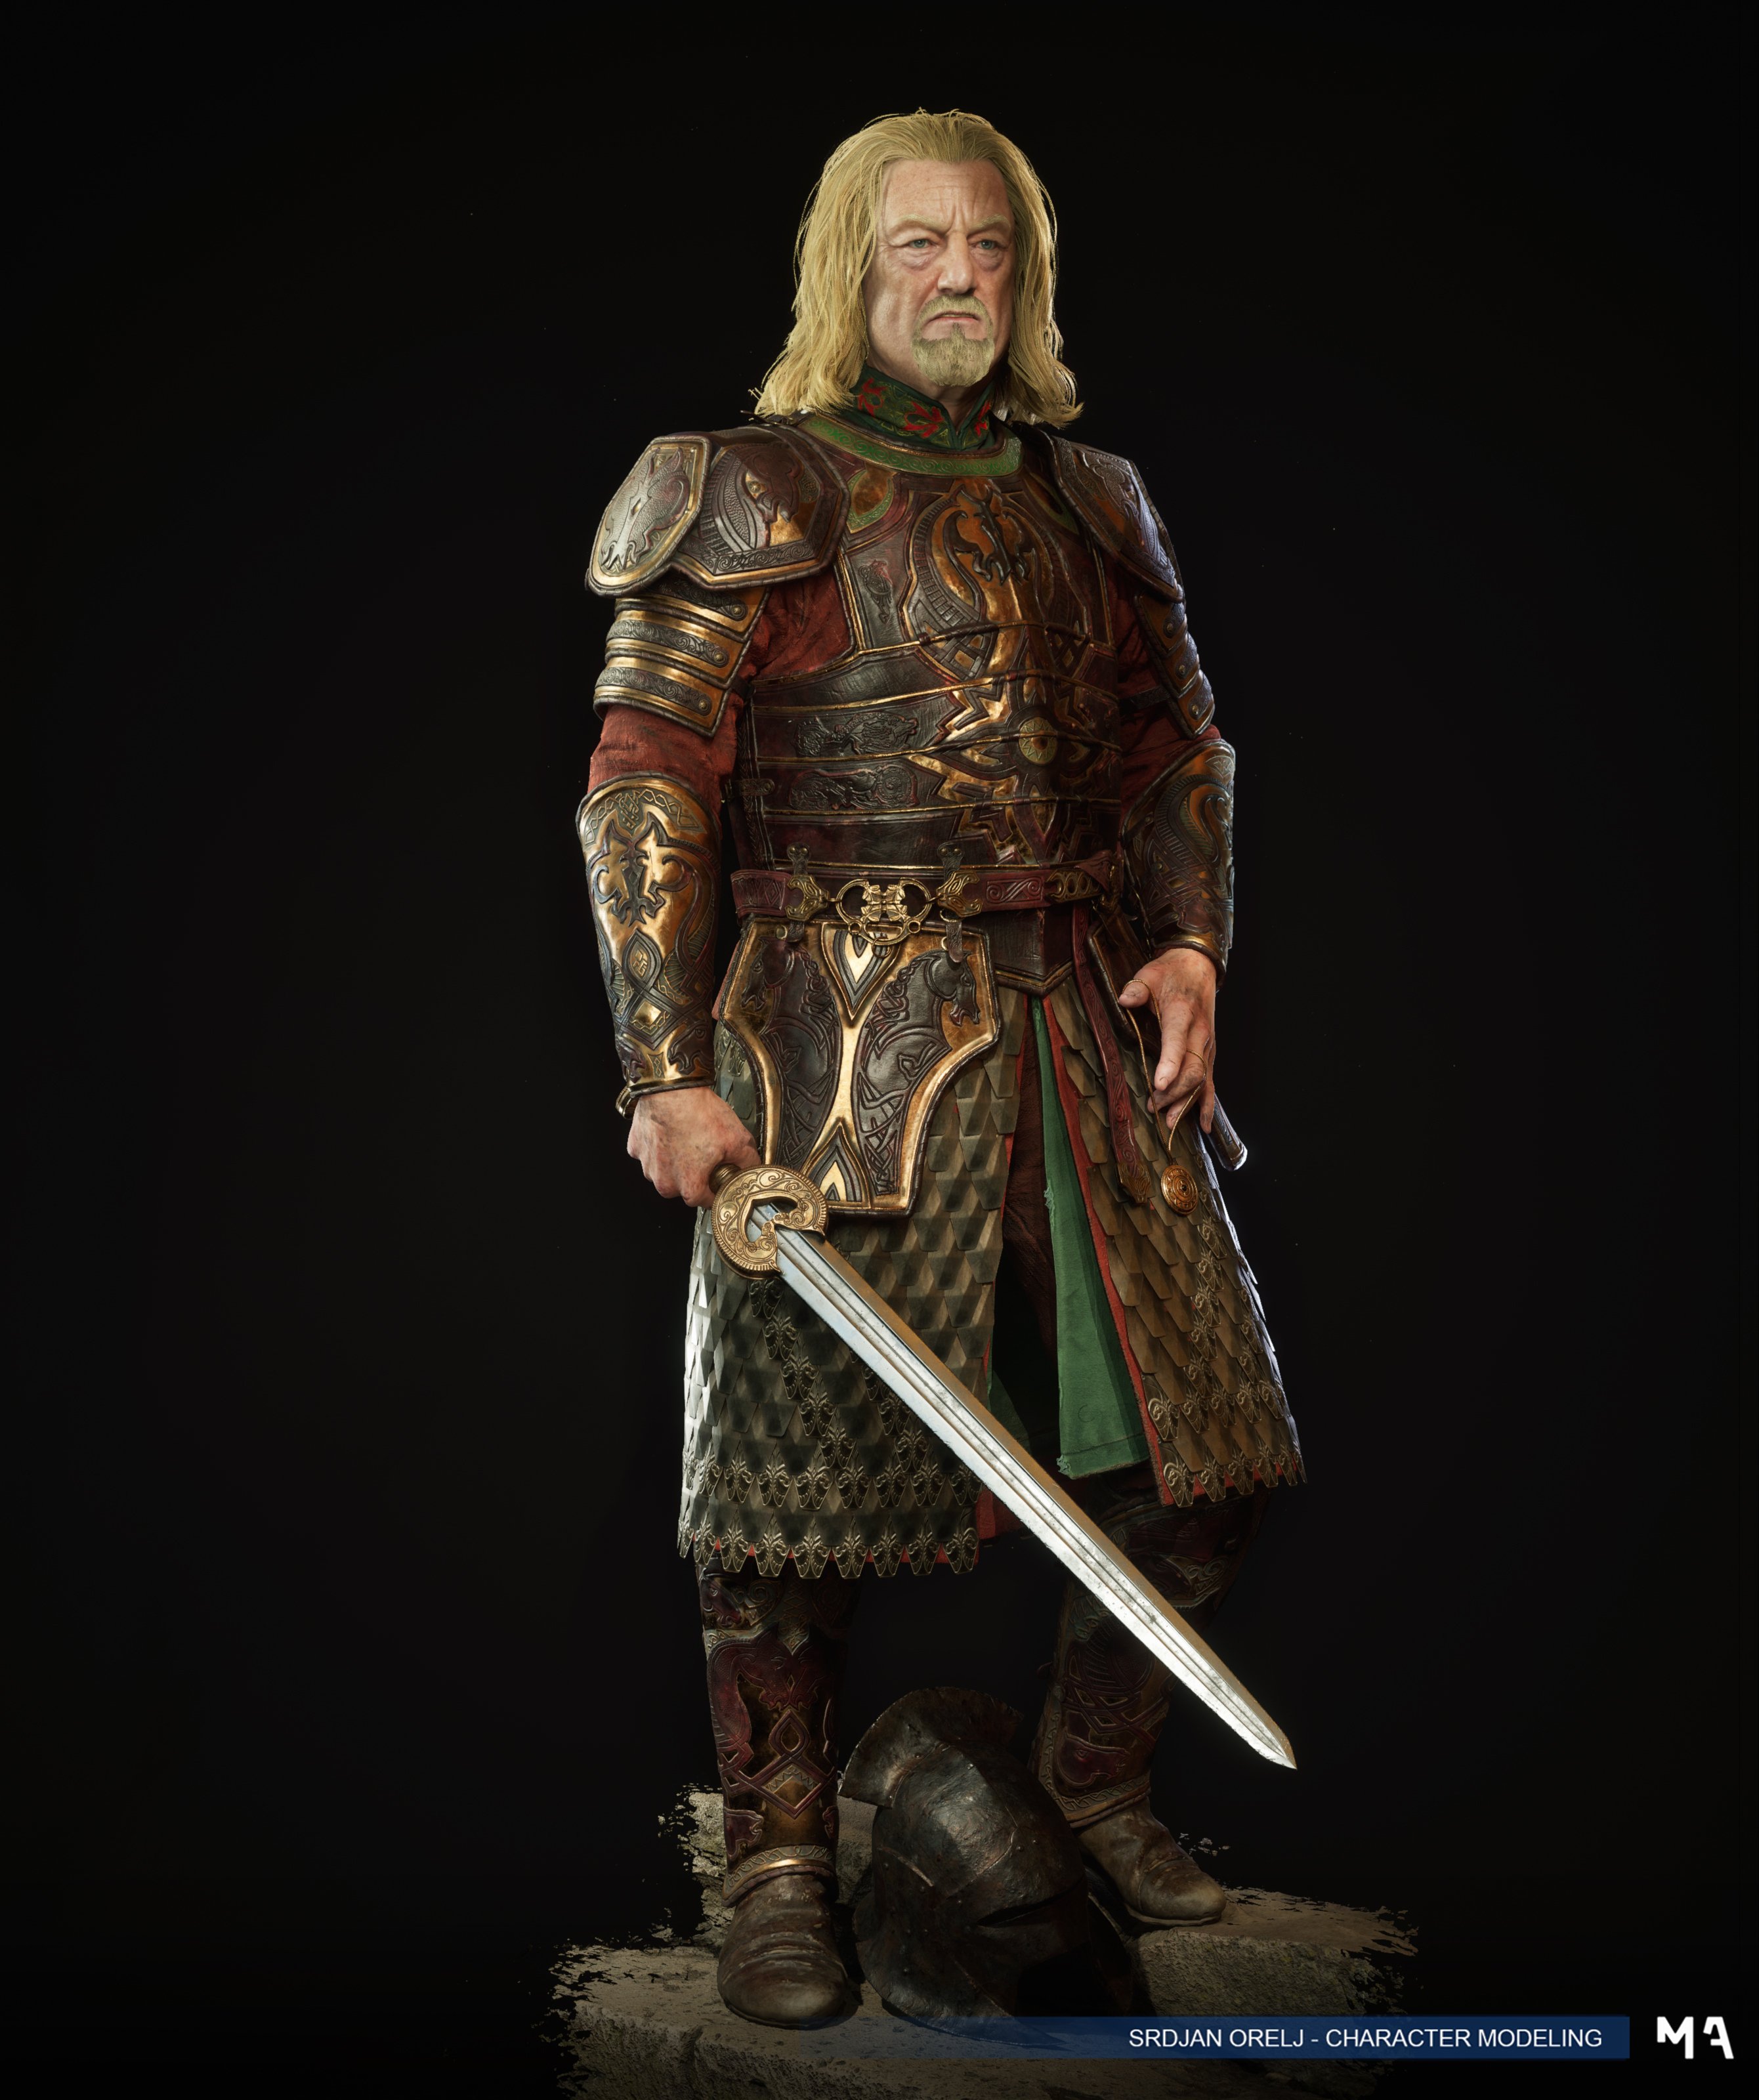

Finaly finished! Hope you like end result!
I have more shots on my artstation post: https://www.artstation.com/artwork/RKdVkm
Re: Sketchbook: Zetheros


Have a great week!
zetheros
Re: Sketchbook: Zetheros


Have a great week!
zetheros