Search
-
Re: Shader FX - Partial recoloring of diffuse sheet
 Yeah I was using a cube since I didn't have my mesh and texture sheet to hand and it was a quick and dirty way to do it. End goal is pretty much what your node graph defines, It'll be block colored areas of the sheet, nothing more complicated in terms of blending the defined color into the existing stuff. Alpha channel…
 -
Re: How to rig and animate cloth/hair in games??
In MAX we have modifier "Skin Morph" who do this - when bones moved to definite position, then vertices moved to definite morph target. You can do the same in Maya, with few Blend Shapes, connected to Utility Nodes via Connection Editor, or Set Driven Key (sorry, I`m not a Maya user). About the topology - I work with first… -
Re: [WIP] T-Recks
Hey guys I'm pretty much done with the head for now. I am now focusing on the body and I'm fine with the proportions, but I really need to improve the skeleton structure on him. I would really appreciate it if someone could perhaps do a paint over for me. I've looked at several tyrannosaur references, but I just can't nail… -
Re: UDK Normals in Ambient Shadow
 OK, here it is, I took a look at Naughty Dog's papers and their setup, and this should more or less roughly translate to what they did: Sky Ambient setup will look like this: World mask fed into a Lerp's Alpha and each slot takes in a color to fake the sky setup. I used a sky blue and deep red color to show what it will…
 -
Re: Overwatch Mashed Up Character - Reaping Tracer
 @Tits May I trouble you one step further ?? Neither of my anatomy knowledge, eyes for details, or taste design is what I consider decent, that's why all the feedback I receive help me tremendously. However, I also want to improve them as well, and not simply blindly follow advice. I don't think I will learn if all I do is…
 -
Re: Sketchbook: Amari Meyberg
 final project for game art 1, don't think this is representative of what i can do haha. not the proudest of it but i got it done and that's what counts i guess hopefully everything loads right
 -
Re: Stylized Stubby Flintlock Pistol (WIP)
 I like the earthy tones you had in the original... being wood and all I would expect it to be brown. A nice warm brown with metal accents would make it "pop" so to speak. Great start!
 -
Creating Assets for an Elden Ring-Inspired Location: Roundtable Hold fan art
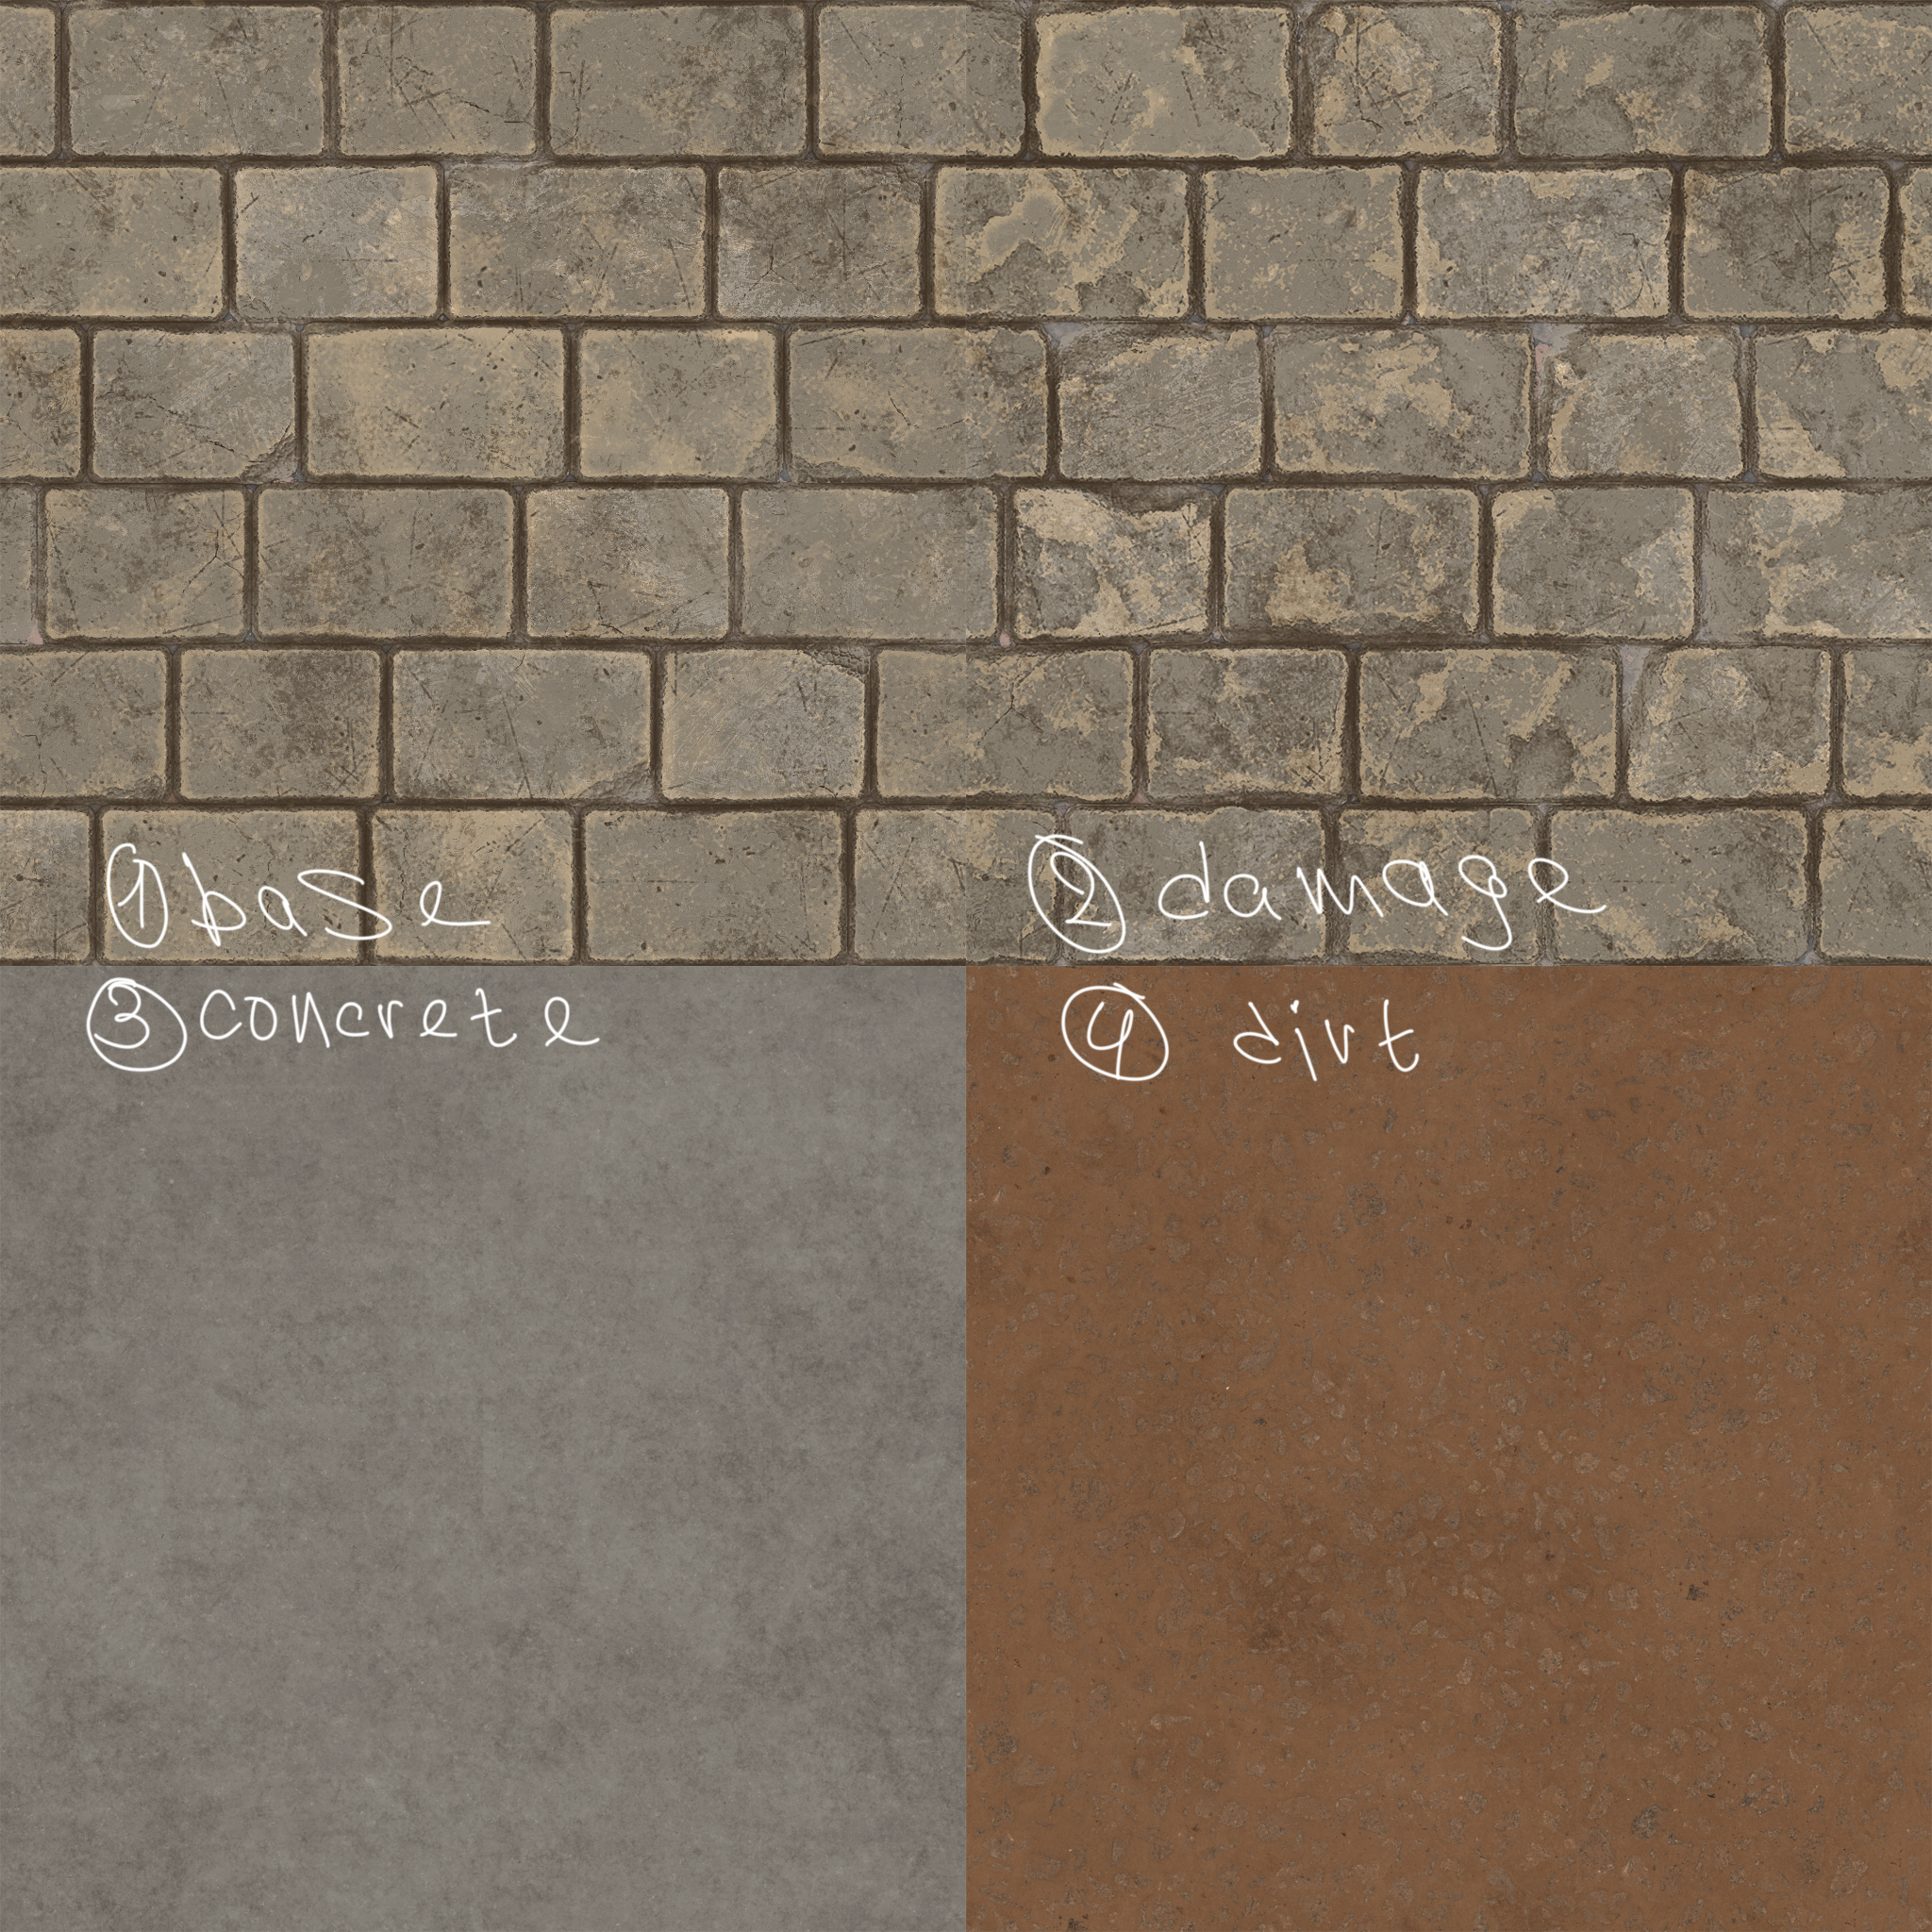 Hey everyone! I'm thrilled to finally unveil my completed game environment! This is a small-scale reimagining of the iconic Roundtable Hold from Elden Ring. My goal was to improve and demonstrate my skills. I introduced archways with statues (inspired by the original concept art), as well as a grand staircase with a runner…
 -
Re: Baking Problem in SP (Modelled in Max)
 This was really helpful! Have added this to my notes!
 -
Re: Apocalyptic movies. Know any?
 Holy crap, that's a lot to take in, but here we go... I haven't seen "Life After People" mainly cause I don't watch much tv at all. About 2 shows, and that's it. Same with Jericho. Le Dernier Combat was another name for one of the previously mentioned movies I think. It looks interesting none the less, so I'll be checking…
>69484 results