Creating Assets for an Elden Ring-Inspired Location: Roundtable Hold fan art
Hey everyone!
I'm thrilled to finally unveil my completed game environment! This is a small-scale reimagining of the iconic Roundtable Hold from Elden Ring. My goal was to improve and demonstrate my skills. I introduced archways with statues (inspired by the original concept art), as well as a grand staircase with a runner carpet leading up to the Roundtable itself.I'd like to share a breakdown of my asset creation process and the tools I used.
Brick Wall Texturing: From Base to Texture
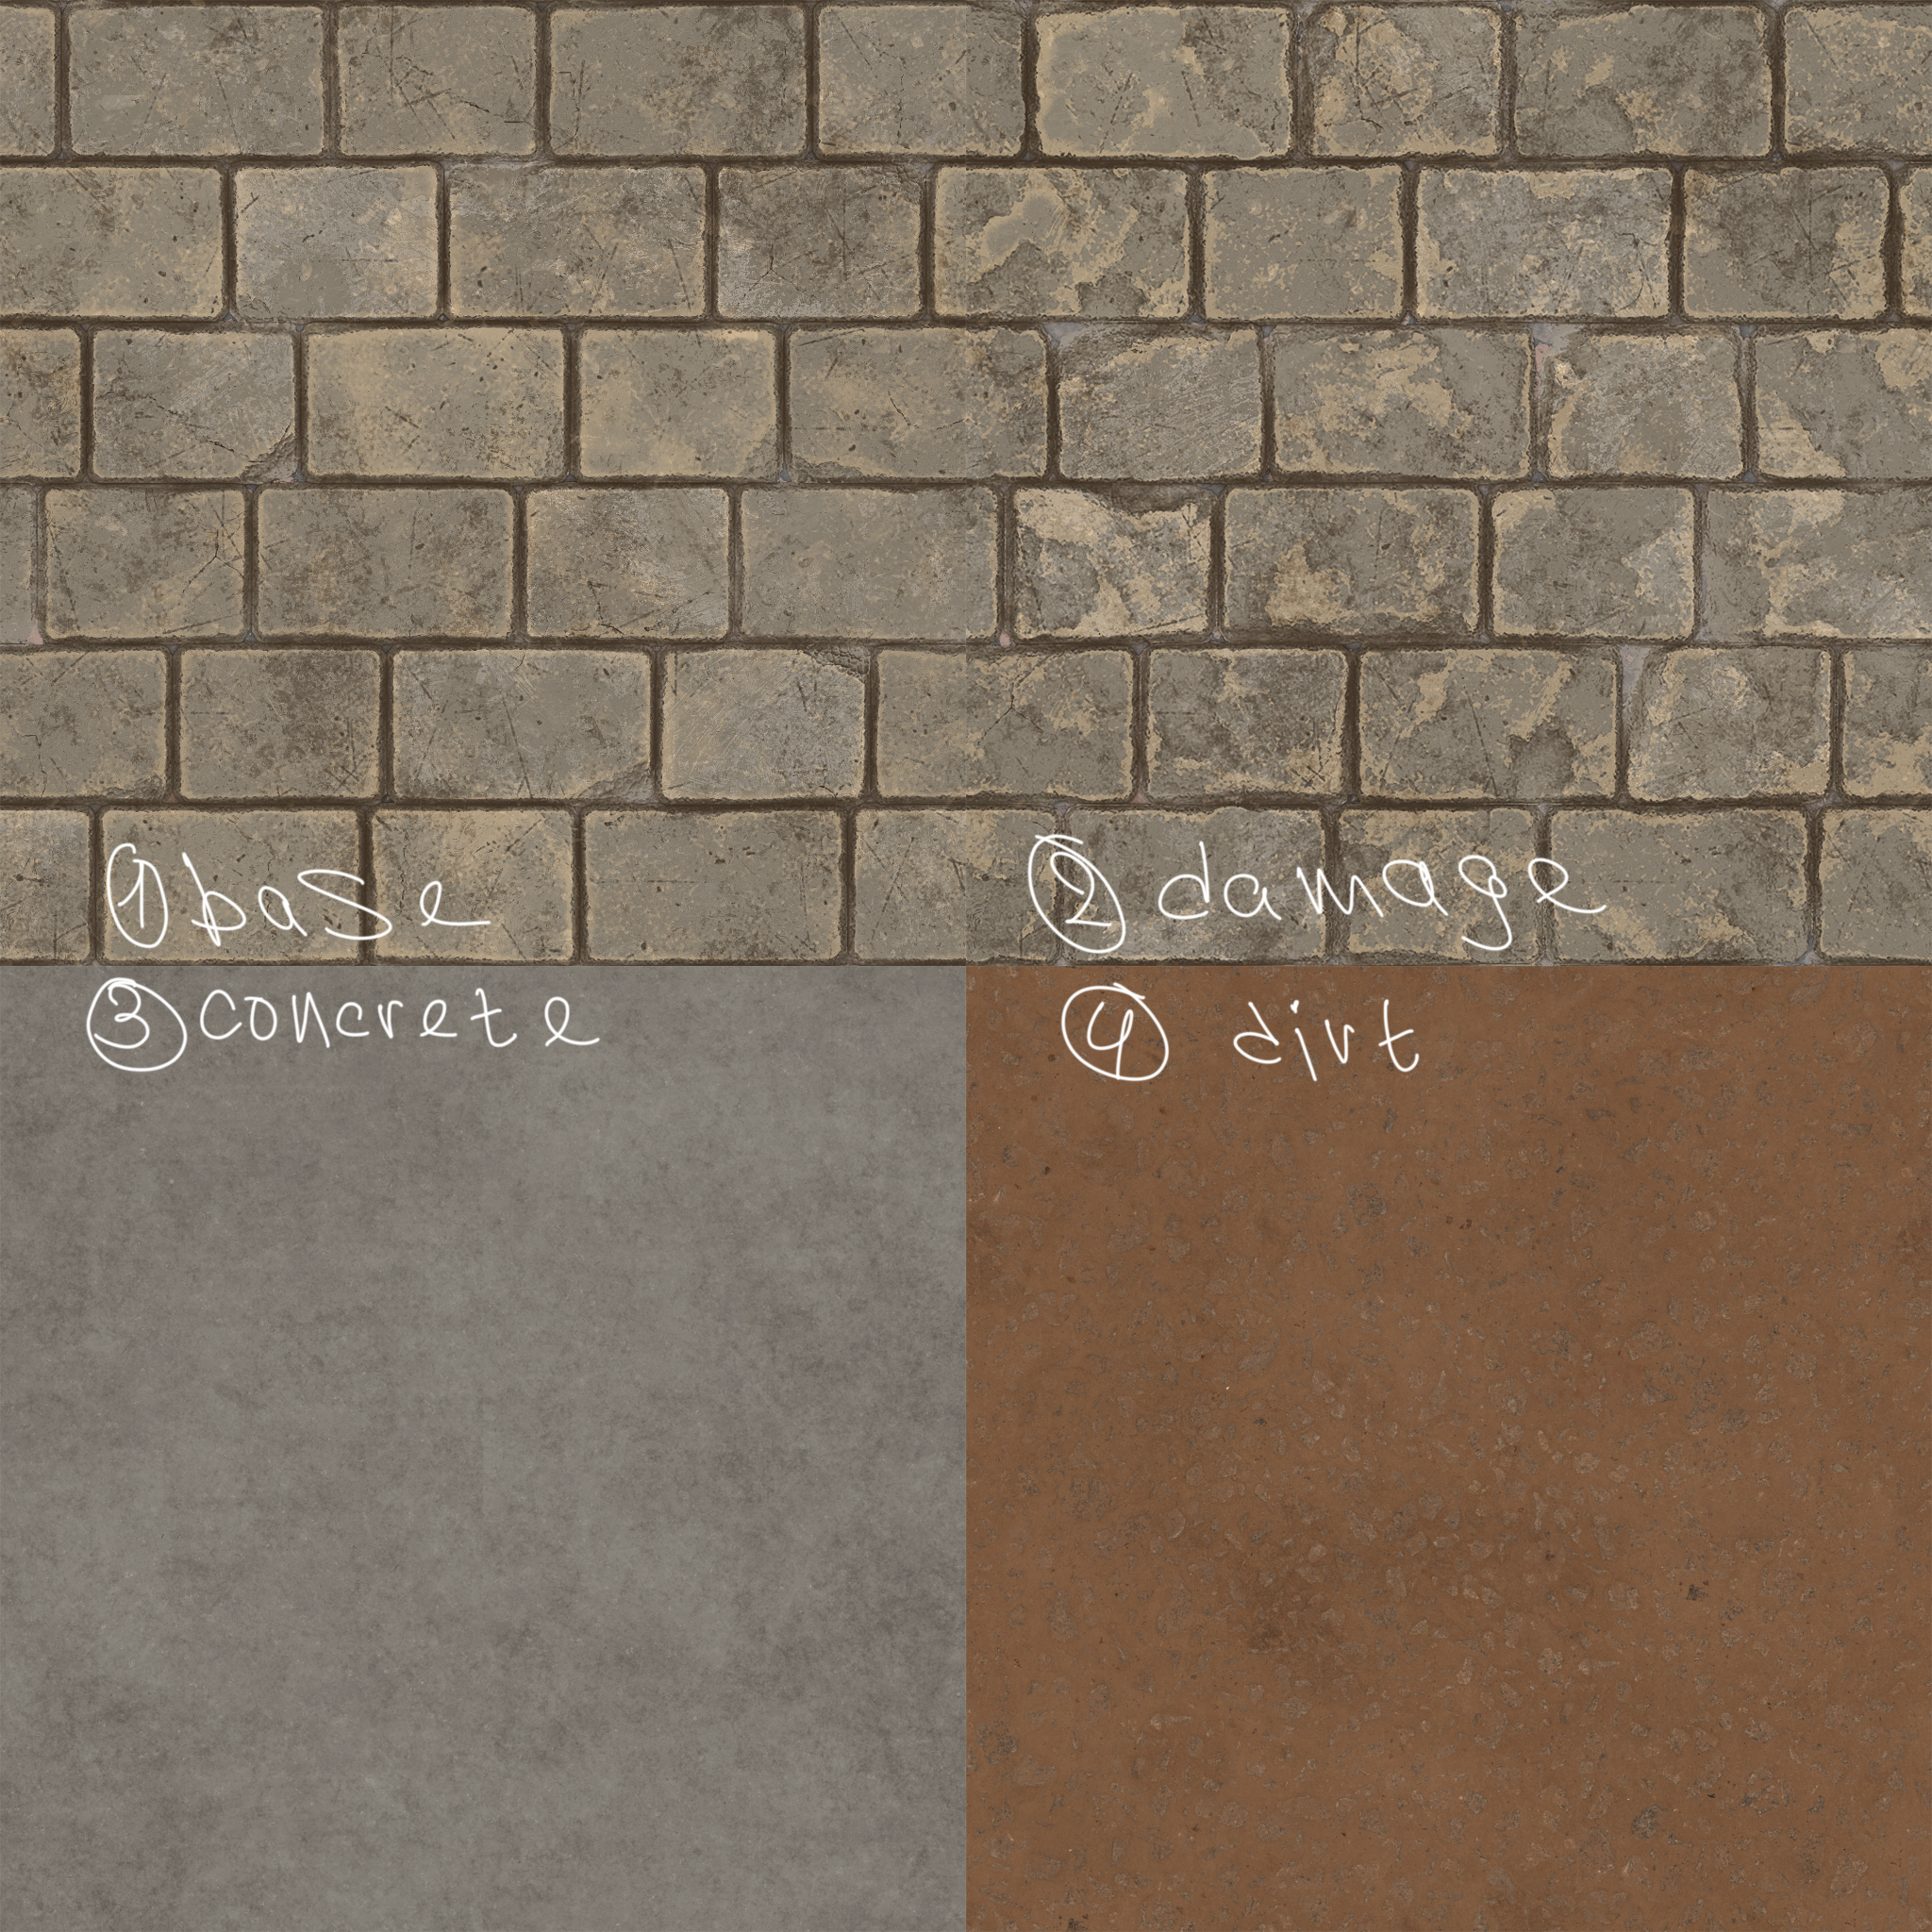
Implementation in Unreal Engine 5:
1. Foundation: Apply the base brick texture.
2. Damage: Use Vertex Painting to add areas of the damaged brick texture.
3. Mortar/Concrete: I use the automatically generated second UE5 UV channel (for creating light maps) to create a mask for the mortar/concreate texture area.
4. Grungy Details: Add dirt streaks and wear across the entire wall surface using the World Aligned Texture node.
5.Final Touches: Apply decals with drips/stains for added realism.
Step-by-step video - 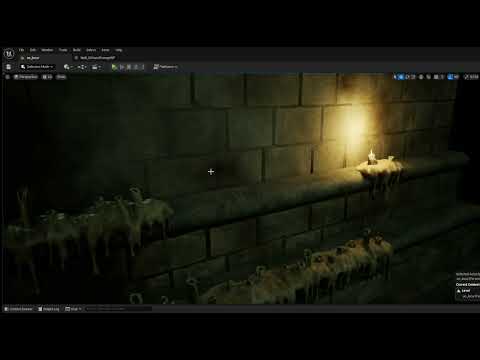 https://youtu.be/ML-Psg-_34U
Shader video - 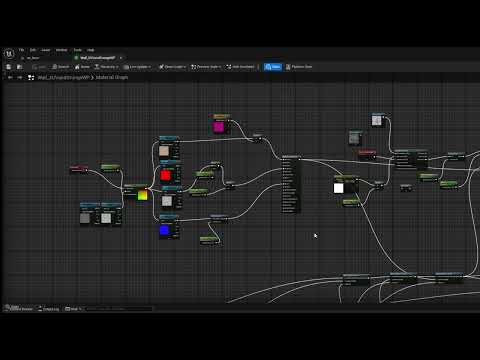 https://youtu.be/4VVkQNwsfiQ.

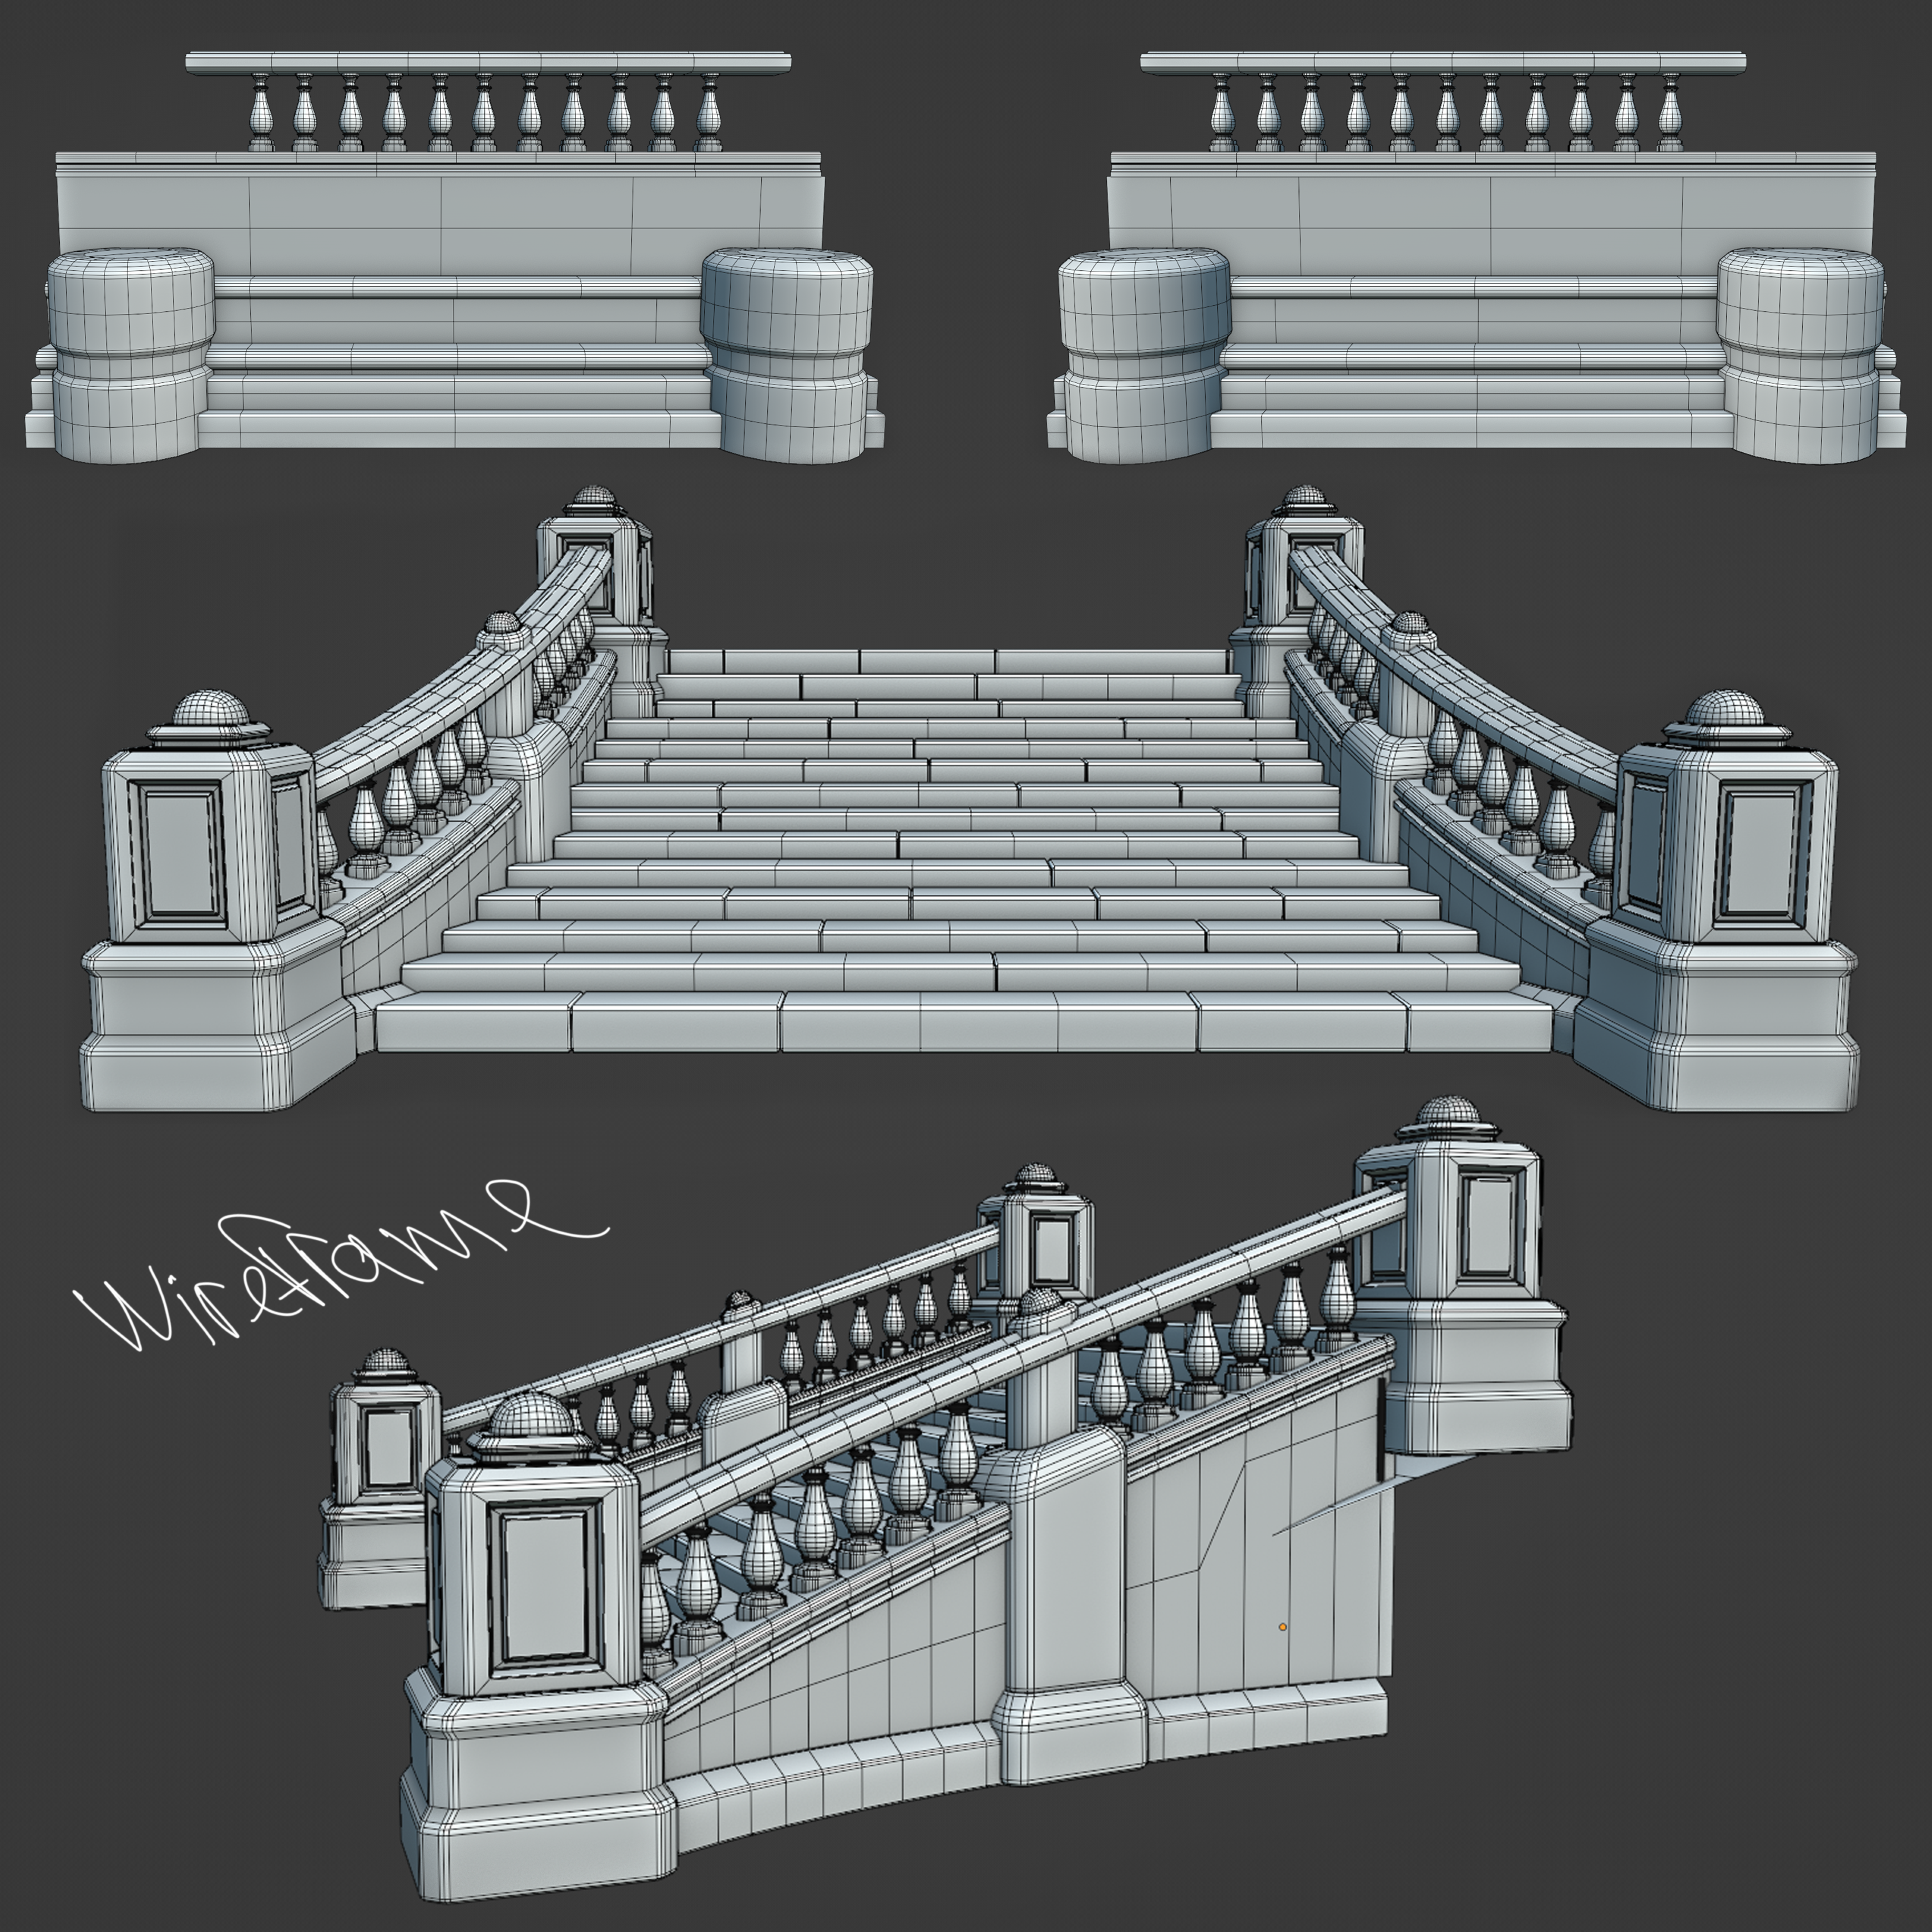
Staircase with Railings: The Most Complex Asset in this location.
This centerpiece required a combination of unique textures and Trim Sheets (texture sheets for reusable details). The side walls use the brick material described above.
Production Pipeline:
1. Blockout: Establishing the form, refining the silhouette, and verifying proportions.
2. Low Poly (LP) & Detailing: Transitioning from blockout to low-poly model. Adding details (large > medium > small), finalizing the silhouette and proportions. Splitting the mesh for Trim Sheet usage and uniquely textured parts. Planning texture sets and UV packing.
3. High Poly & Sculpting: Detailing edges, adding damage, and sculpting relief for expressive Curvature and Thickness maps. When sculpting trim elements, symmetry is crucial for edges (though final seam cleanup is done in Photoshop).
4. Baking: Separating meshes into groups to avoid Ambient Occlusion (AO) baking artifacts. Multiple iterations are often necessary
5. Texturing (Substance Painter): Painting textures based on references. Regularly checking color and Roughness variation in-engine.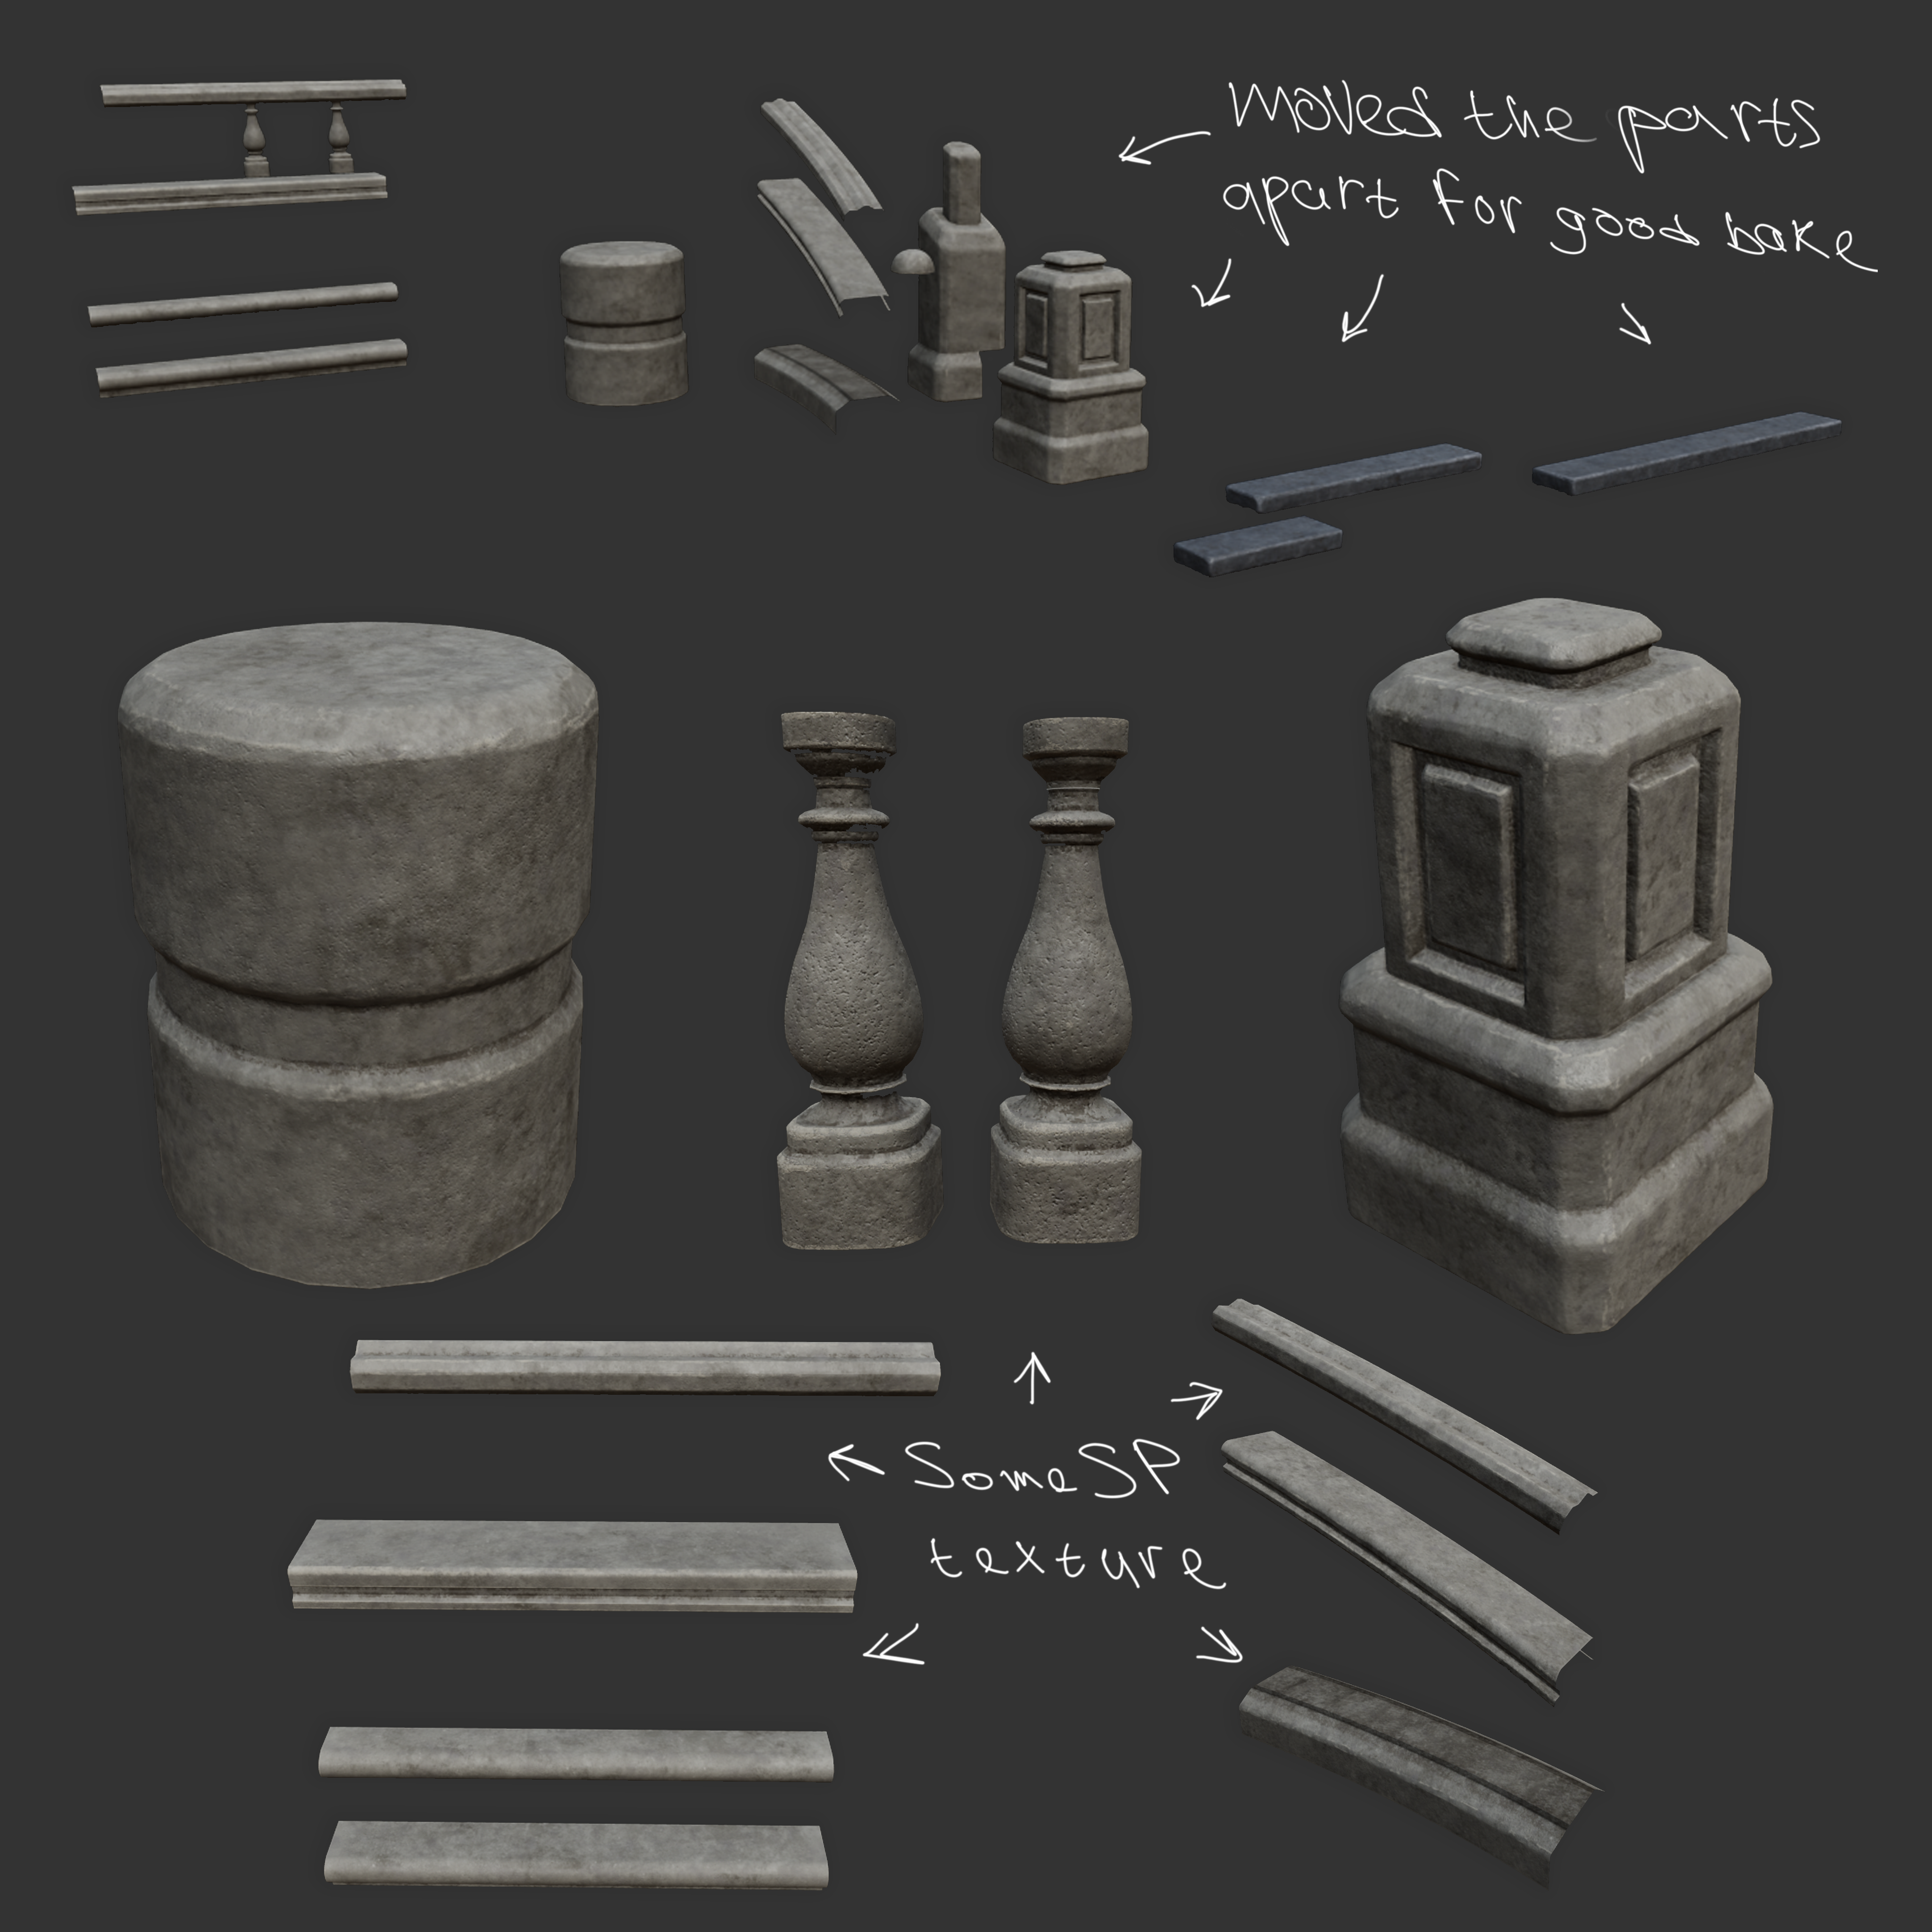
6. Engine Integration: Setting up the Master Material shader. For trim sheets and unique parts, an additional damage material (controlled via Vertex Paint) was added for variation. Additional AO was baked onto the mesh via Vertex Paint to enhance volume and detail
7. Dressing & Props: Adding candle wax drips, candles with fire effects, and the carpet.
Shader video -  https://youtu.be/DZRll8_tVC4
Final result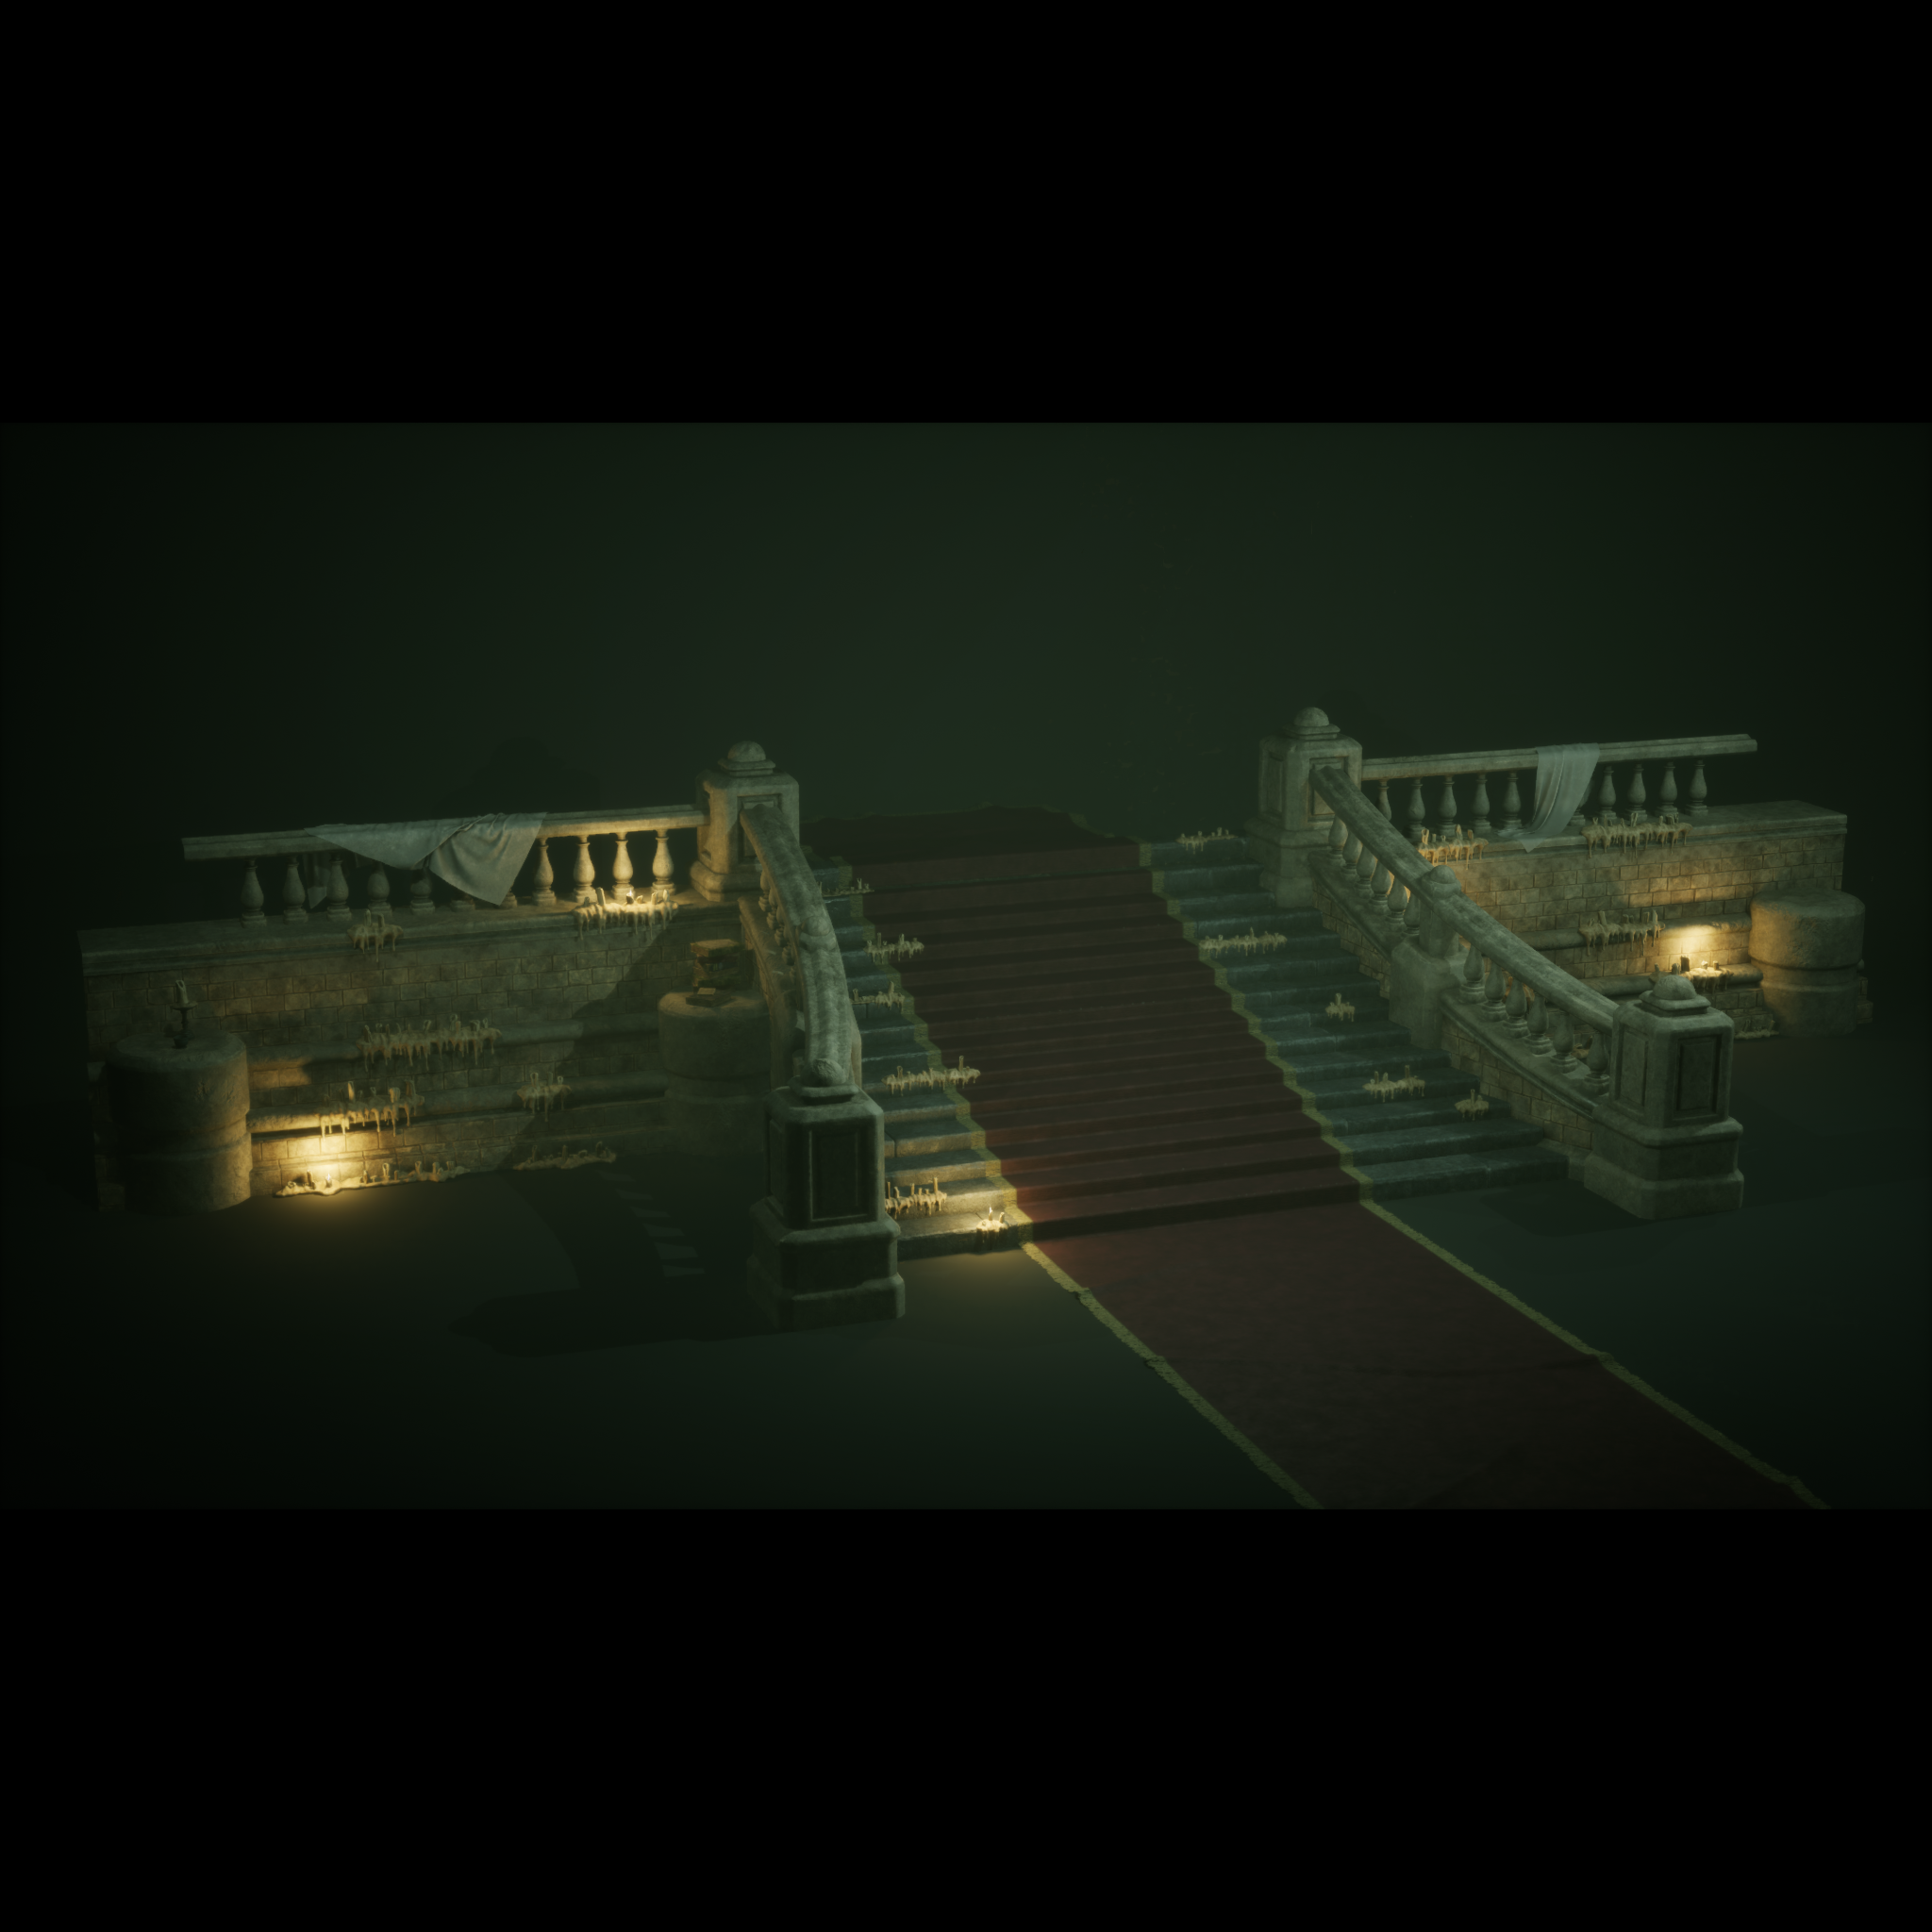
Environment Stones: Optimization and Control
The stones scattered throughout the environment were created using a balanced pipeline ensuring both quality and efficiency.
1. Base Meshes: I sourced a free pack of scanned rocks, selecting 21 suitable assets.
2. Texture Optimization: Packed all stones' Normal Maps into a single texture atlas.
3. Shape Refinement: In Blender, I sculpted the stones to be more angular (the originals were too rounded).
4. Texturing (Substance Painter): Applied a pre-prepared smart material. Manually painted highlighted edges to achieve a hewn stone look.
5. Integration: Set up the Foliage system in-engine and populated the scene with the stones.
Final result

Wireframe and UV
Wireframe wall

Wireframe Staircase with Railings
UV Staircase with Railings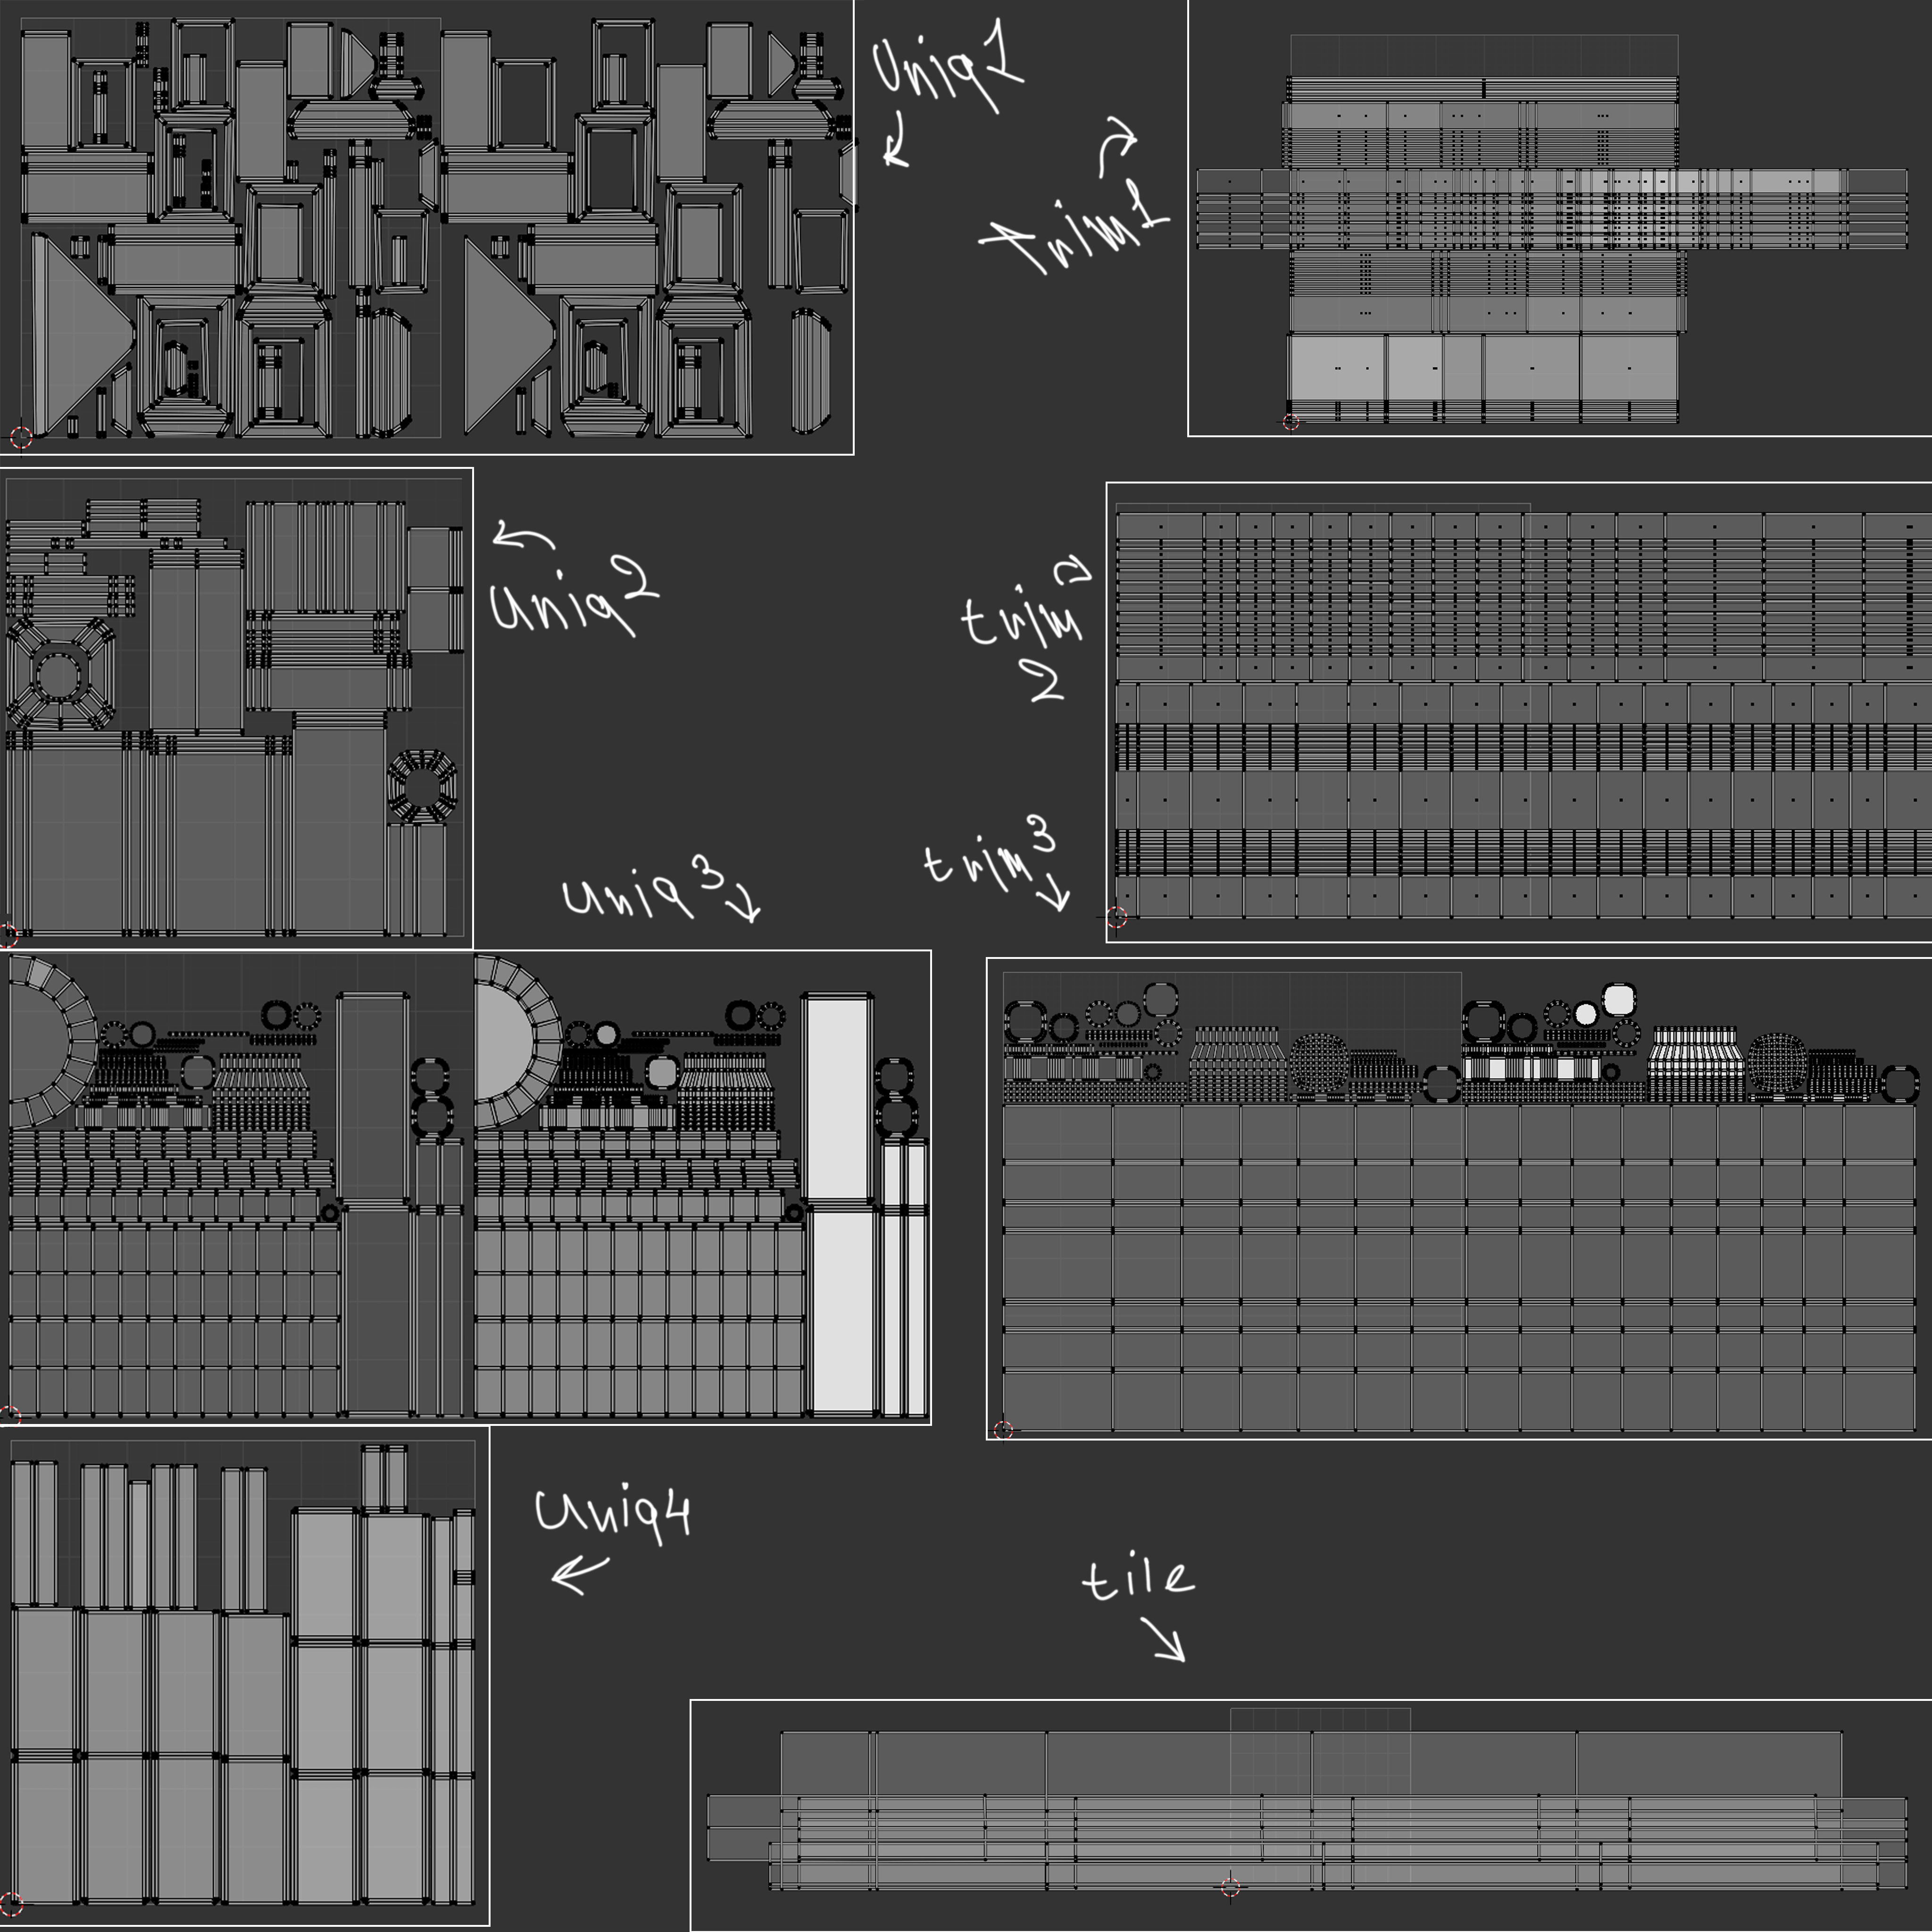
This is my first experience in creating a location, and I am very pleased that I have finally completed it.
The location was not easy to create, and I postponed it several times for other projects. I also reworked various details, added new ones, and improved the old ones to showcase my skills as much as possible
Thank you for taking the time to review my work!
Location overview video - 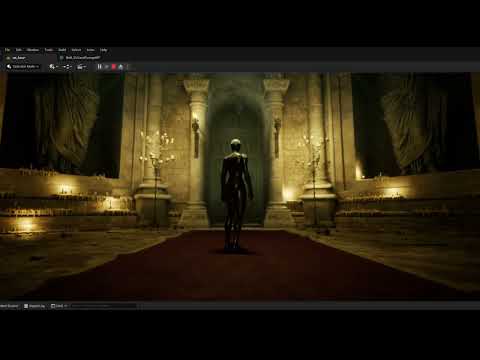 https://youtu.be/_2Xz--61SF4
Artstation post - https://www.artstation.com/artwork/oJqNdq


Replies