Search
-
Walk cycle root motion not working?
 So my friend make a walk cycle for my character. But it moves forward, which is unsuitable for it to be put in blend space. I solve it by moving the world controller back with the exact translate z of the character. It works in marmoset, but when i export it into unreal the mesh still moves forward. Any solution? Maybe…
 -
Bernaz's Stuff
 So I think it's time to start my sketchbook on Polycount, and hopefully keep the thread alive as I've been lazy in the last year... Here's my last model, Greedo fan art! Modeled and rendered in Zbrush, post in PS and AE. During this project I learnt a few tricks to speed up workflow and enhancing rendering quality in…
 -
Custom animation with Matinee problem.
Hey folks. I've got a custom skeletalmesh with animation and morph targets that I want to animation in matinee. The morphs work just fine with the SkeletalMeshActorMAT, but not the bones animation. (The animation does however work with a SkeletalMeshActor, but that does me no good for the morphs and I assume for blended… -
Re: Having trouble to remesh and bake normals to a .OBJ mesh
@pior Sorry I modified the High Poly version in my blend file and forgot to update the OBJ file, here is the right positioned high-Poly OBJ: https://file.io/ATwKsGaw8gKb Here is the public .OBJ model provided by game studio: https://file.io/XxoS7rCZbnyo -
Re: Artstation made us numb to art
 The solution is not to have generic gun models and other generic themes in your portfolio. It wouldn't matter if your portfolio was on artstation or not if it's so generic it blends into the others. I personally find arstation to be super useful - not just for seeing pretty art. There's lots of good "making of" and "how…
 -
Re: Raytracing GI lighting incorrectly

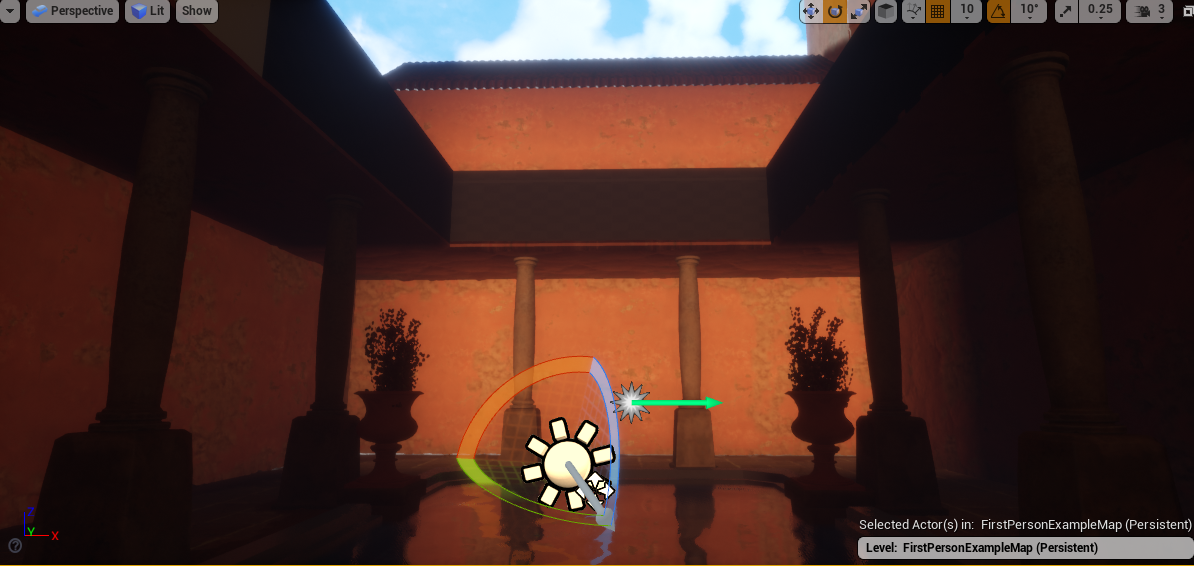 I just figured out that putting the light behind a wall is causing the same glowing/lighting up effect, as though light is bleeding through the mesh. The walls already have some geometry/thickness to them, they are not just flat planes. Does this narrow down the problem for you in any way?
 -
Re: [Riot Creative Contest 2017] - RobertTerritory
 Reply by RobertTerritory · · Home› Contests & Challenges Archives› Riot Creative Contest 2017› Riot Creative Contest 2017 - Environment ArtHey guys, Dragon pit update: I spent a lot of time these past few days, working on the texture of my dragon pit. I refined the stone and ground colors and started to add some vegetation to blend the pieces together. Any comments are more then welcome! Still lots to do! :)
 -
Re: Super Noticeable Seam after Baked lighting please help.
 Do you have a seam in your lightmap uvs there? Try stiching them together. I had a similar problem and that fixed it for me. Other things I can think of, that could be causing this, are overlapping uvs or bleeding caused by a small lightmap resolution whitout enought padding for the uv islands.
 -
Re: Tilable PBR Textures
 Good damage going on in this one. Although it feels too neatly organised. Try to push the height variations and spacing between the rocks, while blending it together with the grout. Also the overall look of the texture appears a little too plasticy/wet. Good practice tho, keep em coming :D .
 -
Re: Unwrapping Environments
 I'd say, to take the concrete walls as an example, unwrap it so that they can share a single tiling texture( or perhaps 2 variations of it if you want a little bit more..variation) and then use decals or other techniques such as blending dirt textures based on vertex colors, to add some dirt and grime to it.
>11470 results