Search
-
Source Film Maker and Meet the Pyro
 [ame=" https://www.youtube.com/watch?v=Zri1c_If6Ic"][/ame][ame="https://www.youtube.com/watch?v=WUhOnX8qt3I&feature=plcp"]Meet the Pyro - YouTube[/ame] [ame="https://www.youtube.com/watch?v=Zri1c_If6Ic"]Introducing the Source Filmmaker - YouTube[/ame] More on the Source Filmmaker and Sign up for Beta…
 -
The toy maker | More of a Japanese businessman

 Hay, Wold really appreciate critiques and feedback . sculpted in ZBrush | Maya , Colored in substance painter and by hand ( the face ) , Marvelous designer used for the clothing's and i think i used XNormals for some of the normal maps . Rendered in real time with marmoset designer . Thanks :D
 -
Normal map
 Hi, I have one question about normal maps. This is a subject of many posts on forums and there is a lot of videos, tutorials and I learn a lot from all, but on one question I can't find answer. I understand basics of avarege normals and that for direction of rays bakers takes normals from low poly mesh. I know how to set…
 -
Half life student film maker school teaser
 seems some student filmmaker did that for his school project, pretty neat.. http://www.kotaku.com/gaming/clips/stude...will-199451.php
 -
Re: 3DS Max 2018 Render to Texture headache and hopeful replies.
 @jldragon You are overthinking and over analyzing this process. You are also making up terms like "rainbow" and "classic" normal map. It's making it hard to follow. Read more... Here's what I recommend. 1. Ditch 3ds Max as a baker. From your set of screenshots on imgur I can see the options and settings are overwhelming…
 -
Re: AK-337 modular rifle system

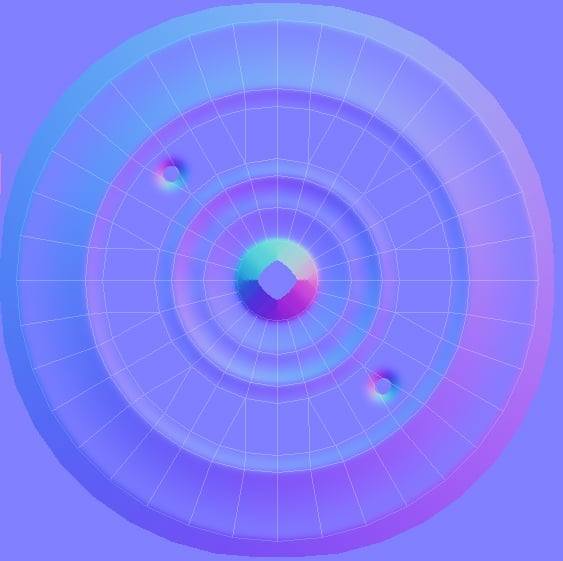 This is what the front of the suppressor looks like on my bake / UV. This is a better layout for this part than either of your examples. When texturing you can actually see what you're working on instead of a bunch of weird strips. You can also see that the extra edges only serve to control the normal correction gradient…
 -
Re: Following Along - Summer Character Workshop - Female Knight

 Heyyyyy, sorry I disappeared like that. I pulled my muscles and also had pretty bad lower back pain. Couldn't really sit and work at my workstation. Took me some time to recover. However, I was also checking out the new Marmoset Toolbag 3 Beta. The Baker is sweet, and I'm loving it. Already baked the clothes and her skin.…
 -
Re: [Blender] DECALmachine: surface detailing using mesh decals
 This is my first exposure to Decal Machine. I think I saw a cool video about it once before but had forgotten what this was. This is...interesting. Coming from a max/maya hard surface modeler, this blender+DMplugin combo looks fascinating and terrifyingly deep honestly. So, the basic idea behind this would be to model out…
 -
Re: Smoothing groups problem (low-poly helicopter)
 You can try editing the vertex normals to fix this area. http://wiki.polycount.com/wiki/Vertex_normal It is likely you will need to edit the normals, plus also move the positions some, plus add a few new edges. Edited normals alone will probably not hide all the smoothing issues, because the normals are basically…
 -
Re: Ambient Occlusion Maps
 If you rendered out a normal map already then the occlusion isn't too different a process. Either select mental ray as your renderer and choose ambient occlusion instead of 'normal' map in the add map section of render to texture, or create a skylight, choose scanline render, and 'lightings map'. As for your question about…
>27504 results