Search
-
Re: how to make a hard surface normal map
 Flewda, you can make a copy of your object, one for the normals bake for example and one for the AO if needed. I always keep a copy of the object I use for baking and one for the low poly. And the same for the hi poly if they are going to be at different places. With Max it's easy you just turn off the edit poly modifier…
 -
Re: 2013 Ford Police Interceptor | WIP Vehicle Project

 Hi, Martin! I modelled the brakes by creating a high-poly mesh that I edge looped and turbosmoothed to make an nice base to bake using xNormal. After baking the high-poly details, I took the normal into Quixel and added various details to the brake disc. This method allows me to have the curved edges of the high-poly, and…
 -
Inverse baking with zBrush
Hey guys, I have a low-poly normal-mapped model here, purchased from a model pack. I was interested in importing the model into zBrush, and using it's normal map to create a high-poly version of it, and then add my own detail. Is this possible? -
Re: Pixeled Normal Map for a plate asset I'm making. Help!
 Man you can hardly notice that. Up your super-sampling and if you insist on making renders that large, bake out a larger normal map. I'm having a hard time even seeing what you are talking about. I can kind of see it, but I think you're being a bit too anal. It's like when a model doesn't have perfect smoothing but it's…
 -
NYX Studios ™ | Illustrations · 3D · Animation · Concept Art · Campaign Pages · Marketing Material

 Who are we? Hi there! We are Nyx Studios, a co-operative team of 30+ obsessed artists and tinkerers. We build original worlds and everything it takes to make them real. We’re good enough to be extremely useful and not famous enough to be extremely expensive. Whether yours is a small indie project trying to make every…
 -
Re: Vayne4800's workshop
 My latest approach to baking better and cleaner maps (especially normal maps). Credits go to both Prophet9 and Nannou for sharing their knowledge with me. Note: This is based on 3DS Max. Sorry maya/Blender/Modo users. Though I guess someone can pick up something useful from this. Previously, I used to make cages from base…
 -
Re: Tree texturing
 Here ares some variations I was taught that might help.... 1) Find reference, bring it into Max/Maya, lay image on a plane. 2) Spline out limbs and the trunk based on reference. Then loft the trunk and limbs. Duplicate the splines and edit the depth (Z axis) because they'll be initially flat. Cool thing about lofts is that…
 -
The Bi-Monthly Environment Art Challenge | January - February (100)

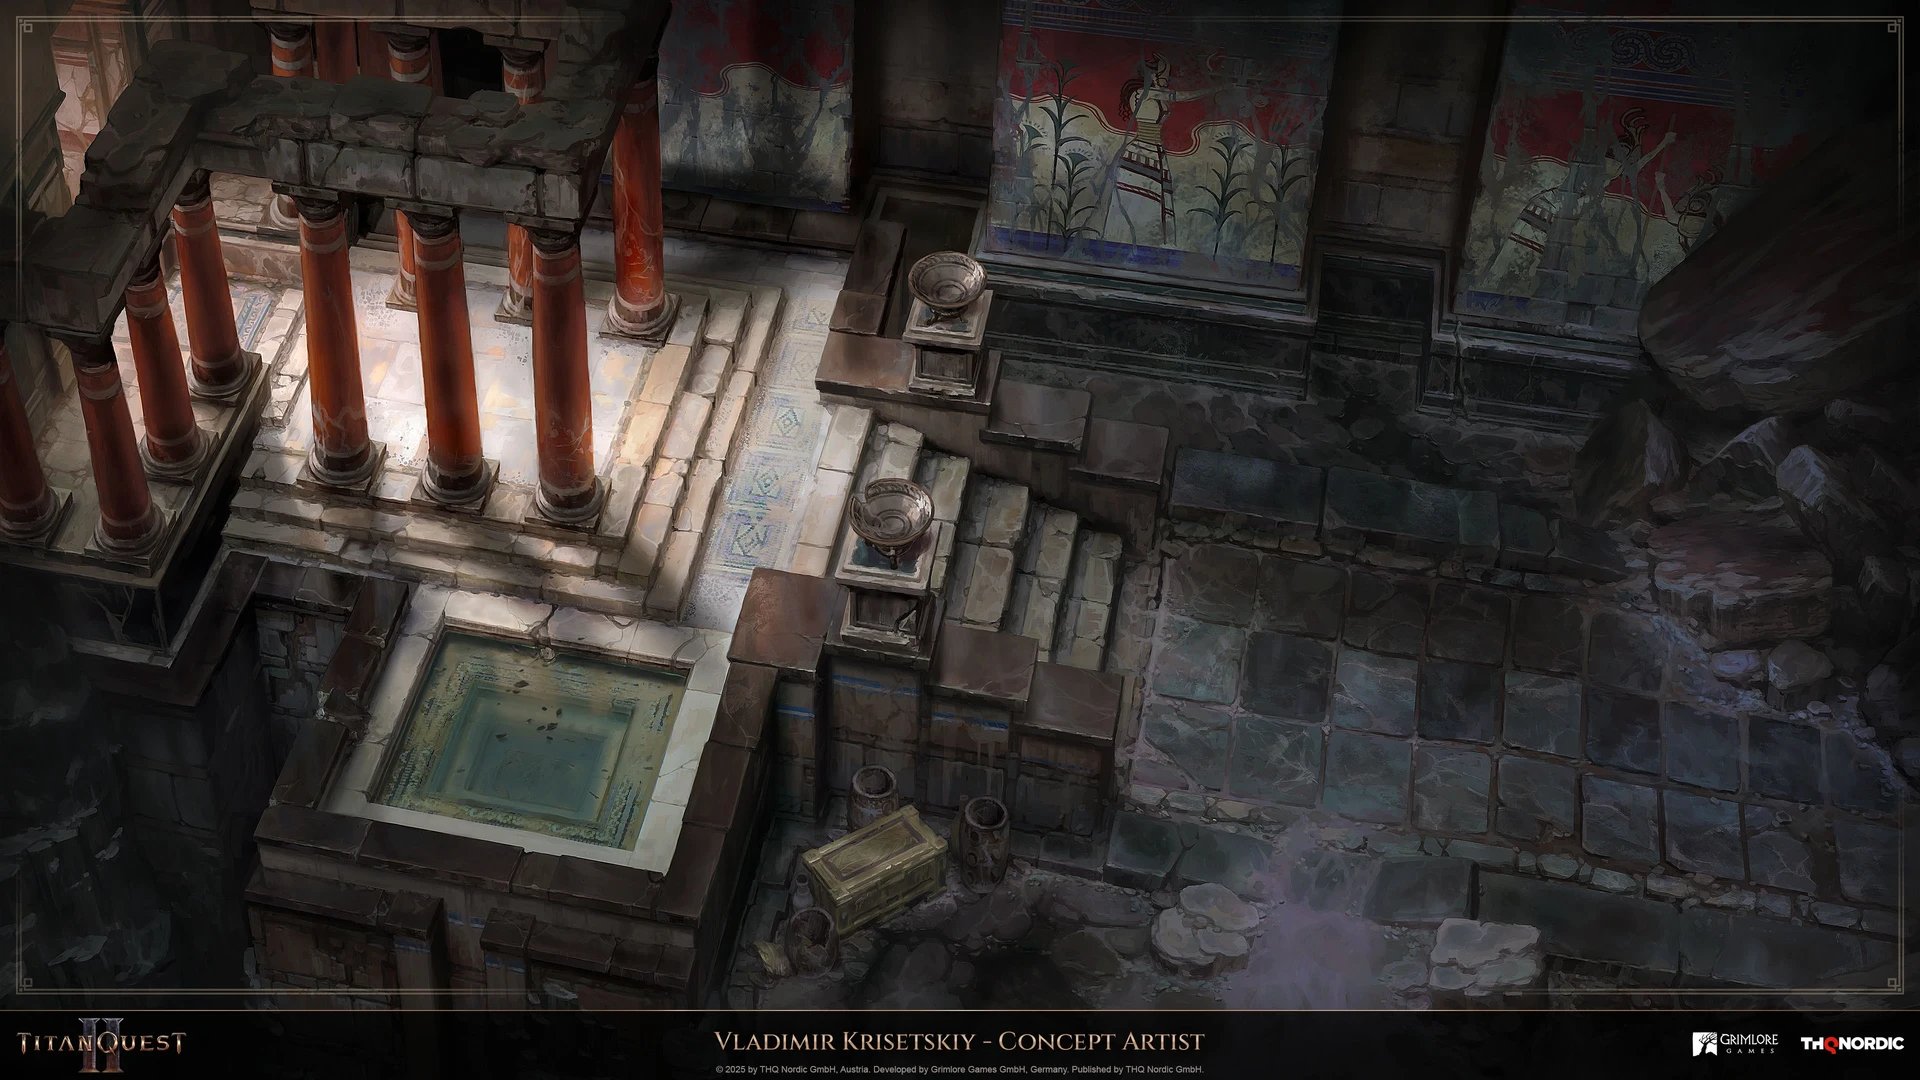 Happy New Year and a big milestone for the Bi-Monthly Environment Art Challenge as we kick off number 100 for the months of January and February! This challenge is a way for real-time 3D artists to test their skills and create a piece of work based on concepts provided. It's open to those of all skill levels and we do our…
 -
Re: Character Base
 Assuming you used max its actually pretty easy... when you make the spline (or at the spline level of the modifier stack) check 'generate mapping coordinates', which will lay the splines UV's totaly flat for you no matter how crazy your spline gets. Then all you have to do is make a seamless normal/diff map set and apply…
 -
Baking maps in 3D Coat
 I just noticed that you can do this in 3D Coat. Has anyone tried this out or use this on a regular basis?
>114886 results