Search
-
Re: tools you wish you had
 for the auto rigging I'd suggest looking at XSI's solution. you load up a control rig of sorts which is a bunch of nodes for each joint. you essentially move those nodes around and into position on your mesh and then tell XSI to create the rig based off that control rig. There's a quadraped solution also available within…
 -
Splatter v2 in Designer 16.
 Does anyone found anything truly new and useful there ? I see Splatter v2 allows dense details with tiny scale but still does same aliased depth combine and bad alpha for something like tiny twigs or grass blades. I am still using old fx-map nodes instead . More controllable and easier to modify. Anything other new and…
 -
Re: A short explanation about custom vertex normals (tutorial)
 Wow, thanks man! I followed your steps and realized that it was the mitering type set to "none" that made the desired effect. Mine was unchanged (auto), that's why it did not work. I also tested this with an object that had bevel history and one where I deleted the that history node. In both cases, if mitering type was set…
 -
BlenderMCP Pro — AI pipeline tool for Blender (asset validation, batch export, game engine prep)

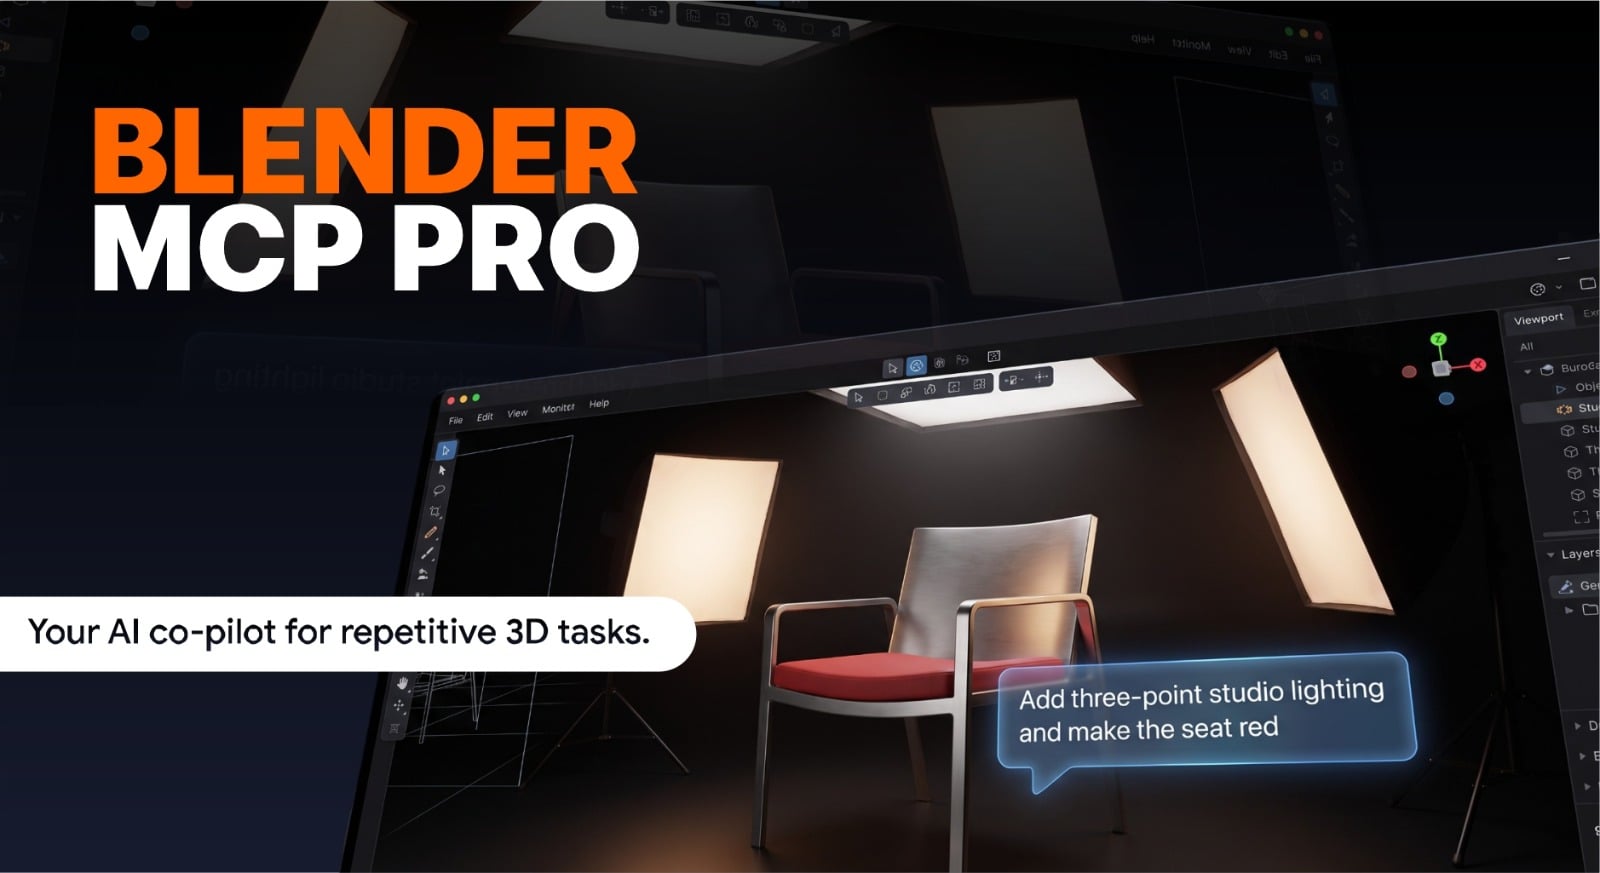 Posting this here specifically because Polycount's audience cares about pipeline more than novelty, and that's the actual use case I built this for. Context I run Anvil Interactive Solutions — we ship Blender/UE5/Unity tooling (Quadify line, BlendUnreal, BlendUnity, a few others). BlenderMCP Pro came out of needing to do…
 -
Xoliul's Shader for Softimage 1.6 Alpha
Hi I got a friend of mine to convert Xoliuls great viewport shader to work in Softimage XSI . Most of the features work but there a few things that dont ,this shader is provided as is and should be treated as an alpha version. If someone with some shader code knowledge would like to fix the bugs then that would be awesome… -
Re: How are you actually handling AI-generated mesh cleanup before engine handoff?
 I would like to see AI work on the boring parts... do nice UVs for me, bake my normal maps properly, auto-assign materials for me, weight the bones nicely, etc. But I'm hearing that none of the boring stuff is worth the work, because it's not enough to drive a bunch of revenue.
 -
Re: The M I R A G E effect [Help]
 Hey all, thanks for the replies I am reading them and some are actually really informative, but I should solve a misunderstanding here. Shader forge is a node-based shader editor tool just like the one that is used in Unreal or CryEngine, Or the one that is used in 3DS Max. So yeah, nothing automatic or magical happenes…
 -
Re: Egg shape creation
 This could be a way: http://puu.sh/tckFf/f2bdd69503.png . Squash your circle shape, tilt it, and move it over to the right a bit with the transform node. And set the symmetry mode to 1 in your symmetry slice node. Also make sure that the tiling of your shape node is set to "no tiling".
 -
Re: IN PROGRESS: How to use Quixel with High Poly models?
 There is no code in it. It's just a node group: you can select it and pressing Tab you'll see what's inside it. You can import it in your own blend files as a node tree :) When you press Shift+A in the materials node editor, under the Groups category, you'll have it available ;)
 -
Re: Unreal3 TOON Shader Network Creation?
 stop thinking that it is too complicated! it is junior high level math, not the nodes themselves for sure, but the connections in that shader are all just addition and multiplication - if you just want to copy what is there, why do you need a video? http://polyphobia.de/public/tutorials/TF2shading/shader.jpg just create…
>37266 results