Search
-
Re: Tessellated ocean shader
 assuming it would be done with a dot product, "camera world position" node, and "world position" node, and useing that to drive a lerp with 2 constant 2's for your fully tessellated and un-tessellated values into the tessellation factor of the material. that would get a basic one going.
 -
Re: Sketchbook: Francois

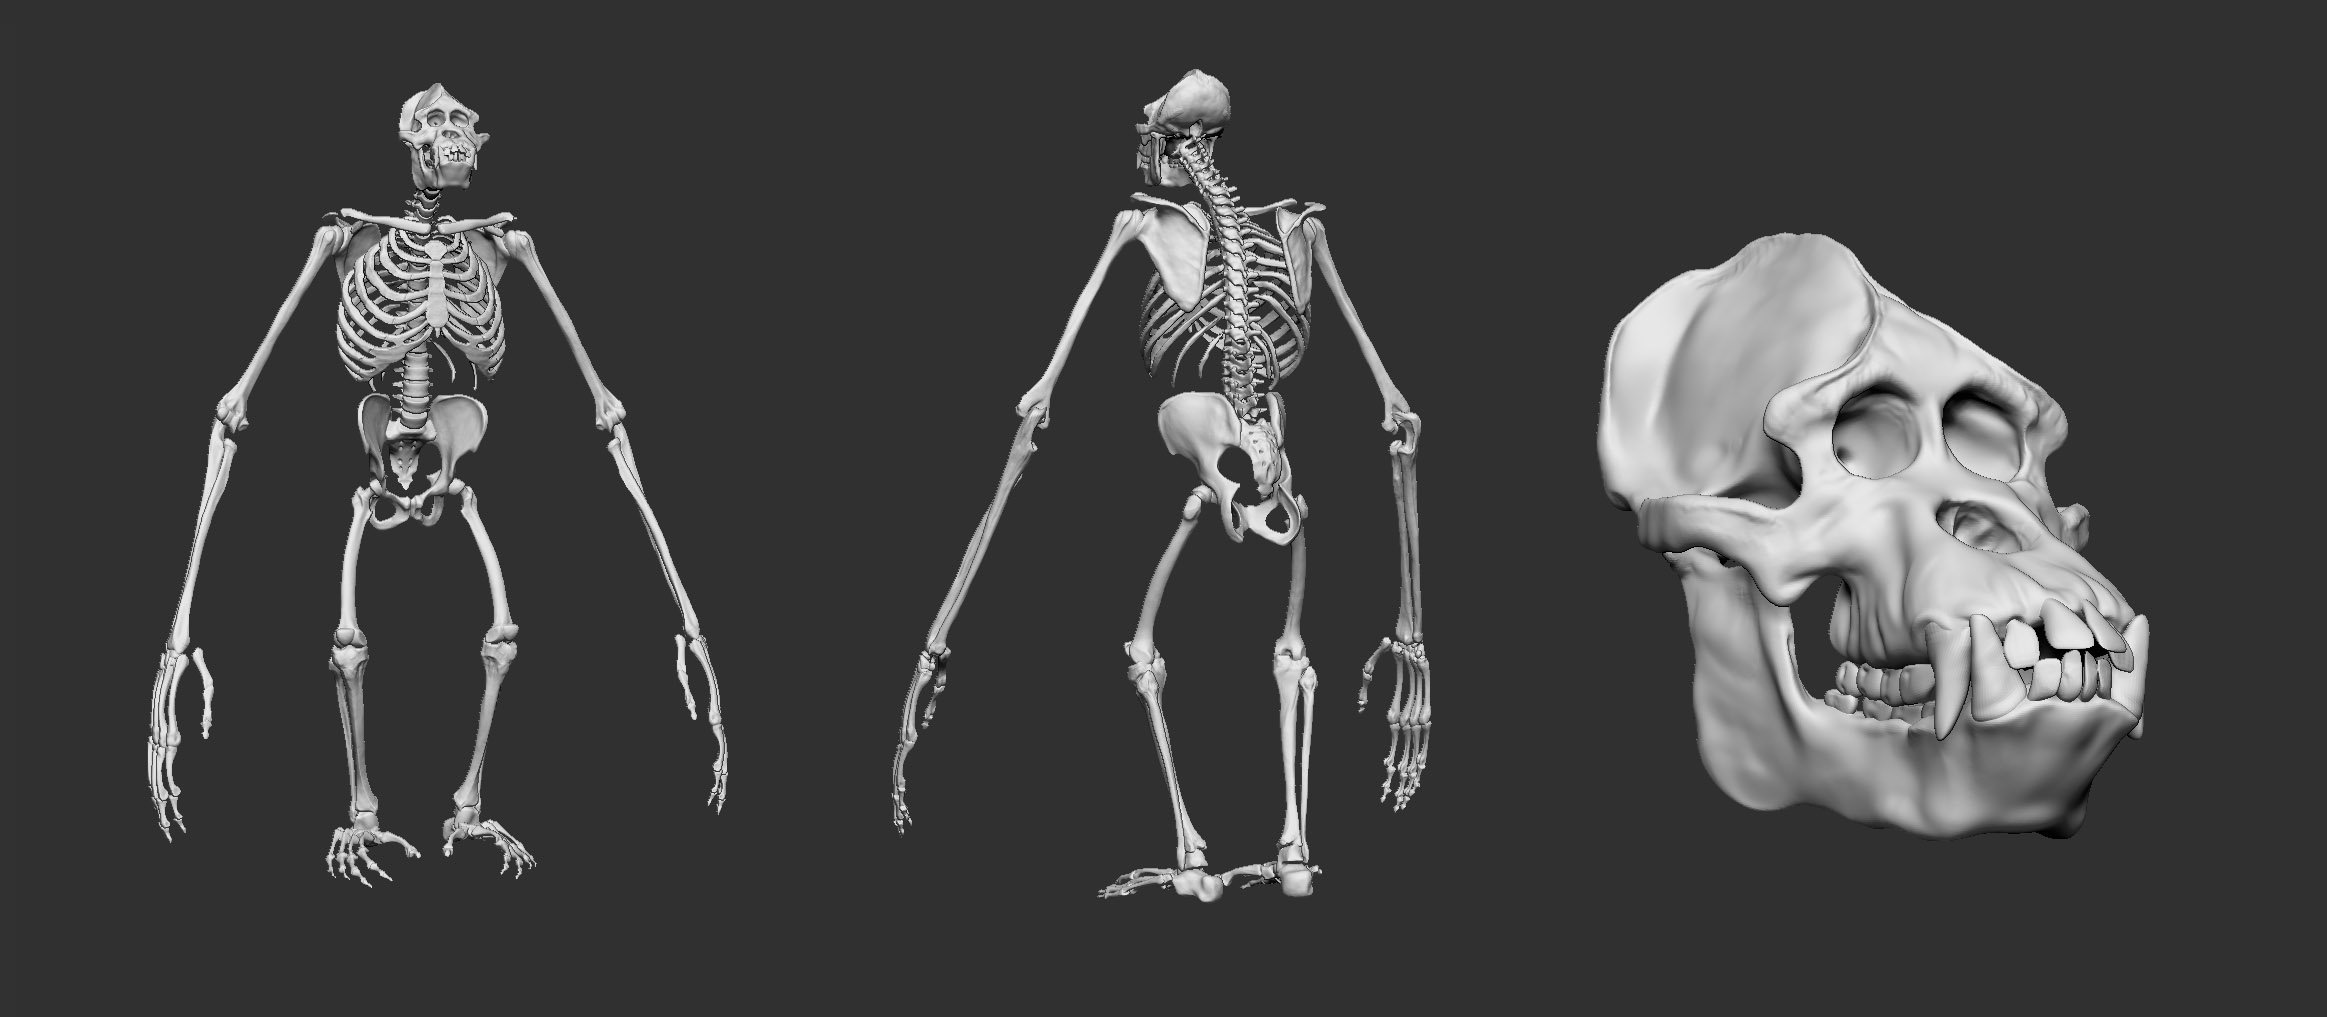 Been grinding on this after work for 1-2h everday. Some notes ( Or critique ) from me to me : Skeleton needs Adjustement Finger bones are way too long Adjust Skeleton to the base-mesh once complete , not other way around Find more references for the Orangutan especially the muscles ( Hard to find for me, mostly guess work.…
 -
Re: [WIP] Sighiskor - a medieval village - Environment Art
 Hey guys, how are you doing? It’s been a few days after my last post and I can say that I’m progressing at a good pace. I’m breathing this project almost 24x7. Watching medieval movies, games and looking for art in general that makes me remember this project. I can see the importance of trying to “live” in your environment…
 -
Anyone knows how to use "Editor Apply Spline" ?
 Hi communty. I can't find any useful resources or tutorials about "Editor Apply Spline" blueprint node. I want to deform my landscape using spline blueprint. I saw someone in marketplace achieved that result through the blueprint. Anyone knows how to use that node? Thanks in advance
 -
Loaded a Sbsar into Marmoset but adjusting parameters has no effect
 I have latest Substance Designer and Marmoset, when I load a sbsar into marmoset the exposed parameters are there but changing them doesn't make a difference. I'm guessing it's marmoset not being updated to the latest substance nodes? It uses nodes such as floodfill, would be a shame if I have to replace them to get this…
 -
Re: Objects vanishes in Maya.
with Maya it's usually either the material or something getting disconnected / bent out of shape in the history and causing the link between a shape node and material to get borked. Sacrificing your first-born (or deleting history every third operation) generally helps to avoid this sort of bullshit. -
Re: How to achieve solar crystal like shapes in substance designer
No , I meant not making small bumps by connecting "normal" node but rather putting very low contrast (around 0,5 gray) textures of different maybe inverted gradients to channels of normal map itself . With rgba combine node. Starting from only single channel at first -
Re: Castle Interior- UDK
 Create a constant3Vector in the material editor, set the values to something like 1.3,1.3,.7 (some people even put 0 in the Blue channel, but I don't). then create a multiply node. Connect the normal map and the vector to the multiply node and then connect its output to your normal slot.
 -
Re: Importer Animation Glitch?
-
Re: How to make terrains for games
 Seems like the only way to separate color channels is by using the component mask node. I've tried by directly linking the channel to the next node, it didn't work with the latest version of UDK. (even tho it used to work in the old ones). Make sure that your heightmap is in 16bit :)


>37266 results