Watermill Environment - No Rest for the Wicked

polygon
For my final project, I have been thinking a lot about the style I would like to adapt, as I like both stylized and realistic environments. I finally decided on an evironment inspired by the game No Rest fro the Wicked, which has a very specific painterly look, inspired a lot by the traditional baroque art by artists such as Caravaggio, characterized by their strong light and shadow contrast.

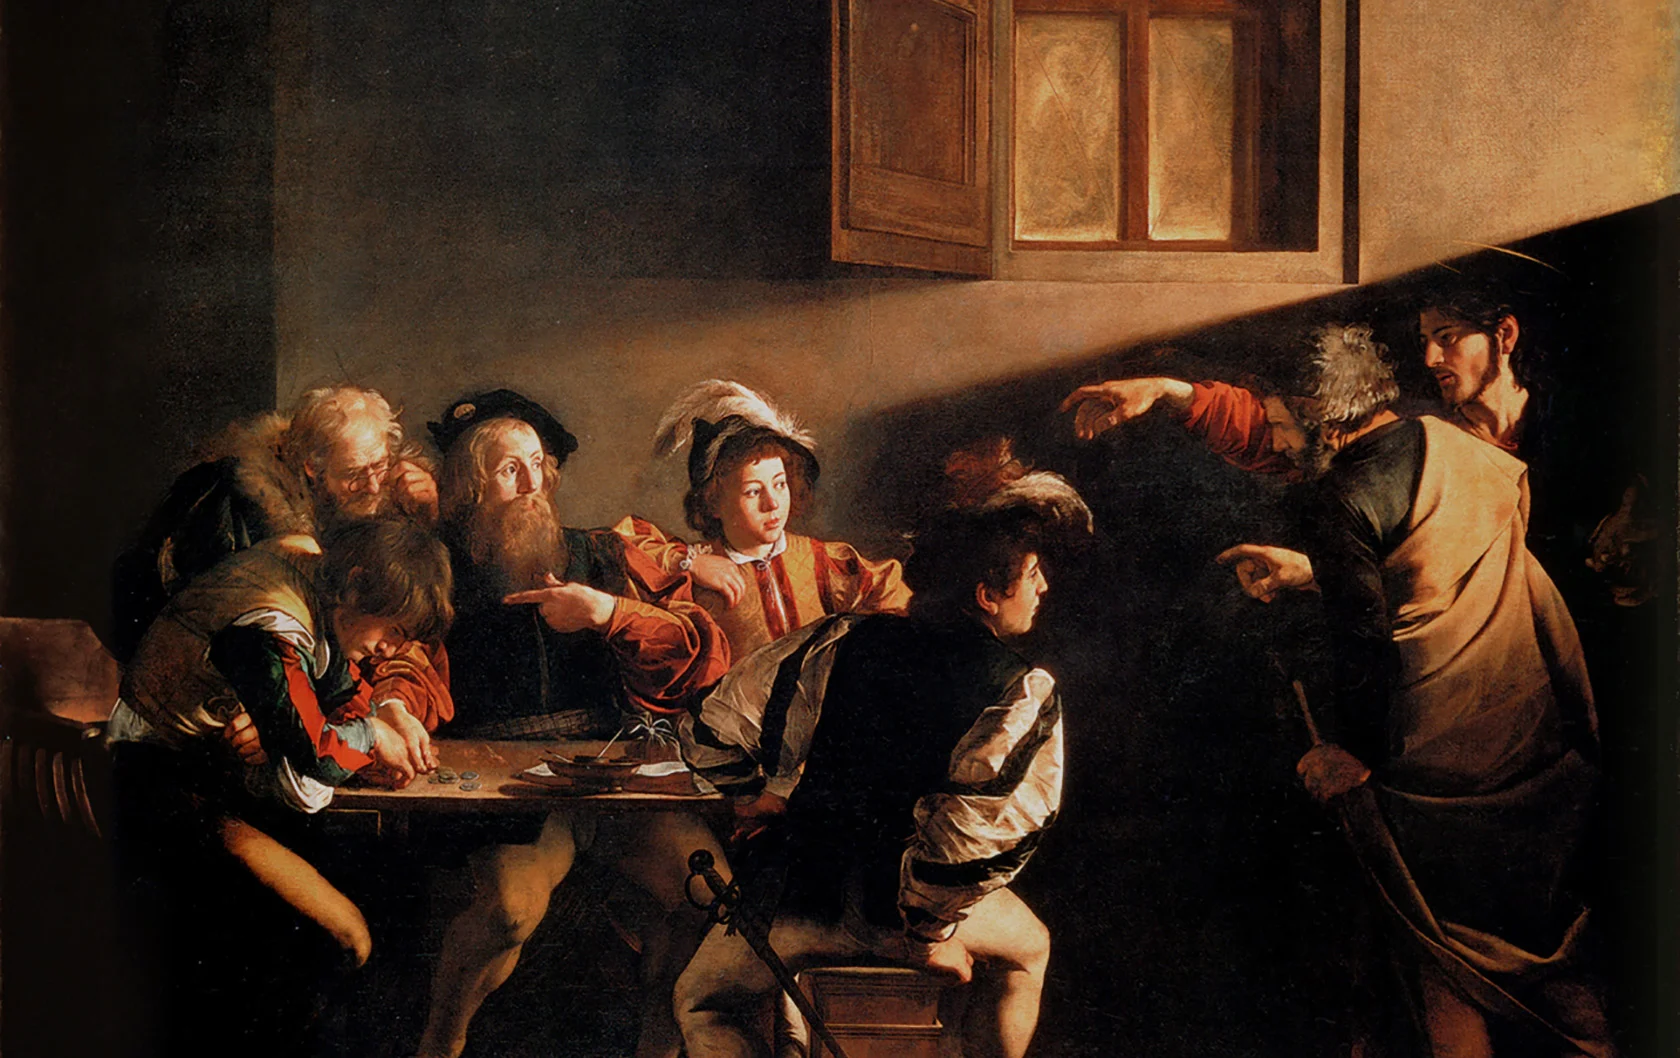
These are some of the main concepts that I would like to follow. Obviously, the overall shape of the building will be different as I will try to adapt the style of the game as close as possible, but these will serve great for some composition ideas.
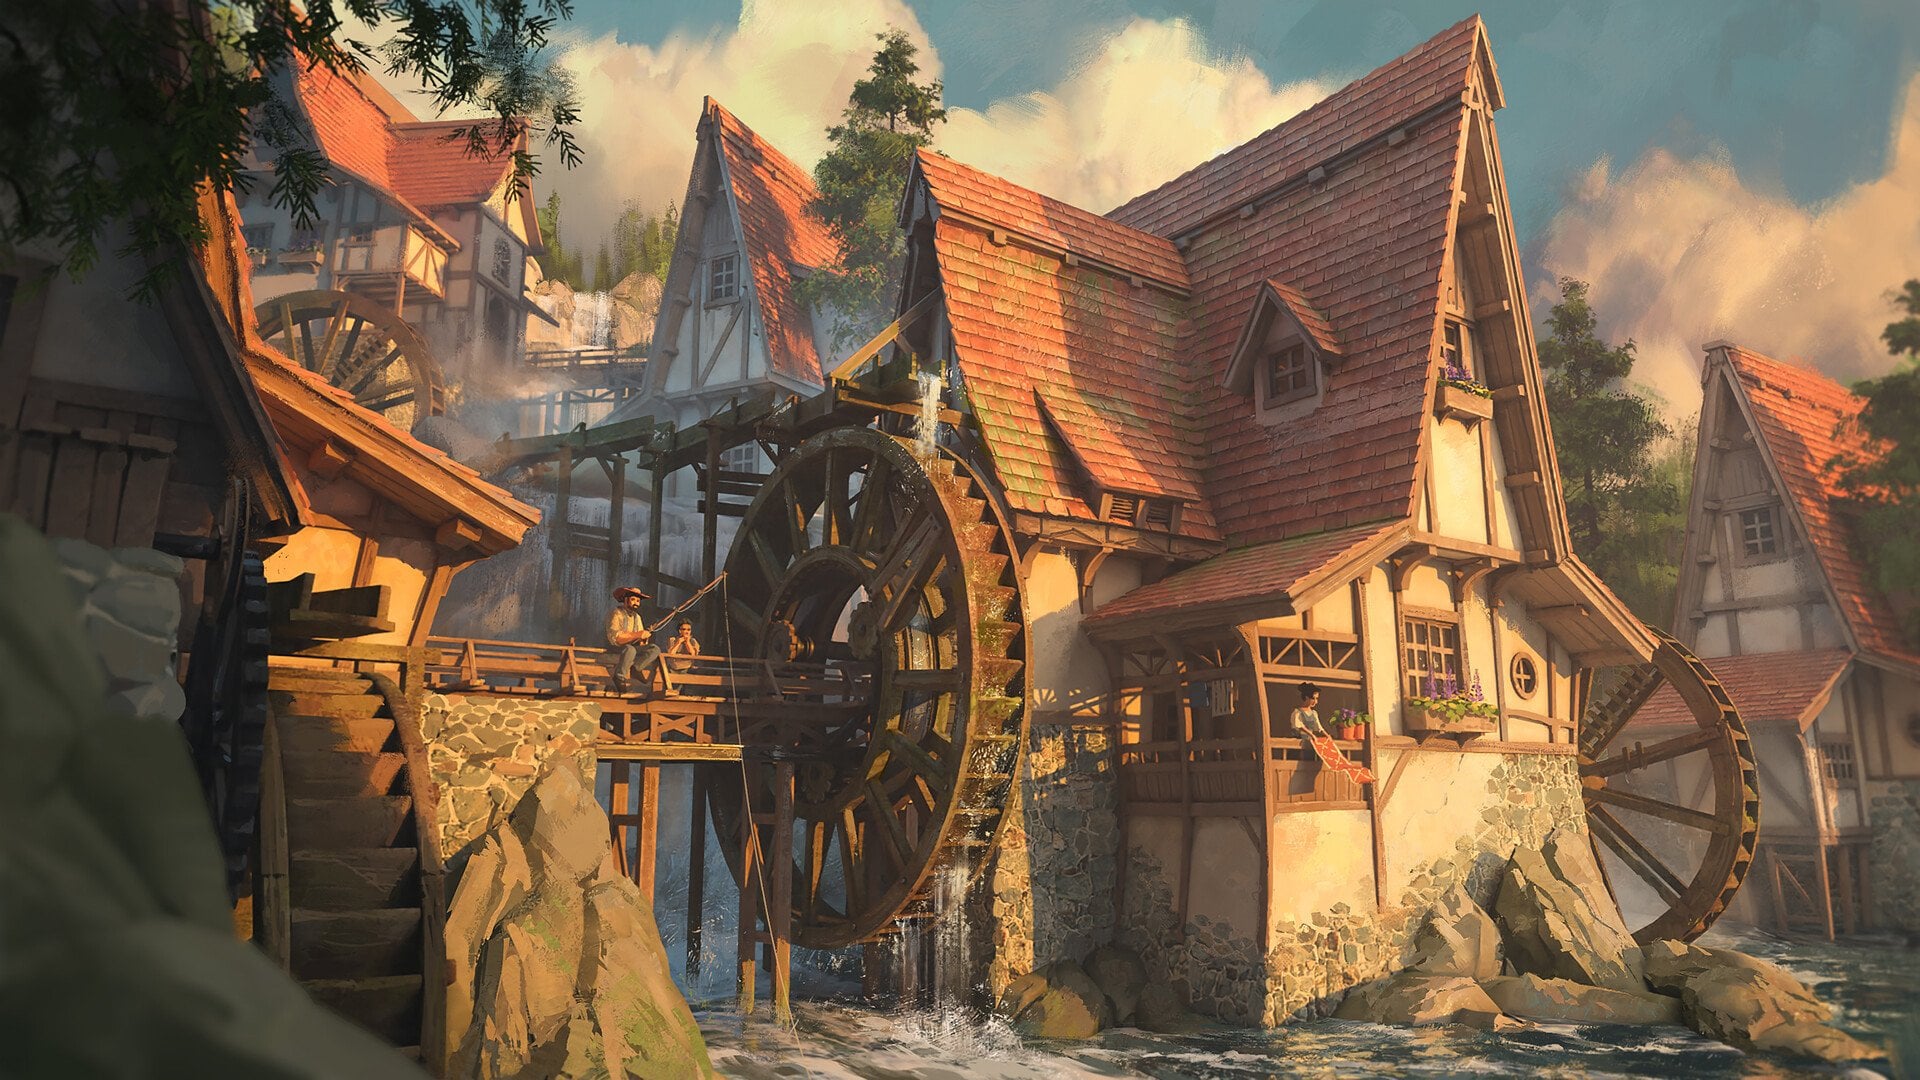
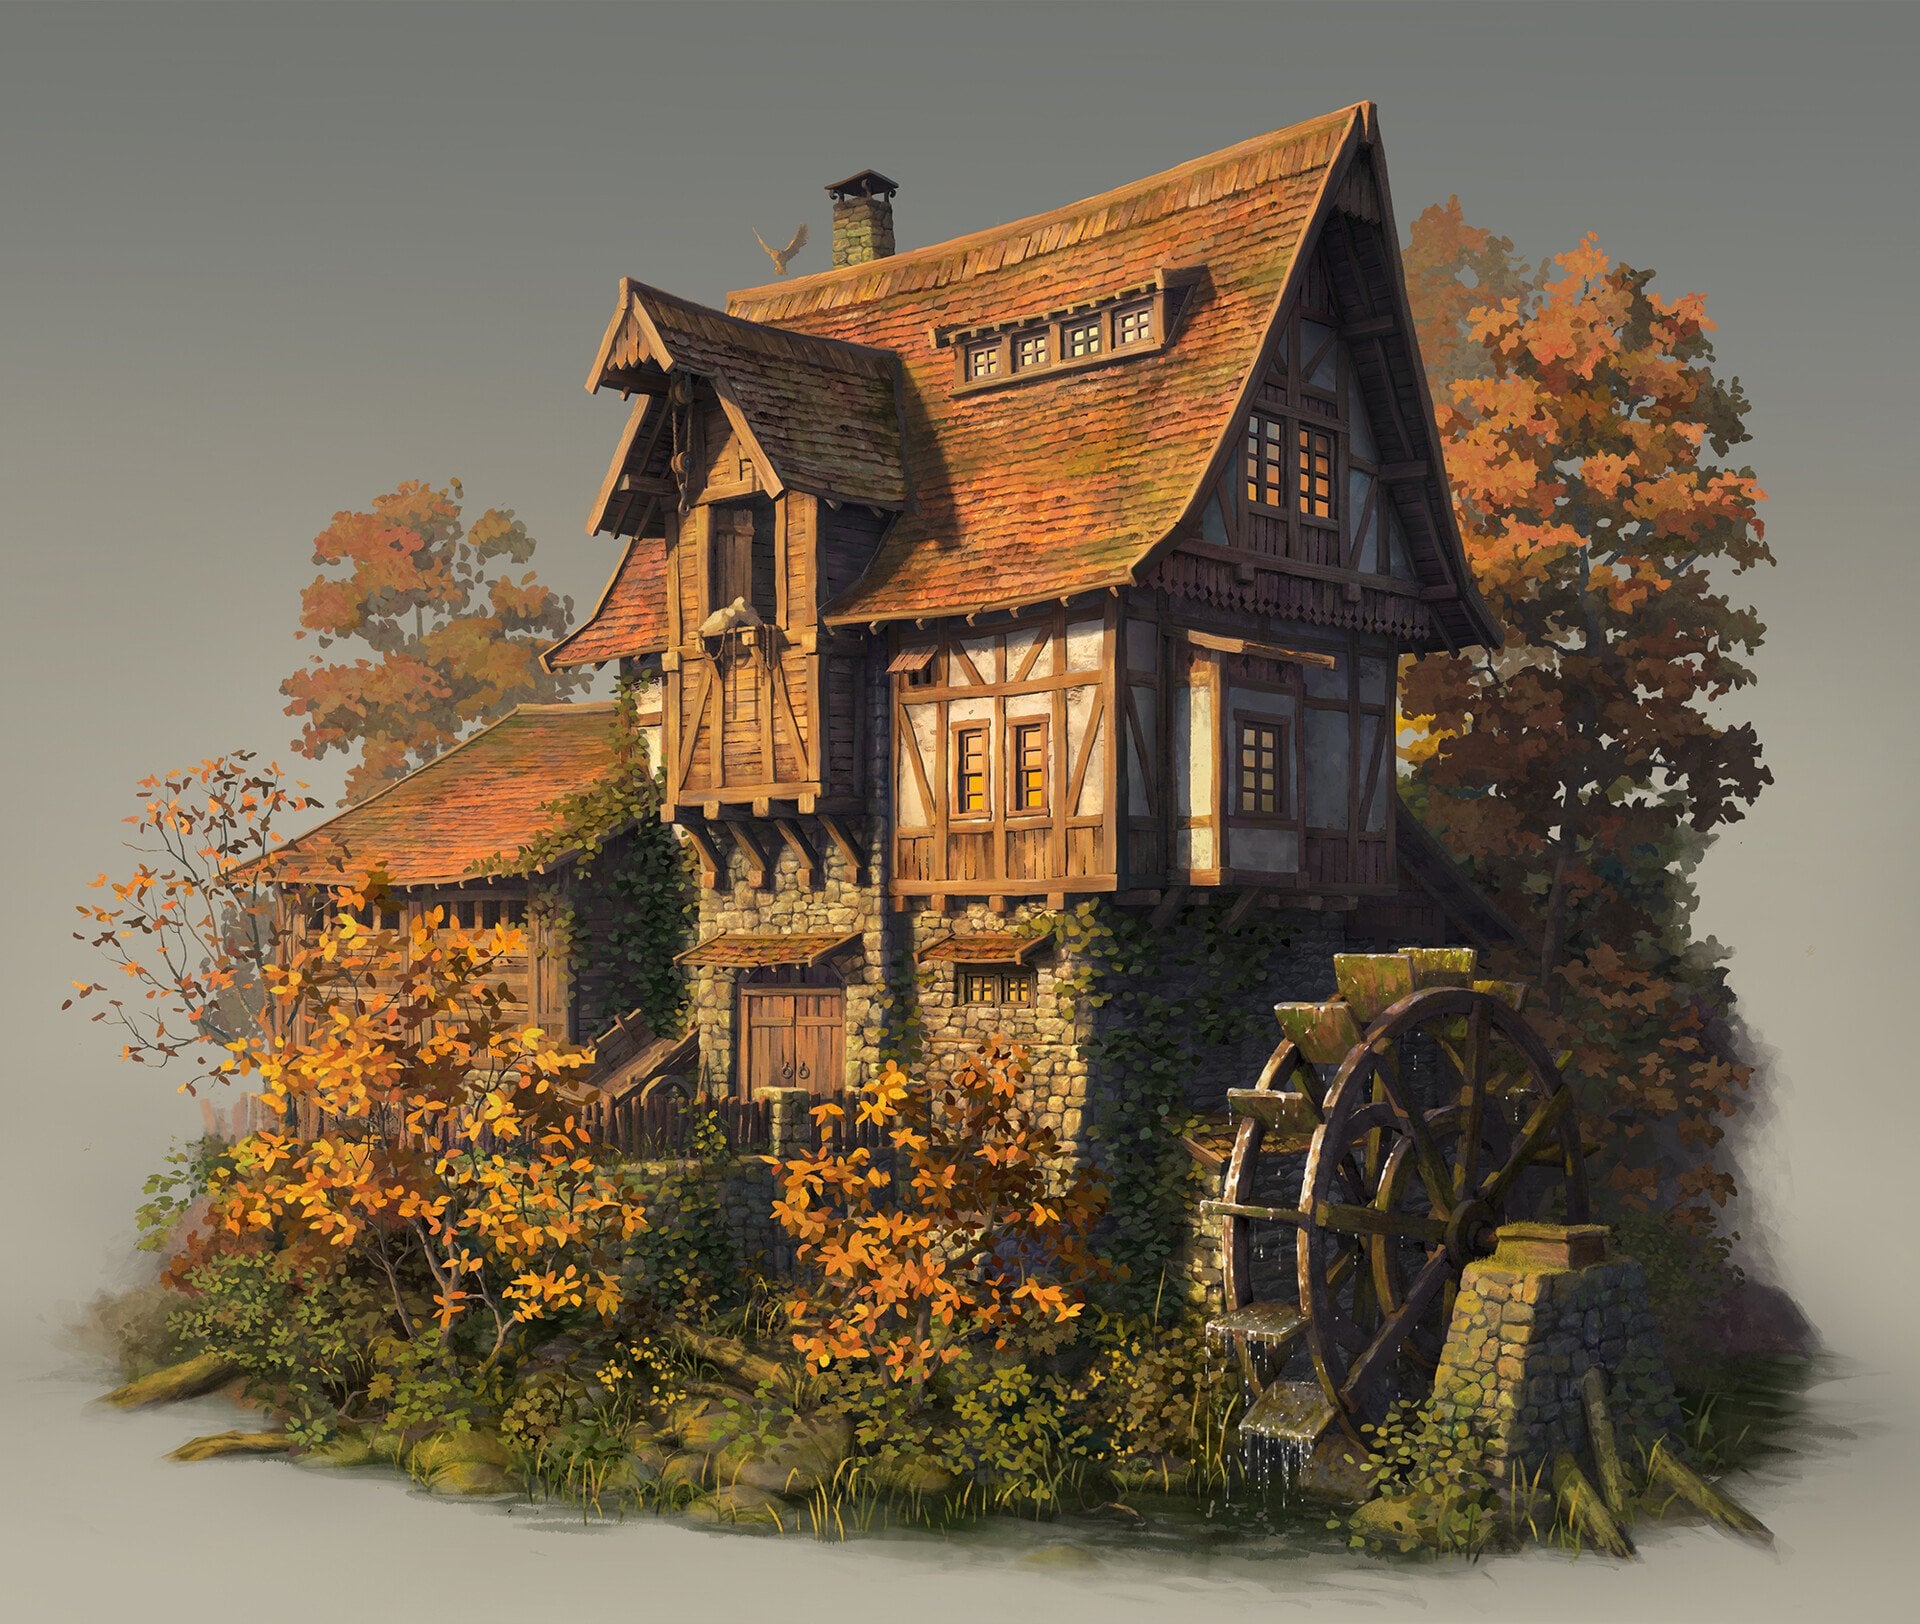
These are some of the main concepts that I would like to follow. Obviously, the overall shape of the building will be different as I will try to adapt the style of the game as close as possible, but these will serve great for some composition ideas.
Replies
Love the mood boards, looking forward to your progression!
My first approach is to create several different modular roof assets and kitbash them together in Unreal. To speed up the modeling process, I created a simple Geometry Nodes setup in Blender that generates roof assets by instancing tiles onto a simple plane. Using curve and deform modifiers, I can also quickly adjust and experiment with different roof shapes.
My low-poly roof tiles are made from a high-poly version that I dynameshed in ZBrush. I merged all the tiles together, smoothed the gaps, and then decimated the mesh. This is the same approach used by Michael Khinevich, who created an environment in a similar style and wrote a whole 80 Level article about it.
The downside of this approach is that there are currently visible seams on the roof where you can see the individual assets. However, I think I can fix this through better asset placement and by making the roof pieces snap together more effectively (which might be a challenge since the roof is supposed to look quite messy), or by covering certain areas with elements such as moss.
https://youtu.be/BtbiQsftEJU (Roof asset test)
My other approach I have been experimenting with is Nanite Tessellation, which is quite time-saving but still has some challenges. I created a tileable texture from my roof asset, which I then quickly baked in Painter and used to create similar textures.
This was just a first test, so my material doesn't have any color variation yet because I was mainly testing the displacement in Unreal. I am using the Easy Mapper plugin, which offers many material adjustments and even supports vertex painting, which might be quite useful in the future.
At the moment, the tessellation doesn’t work well in areas with seams and tends to break along the edges of the mesh. One possible solution would be to model a roof tile piece that I could simply line up at the end, but I’m not sure if that is the right approach.
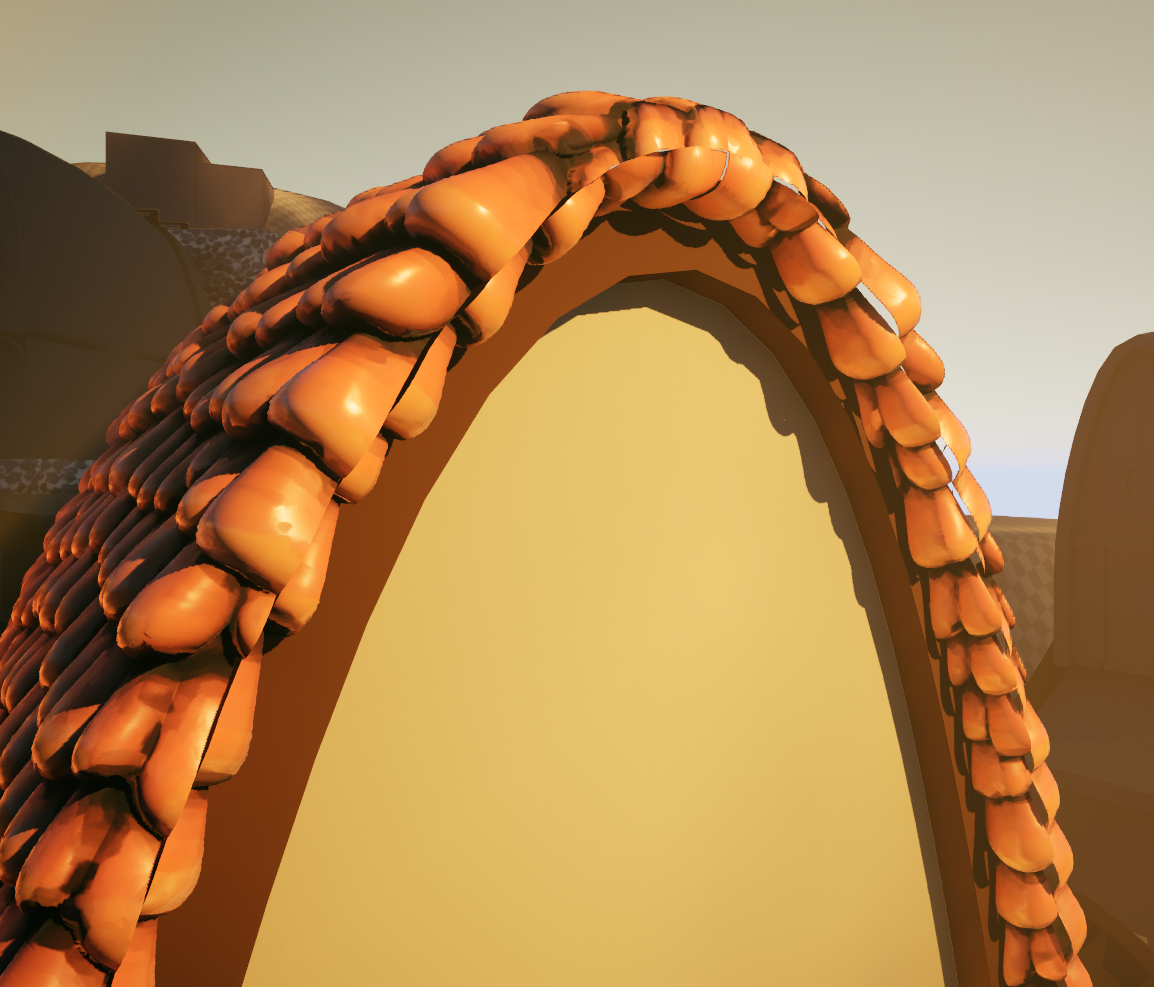
https://youtu.be/v-MMil0fdN8 (Nanite Tessellation Test)Thanks for the tip! I tried that, and it’s definitely better. I might still use some roof assets to add a bit of extra variation along the edges.
I’m also working on a trim sheet for the wooden parts, such as beams, pillars, etc.
Wood in No rest for the Wicked:
I’m not a very good painter, but I’m trying to replicate the style of the game, so I’m keeping the colors quite desaturated and just adjusting the tint in Unreal. I’m still working on the trim sheet, so I’ll post an update when it’s finished!
Been busy working on the project so I haven't posted in a while.
I created some more materials for the watermill. Mainly I focused on changing the rock material at the bottom and creating brick and plaster material that allows me to adjust the amount of wall damage directly in Substance 3D Designer. This gives me control over how much of the underlying brickwork is exposed and creates a more natural, worn appearance. However, I have not been able to achieve the same effect in Unreal Engine. I am currently using vertex painting to blend between the brick and plaster materials, but this method does not produce the same detailed edge transitions or chipped plaster effect that I created in Designer. I could probably create several variations of this material and use them.
I also worked on my main waterwheel hero prop. I decided to use unique textures instead of the wooden trim sheet I created earlier because I thought it would make the prop look more interesting and detailed. Unfortunately, even with four different texture sets, I couldn't achieve a high enough texel density on the large curved wooden beams due to their size.
I think it still works well enough when viewed from a distance, so I'll keep it as it is for now. If I have enough time before my deadline, I'll come back to it and see if I can improve the texture quality with trim sheets.
Thanks for the feedback! I've tried to play with the normal strenght a bit and it definitely helps a lot. I also noticed that my wood trims had a wrong normal map so now they also look a bit better. I think that one of the issues might be the fact that I have a quite strong directional light and post process going on, to capture the specific lighting from the game. So the front side of the watermill facing the sun is missing some detail that are more visible in the shadow. I also tried comparing the materials, one using vertex painting for blending and the other one already blended in Designer which I like a bit more but it doesn't leave me much room for adjustments for individual parts of the material(bricks,plaster). I know there is a substance plugin for Unreal so I might look into that, but I would have to adjust the material in designer and create more parameters.