Home Career & Education

Creating Trim Sheets 4 Part Tutorial - Polygon Academy

veteran polycounter
Offline / Send Message
PixelMasher veteran polycounter
Hey everyone! It's been a while since I uploaded some content but back at it with a new mini tutorial series. A lot of questions on my first video kept popping up so I hope these videos answer most of them in depth! props to anyone who makes it through the entire series, it's a time commitment! let me know what you think :) 

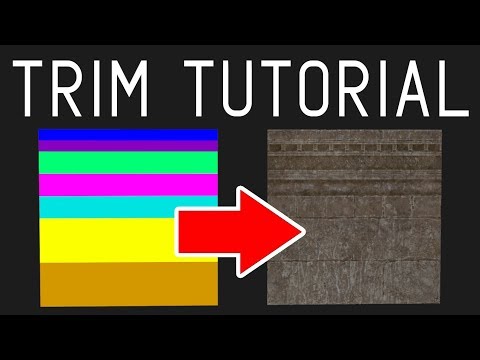
http://youtu.be/DipfrjCgYW8

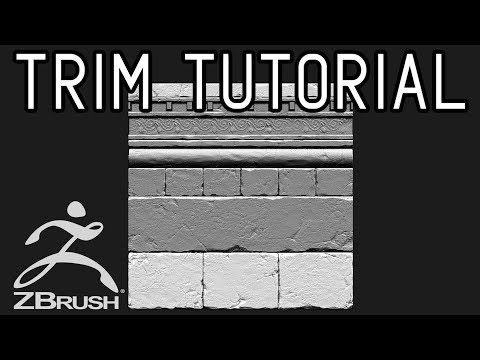
http://youtu.be/Tspveb9bjYA

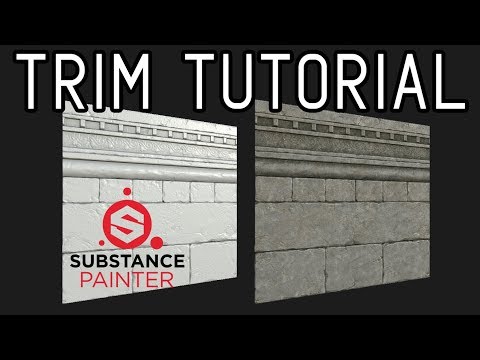
http://youtu.be/CarefswACgs

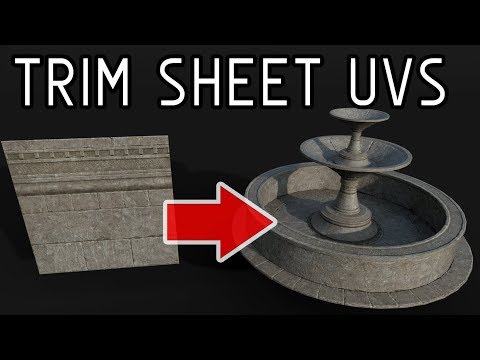
https://youtu.be/VEHsZniXguY

and of course the high level theory trim sheet overview video in case you havent seen it:
https://youtu.be/IziIY674NAw


Replies

  • Taylor Brown
    Offline / Send Message
    Taylor Brown ngon master
    You're a hero!
  • melviso
    Offline / Send Message
    melviso polycounter lvl 10
    Nice, u mentioned 2k texture for 4m. Is that the standard for texturing games?
    If one wanted to use 2k for 1m, Is that too much for performance?

    With 2k for 4m, Wouldn't that be too low for games that run on 4k monitors?
  • CrackRockSteady
    melviso said:
    Nice, u mentioned 2k texture for 4m. Is that the standard for texturing games?
    If one wanted to use 2k for 1m, Is that too much for performance?

    With 2k for 4m, Wouldn't that be too low for games that run on 4k monitors?
    There isn't a standard for all games.  Your target texel density will depend on the specific needs of your project.
  • melviso
    Offline / Send Message
    melviso polycounter lvl 10
    The question I am asking out of curiousity is when using 2k texture for 4m, what was his target for? Ist person, third person? side scrolling 3d game or he just decided to pick that texel density for the tutorial?
    Because, if I remember there is some sort of relative texel density standard for these different types of games I mentioned and the screen resolutions they would be played on.
  • PixelMasher
    Offline / Send Message
    PixelMasher veteran polycounter
    512 px/m (2k for 4m) is pretty standard for 3rd person games, especially if they are on console. 1st person is probably more like 1024 px/m so your 2k map now only covers 2m.

    its extremely rare to see 4k maps used in games still, so you have to get more creative with your tiling and blending for higher resolutions because you are still bound by texture memory. every time you double the texture size, you quadruple the memory footprint. 

    for context a lot of open world games use even lower resolutions for their textures, its not uncommon to see a lot of 512x512 textures still on props. 
  • melviso
    Offline / Send Message
    melviso polycounter lvl 10
    Ok. Thanks. What about games that designed to run on 4k monitors, probably pc games with higher resolutions? VR?
    Does this texel standard still apply or it has to be increased?
  • PixelMasher
    Offline / Send Message
    PixelMasher veteran polycounter
    yea, as the jump to 4k becomes more common texture sizes will defnitely go up next generation and 2k/4k maps will be more standard. but even on a 4k monitor, say you had a 4m wall piece in a hallway, you would have to put the entire wall right up to the camera to make use of the 4k map and 4k pixels of your output display. that rarely happens, and most of the time, a wall will cover like half the screen in most cases, so 2k would probably still be fine unless you have a ton of memory to spare. 

    I would say 90% of people have not upgraded to 4k displays yet, so in general companies will cater to what is the norm. so 2020+ I think you will see more standardization of that level of output. 
  • melviso
    Offline / Send Message
    melviso polycounter lvl 10
    Thanks for the info, Tim. :- )

  • KatzChimera
    Offline / Send Message
    KatzChimera polycounter lvl 2
    These are fantastic! I used this to complete my first trim sheet environment and I am so beyond grateful for your explanation and advice! Thanks Tim! :)
  • armagon
    Offline / Send Message
    armagon polycounter lvl 11
    What an awesome, detailed tutorial. Thanks a lot!
  • tynew
    Offline / Send Message
    tynew polycounter lvl 9
    Really thank you for the entire series! This is one of tne most in depth resources on it to exist, aside from Jacob's breakdown. 

    I had a few questions that most people don't really talk about. 

    1. Would making a trim UV for eg 1:2 ratio vertical (2k*4k) and sticking a texture variant on it be a bad idea? Or should you only stick to 1 main texture variant per trim? The former means you require additional meshes to support the texture variant but then you can batch together those meshes. 

    2. I liked your process of not noodling around. How do you decide when and what to work on next? Is it a hard rule to fully complete your modular pieces before moving on to props etc? 
  • PixelMasher
    Offline / Send Message
    PixelMasher veteran polycounter
    tynew said:
    Really thank you for the entire series! This is one of tne most in depth resources on it to exist, aside from Jacob's breakdown. 

    I had a few questions that most people don't really talk about. 

    1. Would making a trim UV for eg 1:2 ratio vertical (2k*4k) and sticking a texture variant on it be a bad idea? Or should you only stick to 1 main texture variant per trim? The former means you require additional meshes to support the texture variant but then you can batch together those meshes. 

    2. I liked your process of not noodling around. How do you decide when and what to work on next? Is it a hard rule to fully complete your modular pieces before moving on to props etc? 
    The first mindset to break here is the fact there are hard and fast "rules". 

    1) Not necessarily a bad idea, I have seen plenty of 1kx4k or 2kx4k trim sheets used. it is actually a good way to reduce drawcalls if you have all the trims for a set of meshes on one material instead of 2-3. But I wouldnt just duplicate the trims from the top half onto the bottom and make a slight variation, thats kinda a waste of texture memory. I would just make a way more diverse extended set of trims vs having small variations and then if I really needed a complete variation just make a drastically changed version of the material/textures. I would try to keep it all a similar material type too, as tuning the materials in engine afterwards is a lot easier if you are tuning just metal or stone and not a mix of 3 surface types on the same roughness map.

    some studios will combine textures into crazy non square ratios, while others stick to square ratio trim sheets with multiple materials. It all depends on the workflow/engine and that is why pre-plannign is so important. Combining them after a modular kit has been created sometimes means going back and re-uvin 100s of modular pieces. So pick one method and stick to it, that will have better results that trying to be perfect by changing things up halfway through a project ;)

    2) In general I try to get the minimum viable result I want before moving on, knowing I can go back and polish the 20% of things that will have the biggest impact on the scene at the end. If I am working on a modular kit I try to atleast get all the pieces I know I will need working on the grid properly and snapping together nicely, as well as testing a bunch of variations in the level. It doesnt have to be super polished but an 80% done in terms of modeling/uvs/first pass materials is a good starting point. basically imagine someone told you that you had a day left on your level, if I could walk away at that point and still have it playable in terms of navigation and layout and looking "OK" then I feel comfortable moving on to the smaller details like props.
  • icegodofhungary
    Offline / Send Message
    icegodofhungary interpolator
    I notice you don't use much of a bevel on your trim sheets where as the technique used in Sunset Overdrive heavily relies on them. Is it better to let the geometry do some of the heavy lifting when it comes to bevels, or is it just a difference in personal/artistic preference?
  • PixelMasher
    Offline / Send Message
    PixelMasher veteran polycounter
    in this case it was more a style choice, there is still some exaggerated bevels/damage but not a huge clean smooth one like they use, their art style is a lot more stylized with a focus on large forms, so even their bevels are super chunky. for hardsurface stuff like scifi trims I would lean more towards a chunky bevel like they use in that example. 

    or you can go the star citizen route and have them be more geo based, but they tend to use more simple tiling textures ontop of highpoly geo when they do that, not trims. just depends on the workflow/art style :)
  • Kanni3d
    Offline / Send Message
    Kanni3d ngon master
    I know texel density can be flexible and doesn't always have to be spot on, but would it be dumb of me to measure out my modules that I'm applying the trim to, and plan the trim texture accordingly to that? 

    For example, if my TD is 512px/1m , and I've got a baseboard along my walls thats 45cm tall, that'd mean the appropiate trim size for it on the texture would be ~230px tall. Then I can model that in, and repeat for the remaining modular measurements to fill a trimsheet? 

    I see that you gave logical measurements when blocking out the different elements of the trim sheet, but they're being applied to different various objects and elements that weren't the intended measurements. Maybe I'm overthinking TD too much :tongue:

  • PixelMasher
    Offline / Send Message
    PixelMasher veteran polycounter
    yea if you are going to use the texture on a specific modular kit and you have it all modeled out already and know the measurements, for sure you can do it that way. You can still make variations for that kit too as long as you keep the same spacing/uv layout for the strips. there are no real set rules, just work the way that allows you to get the most out of your models/textures :)
  • Polynaught
    Offline / Send Message
    Polynaught polycounter lvl 11
    The way you've unwrapped the circular fountain trims should cause seams where they meet heads and tail since your trims don't start and end at multiples/fractions of one. I guess you are aware of that. Just wanted to point this out so others new to these techniques know what to look for when fixing these last 5% of their UVs. Otherwise your horizontal tileable textures wouldn't be nesseccary. Often these small gaps aren't noticeable. Especially in spaces the player cannot move the camera to.

    I enjoyed watching all of your videos. They were a most welcome refreshment for me.
  • PixelMasher
    Offline / Send Message
    PixelMasher veteran polycounter
    cheers! yea there is a tiny tiny seam but in 99% of cases you will never notice it unless you really zoom in the camera, and in a game with gameplay, shit exploding, characters fighting and the camera constantly moving around, you will definitely never notice it in context haha. you can massage/scale the uvs until it is seamless but that's a huge waste of time in most cases trying to get that last 1%, and definitely something that can be left to the polish phase of production if needed. 

    glad you enjoyed the vids :)
  • tynew
    Offline / Send Message
    tynew polycounter lvl 9
    @PixelMasher
    I really appreciate the info. I'm currently using a 1x2 ratio trim for a wall. A wall segment I have uses only a section of the trim for the entire thing as the mesh is divided in half with a edge loop. 
    Now how do we go about vertex painting or using decals on top? They stretch/distort so I assume this is because they use the same uvs in uv0?  
  • PixelMasher
    Offline / Send Message
    PixelMasher veteran polycounter
    you could use a second uv channel with a different ratio for blending tiling materials over top, you can use your lightmap uv channel for example and then tile whatever materials you want in the shader by increasing the tiling in there with a texcoordinate node in unreal for whatever you want to blend over top. decals would be using their own material on planes over top projected in engine so there shouldn't be any stretching probably. 
  • icegodofhungary
    Offline / Send Message
    icegodofhungary interpolator
    When you're doing work with trims, how much of it is usually having models first and then trims vs trims first and creating models from that. I notice I have a bit of a struggle with figuring out which one is better or more practical.  And it always seems like no matter which I try, there's some adjustments that needs to be made. Like changing the mesh to make better use of the trims or realizing I need to add or remove something from the texture to make better use of space there. Is that just the nature of this technique or is there a more consistent/direct way of creating assets with it?
  • PixelMasher
    Offline / Send Message
    PixelMasher veteran polycounter
    thats the nature of gamedevelopment haha. a lot of back and forth and iteration usually. I have never worked on an asset or level that was one and done unfortunatley.

    in most cases you will probably have atleast proxy models of the level kits that the designers have been using to do their layouts with so you can reverse engineer your needs based on those rough proportions and use that as a jumping off point. 

    for some of my personal projects sometimes I just doodle up a trim sheet and see what I can do with it, but having a rough blockout to work from and hopefully a concept showing some of the overall shapes and asset ideas helps a lot more. the less winging it the better usually. 

    a lot of the time yea you will probably squash and stretch parts of your mesh a bit or add extra edgeloops to slice in trim lines etc or change the tolology to allow trims to flow around certain edges or intersections etc. thats kinda the nature of working with this method. but once you do it a couple times you get super used to it and it almost becomes second nature and you can plan your stuff a lot better from the start. 
Sign In or Register to comment.