Substance Designer Testing (Ryan Griffin)
polycounter lvl 8
Hello Polycount,
So I got some Christmas Presents/Black Friday deals this year. I have been trying to learn Substance Designer this past month from tutorials and such. Pushing my understanding and skills.
I wanted to know if any of these tests are any good. I'm sure they can be pushed more and as my knowledge grows I want to make more complex materials.


Thank you for your time.
So I got some Christmas Presents/Black Friday deals this year. I have been trying to learn Substance Designer this past month from tutorials and such. Pushing my understanding and skills.
I wanted to know if any of these tests are any good. I'm sure they can be pushed more and as my knowledge grows I want to make more complex materials.
Thank you for your time.
Replies
So I would suggest to use SD as a composer/mixer/ scatterer of things you pre-render, sketch, sculpt or getting through photogrammetry initially . A tool for routine image manipulations. A node based image filter.
A clever mix of true and procedural details is what allows to work efficiently imo.
Maybe someday a kind of new generation of tools , neyro network based or something would allows to make something 100% procedurally on a whole new level but right now it's a massive time wasting and never ending slider and gradient tweaking. So far SD is really good for things which are artificial and repetitive by its nature like tiles, bricks etc.
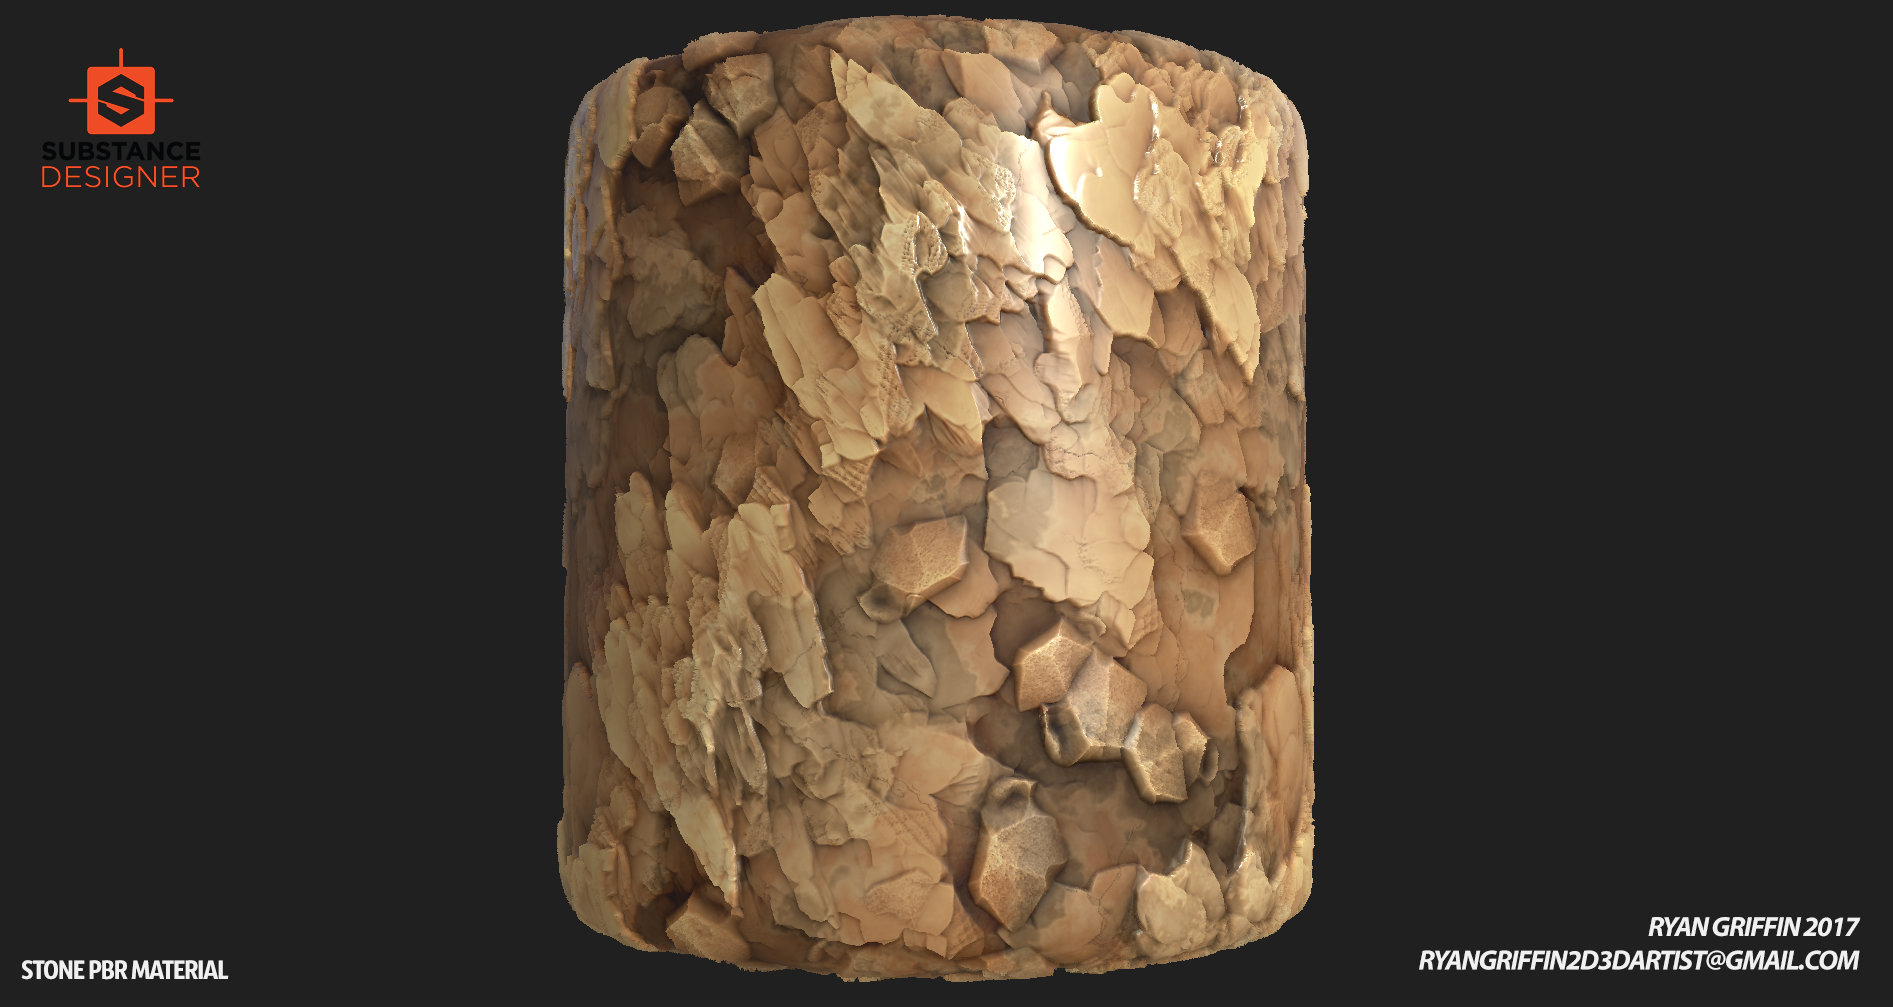
1. The normal map here looks quite intense, when you might want to use a combination of height and normal. Height for the big shapes, then normal to add smaller details. Also, once you have your heightmap, materials like this one can benefit a lot from adding Ambient Occlusion! This node uses the height map as input and creates a really good depth effect. To add some more colour variation, you can use the curvature node with your normal map as input. When you level this out to increase the contrast it gives you a really good mask for the edges, which you can use to create more variation.
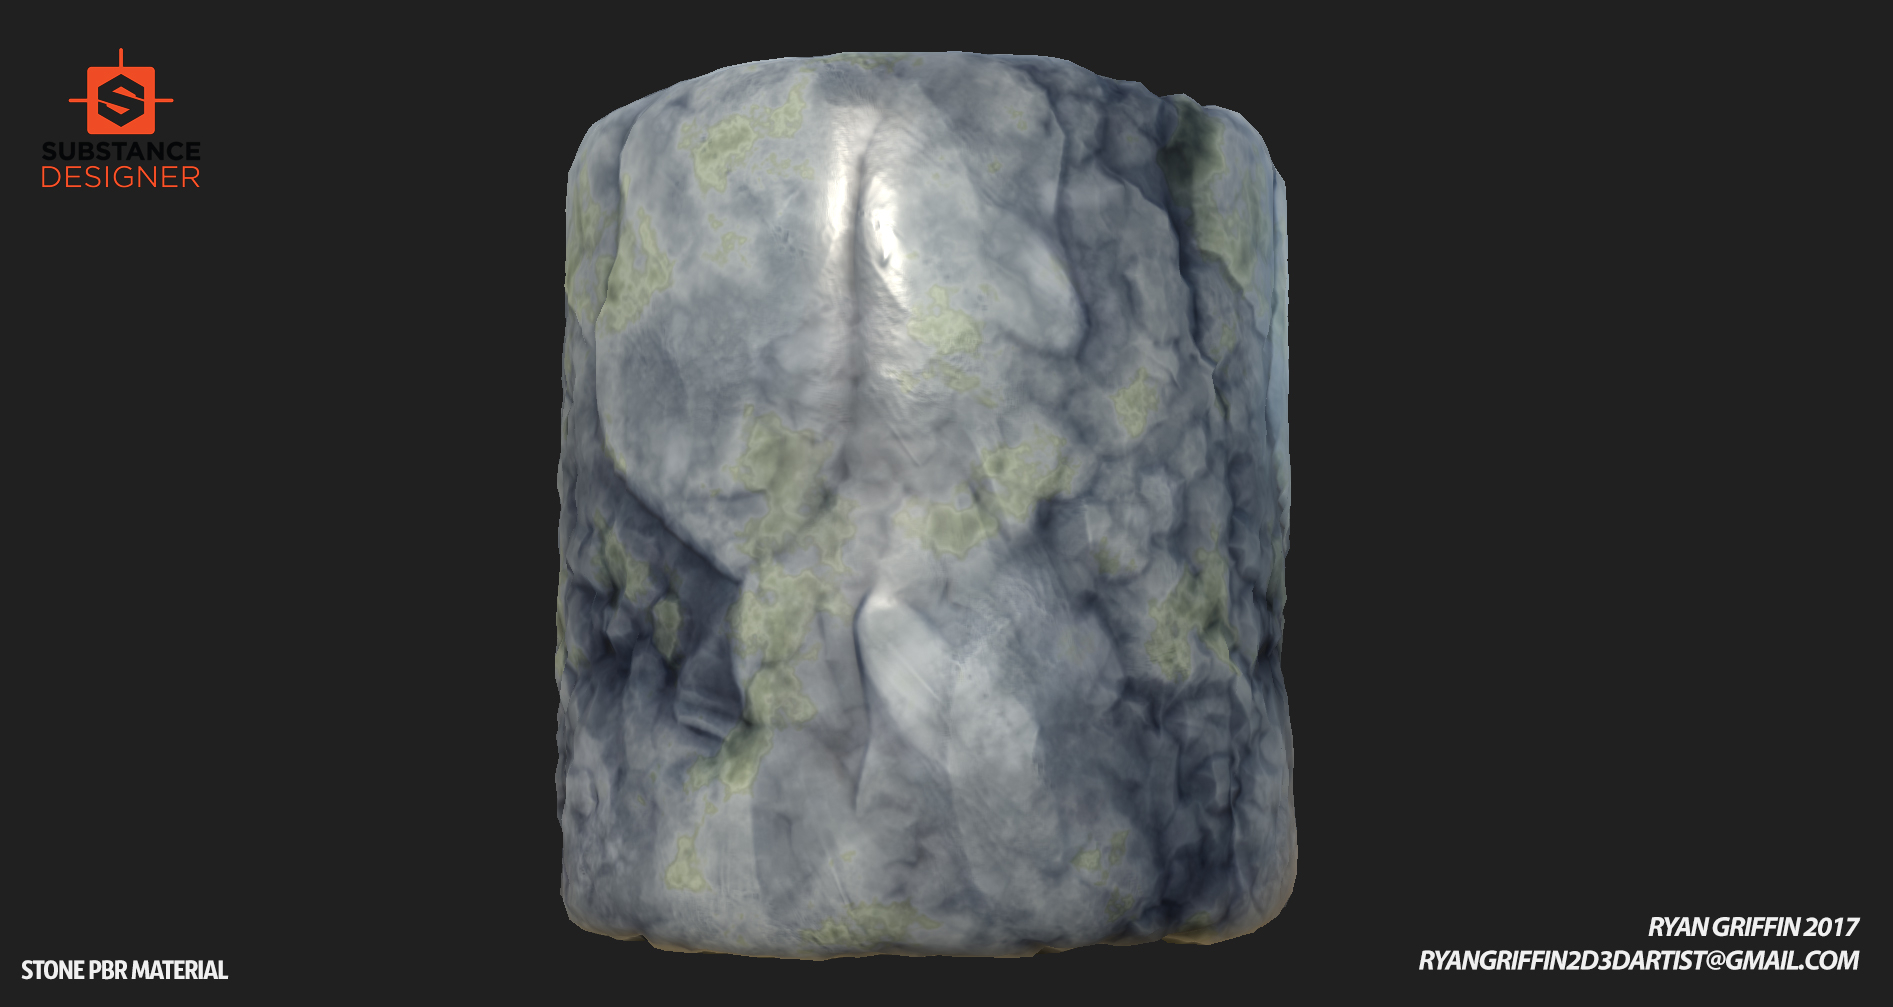
2. This is a really good base for a rock material! Most importantly, you should work on the roughness on this one. Rocks are less rough to begin with, but some noise variation makes the surface way more interesting. Secondly, don't be afraid the boost the height on materials like this. You see professionals really pushing this, but it requires you to use the full range of the height map smartly. When working with height like this you should also try to avoid 90 degree angles (a sharp contrast in the height map) because it creates artifacts with how SD does subdivision and height.
3. This is a great scene to empathize the roughness contrast between different materials. There should be more of a difference between the water and ice. If I were to do one like this, I would create two different graphs, one for ice and one for water. Then in a third graph, you can combine the two with a carefully crafted mask, using the Material Blend node. Remember to expose parameters in the materials so you can easily tweak them without having to enter the graphs. Also keep in mind that water is very smooth, and should have a delicate normal map.
4. Much of the same as 2 really. Again, boost the height of the material beyond 1 and use the whole height value range. Even when working with smoother rocks, you should try to have some harder shapes, particularly where different stones meet.
5. This one is really good! You should try to make some variations in the roughness, and you can warp the blades of grass to make them less straight. Apart from that I don't have much to say.
6. You need to think about this material in layers. Again I would use the Material Blend node to combine several separate materials. You can create some really cool blends by combining two different height maps with the Height Blend node. The main issue here is that the normals of the ground come through everywhere, even on the needles. This breaks the illusion of depth. Either blend the height maps with Max(Lighten), or the normals with the Normal Blend node, and the needles as a mask. I've attached a screenshot of my latest material, where I have 4 different materials and then I have a dedicated graph to blend them all together (here). The large nodes are the material blends, where the bottom inputs are the masks to blend the materials with.
I hope this isn't too much, and that it's not too simple or complex