Reallusion Character Design - Pearl & Guilt Monster

polycounter lvl 9
I've been following Reallusion's contest for some time now and after many tests and decisions I've concluded in submitting two characters in one entry. I just hope I don't make a fool out of myself since the contest is almost about to close. Hope you like my work and also let it be a good first entry into Polycount, since I've been a member for quite some time but in a very passive manner.
Replies
Stage A
Reference Images or Concept Images
Stage A
Reference Images or Concept Images
Stage B
Sketches
First sketch to visualize how the character should look like.
Ideas of how the character behaves as well to visualize some other details (the "i'm a Vampire" ballon is a joke though).
More sketches to study behaviour and other visual details.
Stage B
Sketches

First sketch to visualize how the character should look like.
Ideas of how the character behaves as well to visualize some other details.Stage C
Modeling in Blender
Modeling of the head in Blender.

Modeling of the body
A small overview of how render would look with Cycles Render with node tree.
Final render in Cycles Render, no more use of staying in this phase anymore. Time to go "high poly".Stage C
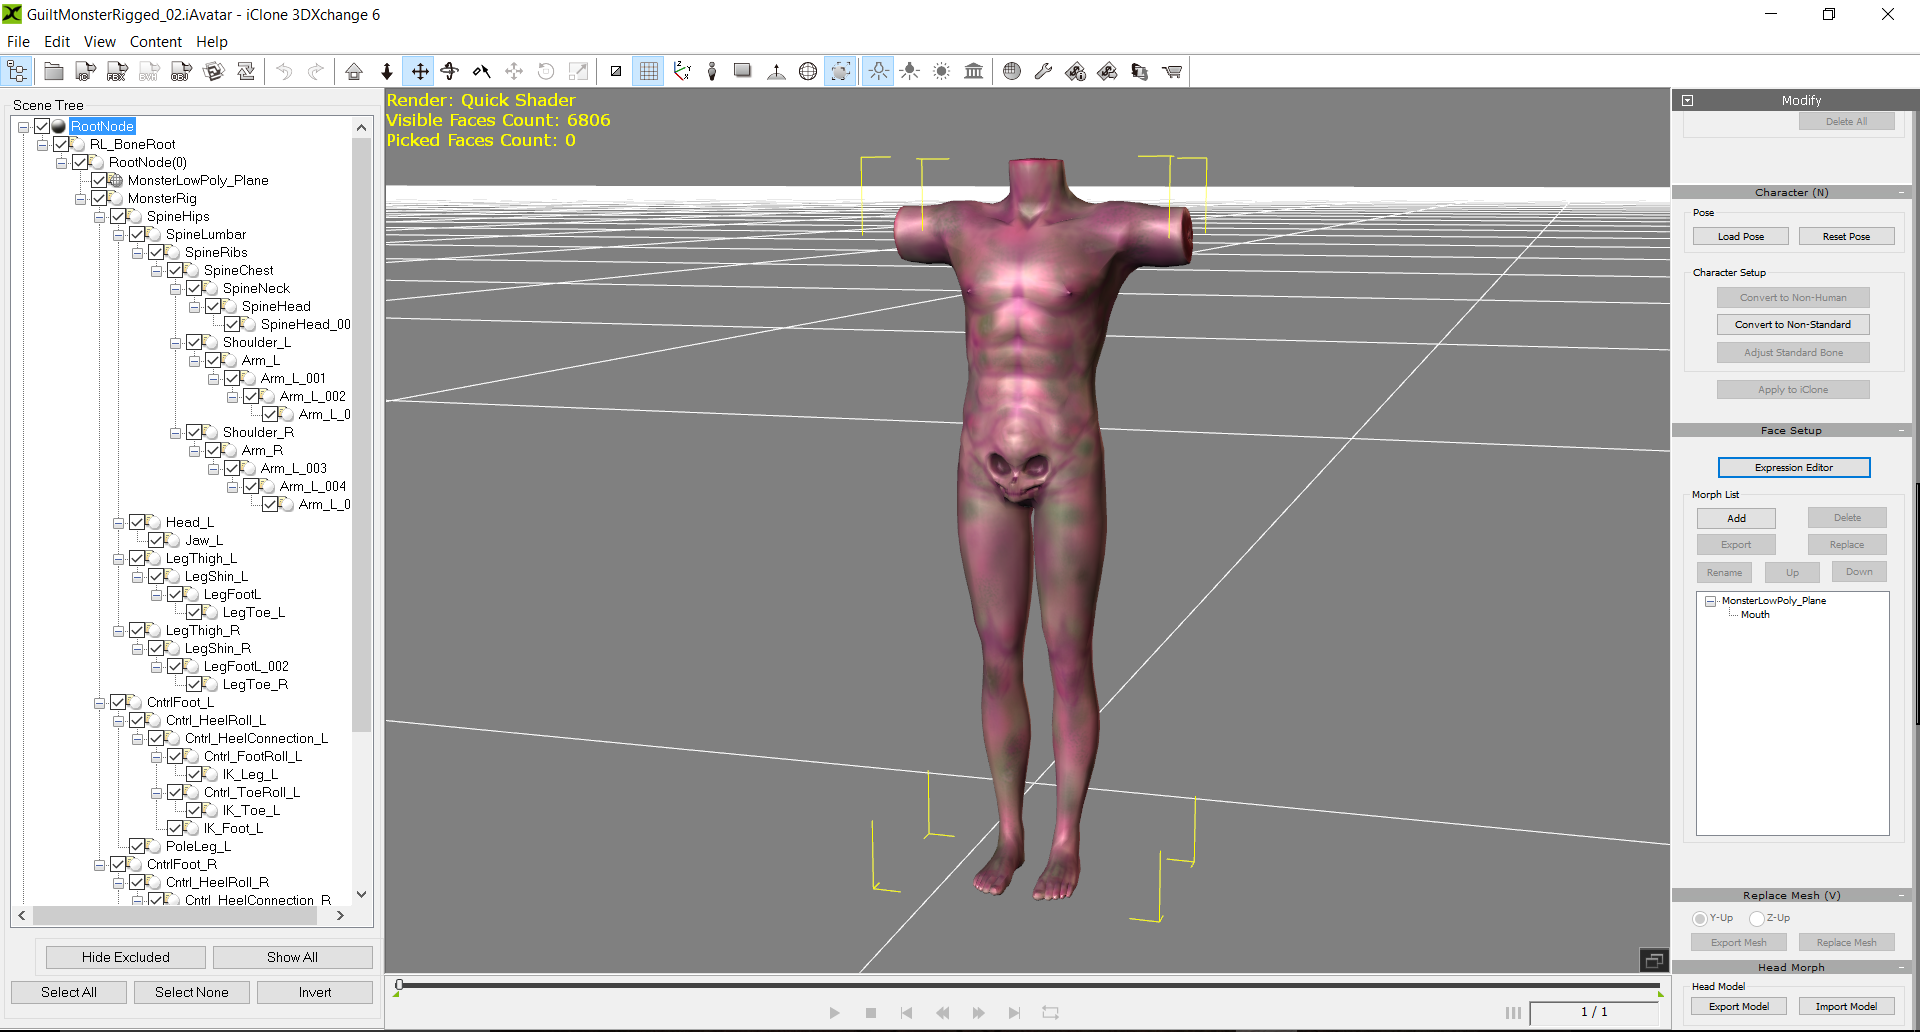
Modeling
For the monster, I took the opportunity to speed-up workflow thanks to "iClone Character Creator". Since I won't be using the arms and head I didn't put any attention to those details.
Managed the new cuts for topology in Blender.

Finally made some size adjustments in comparison with "Pearl". Also included the inferior head to prepare for "High Poly" modeling.Stage D
High Definition Mesh
Character has been imported to Zbrush to give the model a more sinister look.
For this model I've decided not to use dynamesh. Risky, I know. Still iClone's topology was enough for a very decent sculpt.
Topology is allmost ready. Time to translate the colors from my wooden pencils to the computer as similar as possible. My personal goal for color is to use red very little or for arms details.
The monster head must be coherent with character Pearl's world, so her head was used for reference to sculpt the skull. Now, time to do some projecting and some additional sculpting...
Voila.
Almost done with the polypaint. Cheking out also some materials suggestions.
The finished model completely painted.
Final Zbrush render of inner emotional state "Guilt Monster".
Stage D
High Definition Mesh
I've been experimenting with sculpting on Zbrush from scratch and for the moment, I've found out I control better the general topology with a prior mesh manufactured in other programs, like Maya or Blender in this case.
The current images show the body subdivided and the extraction and modelling of clothing in Zbrush thanks to masking technique.
Here I've began to break the mirror modeling for the shirt. I've also done some aditional sculpting to the clothes.
High topology mesh is almost ready. Time to begin polypainting.
Unlike the monster, Pearl's color were all time in my head very clearly, so I never used any color picker to emulate colors from the original sketches. Unprofessional, I know.
Almost done with the polypaint. Clothes details are finished except for the bra which has been giving me some topology issues...
This expression is just for fun, since I've no time left to manage it for iClones contest.
In general, polypaint is ready. I'll check if I can make some adjustments to some details that are missing. Only time will tell.
Final Zbrush render of character "Pearl". Cube was used for better "perspective" positioning.
Stage E
Retopo
I was originally planning to use these characters as videogame assets, also had to enter Retopology to make a functional mesh to work with iClones. So got over with it.
So begins the retopology process for the monster.
A more finished model of the retopo. Left feet for last.
Now for the feet. I'll be showing the finished model in the next post.
Stage E
Retopo
The monster was very easy toretopologize since the legs were the only real moving part, but for Pearl had to take more time in detail to achive future "blend shapes", or in Blender case "Shape keys".
Beginning retopo of the face.

Retopo of the model with mirror modifier unnaplied.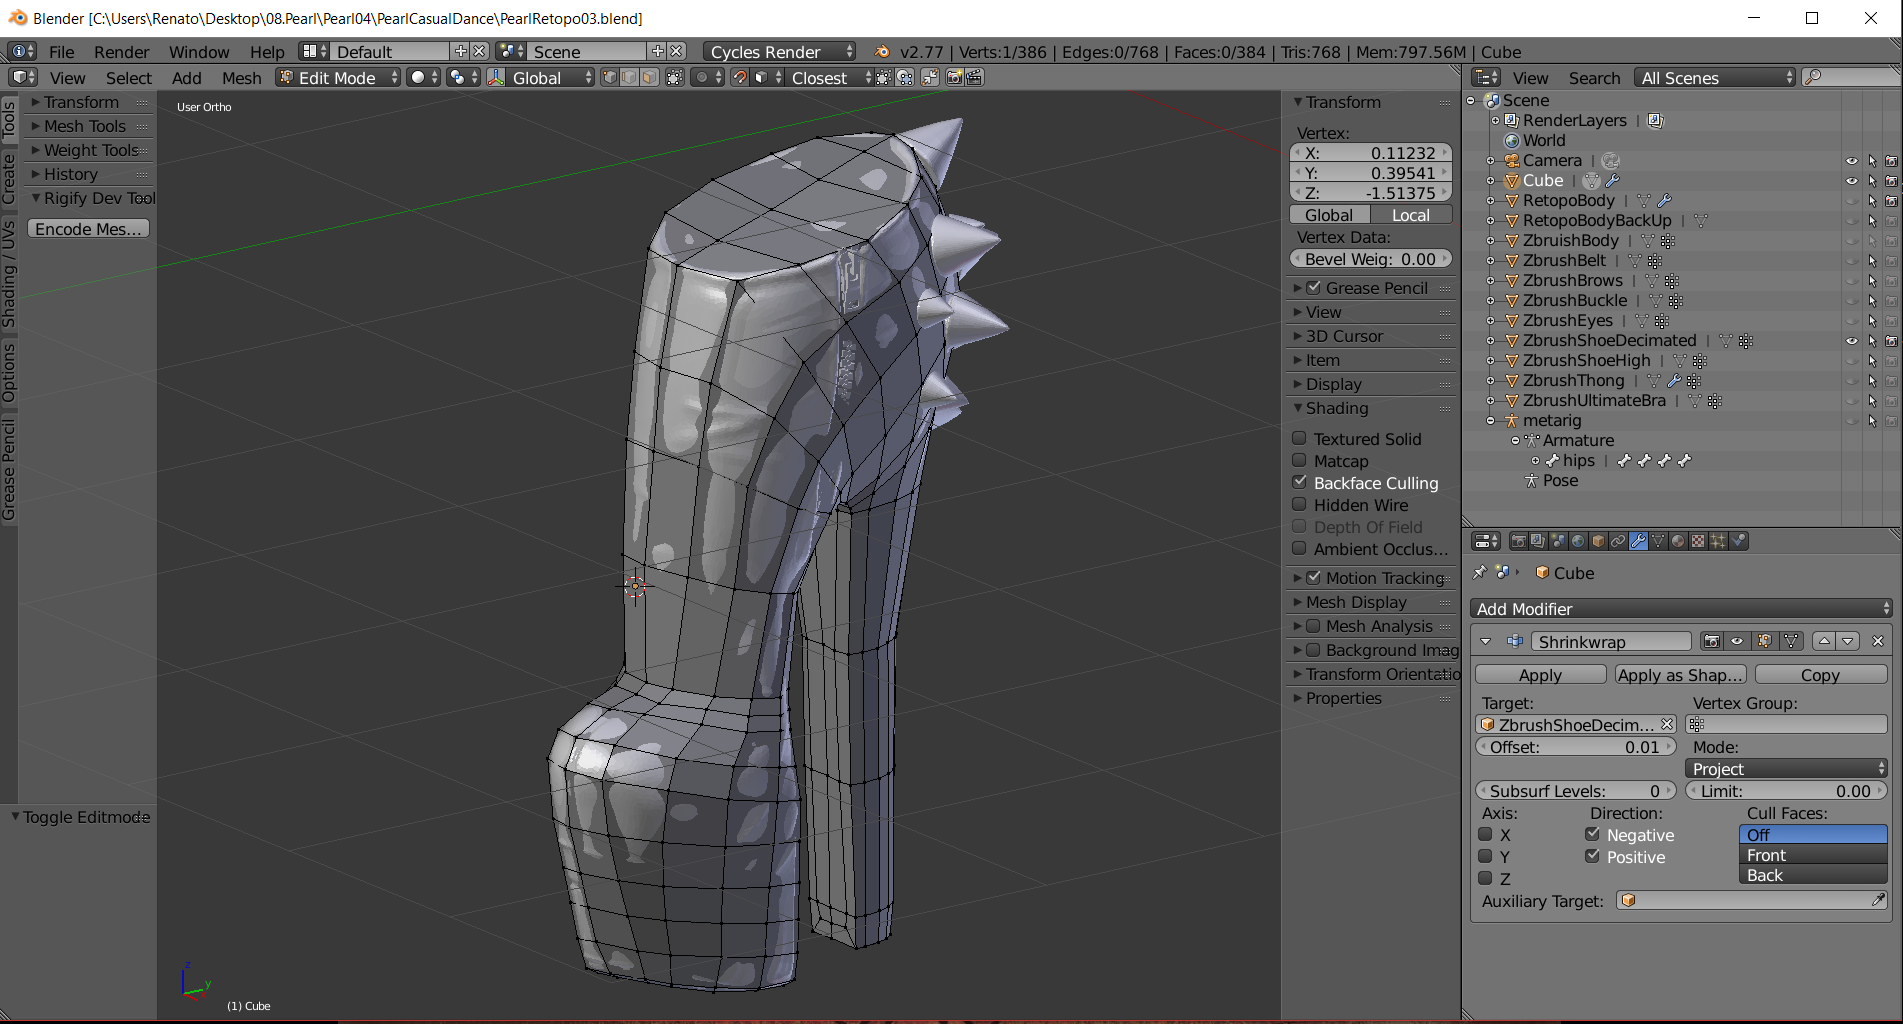
Retopo of one of the shoes, had to apply retopo to all undergarments since I decided to make each one independent and not part of the general topology. What a nightmare.I began applying bones as I did the retopo which leads us to the next topic, rigging.
Stage F
Rigging, UVs and Map Baking.
By this stage, the contest began to get really closer, so I began to combine different activies as suited best.
The unwrapping of the uvs was pretty simple and straight forward, since the baking would be done transfering the high poly detail I really did't give much interest to this issue.
Began with the classic skinning, you may observe I had a shape key for the esophagus movement, a feature I couldn't include in iClone's 3DXchange...
Rigging the legs consumed me a lot of time. At the time I didn't know 3DXhcange only cares for the general vertex wieght assigned to each bone. Had I known sooner I would have inverted so much time in making bones and so many Ik's for the feet.
The head had its own bones for movement, though I had to scrap completely this idea since 3DXchange wont allow a twisted and weird rig as I later found out. I'm amiss if the movement would have worked if I played the animation as a Shape Key, thought the esophagus also had a Shape Key and it didn't work.
And what is a rigg without it being rendered. You may notice that for this stage I had already baked the diffuse, normal and AO maps.
Blender's render engine "Cycles Render" has some issues rendering "smooth groups" so I imported the model to Unity to verify the looks and oh boy! It looks awesome! It was really worth it.
Here's a video of it moving in Blender:
https://vimeo.com/187547164
Since the monster only bears one mesh I took the time to present its textures maps.
Stage F
Rigging, UVs and Map Baking.
The monster was almost finished, it was after all, a very simple model, but Pearl was a completely different story, she a lot of work to be done. I had already began preparing the rig since the retopo process so, beggining with paint weights was almost immidiate.
Rigging characters who can do split legs has been a very challenging work for me. Maybe it's something I wouldn't be playing in iClone, but still I wanted it to be done as best as possible.
Always got weird results, my solution was to include bones to control the hip's weigth better. It helped more or less.
To be honest, when I rigged the arms I didn't put much effort on it, an issue which later became evident and I had to do magic IKs corrections which resulted in better looks... which in the end backfired at me since I later found out that 3DXchange doesn't manage more than 1 bone for the forearm. Hence the forearm twist and the hand roll came out very weird.
A simple rigging test.
A more complex rigging test.
Baking the maps for Pearl was a real pain. I made a loooooooooooooooot of mistakes and lost a loooooooot of time in this process. This was my first project ever to bake maps in xNormals. This image shows the AO map for the shoes, which by the way, they were the ones which gave most trouble of all because when importing objects to zbrush for cage creation and stuff, the damn thing change the scale and the pivot point... it was awful.
My original concept drawings had Pearl bearing a scar like tattoo which I had completely forgotten about. I had to improvise it and apply it to the Diffuse map in Gimp. Drawing made in Rhino and painted in Gimp.
I lost a lot of time doing the maps of Pearl's body and clothes, I had to sacrifice a lot of other textures because of time. One of those were the eyes. The interesting thing about the eyes was that they were vector based textures and sure, I painted them in Illustrator, but the vectorization was done in Rhino and boy was it helpful.
I was so stressed by this stage and had still to solve the hair modeling. After watching iClone's tutorials and other making hair tutorials I embarked in this activity. Here you may see the hair polygrouping in Zbrush. I had already modeled the hair as one mesh, but that wouldn't help me on iClone looks.
As a surprise, I ended up doing the hair maps in Rhino again using Vray. All the other maps were fixed in Gimp.
Here are some images of Pearl with maps applied in Blender. You may notice the Bra is still in UV stage in the first image. Another texture I couldn't invest time. Sob.
The eyes came out more or less but they didn't ended up that bad. Couldn't make the retina though.
I also had to cheat for the clothes, a lot of thanks to Reallusion's tutorials. I made many opacity maps to control clothes that refuse to cover the body topology.
I finally made the hair tests, but they never camed I as I hoped they would. It was a nightmare making it look good for iClone due to lack of expirience.
I won't be posting the Blend Shapes or the Shape Keys of the facial expressions, had no time to keep record of it. but now is time for what we've all been waiting for: iClone 3DXchange...
&
Human Character Pearl
Stage G
iClone 3DXchange
3DXchange was quite an experience. I had many troubles using it since it was my first time. I exported the monster twice to FBX and I lost count for Pearl since the facial expressions gave me a hard time, but they were worth it.
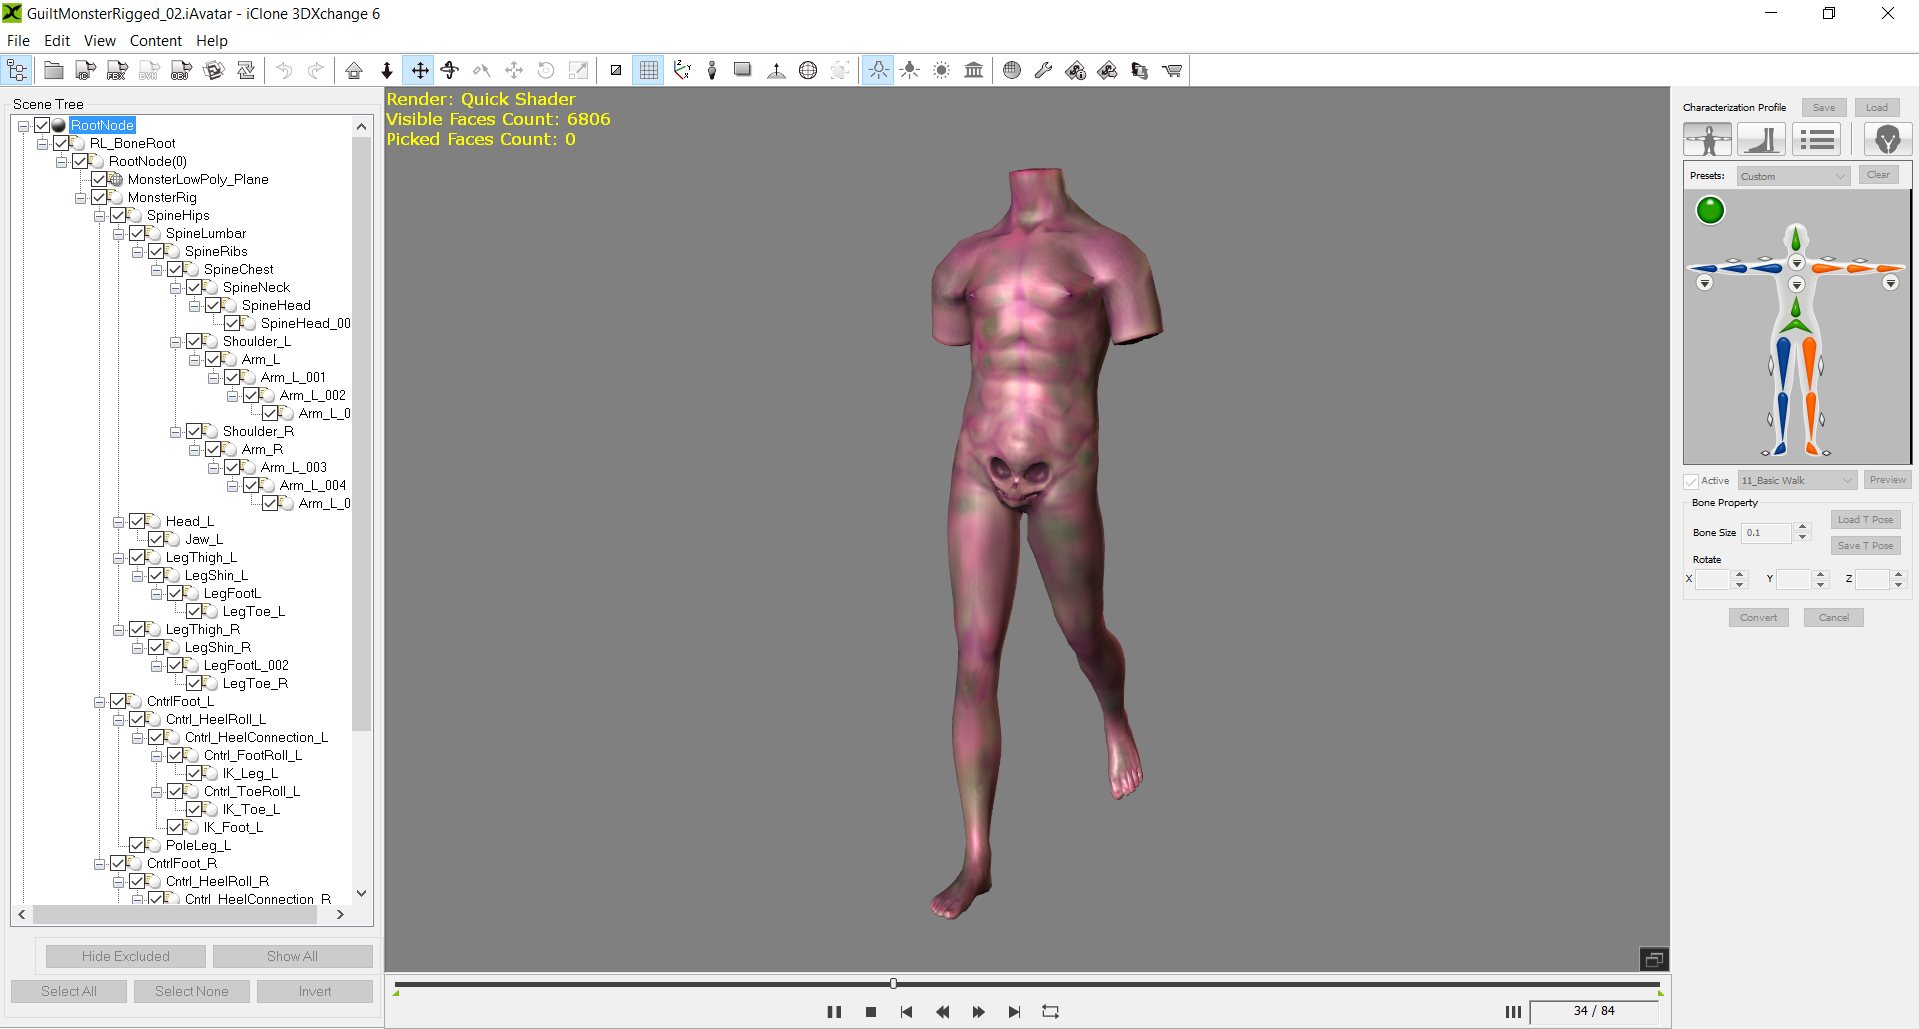
Way before troubling with Pearl I did many tests with the monster. The two main things I learned were that fake bones were needed for the model to work and second I only needed an elmental rig not a character with many controllers and stuff. Had I known sooner I would have invested time and effort in some rigging.
Here are some images of the final avatar reado for iClone.Video of Monsters motions
https://vimeo.com/187560063
The monster was difficult because of the amputations, but Pearl was way more difficult.
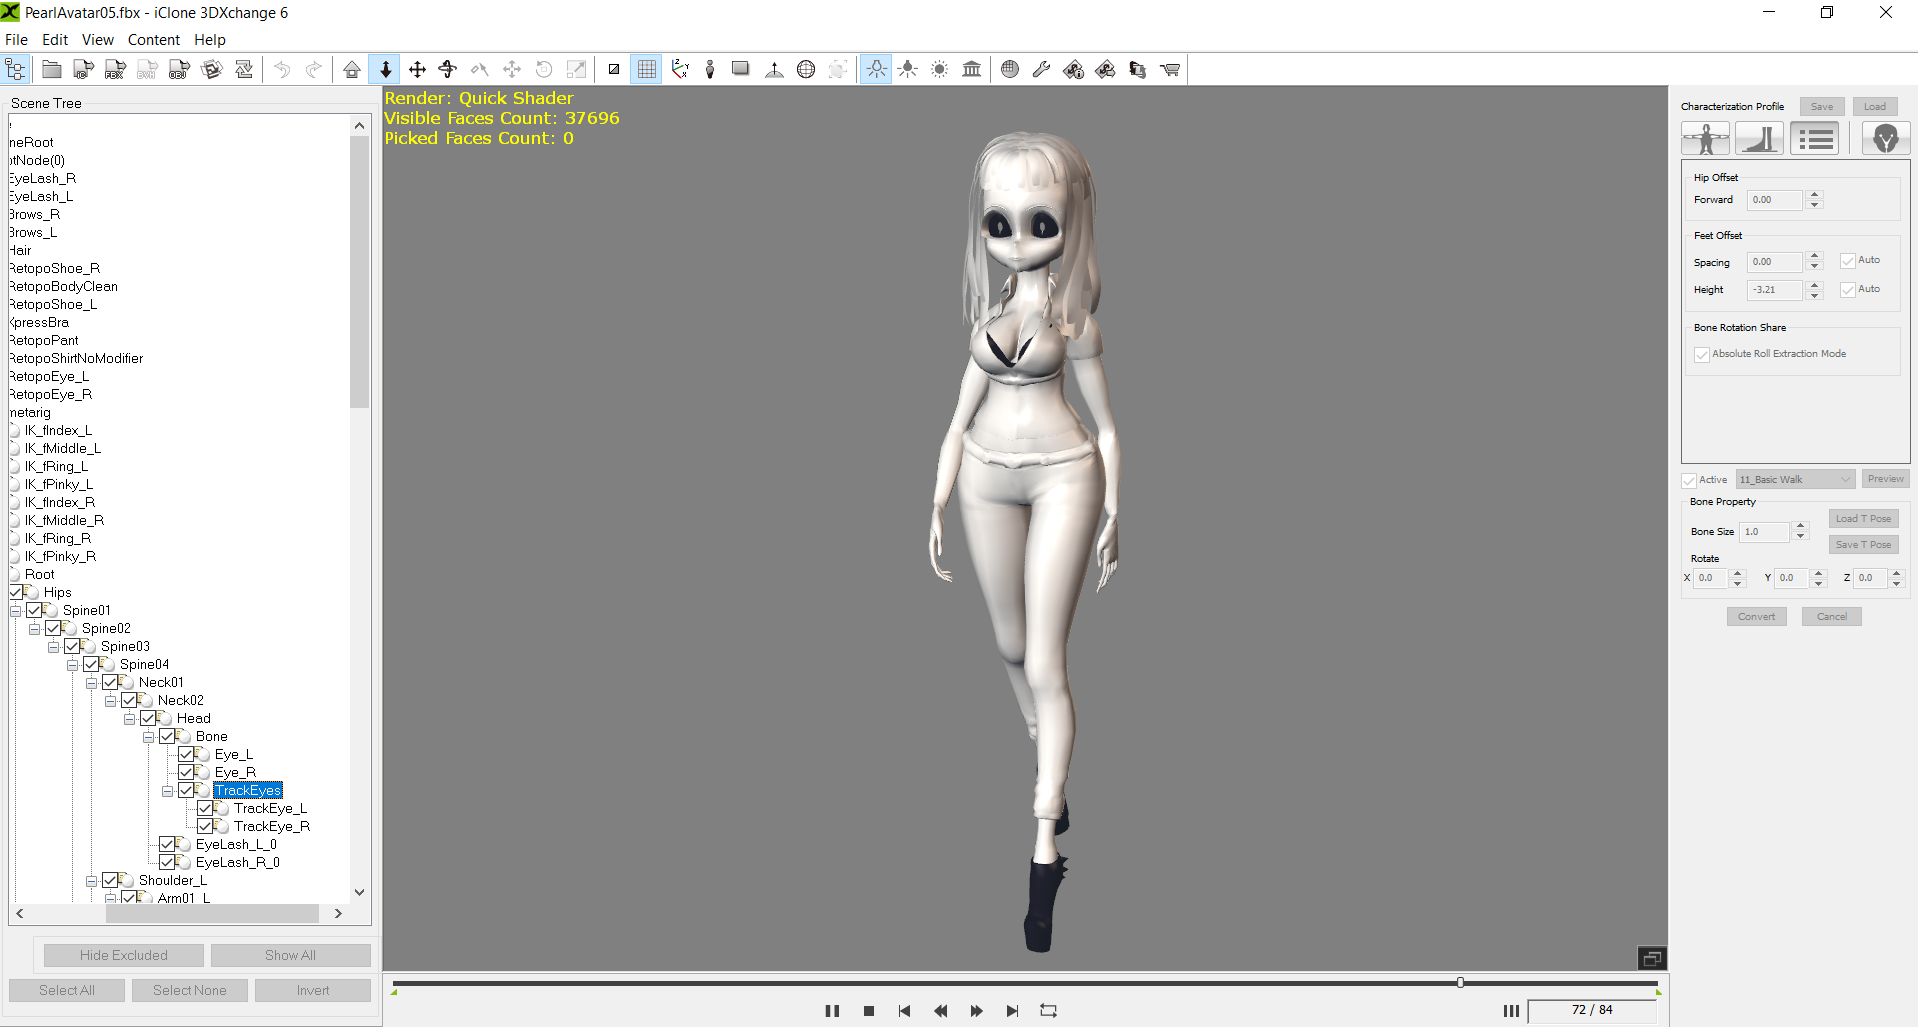
Some motion tests. You may notice the bra and the shoes are colored. A weird thing how Blender imported materials to the FBX. Fortunately I found the solution to it since it messed up with the diffuse map colors.I almost didn't make any facial expressions and finally I ended up doing them in the very last minute. The eyelashes really gave a hard time and never could truly control them. Had to import the model many times as an fbx. I was very nervous since time was running out.
Here are some images of the final avatar reado for iClone.
Video of Pearls motions
https://vimeo.com/187558430
&
Human Character Pearl
Stage H
iClone
At last I've reached the final process of importing everything into iClone.
I've worked once in Poser a long time ago, and I know about the existence of Daz Studio, but this was my first expirience with Reallusion altogether. There are some interesting features about iClone that I really liked, other which I found them tedious and others which I certainly didn't like, but most likely many of them are due to the fact that I lack much basic knowledge about the software, despite the fact that I studied whenever possible Reallusions very well documented tutorials.
Thanks to tutorial I already knew about Motion Puppet or "Persona's" included motions, but I found out very late about Edit Motion Layer, very useful.
A screen print of the video for the contest. It's funny how Reallution specified that the video should be at minimum 30 seconds long. I ended up doing more than 30 seconds, but my oh my, what a surprise was when I found out the demo version only exported 30 seconds due to trial restrictions.
How innocent can I be with a trial version. Had to make two videos in the end.
Had so much problems with managing many cameras so I ended up using only one. It was frustrating. Also didn't have time to include music for the video. It was a hard time finding documentation on how to include music. Only one with WarLord with dummies, but I had a lot to do to be worrying about som audio track.
Here are my three videos for the contest:
Rotation and mood test
https://vimeo.com/187576849
Part 1
https://vimeo.com/187494750
Part 2
https://vimeo.com/187495141
Skechfab Pearl
https://skfb.ly/UF6C
Sketchfab Monster
https://skfb.ly/UF6T
Softwares used:
- Blender.- used for modeling Pear'l initial topology, retopology of both characters, rigging, and assesment of maps quality.
- Zbrush.- used for high poly model and high definition texture map.
- Unity.- used once for testing "Smooth Groups" with normal map.
- xNormals.- used for baking all maps.
- Gimp.- used for image editing.
- Krita.- used for tweaking images.
- Rhino.- used for eye drawing and modeling and render of hair texture.
- Illustrator.- used for painting the eye map vector file.
- Character Creator.- used for creating the mosnter base topology.
- 3DXchange.- used for translating character into iClone.
- iClone.- used for animating characters.
Conclusions.
It was a great and frustrating experience mainly because time was always the issue. Even though I couldn't use Character Creator to its full potential, it really helped a lot to speed up the modeling of the monster. 3DXchange I found it to be very useful to test animations without having to build some from zero like in Maya or Blender, IF you know how to map your character correctly.
iClone is a interesting software for making quick animations, although since I Iack experience in the software I was left with many questions as to how to resolve some issues.
Thanks for the oportunity
Renato LC
Though you she may not read this thread, I'm very thankful to my fiancé for all her patience and support.