My battle with sculpting. First attempt.
polycounter lvl 9
Alright, so Tully made a good point and said do it yourself. So I went out, bought some basic tools, and some super sculpey and officially bit off more than I can chew.
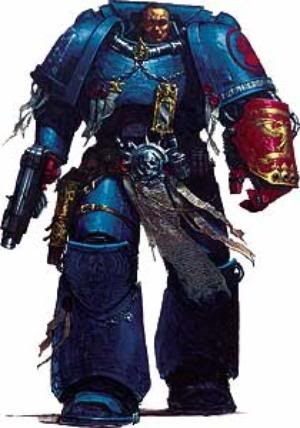
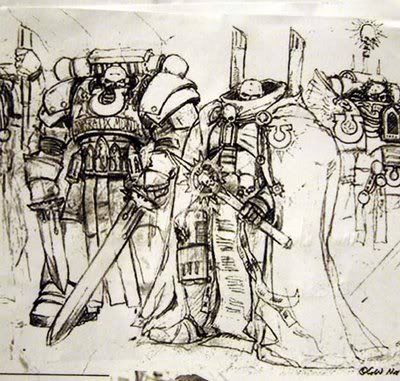
Before I started a made a really rough 3D model of a 40k Terminator because that's what I'm hopefully going for. But here's my progress and a bit of reference I'm using.
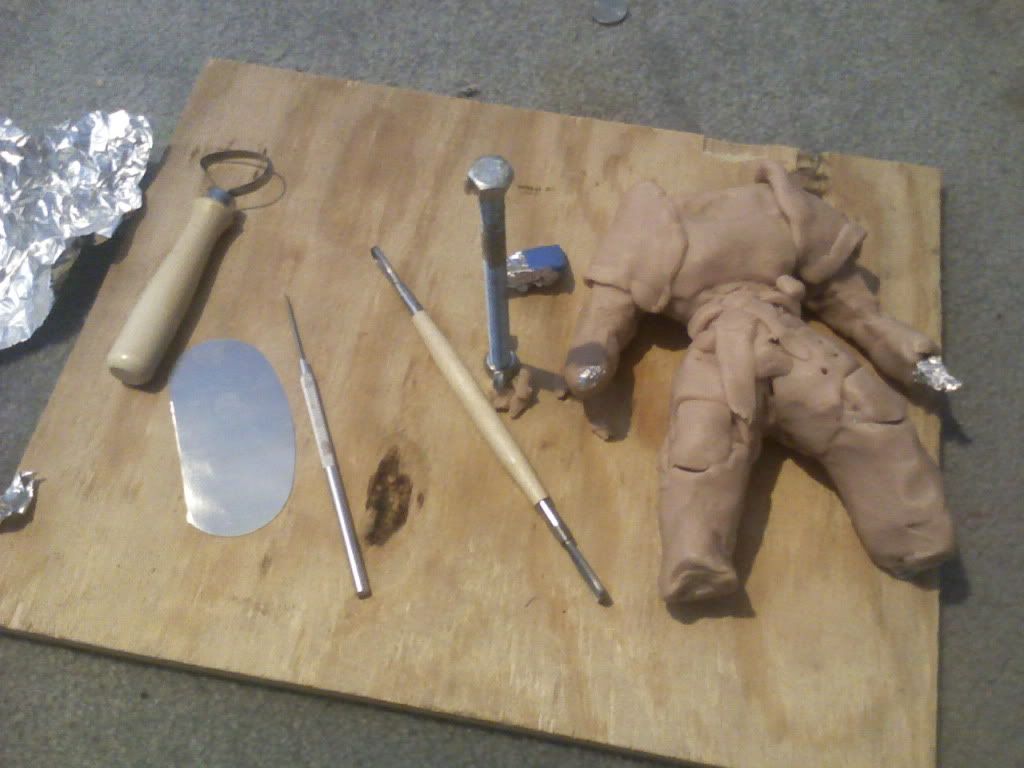
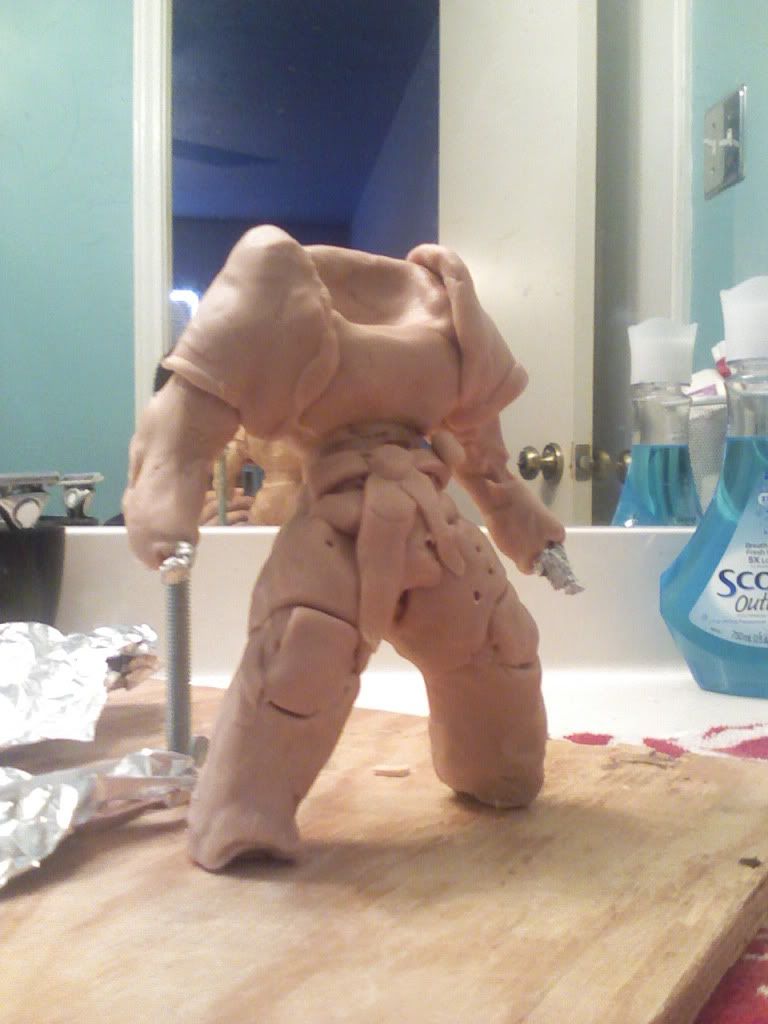
And here's some reference.
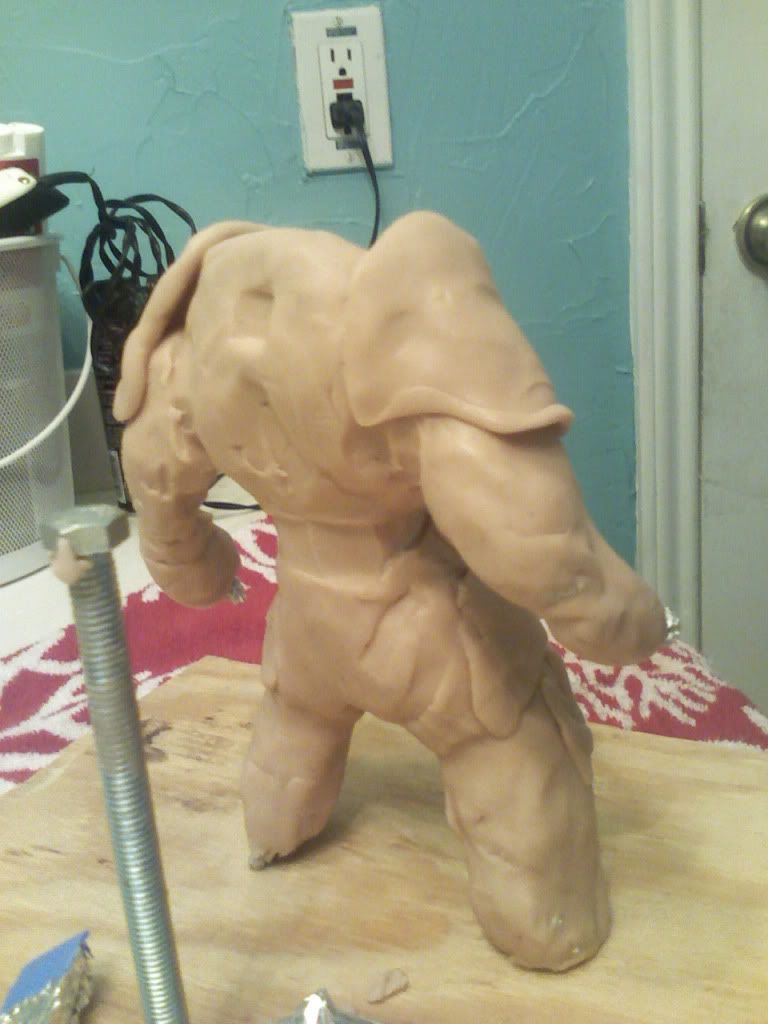
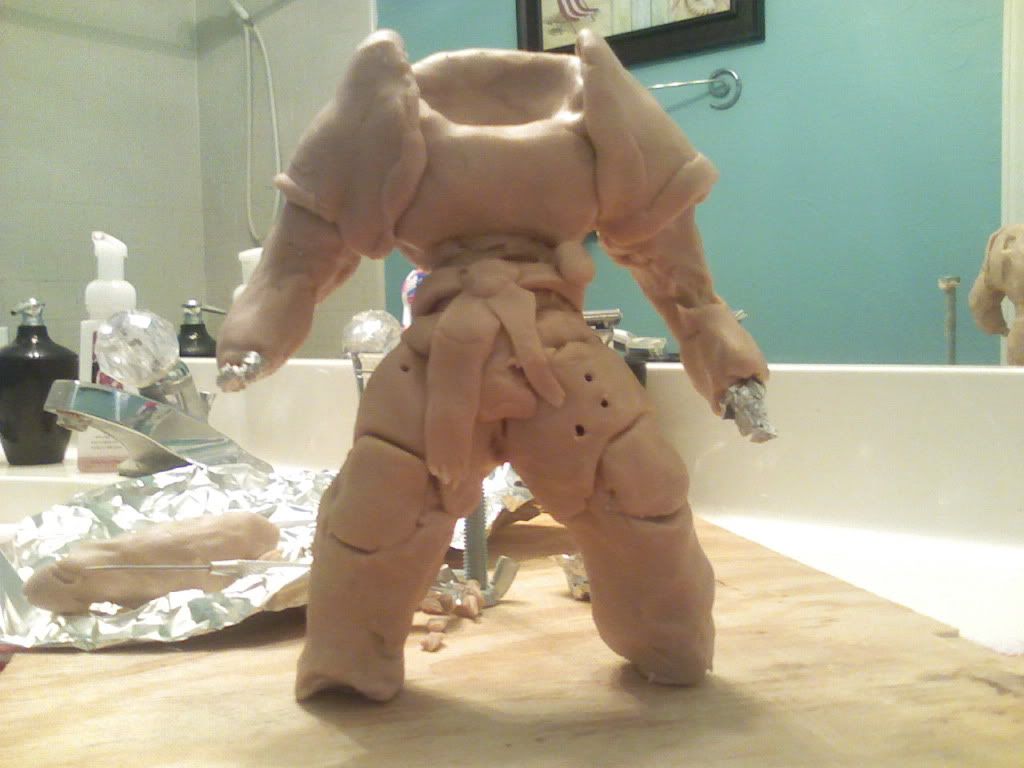
But yeah, other than that I think it's not shabby for a first attempt but detailing is so weird. Also I may need to scrap it and repose it. I'm not really sure. What are your guys's thoughts.
Before I started a made a really rough 3D model of a 40k Terminator because that's what I'm hopefully going for. But here's my progress and a bit of reference I'm using.
And here's some reference.
But yeah, other than that I think it's not shabby for a first attempt but detailing is so weird. Also I may need to scrap it and repose it. I'm not really sure. What are your guys's thoughts.
Replies
Can't wait to see more. =D
I think your first attempt was very great indeed, you should stick to what you are doing. Create the basic model using the ref image as you have been doing and leave the detailing of the model for later because it takes alot of time.
*Thumbs up* Good work, please share your updates.
look forward to watching this complete.
(plasticine is a bitch compared to sculpey, and hardsurfaces are quite well to make when you get the hang of it, do it!)
planning to hunt down some super sculpey tommorow. Any recomendations on tools to pick up? Dunno what the real life equivelant of the standard and clay tubes brushes are yet :P
Good start btw. Would also say it seems like a very hard surfaced choice for your first go at it, but still cool. Hope you can start trimming down the blobbiness and get some smooth edges happening.
Aside from the subject, what I think you might be suffering from most here is a lack of appropriate small tools (if indeed your whole tool repertoire is represented in your pic). You need at least one or two small wire tools for shaping stuff, and that should help a bit. This is the tool I use 95% of the time with sculpey. The most important thing for a wire tool of this type is to have it made from very thin wire. If you have trouble finding good ones, they're pretty simple to make -- shape the wire into the sort of loop you want, take an old dry pen and remove the tip, affix the ends of the wire into the open pen end with some epoxy putty or resin. Let try. Done and done.
Remember as well that there's absolutely no reason that you need to bake a sculpture all in one go. For this sort of thing, it's often easier to think it out, and do it in stages. Once it's baked, volume can only be removed with greater difficulty (drills and sanding, basically), but you can use sculpey additively. Uncured sculpey sticks to cured sculpey, and already baked sculpey can safely be baked again. So you can rough out a shape, and then add stuff to it later. It can also be sanded. This is particularly useful with hard surface stuff. Getting very smooth shapes is tough, but if you make it almost smooth and then sand it down later, it could work pretty well.
It also may be a good idea as EmAr mentioned to use Sculpey Firm. I personally use a uniform mix of 2 parts super sculpey to 1 part sculpey firm -- it makes the clay nicely opaque and firm, but not so firm that it's annoying.
You could use plastiline (not the confused with plasticine -- they're quite different!), but I would tend to avoid using Sculpey (which baked to cure it) with plastiline (which must be refrigerated to cure it), at least when you're not all that used to either material. Using Sculpey Firm over top of Reg. Super Sculpey is probably best to begin with, since they both are cured at the same temperatures and generally avoids all sorts of issues.
If you're doing fabric, you'll need some sort of wire mesh to support it from the inside. Thin sculpey will break very easily. Or you could use something like Milliput, which is an epoxy putty that is much more resistant to breakage than sculpey when it's thin. Milliput can't be put into the oven though, so you'd need to add it last, after everything else is baked.
Also, what are you using for the amature? A lot of problems can start very early with the armature, when you're not even aware of it. I have a bit of flexibility with how I build my armature because I hold my sculptures on with a hobby vice, and then attach them to a base later, but in my first sculpts I made them attached to their base to begin with. It made the lower parts difficult to detail, but it works pretty well overall, and is a lot simpler. When you get the proportions of your sculpt pretty well roughed out, you generally want to try to touch it as little as possible (fingers only work for the very beginning -- I have tiny girl fingers, so I can go a bit farther, but anybody with big man fingers might find it a bit more difficult). Having the sculpture fixed to something (anything) during the detailing stage is pretty important.
Given the difficulty of the subject you're trying here, it miiiight be advisable to put him on hold and do one or two other things in the meantime to get used to the medium? Organic monsters and busts are the subjects I usually recommend people start on. I'd personally be hesitant to try something so hard-surface dominant even now (and I've been at this a couple years).
Geez, that's a wall of text. Hope is helpful anyway. Cheers for posting, and do keep going!
Also a hint for armor. When making something like a 40K space marine, dont try to sculpt it like an organic thing. It could work for certain kind of body-fitting armor, but not so much in that case. Instead, try to see the primitives that the design is made of. Build them separately (like these shoulder pads), bake them, then detail them. really building the armor piece by piece. Stuff like bevels at the edges will then be very easy to place with a dremel. When the piece is as smooth as possible, sand it, prime it, sand it again, prime it again until it's almost shiny. You will get great hard surfaces that way.
Good luck!!
Also since you know 3D you can use Pepakura (or whatever it's called) to make some very rough shapes out of cardboard. You can then build around that with sculpey, bake it gently with a heat gun, remove the paper and glue paper model and go on baking the regular way. (you dont want glue vapors in your oven!!)
If you really want to be hardcore you can also strengthen paper models with epoxy resin. Makes them super hard. I also messed with aquafoam lately (the green garden stuff that absorbs water). It's VERY easy to shape, and since it absorbs water it also absorbs resin very easily ; the resin will be absorbed a few milimeters deep, leaving the very light foam core untouched but giving you a super hard outer shell. Would work very well for you here on the big shoulder pads and legs.
Lastly, jap gundam builders use bent plastic sheets (Plastruct) to create curved armor. Just like boat armatures are made. I still havent found a good way to obtain the shapes I want with that tho.