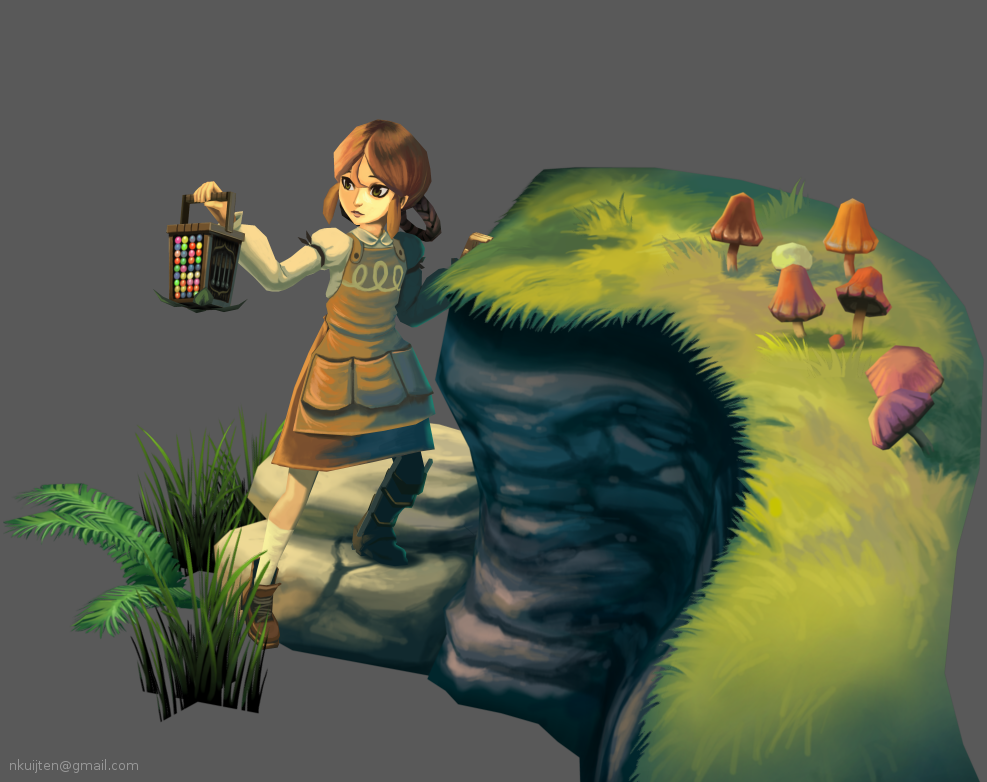
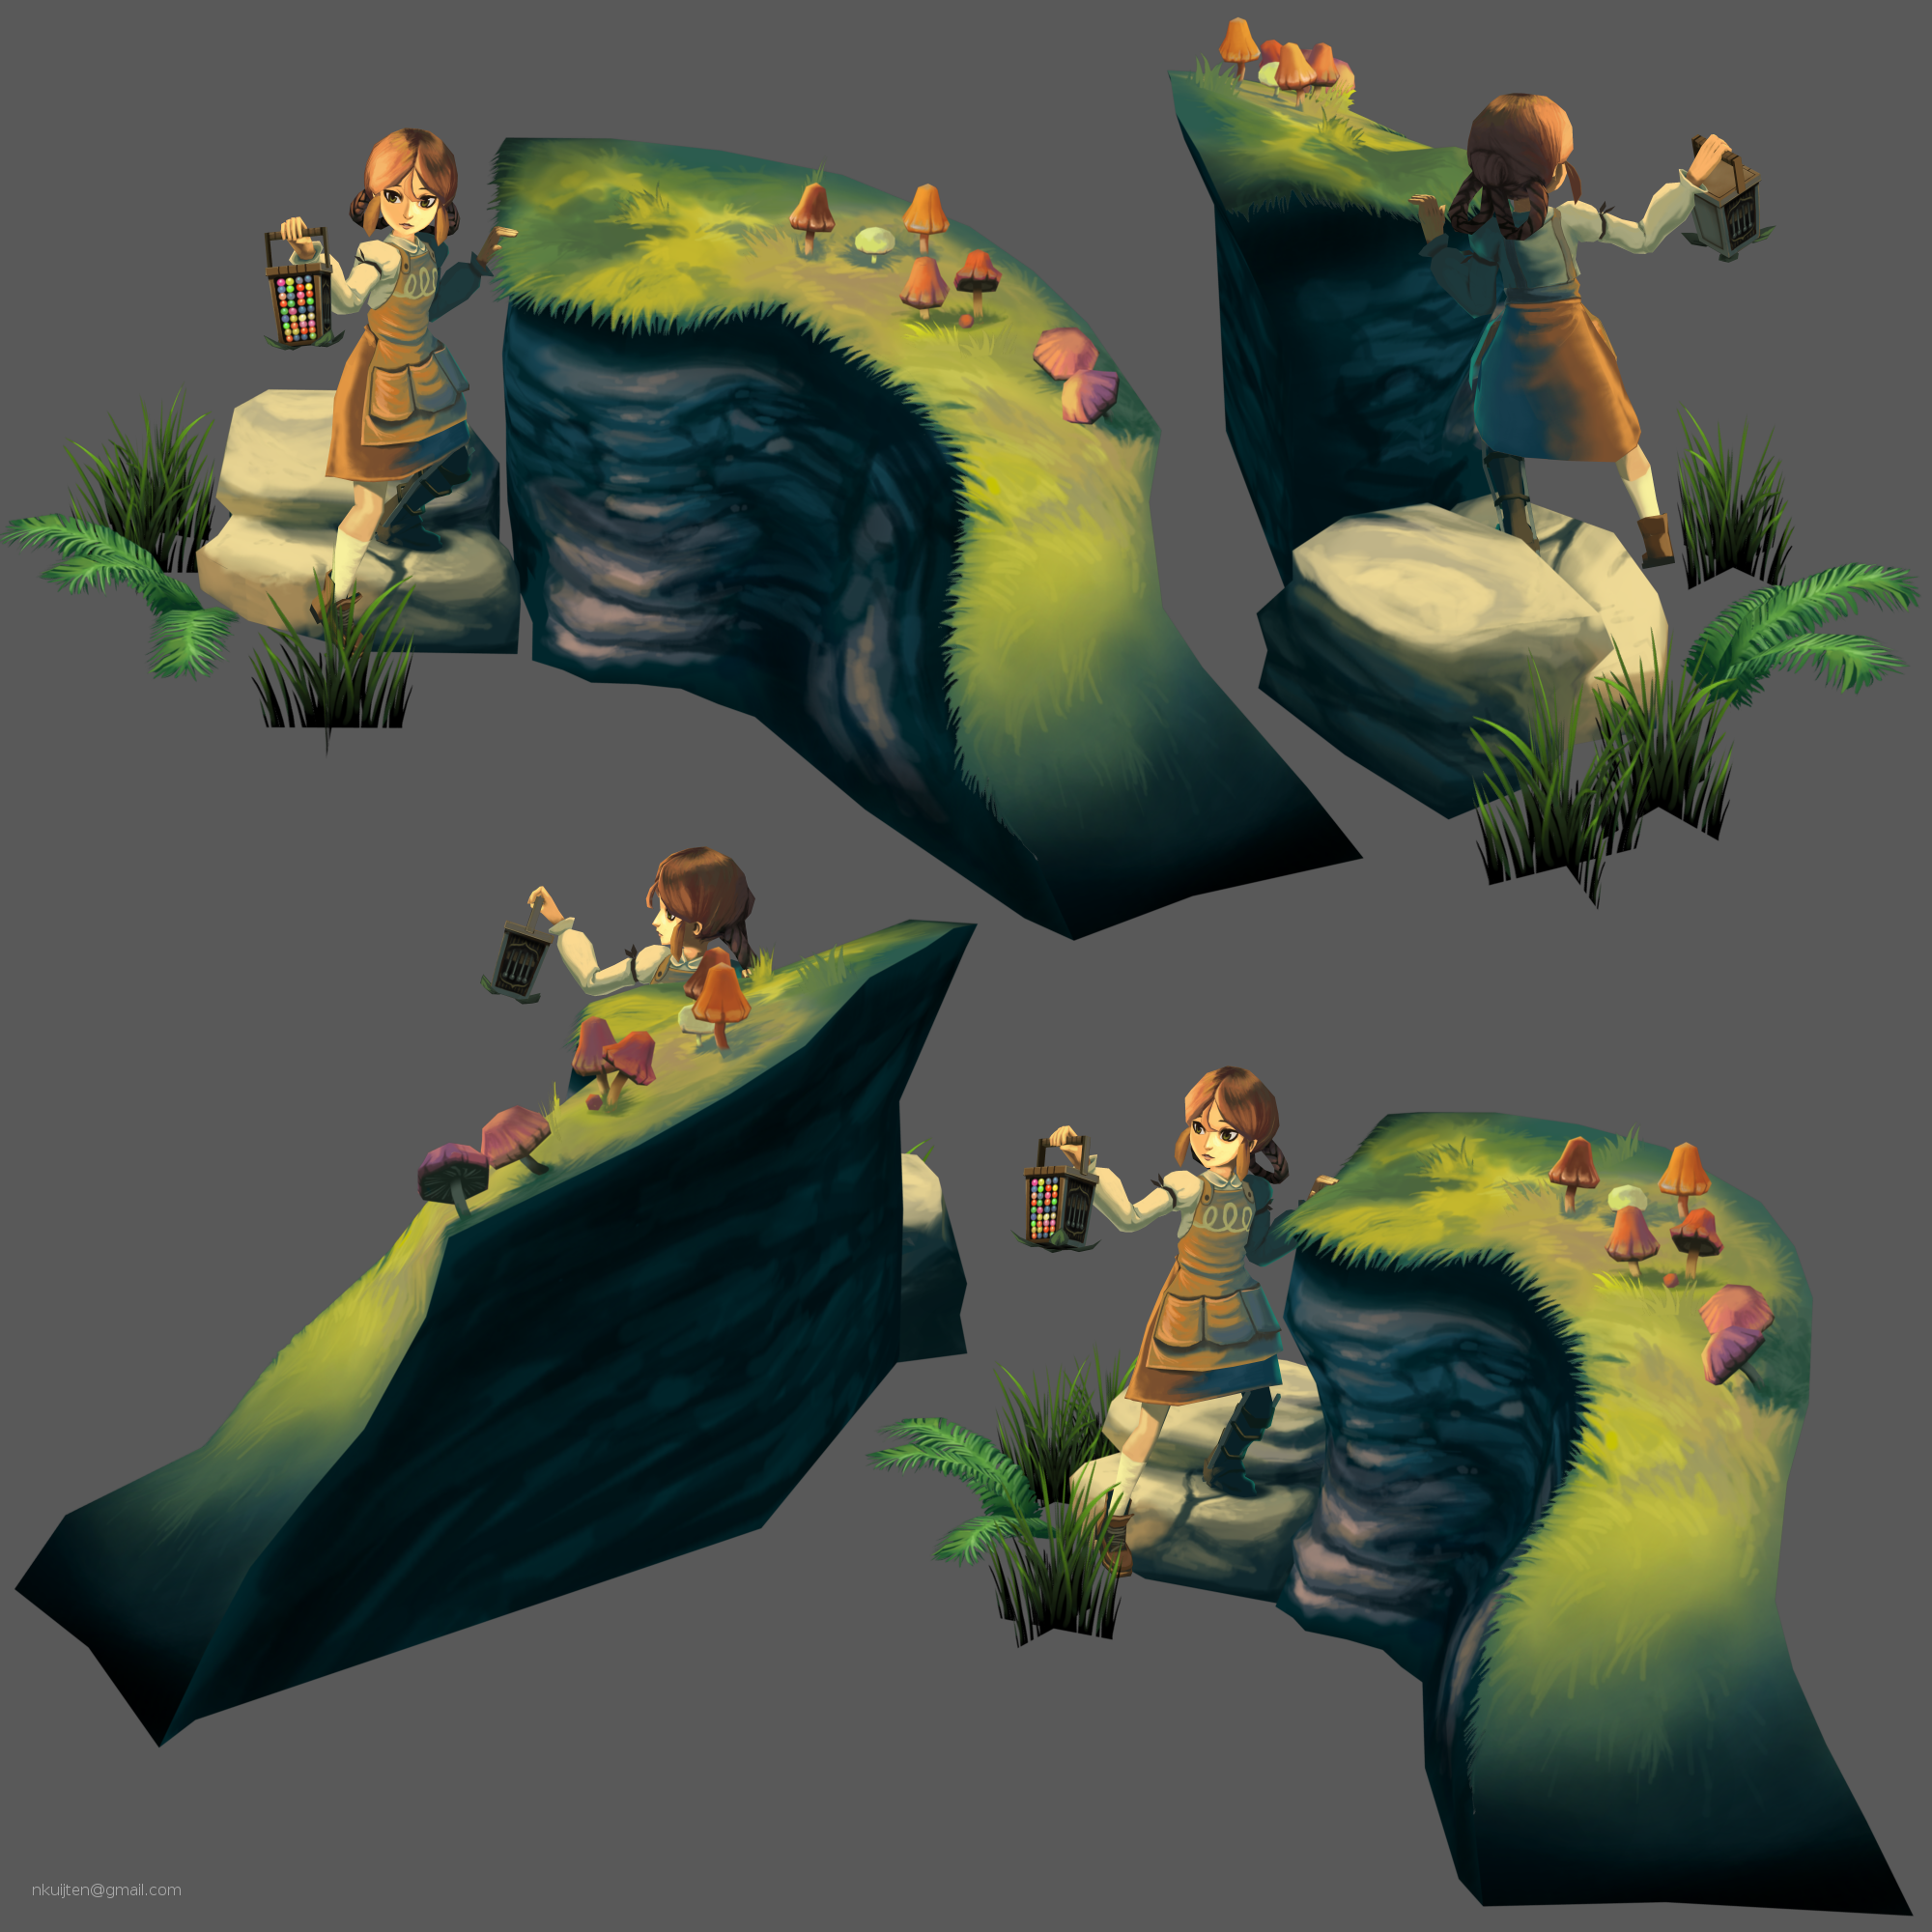
Although for the face I ended up using the in-game portrait as a reference which looks slightly different, which you can see in the second thumbnail in this gallery: http://store.steampowered.com/app/109200
Doing a completely non-mirrored texture was interesting, although it's pretty much twice the work :P
This scene looks fantastic. There's just something about hand painted art that just looks great. I love the painterly look and I think more games should be like this.
Gorgeous work man. I really like the painterly feel to it, it's a bit different from most handpainted texture work.
But did you really need the 2k tex for the character?
Also, that delish shadow on the girl, is that painted in/baked or from a render?
Thanks for the comments! I'll upload some progress shots and the uv texture later for those who asked.
Technically there's not too much to it though, it's only an unlit diffuse map. No special tricks, just look at the ref, get down and put those colors on where they're supposed to go, I guess?
I did paint on the 3D model directly using Blender's painting functions, instead of doing the flat texture in Photoshop or something (people who can make a texture look good by just painting 2D are geniuses in my book, haha).
Gorgeous work man. I really like the painterly feel to it, it's a bit different from most handpainted texture work.
But did you really need the 2k tex for the character?
Also, that delish shadow on the girl, is that painted in/baked or from a render?
Nah, you're right that I could probably resize it down to 1024 at least, without the quality suffering too much. 2048 was my work resolution, I guess I just didn't bother downsampling yet, heh. Though it's just for practice anyway.
Wow this is very inspiring! The only thing bothering me is that the lighting from her face seems to be coming from the wrong side. Are you going to make more? Im watching you!!!
I noticed a couple of things: The angle/shape of her hand holding the lantern looks a little strange (it might be the same on the other one, but I can't tell from the angle) and I don't really like the colored circles on the lantern. It is a lantern, right? The lighting information on the other objects looks like it could be a primary light source, but it isn't glowing, and doesn't appear to be emitting light from the angles that its lighting stuff up.
Wow this is very inspiring! The only thing bothering me is that the lighting from her face seems to be coming from the wrong side. Are you going to make more? Im watching you!!!
Oh, I had hoped nobody would notice... :P I should've probably messed with the light a bit more to interpret it better from the ref. There's a small sliver of light hitting the left side of the face as well, you can barely notice... don't know if that's enough for it to be correct though. Oh well.
I noticed a couple of things: The angle/shape of her hand holding the lantern looks a little strange (it might be the same on the other one, but I can't tell from the angle) and I don't really like the colored circles on the lantern. It is a lantern, right? The lighting information on the other objects looks like it could be a primary light source, but it isn't glowing, and doesn't appear to be emitting light from the angles that its lighting stuff up.
The hands do look a bit odd/elongated, gonna have to pay attention to that in the future. As for the colored circles, you'd have to watch the trailer (or see some screens) from the game to get why they're there. :P http://store.steampowered.com/app/109200/
And nah, it's not supposed to give light in this picture. What you're seeing is more like environment light coming from the front, I think.
This may be a dumb question but you said it's unlit? So the lighting in the diffuse is only for that particular shot?
There are no dumb questions! Only...uhh.. how did that go again? :P
Yeah, it's kinda like a statue more than a game model, so I figured it would be ok to paint in static lighting like this.
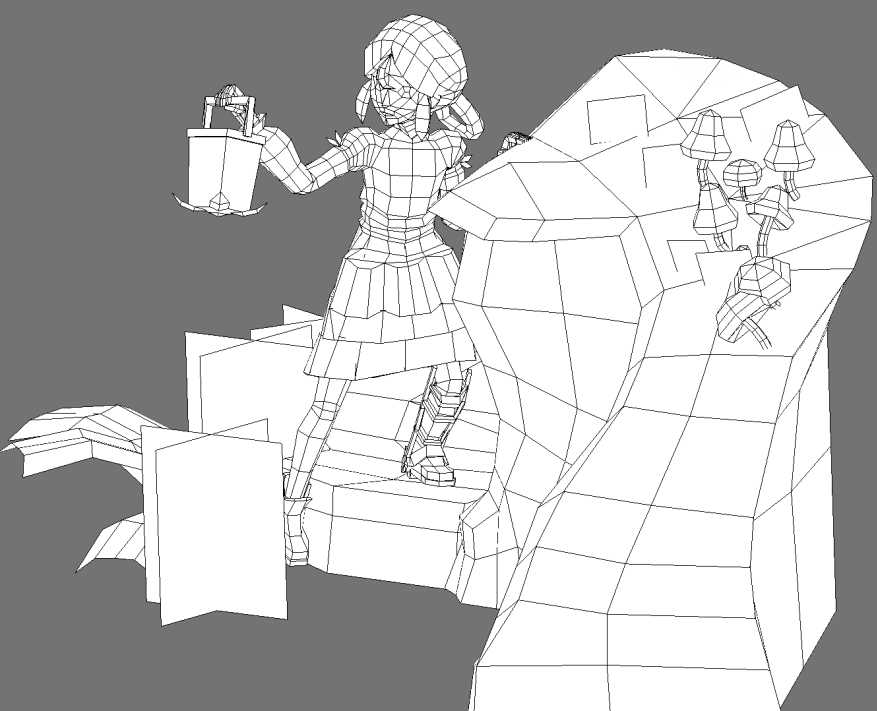
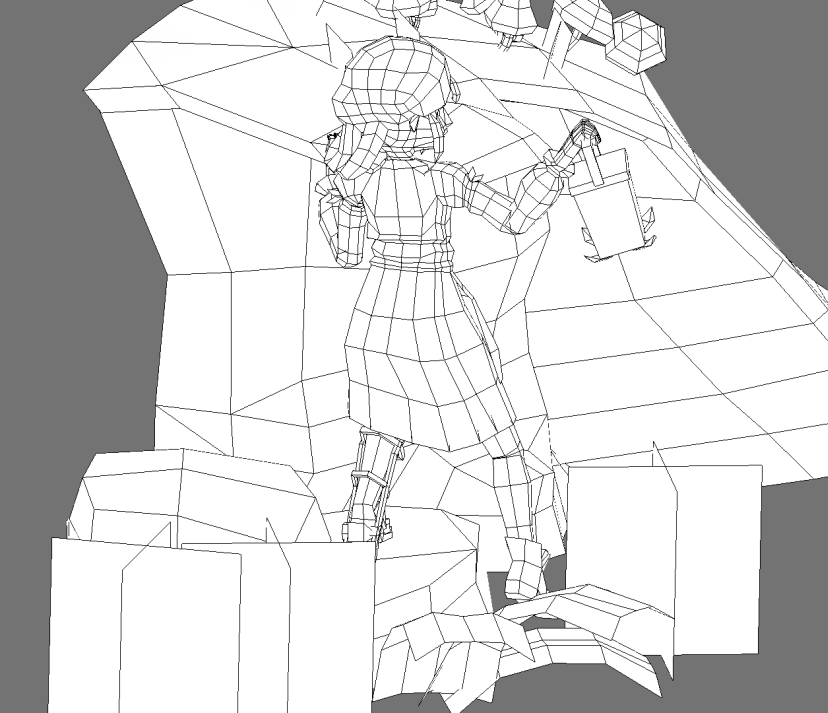
Anyways, here's some progress shots for those who were interested (sorry for the big jumps in progression, these are just some screengrabs I made for a friend when he asked if he could see what I was working on :P), as well as the flat textures.
Please don't pay too much attention to the nasty ugly bits in the character texture, those are parts that are mostly hidden from view, and when painting on the model directly you don't really pay attention to how the flats turn out. I should've done a better job predicting which parts were not going to be seen, and minimized their uv space accordingly, I think I wasted some space here. Oh well, a good lesson learned I guess.
Oh, and you might notice the textures don't extend beyond the UV islands very much, and I know they should. I can find ways to do it manually, but recently I saw some textures that looked as if they had the textures extended past the uv islands using some sort of tool? Anybody know anything about this?
3dcoat does it. If you want it on your AO or normals (for future not this since it doesn't have it) you set an edge padding option in whatever program you're using to bake. Also the textures are delicious. Great job.
Theres a really easy way to do this just inside photoshop. Take your master layer and cut out the space between the islands. Then duplicate that layer and move it beneath the master layer. Add a small amount of gaussian blur to the duplicated layer so it extends past the bounderies of the shells. Then duplicate that layer 6 or 7 times so the opacity comes back up and voila . This is a little rough but i find it works most of the time and you don't need any new software. Other than that the xnormal photoshop plugin has a function to do that but i find it dosn't work as well. Really nice work on the model though:)
The Solidify Function is very good. You delete your Background so its transparent, then run the filter - > Flaming Pear - > Solidify A and it stretches out the bordering pixel colors.
Thanks for all the advice! I think I've tried something similar to the gaussian blur technique, although it's not very precise if you want it to extend a bit further. I'll have to try those other tips as well.
This is really cool. It seems a little impractical to paint something so uniquely with real-time limitations, but hats off to you for trying something different!
Here's another trick for adding edge padding I used to use before Xnormal:
1) cut out your textures into islands, if they aren't already, making sure the edges have the pixels you want to extend.
2) Duplicate this layer and put it under the original.
3) run the photoshop Minumum filter (under Other) with a 1 pixel radius. You should see that you just added 1 pixel of edge padding.
4) Take this padded layer and duplicate it, put it underneath and run the filter again.
5) Repeat as many times as you need.
Or you can run Minimum once with a higher value, but the results aren't as clean.
Yeah you're right it's probably very impractical, but it's just for fun and learning anyway. Although I imagine it could be used for one of those little static diorama things you get in games sometimes (Metroid Prime 3 comes to mind).
That technique you described sounds interesting. Seems it would take quite a few steps, though.
One thing I also do, is just run it through a -render to texture- of itself in Max.
Give yourself the padding you want. Then simply put your texture ON TOP OF that.
That's a great idea, and it actually works in Blender, too. By putting the texture on top, do you mean overlaying your original texture over the result of the bake? I didn't even have to do that, the bake was pixel perfect (aside from the added padding, of course). I did have to triangulate beforehand to get it to come out right, though (but that seems to be necessary with any sort of bake).
Replies
Very beautiful, and very well done. Mystical feeling, which is wonderful.
Great job, now show us some textures!
still trying to figure it out
Can we see the flat textures?
But did you really need the 2k tex for the character?
Also, that delish shadow on the girl, is that painted in/baked or from a render?
Technically there's not too much to it though, it's only an unlit diffuse map. No special tricks, just look at the ref, get down and put those colors on where they're supposed to go, I guess?
I did paint on the 3D model directly using Blender's painting functions, instead of doing the flat texture in Photoshop or something (people who can make a texture look good by just painting 2D are geniuses in my book, haha).
Nah, you're right that I could probably resize it down to 1024 at least, without the quality suffering too much. 2048 was my work resolution, I guess I just didn't bother downsampling yet, heh. Though it's just for practice anyway.
As for the shadow, yeah, it's all just paint.
Seconding requests for textures
I noticed a couple of things: The angle/shape of her hand holding the lantern looks a little strange (it might be the same on the other one, but I can't tell from the angle) and I don't really like the colored circles on the lantern. It is a lantern, right? The lighting information on the other objects looks like it could be a primary light source, but it isn't glowing, and doesn't appear to be emitting light from the angles that its lighting stuff up.
Request for flats seconded.
It seems almost like a 3D painting.
I tip my hat to you.
Hell, someone better invent paint-toon-shader.
(Probably someone already did, but everybody is busy making ultra photoreal stuff anyways.)
Really love the color scheme too.
Oh, I had hoped nobody would notice... :P I should've probably messed with the light a bit more to interpret it better from the ref. There's a small sliver of light hitting the left side of the face as well, you can barely notice... don't know if that's enough for it to be correct though. Oh well.
The hands do look a bit odd/elongated, gonna have to pay attention to that in the future. As for the colored circles, you'd have to watch the trailer (or see some screens) from the game to get why they're there. :P http://store.steampowered.com/app/109200/
And nah, it's not supposed to give light in this picture. What you're seeing is more like environment light coming from the front, I think.
There are no dumb questions! Only...uhh.. how did that go again? :P
Yeah, it's kinda like a statue more than a game model, so I figured it would be ok to paint in static lighting like this.
Anyways, here's some progress shots for those who were interested (sorry for the big jumps in progression, these are just some screengrabs I made for a friend when he asked if he could see what I was working on :P), as well as the flat textures.
Please don't pay too much attention to the nasty ugly bits in the character texture, those are parts that are mostly hidden from view, and when painting on the model directly you don't really pay attention to how the flats turn out. I should've done a better job predicting which parts were not going to be seen, and minimized their uv space accordingly, I think I wasted some space here. Oh well, a good lesson learned I guess.
Oh, and you might notice the textures don't extend beyond the UV islands very much, and I know they should. I can find ways to do it manually, but recently I saw some textures that looked as if they had the textures extended past the uv islands using some sort of tool? Anybody know anything about this?
Here you go:
+1!
Okay, this is my second post here, but seriously, way to make the 3D look even better than the concept!! Can't wait to see what you make next
Theres a really easy way to do this just inside photoshop. Take your master layer and cut out the space between the islands. Then duplicate that layer and move it beneath the master layer. Add a small amount of gaussian blur to the duplicated layer so it extends past the bounderies of the shells. Then duplicate that layer 6 or 7 times so the opacity comes back up and voila . This is a little rough but i find it works most of the time and you don't need any new software. Other than that the xnormal photoshop plugin has a function to do that but i find it dosn't work as well. Really nice work on the model though:)
The Solidify Function is very good. You delete your Background so its transparent, then run the filter - > Flaming Pear - > Solidify A and it stretches out the bordering pixel colors.
I'm so requesting a turntable of this
Here's another trick for adding edge padding I used to use before Xnormal:
1) cut out your textures into islands, if they aren't already, making sure the edges have the pixels you want to extend.
2) Duplicate this layer and put it under the original.
3) run the photoshop Minumum filter (under Other) with a 1 pixel radius. You should see that you just added 1 pixel of edge padding.
4) Take this padded layer and duplicate it, put it underneath and run the filter again.
5) Repeat as many times as you need.
Or you can run Minimum once with a higher value, but the results aren't as clean.
Give yourself the padding you want. Then simply put your texture ON TOP OF that.
Yeah you're right it's probably very impractical, but it's just for fun and learning anyway. Although I imagine it could be used for one of those little static diorama things you get in games sometimes (Metroid Prime 3 comes to mind).
That technique you described sounds interesting. Seems it would take quite a few steps, though.
That's a great idea, and it actually works in Blender, too. By putting the texture on top, do you mean overlaying your original texture over the result of the bake? I didn't even have to do that, the bake was pixel perfect (aside from the added padding, of course). I did have to triangulate beforehand to get it to come out right, though (but that seems to be necessary with any sort of bake).
Anyway, I used this technique on my next model: http://www.polycount.com/forum/showthread.php?p=1500751#post1500751
Thanks!