WW2 Destroyed French Cafe
polycounter lvl 6
This is my 1st proper post, so i would love to go through all the critique process and hopefully i can gain a few tips on how i can improve my model and texture. ")
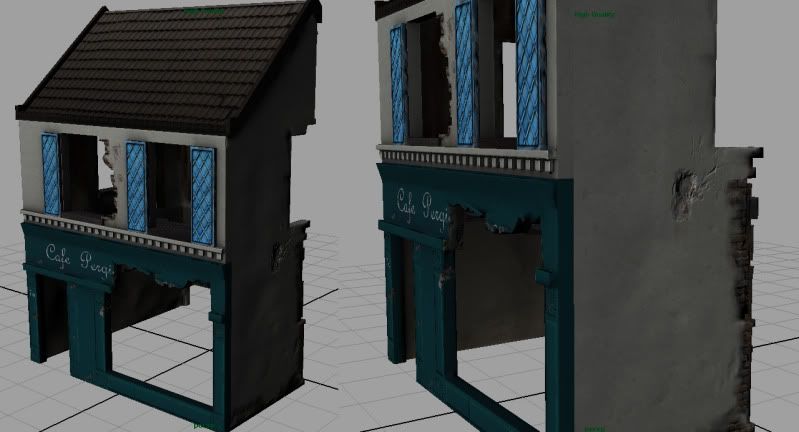
Recently i have on/off working on this WW2 destroyed french cafe, i got the idea from an airfix model that i bought, so originally i tried to copy it exactly, but obv. i wanted to deviate slightly to make the model my own.
I set out to make the model as 1 piece using 1 texture sheet, i could of use a procedural texting method, but i felt i would be great texturing execrise for myself + i could bake out a nice big AO map to make the interior contrast more.
Model- Maya Texturing- PS, Zbrush, Crazybump
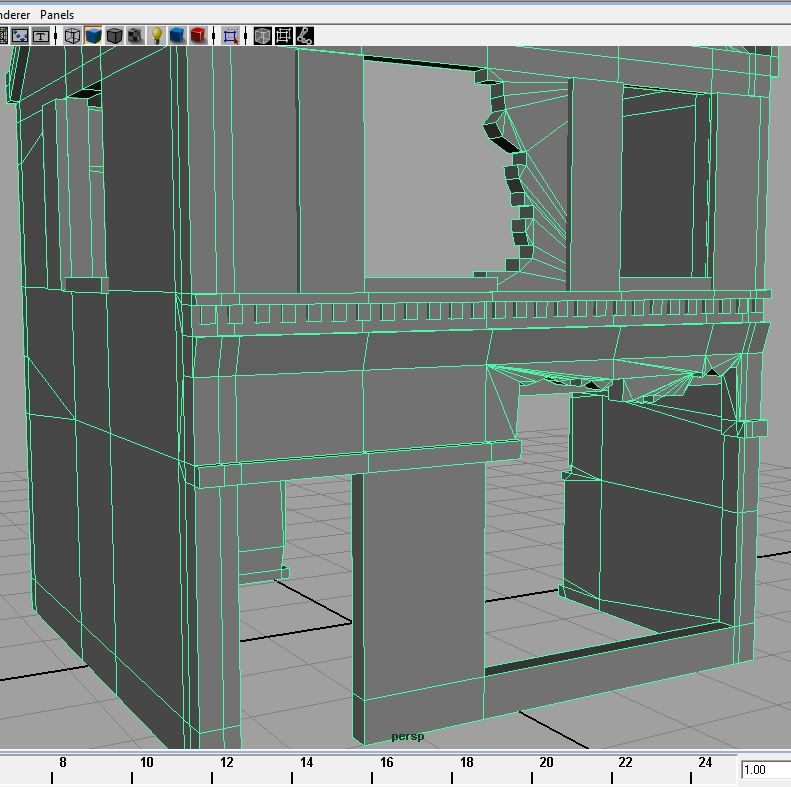
The building model originally was nice and square/flat, to create the broken seqments i used the 'Boolean Difference' operation to give myself fast broken bricks. Obv. from there the topology was a mess so instead of manually splitting verts i used the 'Cleanup' tool to automatically link all the verts cleanly, which came out better than atticipated.
The UV layout process took days to complete, but once done i created a separate slightly higher polycount version ready to export into Zbrush. I anticipated that my machine wouldn't be able to handle the fine detailing done in Zbrush so i set out to sculpt big details. I wanted to create a 'wobble' effect with the plastering on the interior/exterior main walls, to give it rough look, like the plaster had began saturate with rain water. With just that detail exported back into Maya, the rest of the normal mapping was done through PS and a little bit of Crazybump.
Recently i have on/off working on this WW2 destroyed french cafe, i got the idea from an airfix model that i bought, so originally i tried to copy it exactly, but obv. i wanted to deviate slightly to make the model my own.
I set out to make the model as 1 piece using 1 texture sheet, i could of use a procedural texting method, but i felt i would be great texturing execrise for myself + i could bake out a nice big AO map to make the interior contrast more.
Model- Maya Texturing- PS, Zbrush, Crazybump
The building model originally was nice and square/flat, to create the broken seqments i used the 'Boolean Difference' operation to give myself fast broken bricks. Obv. from there the topology was a mess so instead of manually splitting verts i used the 'Cleanup' tool to automatically link all the verts cleanly, which came out better than atticipated.
The UV layout process took days to complete, but once done i created a separate slightly higher polycount version ready to export into Zbrush. I anticipated that my machine wouldn't be able to handle the fine detailing done in Zbrush so i set out to sculpt big details. I wanted to create a 'wobble' effect with the plastering on the interior/exterior main walls, to give it rough look, like the plaster had began saturate with rain water. With just that detail exported back into Maya, the rest of the normal mapping was done through PS and a little bit of Crazybump.
Replies
You can see the 'wobble' effect i was going for on the interior wall.
I've still got to make a few separate props ie. a ladder so you can climb to the 1st floor. Brick rubble based floor for the whole model to sit on. Also more roof damage (planks of wood trailing off around the back).