Tlingit Environment - UDK
Hey all.
My name is Michael Curtiss and I am in my junior year at Ringling College of Art and Design. Just wanted to share my most recent project: a "realistic" environment in UDK. This environment is based off of the Tlingit culture of Northwestern America.
My name is Michael Curtiss and I am in my junior year at Ringling College of Art and Design. Just wanted to share my most recent project: a "realistic" environment in UDK. This environment is based off of the Tlingit culture of Northwestern America.
Here is an animatic that a buddy (Christopher Lewis) and I worked up to pitch the environment - It has sound, so make sure you put those headphones on!:
[ame=" https://www.youtube.com/watch?v=WHKoH0fvdlw"]Tlingit_animatic.mov - YouTube[/ame]
[ame="
 https://www.youtube.com/watch?v=WHKoH0fvdlw"]Tlingit_animatic.mov - YouTube[/ame]
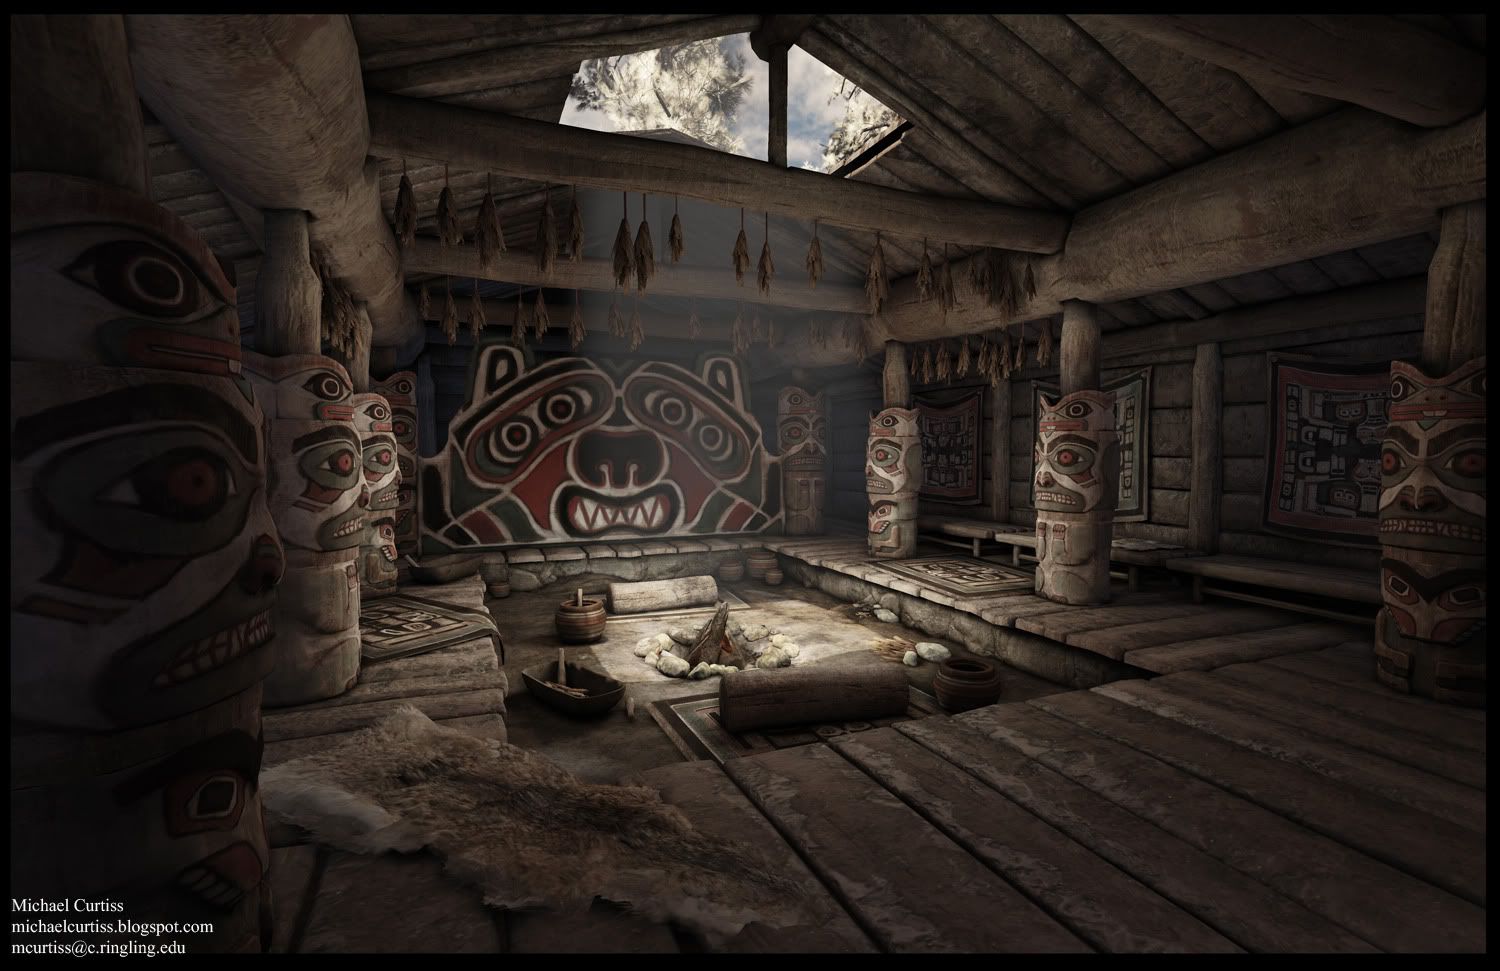
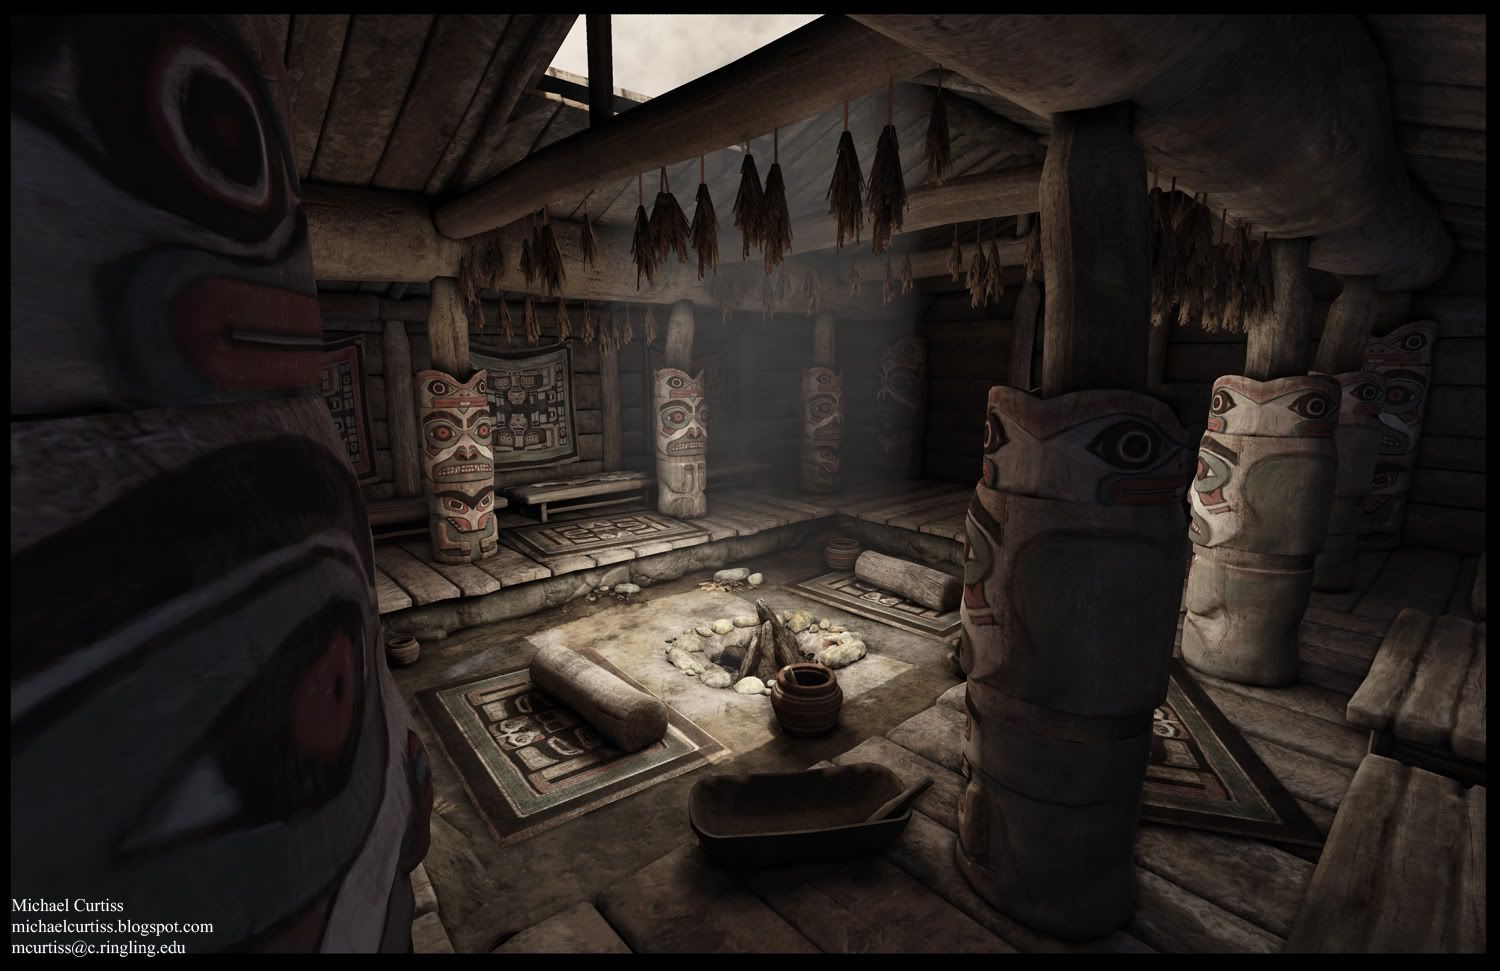
And here is my section of the environment. Everything you see (aside from the trees poking through the sky-hole) was made by me:
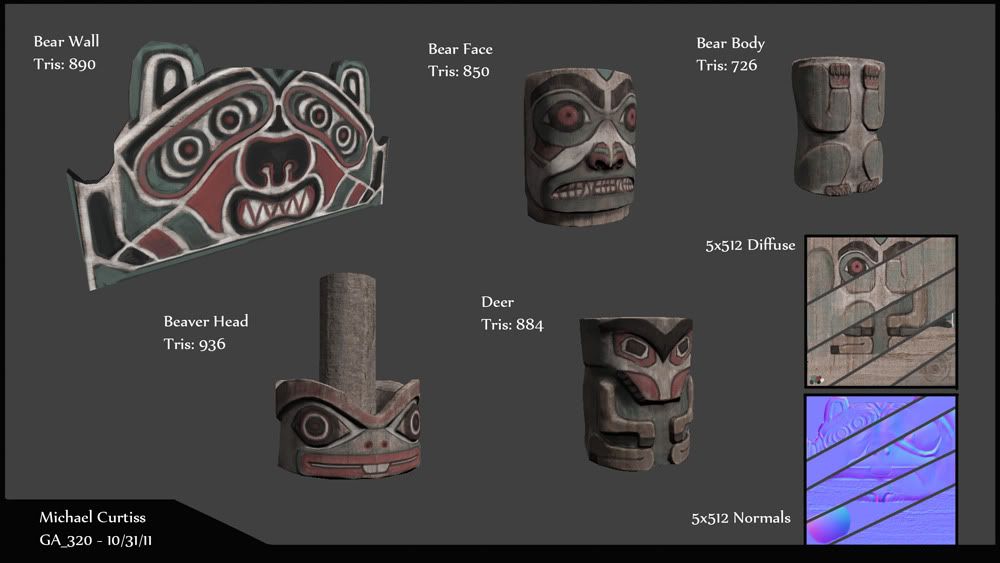
Everything is pretty low-ish poly. I think the polycount for the entire scene is around 20-25k...Well, that may be high...I don't know. Texture resolutions are all pretty high though...Bear with me, I'm still trying to figure these things out.
Here is a small contact sheet that display the more higher-res objects in the scene:
Here is an admittedly atrocious camera move to show what it is like to move through the space. Youtube killed the lighting, so forgive me for the darkness....watch in 720!
[ame=" https://www.youtube.com/watch?v=sEPPfbs9YvI&list=HL1320337751"]Tlingit Environment - YouTube[/ame]
[ame="
 https://www.youtube.com/watch?v=sEPPfbs9YvI&list=HL1320337751"]Tlingit Environment - YouTube[/ame]


Replies
Really like the color palette:)
Doubledope: Ah yeah. I think you are right on with that one.
Walrus: I actually did sculpt all of those out in zbrush first, but, as you pointed out, they could definitely be pushed further. Unfortunately, I worked my self into a box as far as having an iterative process with those. Basically, I did the sculpt, then I did the low res, then the UVs, then textures, then materials. It was only at that point that I realized that the sculptural detail was lacking. I think the reason for this delayed realization is that most of those models look much more sculptural sans the diffuse maps. However, the way the patterns are painted, well, they really flatten everything out - mainly because the black outlines on everything hide the changes in form. I then found it extremely difficult to go all the way back to the zbrush stage and redo them, because I would lose most of everything that I had, and the deadline was bearing down on me.
In the future, I think I will try to get at least a basic texture on everything in Zbrush, that way I can just bake the diffuse onto whatever lowres I end up with. I don't know if you have any ideas as far as rapid iteration goes with things like this. Please share if you do! As far as my future process will go, it is: high res and base texture Zbrush - retopo in Maya with Nex - Layout UVs - Bake details with XNormal - Import into UDK and make materials.
But yeah, you are totally right, haha.
Some ideas i had would be to have some snow drifting through the top but dissipating with the heat from the fire.
Maybe more ambiance from the fire, you could really just place some warm spots near the base of the pillars.
Agree with AlecMoody; increasing the contrast and punching out some of the profiles of the architecture will help.
Are your plans to do the final piece as you have in the animatic? Including the 'smoke spirit'? I liked the establishing panning shot and pan down the totem and the crash zooms into the building, but then the smoke rises up and the story ends.
Great to see something that isn't a sci-fi corridor