The BRAWL² Tournament Challenge has been announced!
It starts May 12, and ends Oct 17. Let's see what you got!
https://polycount.com/discussion/237047/the-brawl²-tournament
It starts May 12, and ends Oct 17. Let's see what you got!
https://polycount.com/discussion/237047/the-brawl²-tournament
character wip
Hi people,
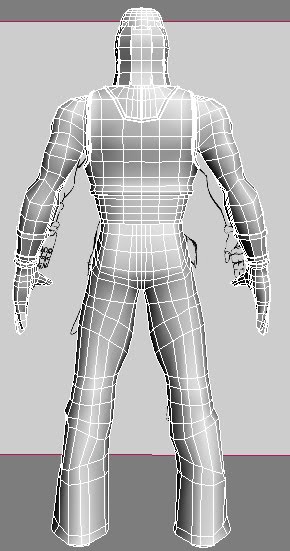
I'm currently doing character modelling for uni so thought I would post it here and get some feedback on him.
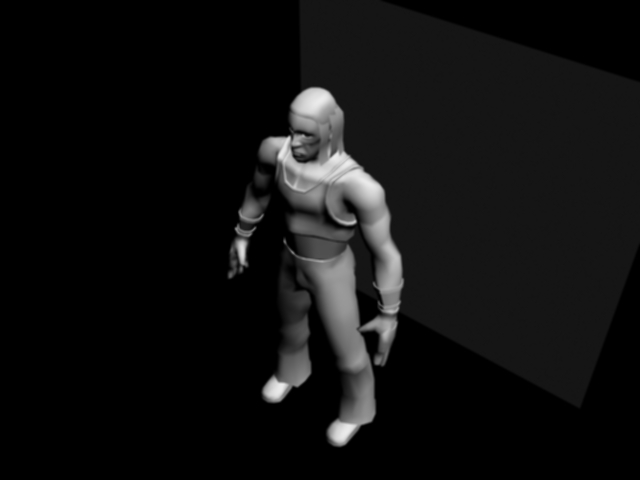
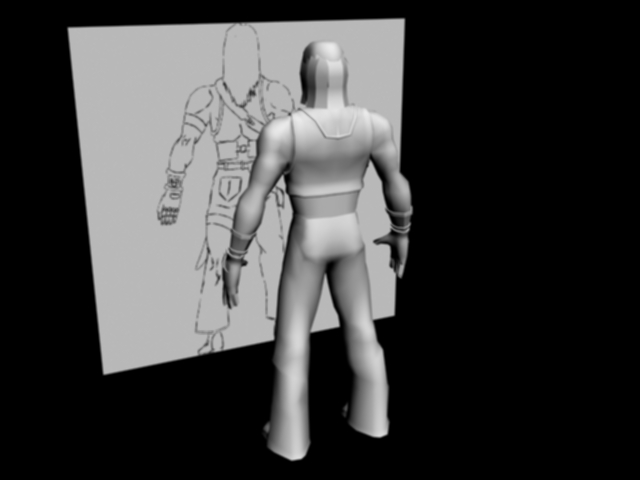
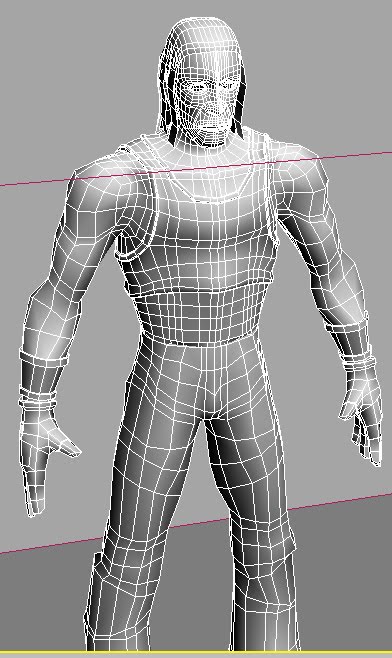
I have been trying to keep him low poly at the moment he stands at 3994 polys, not really used zbrush other than giving the generic dog huge boils all over his body but I'm thinking I'll have to give it a try with this character as it will be a good learning expierience.
This is my 1st attempt at character modelling but anyways here some pics to scrutinize...


Replies
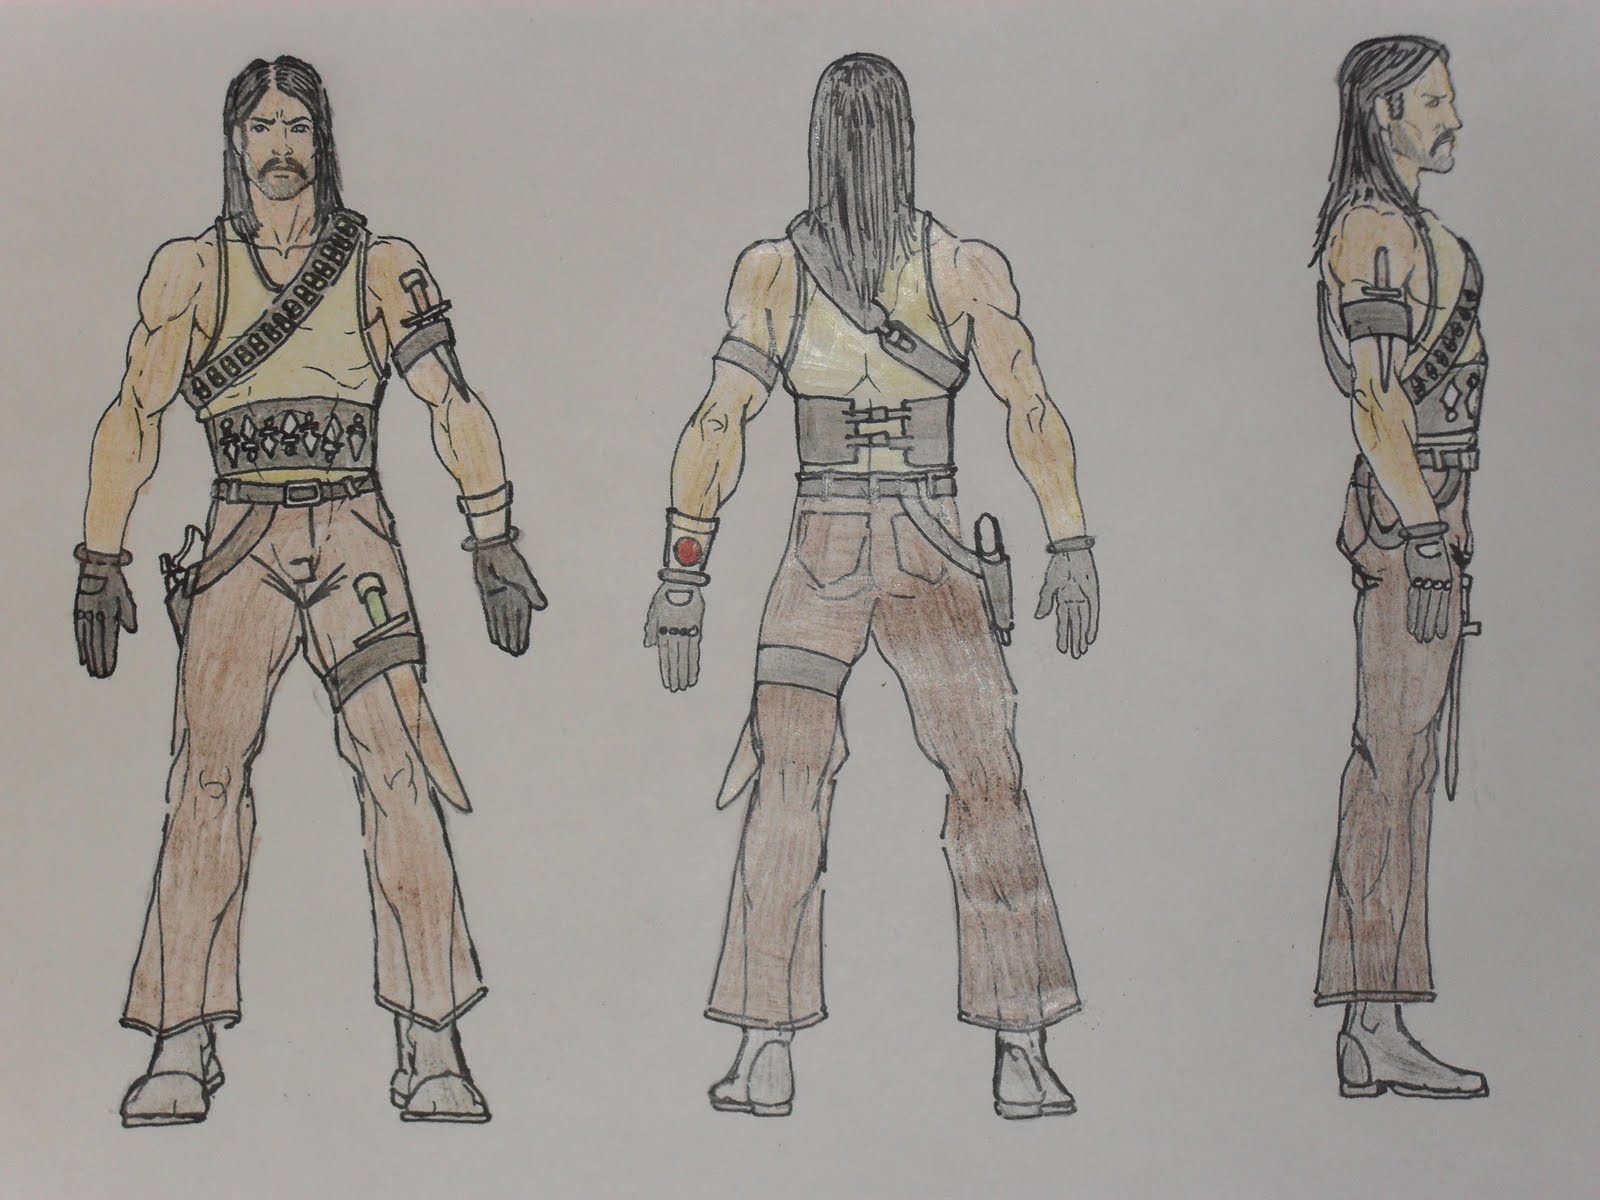
I need to add some accessories to him my brief for this project was to create a time travelling bounty hunter that fitted the theme of my level in the last project in which I done a wild west town.
I will be adding things such as the cowboy hat and bandanna around the neck along with bandoliers holster and knives to the belt around the waist.
Any suggestions on what I could also do to make him seam more badass time traveller but still keeping him with the 1840's style would be cool.
The character I'm working on is to be added to ut3 at the end of the module so when it comes to building/unwrapping i have been working to the ut3 unwrap template where the head/arms/torso/legs/boots are all seperate objects.
So I've exported the base model into zbrush and when I add more subdivions (correct term?) the model spilts into parts like so....
So i'm guessing that i need to weld all the edge verts and make him into 1 model for zbrush but thought i should ask here and make sure that wont make too big a problem when I take the finished high poly and the low poly into xnormal and create the normal maps?
sorry for asking such noobish questions but hey what can i say i'm a noob to character modelling and zbrush.
oh and while attaching all the peices theres a few quads that i would either have to turn into tris or should i add more edgeloops to keep the quads?
One thing I would usually do is extrude the edges slightly further inside the adjoining piece, so where an arm goes into a sleeve, extrude in some more and add an edge loop so that when it subdivides, you don't get gaps.
It might be simpler on the legs to join them up but for the other pieces, you could just extend them inside the adjoining piece a bit more.
now for some pics....
The modelling portion of this module is over so other than some minor tweeking I'm not allowed to make any changes to the model. I have unwrapped the model to fit the unreal uv template and started texturing which is going ok I guess but theres still some stuff that I am unsure of how to do.
I'm having issues getting the folds in the clothing to look real and to have real depth, i know a normal map will help that alot but if the diffuse texture doesn't look right then theres no point in trying to get the normal map done.
And the skin is a pain as the face I have done with photographs so now it's a case of trying to match the skin on the arms to the face and painting in the muscles
So if anybody has some advice or a decent written or video tutorial for building up detailed skin textures and adding folds and creases to clothing textures I would be grateful. I have uploaded a jpeg of my body texture so that if anybody could do a paintover to help me get the folds right even if its just showing the direction they feel the folds should be heading that would be great
Thanks guys.
finished the diffuse texture and started the specular next up is creating a normal map using the nvidia ps filter (tutor told me i had to as thier not teaching zbrush at the mo)
As my character is made for UT3 i have followed the ut3 uvw template which gives the head and body seperate textures. if i bring the full model into marmoset as 1 model then the head will take the body texture or vice versa (depending in which material i load)
so i need to know if theres a way to bring 2 seperate models into marmoset and if so can i then move them around to alight the head to the body?
For a fisrt attempt it didn't come out bad at all. But like many first attempts this model suffers from common errors.
Topology:
The topology is messy. it's a classic case of 'square modeling'. There are no edgeloops that define the shape and mass of the model. All edges run in a straight line. While actually you want those edges to curve and follow the body.
You definately have to look into edgeloops and topology. Search these terms and plenty examples/threads will pop up.
Modelling in quads is a good thing, but specially for sculpting its important you keep your quads as evenly sized as possible. You will notice that very long quads cause problems with sculpting. Try to avoid long quads and have detail where needed.
For example, on a head, the eyes would need more geometry than the top of a bald head.
Look at the work of other people and pay close attention to how their mesh looks.
Anatomy:
Dive into it! You can't look enough at anatomy, learn the proportions, the muscles, skeleton. Learn how the body works. Build a refrence folder filled with tons of pics, arms, legs, heads, skin, etc etc.
sculpting:
Start with low detail, and then work your way up slowly. Don't sub_D a model 10 times before you start sculpting, but make each level count. When you feel you can't get the detail you need out of a level, then sub_D it. Sculpting takes time. take it slow.
Work from big shapes to the small ones.
That's my generic 2cts for now! Good luck