Silent Hill inspired dungeon WIP
polycounter lvl 18
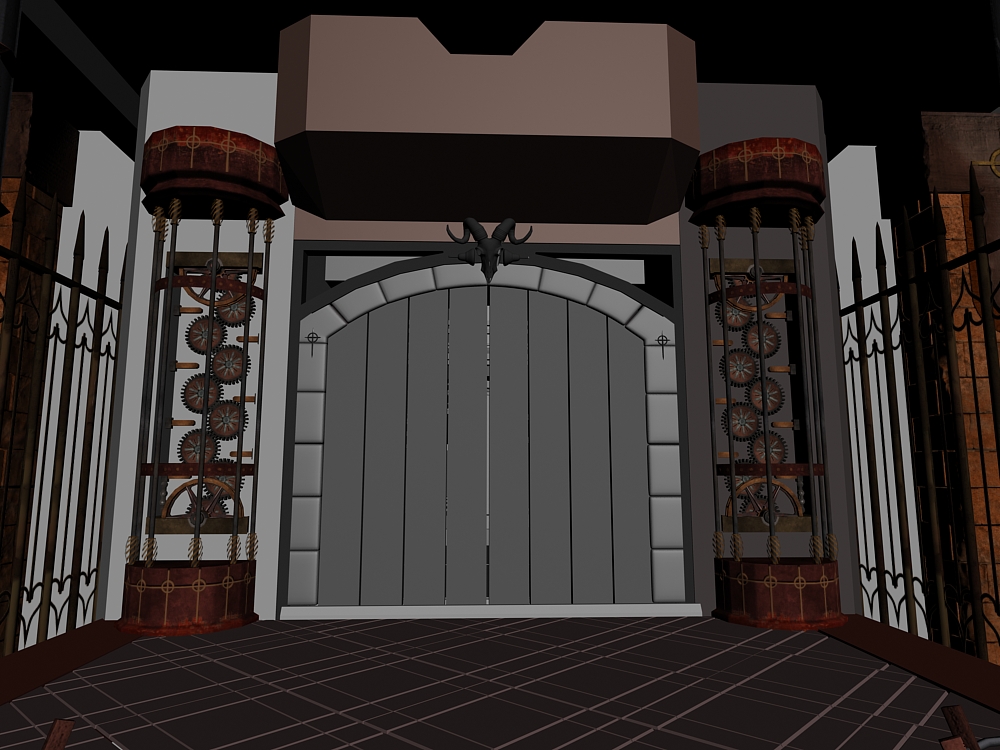
for this environment. im trying to achieve the silent hill atmosphere that made it so moody. this is suppose to be the entrance to the dungeon with a gate thats activated by lighting up the 2 torch. For this i will try to have animations of the gears turning, fire, and gate opening.
here goes


Any C&C welcomed.
here goes
Any C&C welcomed.
Replies
heres a little bit more stuff
textures still need polishing. so bear with it for now.
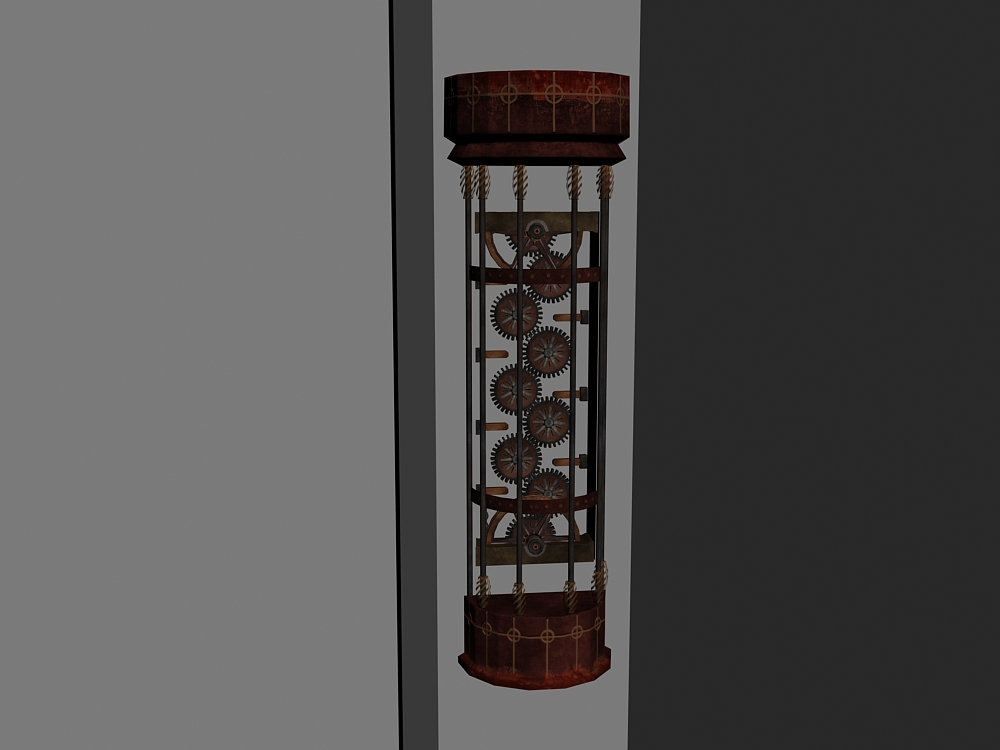
The gears are cool and very silenthillish, but i feel like you need varying sizes and mechanics. Right now they don't really make functional sense, as they're all turning the same thing. I would expect a chain connecting one gear at the top to one at the bottom, rather than a huge series of the same gear. (that said) i think you should definitely keep them, just vary thier sizes and do something unexpected with them.
if its in game start setting up a basic zone with lighting
if its a render get a max viewport shader to work with
also set up your lights in scene
also dont be afraid to ADD polys to your low poly, you stones on your column are rather boxy shapped and are obviously having some shading group problems (go to the technical section about normal mapping to see ways to fix that , but its a REALLY easy fix)
also take 1 or to of those boxes on your column and add a bevel/chamfer to it make it a bit more round,
also dont be afraid to take 1 or 2 and cut some holes into them give it some variety.
Really sell your model and try to make things that are modular look NON modular !
I hope this helps, looking forward to more!
Have a few possible ideas;
Make the cogs bigger so they look sturdy enough to open that big door.
Inset skulls into the centre of the cogs and make the eye sockets of the skulls glow as they rotate!
Hook up something between the mechanism and door that prooves this is not just for show, maybe a thick greasy chain.
seforin: it would be great if i could take it in game. but setting up animation and effects is a hassle in unreal imo. so most likely it will be a video render.
I definitely notice the boxy look even more since u mention it, cuz b4 i was so caught up optimizing. I will redo those pillers.
GCMP: glowing skull is definitely a great idea, i have only a few good silent hill ref. other than that there isn't really much ref for environments(or maybe im bad at looking for ref)
i don really have a drawn floor plan, its mainly sketches of the objects in the scene. I find that when I use top down floor plans I tend to make object placement boring. I started with general shapes in max and did the floor plan there.
i do have a bicycle chain in the scene for the mechanism, but i need to rig it first.
thanks for all the suggestions it was really helpful. stay tune for more updates.
I tried to make it more believable and mix up the parts. hope u can understand the pic.
now another problem arises. which is whether i should animate the belt or animate the texture.
Not sure which you should animate, though I might go with the actual belt. But then again, that might also be because I'm not sure I remember how to animate textures lol :P
Go with whatever you think will be easier for you, and look better
p.s. hi meredith! do you have any work i can see? i havent seen a post from you in a while.
Id do both - Animating the texture would be a lot easier to get the effect that the belt is going around the sprockets, but you can also animate a little "belt wobble" into the mesh to make it awesomeness
-N!
hey josh havent seen u on polycount for a while.
mechadus: "belt wobble" is a great idea. thanks
update:
i need help on deciding the best approach to unwrapping this gear.
btw the big wheel looks a bit too high poly maybe depending on how many of these you want to place and how far away the cam would be.
kaburan: i deleted those faces already. but thanks anywayz
lamont: i kind of get wut u mean. but how do i translate that into my environment?
EDIT:
which one is better way of optimizing
Not sure what texture seam problems you talk of?
The only one area that could possibly hold problems with this method is the central cylinder, that is only if you are going to use the same texture all over it which probably wouldn't look very good.
^This is presuming you not going to bother sculpting a high res mesh out of these gears for normal maps?
-
If not then this mapping would work but if so you could always pelt-map everything, this being quicker as you most likely know but not so friendly on uv space.
-
the seams that i was talking bout is since the cogs are repeated there will be a seam on the area that the cogs get attach to the main cyclinder. so if a were to fix this the whole edge of the main cyclinder would have to consist of the same texture(normals/colour/detail).
hope im makin sense.
update
i think 3dmax does not like me. because i don no y im getting this NRM lighting error
the door part is compost of boxes with 1 smoothing group when i RTT the NRM.
http://www.flickr.com/photos/15227135@N07/3769126935/
my question is how to set the wire parameter for the bottom gear so that it turns the opposite direction.
i say the easiest would be to model and texture a couple -4 or 5 or so- of the lightblue parts, copy and rearrange them on a straight line and then apply a bend modifier
then model 2 or 3 of the pink curvy things and rearrange them and rotate them by hand(more precise result then bend modifier)
Vailias: thx, i would have never decipher it without ur help. cuz i never learn expressions in wire parameter or max script. my school didnt really prepare us enough.
I think Lamont was describing the mixing of the pure with the unpure, for instance a statue of the virgin mary holding a scythe or dagger with an angry look on her face while wearing an inverted cross. Ok I'm sick but you get the idea, taking things that are familiar, pure and safe to us and mixing them with things we consider unsavoury, demonic and dangerous.
Ps: Have an idea for your door, the two crosses either side look like floating geom so working with that;
Make a chain that appears to run through the brick, centre of the crosses and finally through the eye sockets of the demon skull. Pin the chain with a couple of looped brackets so it follows the arc of the door opening but is able to move.
This could play a role in the door opening mechanism then you wouldn't have to have a direct link between both mechanisms which could proove messy.
Just an idea!
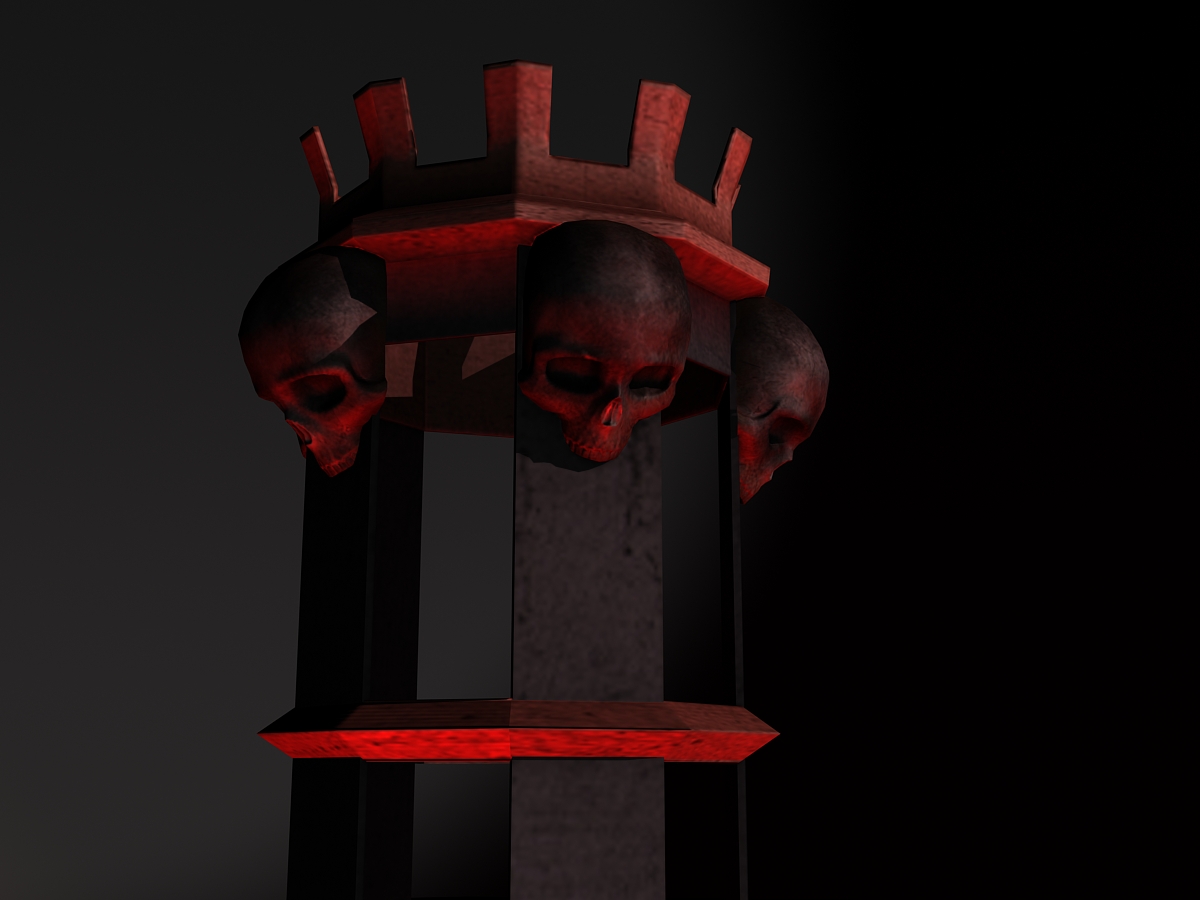
update:
bone sculpt
the reason i ask this is because i want to replicate the same effect.
A tip on the lighting, if you want a spooky, harsh scene, try lighting the scene from below and make sure the shadows are hard. Really helps to sell the scene.
can anyone elaborate on the process to creating the reflective bloodpool whether its in unreal or max.
Jet_pilot: im planning on either render or screenshot in max
update
i need advices on how to add to the texture for the statue pillar in the last post?
sry it gave me a syntax error when i input this expression. help plz?
Scene flythru:
http://vimeo.com/7436423
thank you for everyones critiques and help. im glad that im finally done. well I was actually done 2 weeks ago.