Normal map visible seams baking issues with my rocks
Hey everyone,
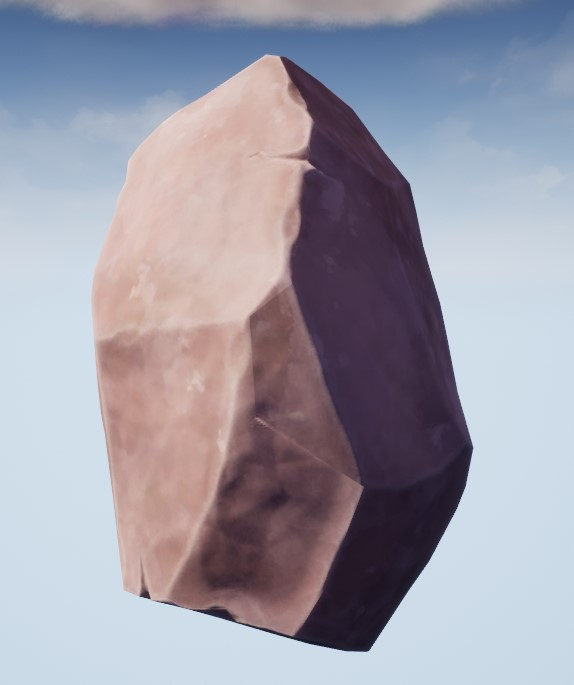
I struggle to understand how to best approach UV-unwrapping/baking the normal maps for these rocks.
I'm using Maya > Substance Painter > Unreal pipeline.
There are visible seams in the normals in UE and I don't really get how I'm supposed to prevent them.
All edges in the Maya meshes are soft using Soften Edge before export and baking, so I don't know why I'm seeing such hard edges.
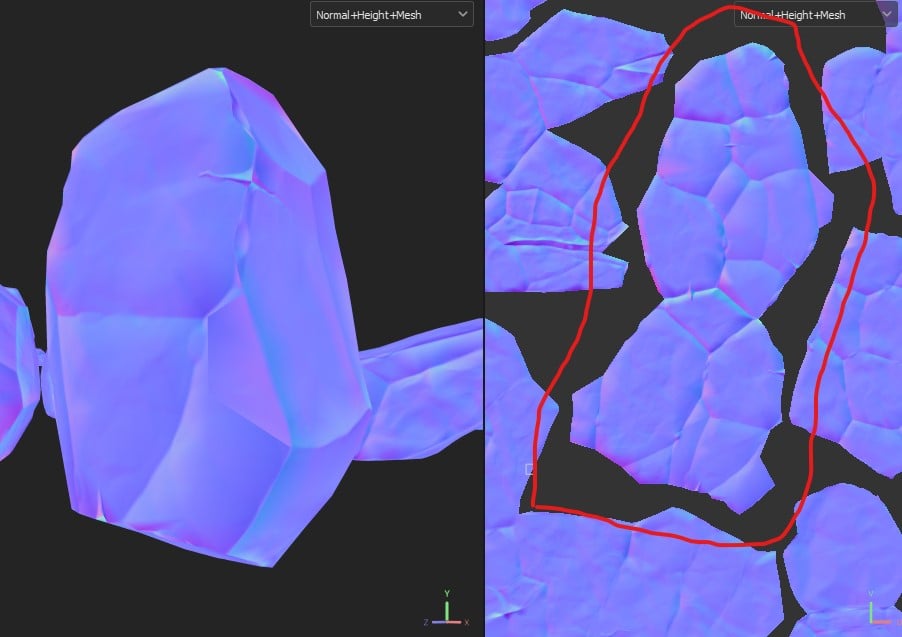
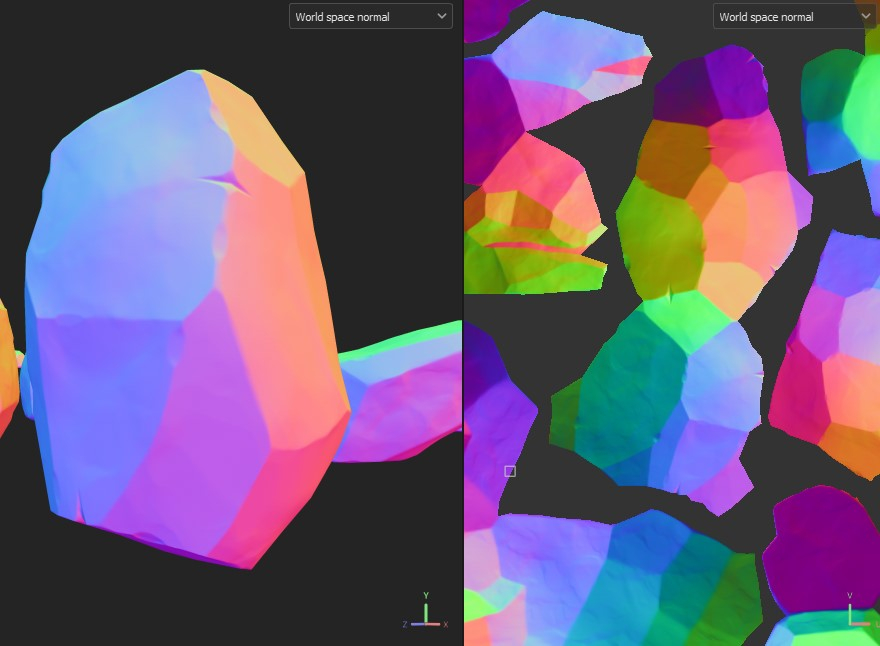
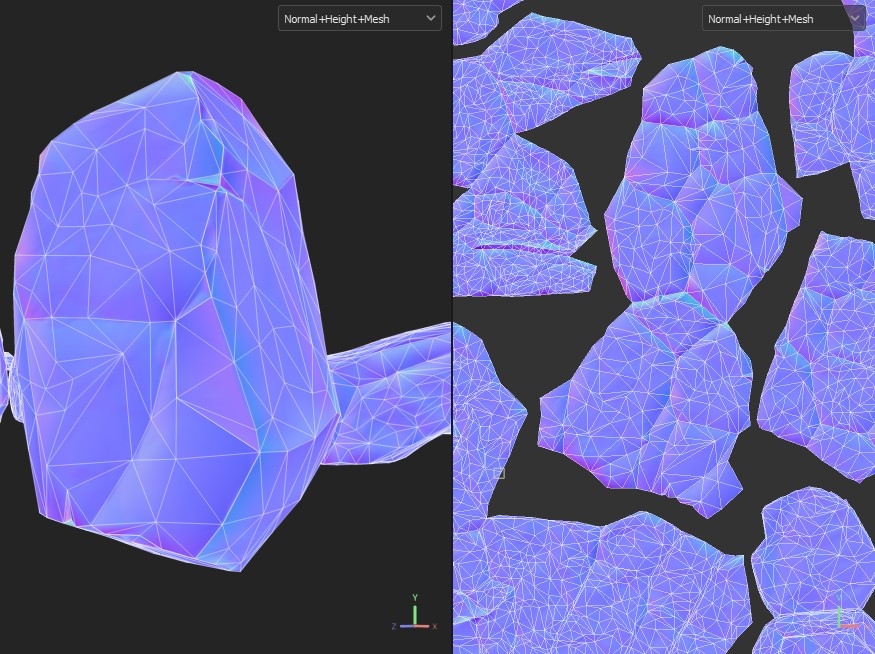
I'm a bit puzzled about the weird colors in the normal map, I guess it's probably because of how it's unwrapped but I thought it shouldn't matter because I haven't seen any other 3D modelers really split their rocks into a bazillion different UV shells to get it to look right(?) but they don't seem to be getting these seams.
The world-space normals seem fine, and I'm hoping to get a result that looks more similar to that, but I don't get why the seams are there in the regular normals. Is there some setting that I'm missing or overlooking?
For clarification: I am not changing the height or normals in any my Substance Painter layers.
I will include some screenshots to illustrate my problem:


Replies
Does the mesh with normal map applied look good in Painter? If not, you could disable all layers with height, viewing just the originally baked normal map, to check whereas the issue lies here (e.g. some UV projected height).
This screenshot is purely gray color, baked normal map from highpoly, roughness=1, metallic=0, height=0. So it seems to be correct here... but not in Unreal
With all the rest of the layers applied it looks like this in SP, which also shows no seam:
So maybe it's an Unreal import issue?
"When the renderer (or game engine) renders your game model, the shader must use the same tangent basis as the normal map baker, otherwise you'll get incorrect lighting, especially across the seams between UV shells."
Going to check if this is the issue...
Edit:
No, ticking off " Tangent Space Normal " checkbox in the shader only screws it up even more...
On all your textures, and your normals. They look like this, remember?
Except we hide them with different texture filtering techniques. Bi/Trilinear, Anistrophic, texture filtering techniques do a lot of work to hide from us how low-res our graphics really are by doing a little smart-blur in the UV SPACE.
Oopsie, that means every cut in your UV is a HARD-STOP for any texture filtering. Uh oh, we fucked it. Let's COMPENSATE!
1. HIDE THE CRIME! Put the UV split on a hard edge or where you're already planning a sharp transition or handpainting damage.
2. Modify the LP's normals to be as similar to the HP's normals as possible. Because the tangent space normal map's whole job by definition is to document the difference between the LP and HP normals per pixel of the baked map, then it makes sense that if the LP and HP are perfectly alike, then each pixel of a baked tangent space normal map would be 128,128,128. It makes perfect sense then that any problem that occurs because you're using texture filtering, something that is designed to HIDE the differences between the pixels, will be mitigated if the pixels that are filtered are more alike.
3. ADDD MORE PADDING AND DON'T ZOOM IN! AAAAAAAAAAAAAAAAHHHHHHHHHHHHHHHHH.
Most of your issues will be solved if you do four things:
Make the red cut.
Weld the green.
Review your entire UVs and weld as much as you can.
Turn off shadows in Unreal or increase it's quality 100x, OR Turn on shadows in SP and decrease it's quality 100x.
Now they'll look the same.