Home Adobe Substance

Bake artifact - Help pls

Offline / Send Message
Pinned
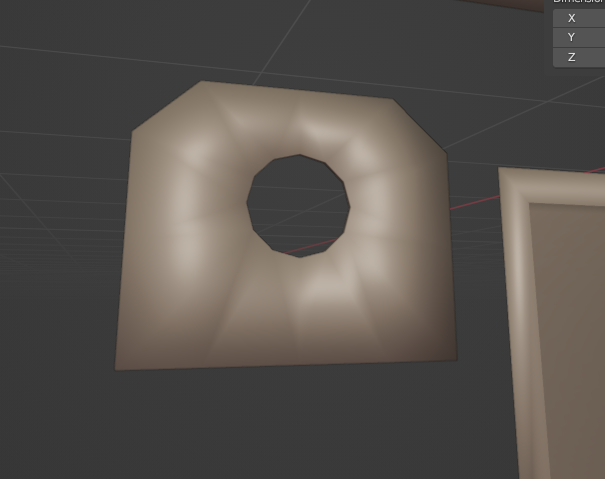
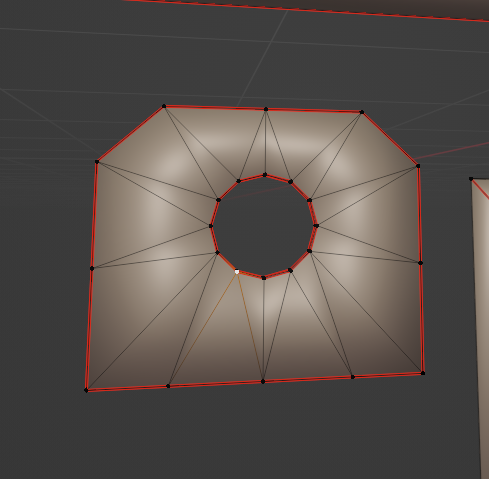
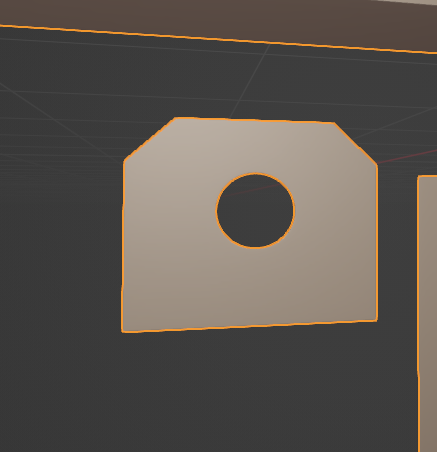
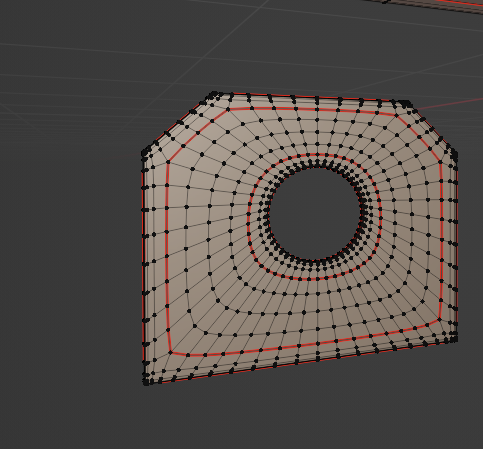
Hello, I have been having a problem when baking these meshes. The edges of the low poly are projected, (in my high poly you can't see those egdes) I don't know why that really happens. I would be very grateful if anyone can help me with this. (Sorry for English, it's not my first language)
Extra information:
-My low poly models do have smooth shade added
-Those "artifacts" can barely be seen from a distance so I'm not sure if it's a problem. Up close you can see them as shown in the screenshots.
(I can upload the blender files if anyone needs them)
thanks
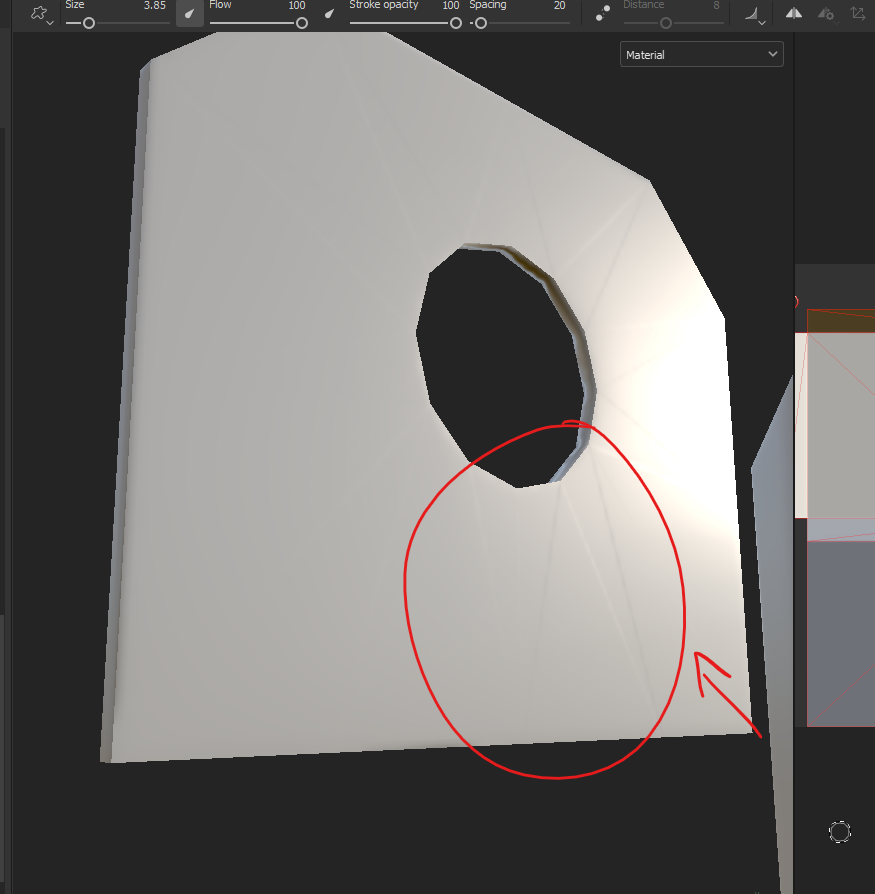
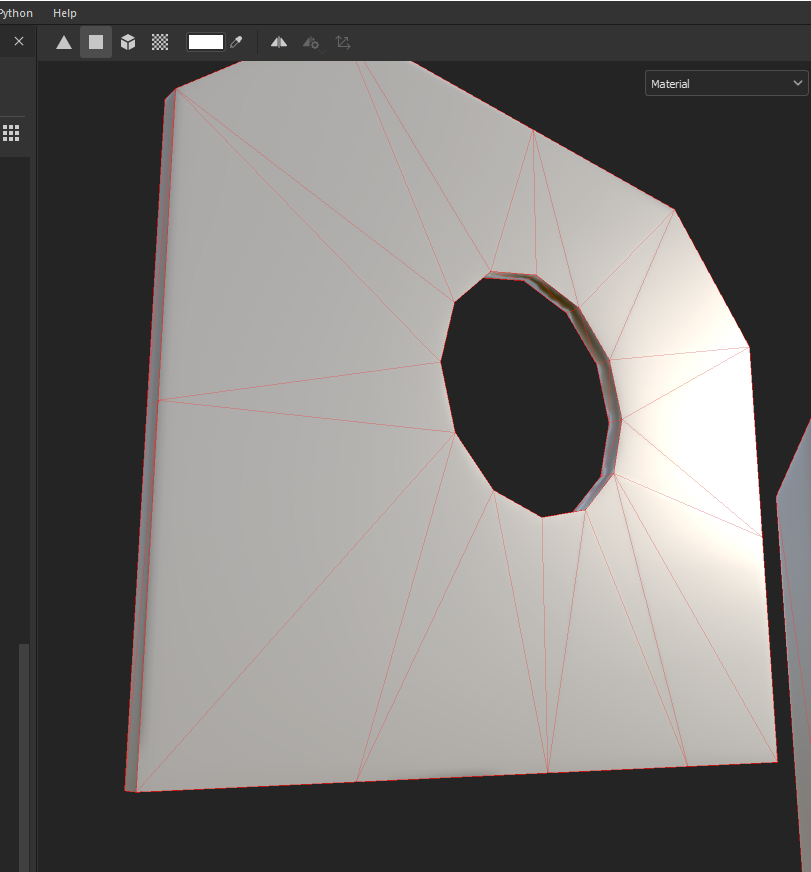
Low poly in blender:


High poly:


Replies

  • Fabi_G
    Offline / Send Message
    Fabi_G high dynamic range
    Hi! In this case I would consider setting the 90 degree edges of the lowpoly to hard, as currently its shading has quite the gradients, which the normal map has to compensate for. Remember to split UVs at hard edges.

    Zip and attach the meshes to the thread if you want a second pair of eyes on it. 

    You might find more threads related to the topic (use of hard edges) in the wiki  - although it seems in some threads the images are unfortunately broken. 
  • Just_And
    Fabi_G said:
    Hi! In this case I would consider setting the 90 degree edges of the lowpoly to hard, as currently its shading has quite the gradients, which the normal map has to compensate for. Remember to split UVs at hard edges.

    Zip and attach the meshes to the thread if you want a second pair of eyes on it. 

    You might find more threads related to the topic (use of hard edges) in the wiki  - although it seems in some threads the images are unfortunately broken. 
    Hello! I really thank you for answering this question I had. I did what you mentioned as you can see in this screenshot, I hardened the edges with "Mark Sharp" and instead of applying "Shade Smooth" I applied the "Shade auto smooth" (I saw it in a video that talked about hardening the edges). When doing this, the strange gradient that I had no longer appears so I think that part would be solved, once that was done I exported it to substance for baking and it turned out fine from the looks of it. I was wondering if what I did is what you were referring to or am I forgetting something? On the other hand, in this part, what do you mean by "Remember to split UVs at hard edges". Are you referring to making the cuts for the uvs on those hard edges?
    Thank you very much in advance!

    -Shade Auto smooth + "Mark sharp"
    -s


    -Shade Smooth + "No Mark sharp:


    Baking in Substance: (Shade auto smooth + Mark sharpes)

  • Fabi_G
    Offline / Send Message
    Fabi_G high dynamic range
    Hi! Yes, it's the "Mark Sharp" command. With objects that have angles of various degree, I like to set the autosmooth to 180 degrees (all smooth) and then manually mark edges sharp where it's necessary.

    Due to the Auto Smooth angle in the "Object Data Properties" panel being greyed out in your image, I think the mesh might have already "Custom Split Normals Data" - just something to be aware of.

    Since your baked results features quite sharp edges, keep in mind the texture resolution of the element matters. If there are too few pixels for the bevel/rounded edge to be baked to, it will not show up properly. In the context of a complex model, this might not be obvious with small elements and a compromise one might have to take due to the texture size available. A counter measure would be to either increase the amount of pixels available or increase the bevel size. Rounded elements are particular prone to show aliasing artifacts, because their UVs don't align with the pixel grid (Visual example in the Painter documentation).

    Edit: Generally an option to maximize texture space, is to reuse it when possible. For example stacking UVs of duplicate elements or mapping UVs of certain parts to generic parts of the texture (strips, generic details, ...). This will likely result in a variance of texel density across the object, but I would make the eye test and prioritize things look good. Then again, the best approach depends on the specific use case.
  • Just_And
    Fabi_G said:
    Hi! Yes, it's the "Mark Sharp" command. With objects that have angles of various degree, I like to set the autosmooth to 180 degrees (all smooth) and then manually mark edges sharp where it's necessary.

    Due to the Auto Smooth angle in the "Object Data Properties" panel being greyed out in your image, I think the mesh might have already "Custom Split Normals Data" - just something to be aware of.

    Since your baked results features quite sharp edges, keep in mind the texture resolution of the element matters. If there are too few pixels for the bevel/rounded edge to be baked to, it will not show up properly. In the context of a complex model, this might not be obvious with small elements and a compromise one might have to take due to the texture size available. A counter measure would be to either increase the amount of pixels available or increase the bevel size. Rounded elements are particular prone to show aliasing artifacts, because their UVs don't align with the pixel grid (Visual example in the Painter documentation).

    Edit: Generally an option to maximize texture space, is to reuse it when possible. For example stacking UVs of duplicate elements or mapping UVs of certain parts to generic parts of the texture (strips, generic details, ...). This will likely result in a variance of texel density across the object, but I would make the eye test and prioritize things look good. Then again, the best approach depends on the specific use case.
    Hello! I thank you very much again for taking the time to answer my questions, and thank you for the advice and resources on this topic, I have certainly been interested in hearing about them!
Sign In or Register to comment.