Home Technical Talk

Trimsheet Visible Seam

Elliott
node
Offline / Send Message
Elliott node
Hi there ! I'm making my first trimsheet texture and I having issues with seams..

First, I made my base on maya with grid snapping, so all is perfectly tillable


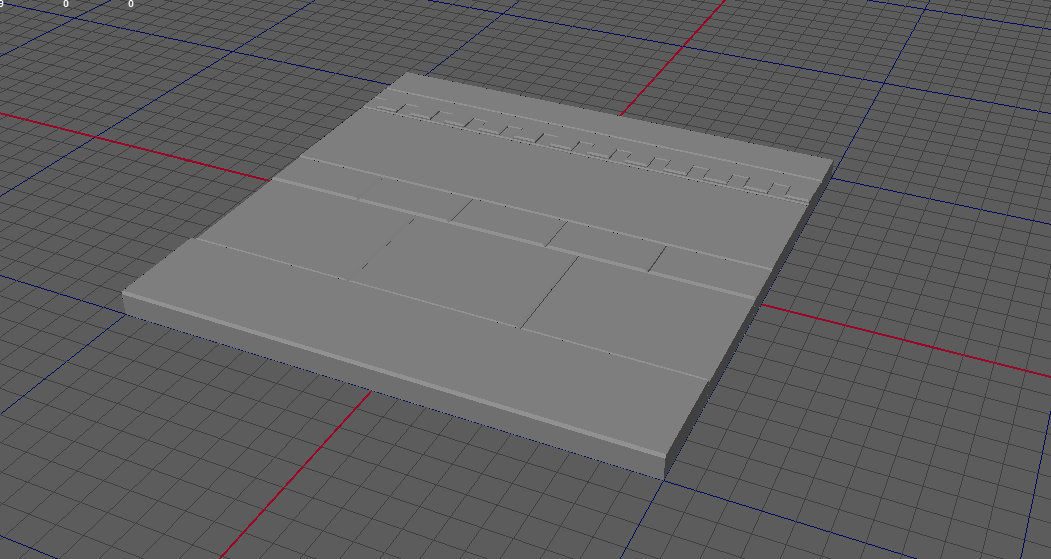
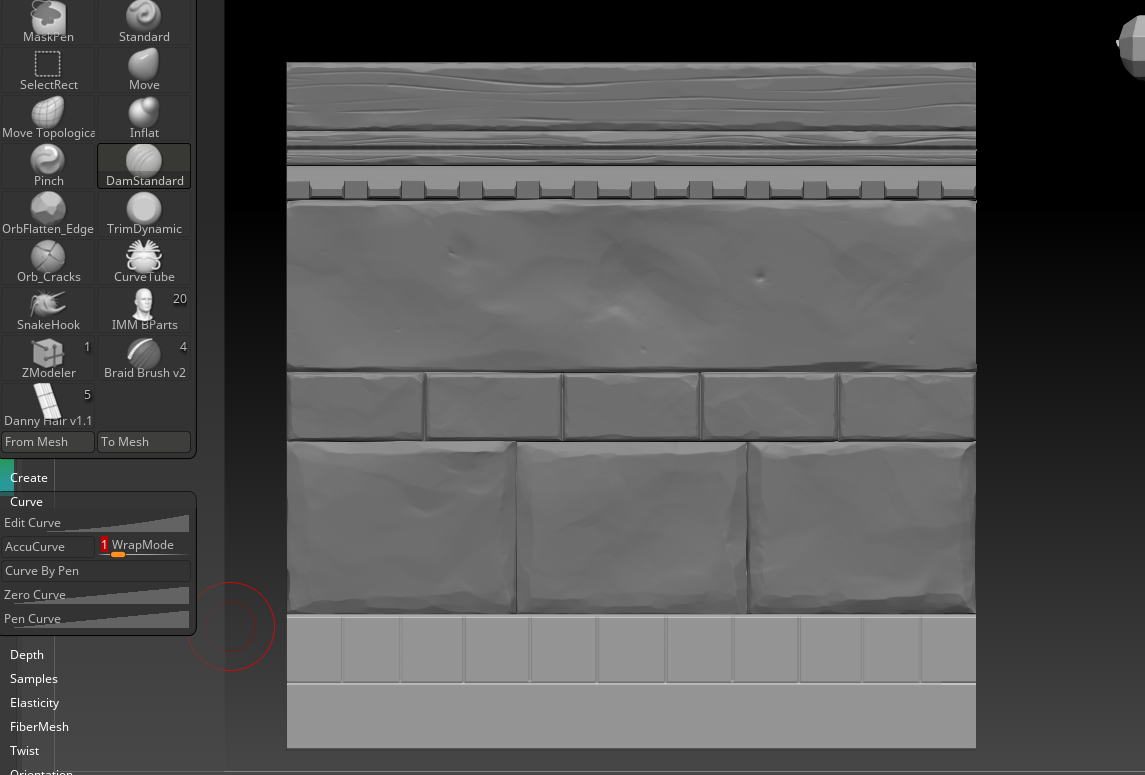
Then, I sculpted the details on Zbrush with the WrapMode to 1 so the pattern will repeat perfectly


Next, I went to Substance Painter to bake all and apply some basic colors just to see if there are any problems.
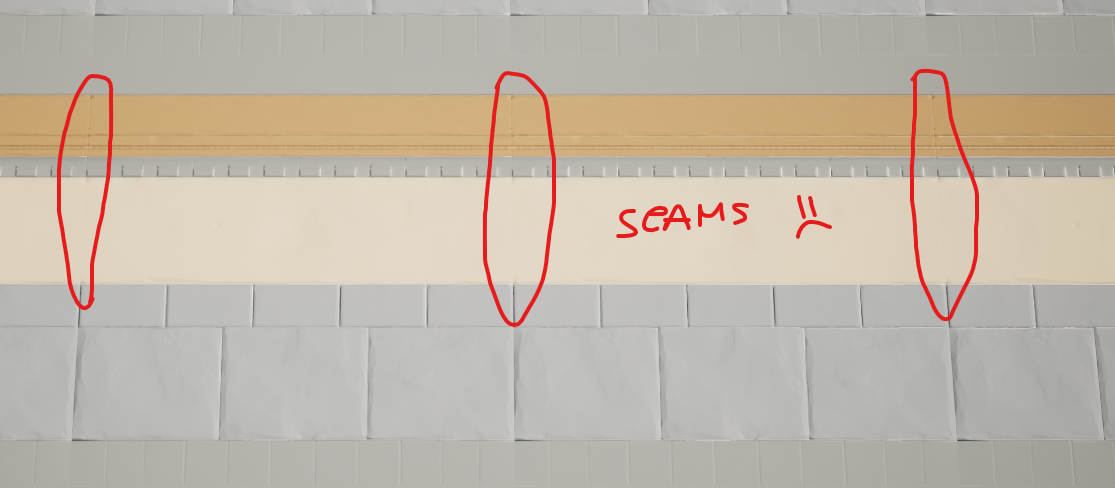
And here's the result :


I have a visibles seams even if the pattern of the wood repeat perfectly


Finally, I tried to bake my high poly (without any details from zbrush) and the tilling work great with textures on it.
This is definitly a Zbrush issue, but I don't know wich one. 

Can somebody help me please ?

Replies

  • Klunk
    Options
    Offline / Send Message
    Klunk ngon master
    you can correct the resultant maps in photoshop (other image editor as well :) )
    use the offset filter to center the seam in the image correct  it by what ever means, brush, smudge etc the reapply the offset filter. not ideal if you have to change the source. 
  • Fabi_G
    Options
    Offline / Send Message
    Fabi_G insane polycounter
    Hi! I would look into making meshes tileable, not rely overly on wrap mode. That way you can turn any modules into tiling meshes. One option would be to cut a mesh in halves and offset them, cut borders will be seamless (similar to PS offset filter, but in 3d).

    Generally, I recommend making the highpoly trims extend the bake plane. Currently you won't get AO on the border stones/ bricks. With seamless beams that have thickness, this will also prevent getting curvature baked at the borders and edges showing up in the normal map.
  • ZacD
  • Elliott
    Options
    Offline / Send Message
    Elliott node
    Fabi_G said:
    Hi! I would look into making meshes tileable, not rely overly on wrap mode. That way you can turn any modules into tiling meshes. One option would be to cut a mesh in halves and offset them, cut borders will be seamless (similar to PS offset filter, but in 3d).

    Generally, I recommend making the highpoly trims extend the bake plane. Currently you won't get AO on the border stones/ bricks. With seamless beams that have thickness, this will also prevent getting curvature baked at the borders and edges showing up in the normal map.
    I first tried to extend the highpoly over the plane before sculpting but my WrapMode 1 didn't work for tilling. 
    It only work when I put it to 2, but it reduce for half the size of the pattern because the point is on the middle of the model :(

    (Btw, how do you cut the highpoly in half with the messy edgeflow after sculpting ? I tried to cut on Zbrush but its messy to..)
  • Elliott
    Options
    Offline / Send Message
    Elliott node
    Klunk said:
    you can correct the resultant maps in photoshop (other image editor as well :) )
    use the offset filter to center the seam in the image correct  it by what ever means, brush, smudge etc the reapply the offset filter. not ideal if you have to change the source. 
    Thanks for your answer but I prefer to find a solution that works rather than fixing mistakes :/
  • Neox
    Options
    Offline / Send Message
    Neox godlike master sticky
    yeah i think its something in zbrush, so i don't know but you can see that it already isnt tiling there


  • Benjammin
    Options
    Offline / Send Message
    Benjammin greentooth
    Wrap mode painting works best with a plane that has no depth - the thickness to your plane is going to cause brush strokes at the edges to behave differently. Its also going to potentially cause baking artifacts if its not razor sharp (the baker will try to generate AO in those crevices).
    You can use array mesh to instance your plane to the side so you can see how the tiling holds up as you sculpt. 
  • gnoop
    Options
    Offline / Send Message
    gnoop polycounter
    I rarely use Zbrush nowadays  and it started to fade away from my memory but as far as I remember the wrap mode works only on square planes.  And I hardly ever had  square shaped textures for anything tile-able.   I usually just made  2.5d copy  , wrapped  it 50%,  captured textures.  Then displaced it to a new plane.      

    Lately it's just Photoshop with pattern preview and  content aware  fill .   It works on depth image ok if you feather the selection  well enough.
    in Affinity Photo 2.2  the "inpainting" works perfectly seamless most of a time  on depth image . But in-painting itself is not as "smart" as content aware fill  Photoshop does . Mostly clones and adapt from nearby areas.

    Here I did a few selections and "inpainted" them over  on black and white height image in the background layer  +  Lighting fx hack that makes it look as a normal map for a better preview .   No borders artifacts at all.  and it recognizes the depth image  structures pretty well. Pitty  it doesn't have flip and rotate options Photoshop has .


Sign In or Register to comment.