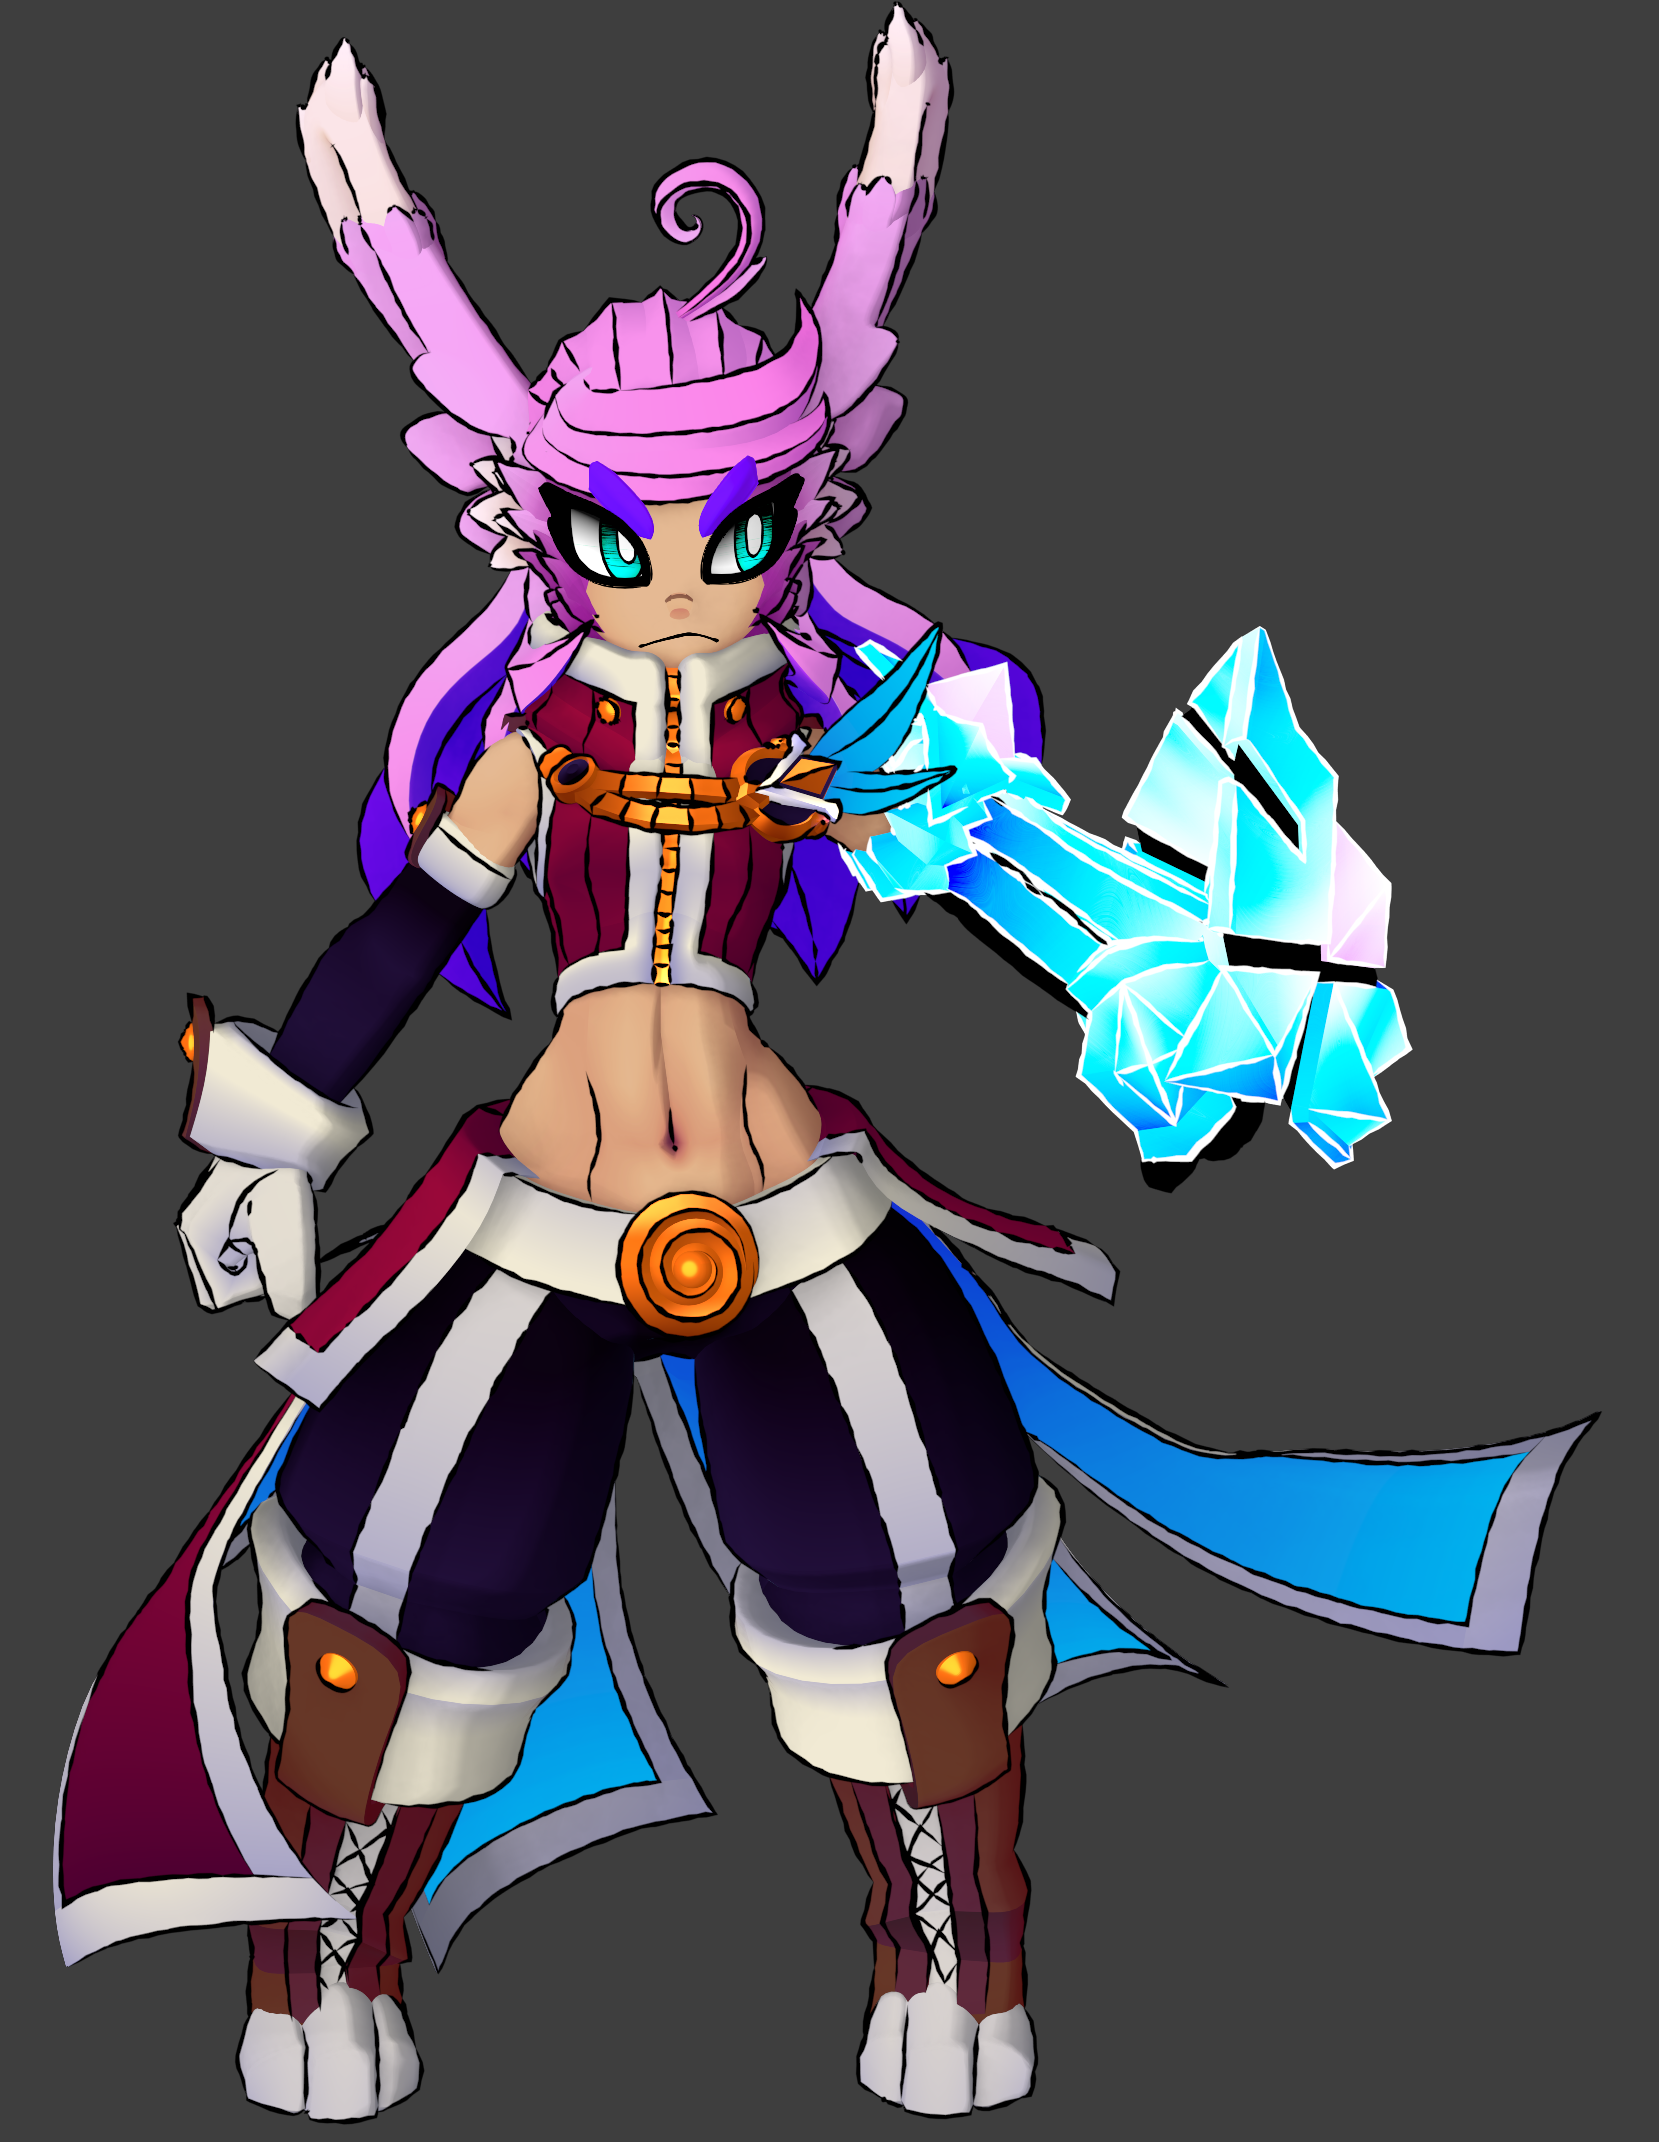
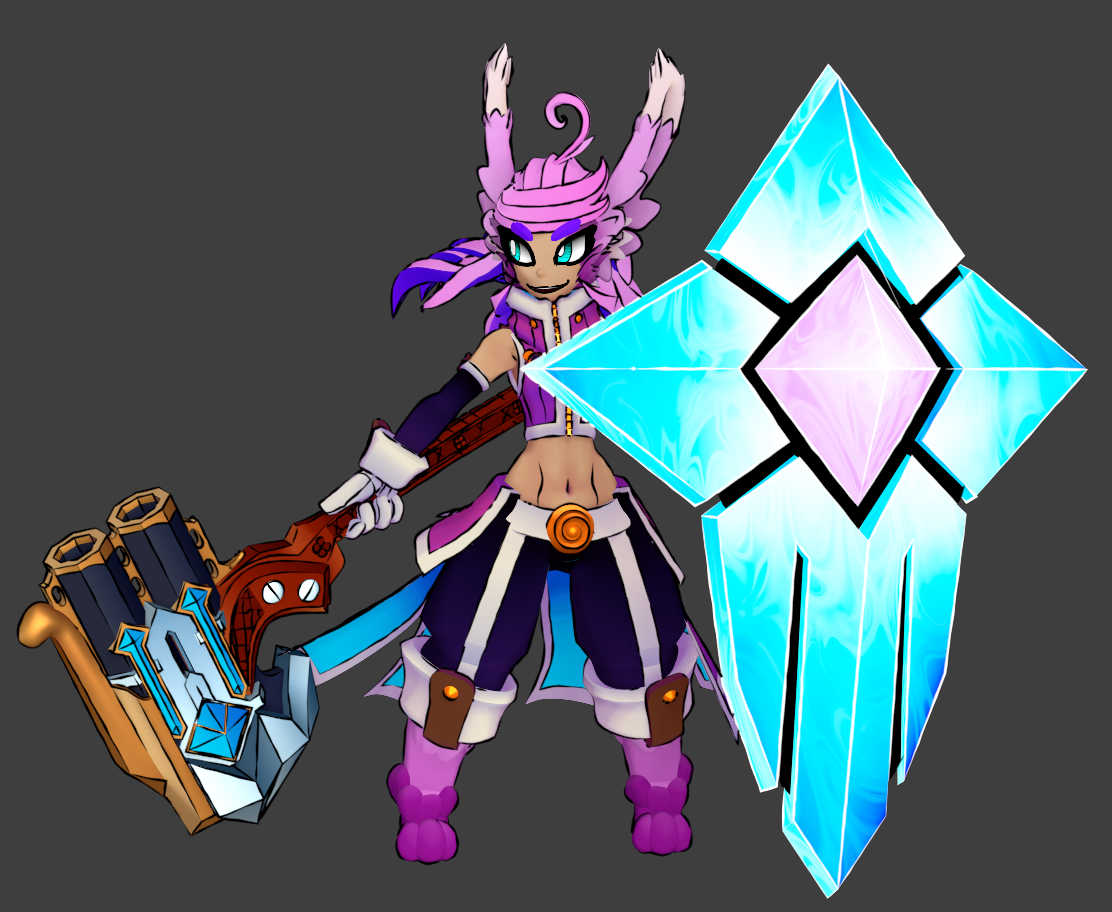
That's right, Ethios stuff is back: New Ellie Model (Greathammer/Greatshield Adventurer)
Wow it's me still trucking. Making a new thread because the other one might be a bit too daunting for anybody just seeing the project.
I, of course, have a new design, making full use of the shader and rendering skills I've honed over the past one or two years. Some of the shots here are a bit outdated, using the old clothing colors and having the old proportions.
The model was originally made back when she was still a graceful swordfighter, you see. But she uses a big fucking greathammer now, so the proportions were bulked up once I realized that was the case.
I also didn't want to bother making new shots until the new face is all set up.
These shots are only one version behind:
The weapon is the Dual Strive- a greathammer with a system that can fire out bursts of magical energy to enhance its attacks.
The design was based on utility hammers and vintage guns.
She also has a magical shield for defense. It used to just be the shield, itself, but it's now been reconceived as a part of a set alongside a gauntlet:
The gauntlet is the main form- it can reconstruct parts of its form to create the shield at any point on its surface.
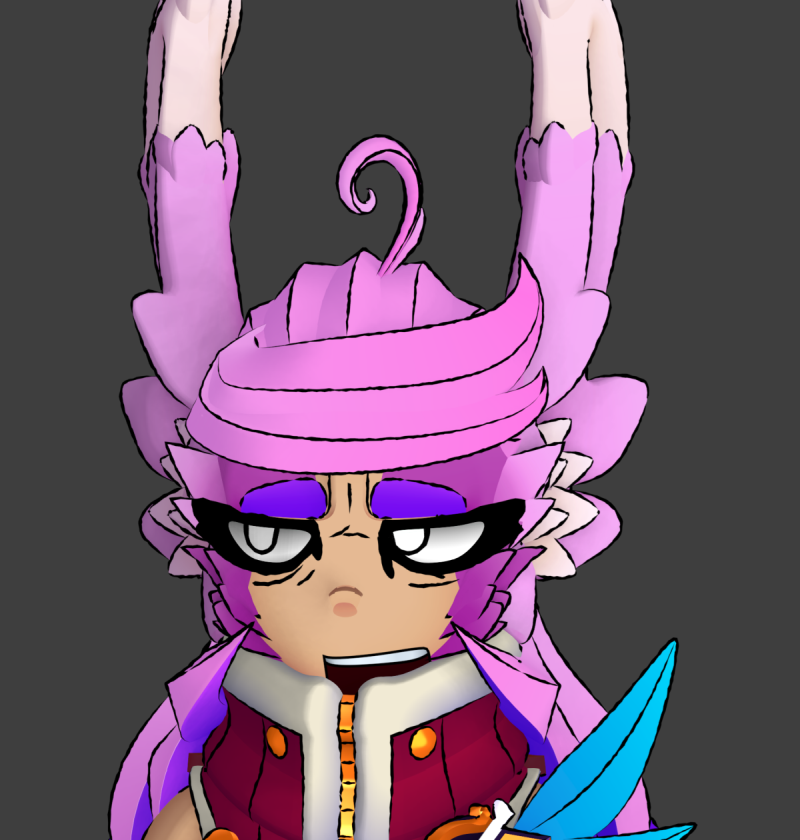
As I mentioned earlier, I'm working on a new face using a different construction method- I recently discovered the wonder of the Holdout Shader, and can now realize my wish to have the mouth be a 3d object instead of a flat plane:
I wanted to begin the process of the new face with my favorite expression out of the concepts I had done.
Once I get some of the more basic expressions and such made, I'll post some fully up-to-date shots


Replies
I had an idea for smear frames
I mentioned a new face construction method- I'll detail it here while I work on stuff.
Holdout! Holdout shaders are my new best friend.
If you aren't familiar, an object with a Holdout shader will make anything behind it transparent, like a 3d cutout. It's subject to face normals, which allows for some fun tricks that I use here.
Here are the Compositor layers:
1) The base layer is the entire body + an instance of the face model and other face bits with a Holdout shader- anything that needs to be behind the facial features.
2) The second layer is the isolated facial features:.
A copy of the nose with ample padding behind is here, again with a Holdout Shader applied:
This helps the eyes render correctly- otherwise at certain angles the far eye would render on top of the entire face.
The method I'm using for the mouth objects is a basic mouth sock encased in- you guessed it- another Holdout Shader (Fucking LOVE Holdout Shaders).
3) There's a layer for face wrinkles that need to be on top of the nose. Such things have to be on their own layer to avoid being cut out by the nose's Holdout shader.
You can't see it very well in the viewport, but it's the layer the wrinkles on the nose and between the eyebrows are located on.
4) Finally, there's the layer the actual face is on:
It gets rendered behind everything going on the other layers, and fills in the space the Holdout on Layer 1 leaves.
More holdout bullshit! This time I've used it to allow for easily creating extra details that should obey the general silhouette, without having to faff about with annoying extra topology!
I also did some experimentation with the shader.
I haven't done a lot of 3d stuff lately- I've been focusing more on 2d design and writing.
Did some concept work to see if I could get away with a maximum of five phonemes:
For less detailed speaking scenes, I could probably just do the anime way and just use the Closed, Half Open, Full Open phonemes, perhaps.
More cool stuff I should be able to do with Holdout Shaders.
Yet another win for Team I Can't Be Arsed To Deal With Proper Face Topology
I just did a 2d proof of concept since I need to redo the model with a slightly refined design:
Yes, it keeps happening.
No, I don't wanna talk about it.
Also 'New' Polycount's image insert method is a huge pain, ye gods.
Glad to hear that my master plan is working- One day I'll get around to actually making some environments so I can make sure that the look is consistent in various... uh... environments.
Once I get the new model done I can start with testing out the phenome concepts in practice
Here's the work I did on the base model:
It went pretty quickly- I started with the torso, doing the more complicated landmarks first (Abs, butt, breasts, and collarbone, then attaching them together and filling in the rest.
The legs and arms were done using the basic 8-sided cylinder extrusion method, and the head was done with the cube method.
The hands I stole from the previous model, since they're already rigged.
The ears were the hardest part. After a few attempts that didn't work out, the method that did was starting with the geometry on a flat model based on the side silhouette:
I shaped it to match the front silhouette, then copied and simplified it for the back side of the ear. once all the shaping was done, I used the Bridge Edge Loop tool to link them together:
Forgot to mirror the buttons on the arms:
Very glad I restarted- there was no amount of beefing up the other one that would work as well.
One magical greatshield, as promised
It shiny
Her render layers.
#1 is the basic stuff, and the Silhouette holdouts
#2 is the Face and Belt- the face needs to show in front of the skin of the face, and the belt needs to show in front of the pants
#3 is the Coat- this is important for the back views, which I'll get into in after this
#4 is the 'Sideburn Fill' and the Stripes and Zippers- The Fill is agnostic of the actual silhouette of the sideburns, and lets me get the very specific edge shape where it meets her face. The Stripes and Zippers need to always be attached to the appropriate belt clip, so separating them from the pants helps
#5 is the base Texture layer, rendered behind all the other detail
#6 is the Eye Mask that lets me get the outlines over the bangs by Multiplying it over in the Compositor
And for the Coat stuff- this setup prevents the pants from clipping through the coat when seen from behind- very helpful!
Also figured out a way to get the opposite cheek out of the way when her mouth is open wide
Also, thank you for your support, @Joopson!
So I got Schteve3d's Wiggle 2 addon for Blender for physics bones- it's quite nice!
The previous speaking video was animated on ones, with the mouth on twos. This one has everything on, like, twos or threes to see how that looks.
Which one would it be? The frames are rendered on twos, but to get the speed properly done, it's 6 FPS
You can also kind of see my execution of that 3d anime thing where the facial features angle themselves depending on the camera's angle. Just on the eyes, though.
Adding an animated displacement effect makes the cloth more lively