Home Technical Talk

Really highpoly sculpt in Zbrush.. where do I go from now?

I'm really sorry if this is the wrong forum...

I have just finished up sculpting an octopus arm that I will have to rig and ultimately be turned into a game asset (used in UE4). The mesh has 15Mil active points in zbrush and it's fairly detailed. I somehow need to bake out a normal map from this super high poly mesh to a lower one. 
I have zremeshed it down to around 150000 polys so far and it looks alright in terms of sillhouete etc. But I just don't know where to go from here..
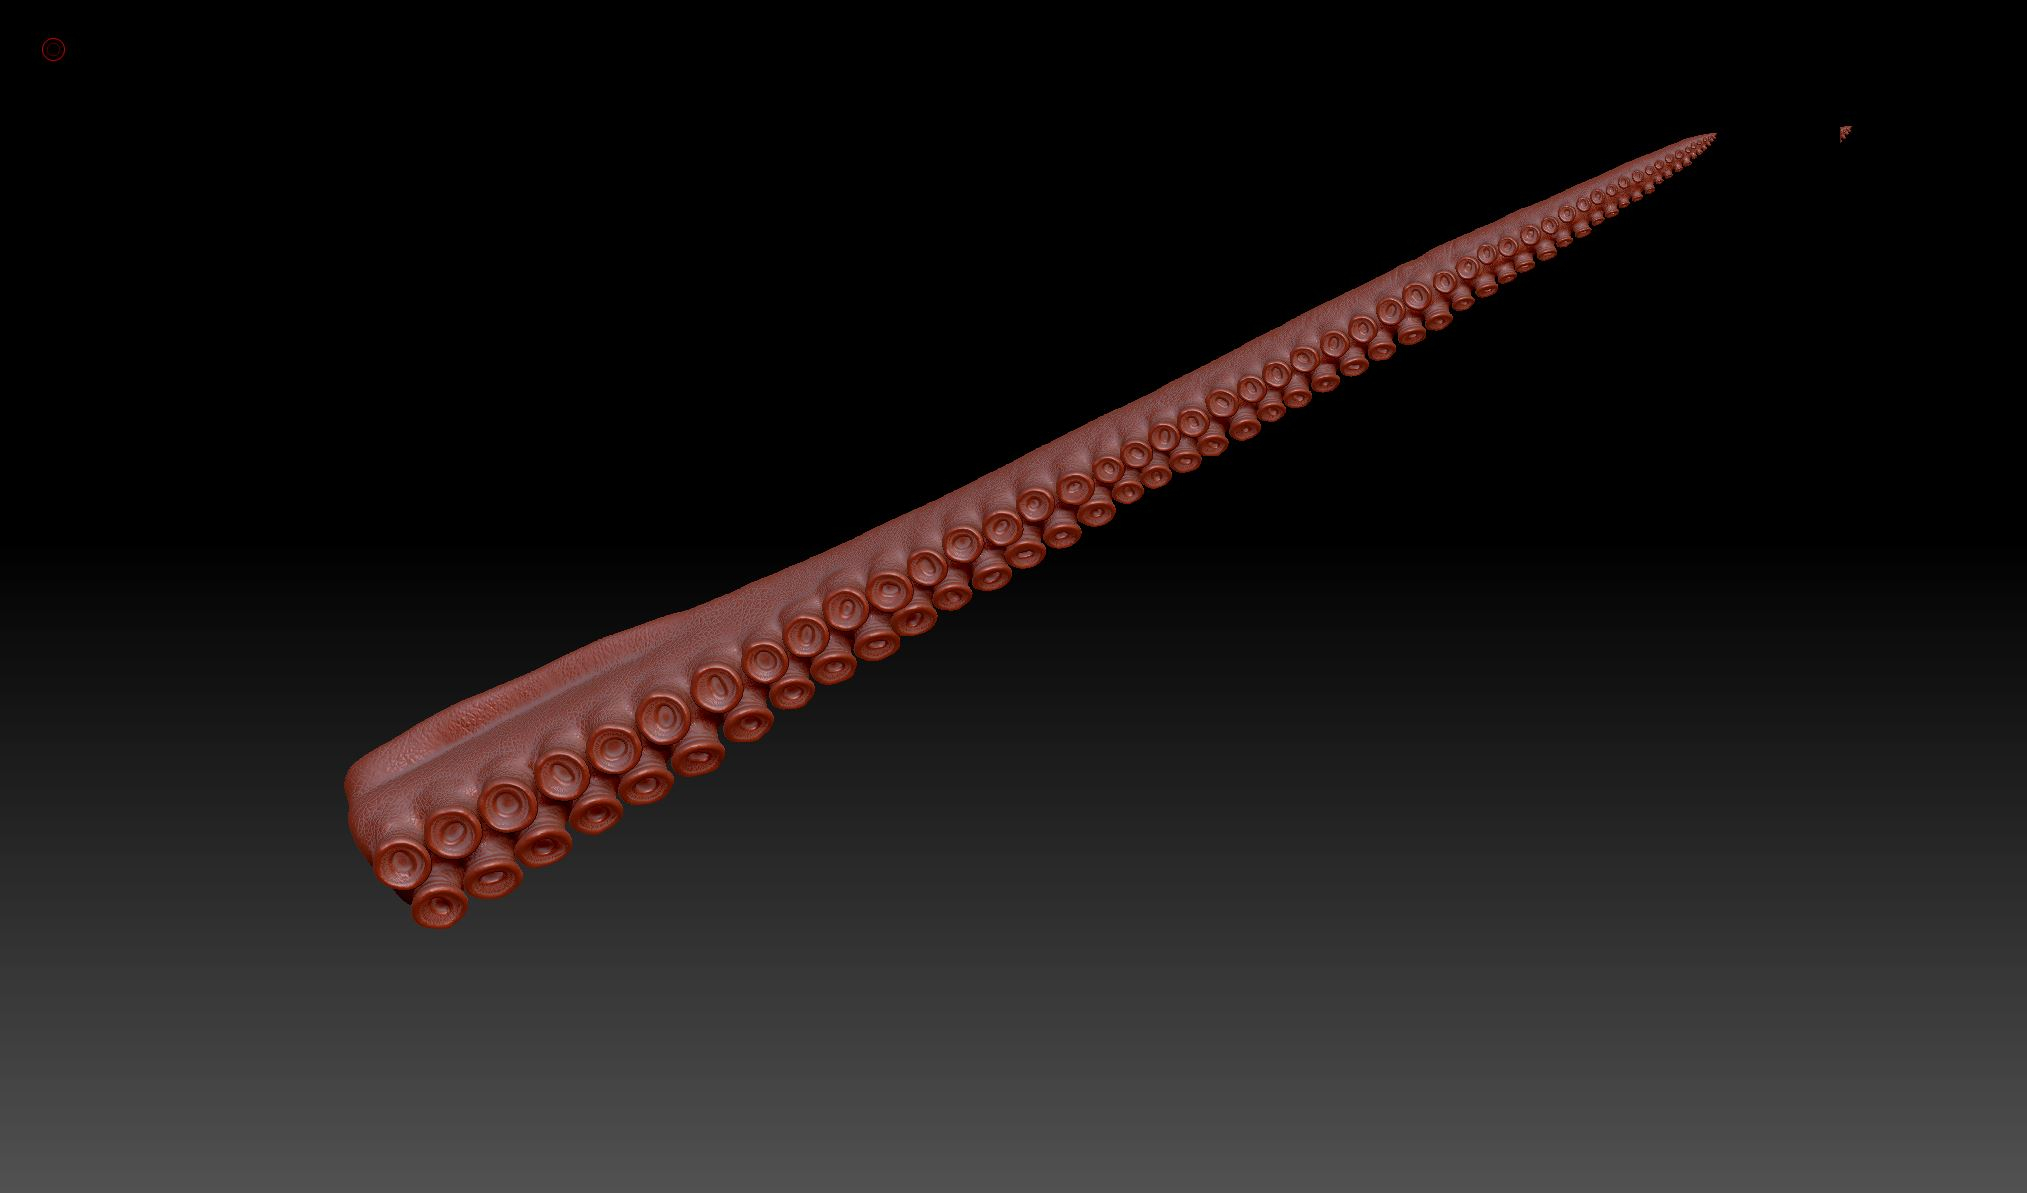


So in my head I first need to UV map the lowpoly (Zremeshed version) and then somehow bake the super fine details from the 15mil sculpt onto it. How do other people handle situations like this? I know that you can create a normal map from higher subDiv to lower subDiv inside of Zbrush.. but I only have 2 suvdivisions to chose from, and it's the 15mil version or a 3 mil version which is also still pretty high. And also.. if I would go with doing it inside of zbrush then I'd have to stick with the shitty UV layout Zbrush would provide for me, which isn't something I want. 

And while on the topic of baking a normal map for this thing. How would someone create a cage for this? If I would make a duplicate of the lowpoly and then scale the normals outwards then they'd just crash into eachother since the suction cups from the tentacles are so close together.

- Can xnormals or substance handle a highpoly mesh of 15 million polys when baking? 

I'd appreciate any answers since I genuienly don't know what to do next.

Thank you in advance!

Replies

  • kanga
    Offline / Send Message
    kanga quad damage
    Maybe someone will chime in with more exact info but in the meantime here is an old post from a previous answer. With all character bakes the model pose is ideal for baking textures. In this case you could probably curl the arm backwards to expose more room around the suckers. This means when the tentacle is at a relaxed position that the textures might be stretched at the top side of the arm. You could compensate for that by scaling the texture down in the right direction or  do your diffuse in zB for baking in yr 3d app. Spotlight in zB is pretty nifty for that.

    You dont need to remesh your zbrush highpoly for texture baking. You only do that if you need extra detail on the hipoly and cant get it at its highest subdivide in zbrush. If you want to bake details from the zB high poly onto a lowpoly version of your model you can do that in (your 3d baking app, hereafter Maya for the sake of example) Maya but that would mean opening the highpoly in your 3d app.

    Im doing a figure atm and just the blank highpoly is 8 mil points. A fully costumed character can run anywhere between 12 mil and 20 mil points, and being on a humble laptop I dont want to convert those figures to polys by exporting them from zB and try and open them in my 3d app. You can decimate your hipoly for baking but means loosing detail (if thats acceptable to you then stop reading). Using a 3rd party app for baking lets you keep all the detail of your hipoly and the external app will only use the hipoly as reference for baking from the disk.

    There are literally loads of baking and texturing apps available for this purpose and just about all 3d apps have baking capabilities. I use Substance painter, but you can also use Marmoset toolbag for example, and if you want a free program xNormal is super. If you have to use a 3d app to bake then you can decimate the hipoly to a level where you can work with it. That means loosing some detail, but it will still work.

    The strategy I use for baking textures is:

    1/ Make a duplicate/s of the final hipoly/s in zB. If your character has a costume and accessories your highpoly figure could be anywhere from 2 to 20 subtools.

    2/ Use decimation master on the duplicate/s and decimate the duplicate/s in stages to ensure the highest level of detail for the lowest polycount. That would be 20%, 10%, 5%, 2% and often down to as low as 1%. Depending on the amount of subD levels the tool has. Subtools with lower levels of division wil collapse at around 2% so keep an eye on the decimated mesh and only decimate to its lowest acceptable level before it collapses.

    3/ Merge the decimated meshes (if the figure is constructed from multiple tools) into one mesh or merge the subtools into main groups for baking making sure there will be no juxtapositioned polys too close to each other on the lo poly version for baking. If you are using substance painter you can export these grouped hipolys using a naming convention for baking via selection sets, or you can handle each set separately.

    4/ Open your 3D app and place a cube in the center of the viewport, or when you rig the figure so that its root bone will be at x0, y0 your up axis is flexible. Scale the cube to something like 1.8 meters high by 0.5 meters wide and 0.5 meters deep (or the final real world measurements of your character). Make the cube semi transparent for convenience and place it with its base at 0,0,0 in the viewport. I dont know if you have to enable GoZ in Maya, but if you have to do it now and leave the application open.

    5/ Reopen zB if you closed it.

    6/ Goz the decimated version of your character from zB to Maya.

    7/ Depending on how Maya handles GoZeded meshes adjust the position and scale of your decimated mesh by altering the export values at the bottom of the tool menu. You should be able to GoZ your decimated mesh and alter the export values until it fits perfectly into the maya cube. When you have reached that stage save the zB tool and it will save the export settings.

    8/ Close zB.

    9/ Now you have a decimated copy of your figure in Maya at the right size and position. Retopo your character. Break the character into as many parts as you need to avoid adjacent polys for the final bake. If your final character is to be animated include the right amount of loops in the right position to support deformation. 

    10/ Uv the firnal lowpoly/s and export the result/s to a disk.

    11/ Open zB and merge all the subtools at their highest subD level so you have a highpoly version of your figure to bake textures from. Depending on your retopology in Maya you can merge the tools into baking groups, like head and hands, shirt and trousers, jacket and boots and so on.

    12/ Export the highpoly/s to a destination on a disk.

    13/ Depending on what app you are using to bake with you may need to use a plugin for Maya to export your uved lowpoly mesh/s. If you are using an app like xnormal, open it and point it to the low and high poly mesh disk destinations.

    14/ Hit bake.

    Have fun!

    Ah ok. The highpoly in zBrush is the mesh with all the details so you dont need to do anything with it except send it to a disk. You make a copy of your highpoly in zBrush and decimate it so you can send it to Maya for retopology (look up retopology in Maya and you will find a youtube vid on it). Retopology is literally drawing a new mesh over the decimated copy in Maya:   http://wiki.polycount.com/wiki/Character#Character_Process or google: zbrush make a game character.

    You could just remesh a copy of the highpoly but the mesh wouldnt be ideal for animation or games. You only need to uv your retopologized lowpoly resulting mesh in Maya. Send that to a disk. Use xNormal for example to create textures for the lowpoly using the details from the highpoly.

    Its quite a process when you do it for the first time.

  • Fabazo
    Wow, that has got to be the most thorough and best explained forum post I've ever recieved! Thanks a bunch for taking the time to answer.

    Great tip about bending the arm backwards to expose more of the suckers.. hopefulle a curve deformer could solve that for me quick enough. I have done some retopology in the past and this week in school we have also extensively been doing normal bakes and such, but nothing near this size. 

    I have been using xNormals back and fourth this week along with Substance Painter. They both seem to be giving me about the same results so I'm gonna go with Painter from now on since I can quickly preview my bakes right in the viewport. 

    Luckily I can skip some of the parts you mentioned since I am not combining this with anything else such as a head or accessories. The tentacles are going to come out of the water individually, totally detached from a head (since it wont be seen anways).

    The only thing I didn't quite understand was the part about making a cube the encloses the character in the scene, do you care to elaborate on that part? :-) 

    Cheers!
  • kanga
    Offline / Send Message
    kanga quad damage
    Ah setting up the box in Maya is just an optional helper to get the decimated copy of your highpoly GoZeded at the right size and in the right position before using it as a template to draw the lowpoly over.

    Hope this helps!
  • Fabazo
    Ah I see! Thanks a bunch!

  • Alex_J
    Offline / Send Message
    Alex_J grand marshal polycounter
    It looks like specifics were already covered very well. Here is some general workflow advice:

    Working with something heavy is harder than working with something light.

    If you had a huge couch and your job was to move it through a house, what would you do? Just grab it and start walking? No, the intelligent thing is to take a dry run first, right?

    First you measure the couch. Then you find something lightweight that is the same length. You and your partner use this dummy to go through the house, figuring out the most efficient way to make all the tight turns. This way you figure out exactly what to do and there is no risk of disaster. Now you'll ready to work with the heavy load.

    And one other thing : With every model you make, try to do a different workflow. Constantly experiment. If there is any workflow out there in a tutorial or an article that you haven't heard of, try it out. Don't learn one persons way of doing things and then stick with that. Learn from as many as you can.


Sign In or Register to comment.