The BRAWL² Tournament Challenge has been announced!
It starts May 12, and ends Oct 17. Let's see what you got!
https://polycount.com/discussion/237047/the-brawl²-tournament
It starts May 12, and ends Oct 17. Let's see what you got!
https://polycount.com/discussion/237047/the-brawl²-tournament
Hardsurface retopo critique needed please!
Hello,
I have been learning hard surface modelling techniques in Zbrush recently and this is my first proper attempt at a prop like this. I am going for photo real for Film and TV and using a reference to try and match as close as possible.
I created the model in Zbrush and then took it into Maya to UV and retopo the main back plate and the base with the side vents and I really wanted some feedback on the model and retopo if anyone can help.
I used the boolean techniques in zbrush to get to complex shape and then took it to maya to retopo because I wanted the mesh to be clean and smooth well. The retopo took me AGGGGEEEESSS so first any advice on speeding up workflow would be great. I used the usual quad draw retopo tool method. The first round images are well... my first round on it. I was trying to save myself time by not retopoing the vents as I thought I could bake the detail in from a hi-res mesh in substance painter but the results I got were really bad and I decided to retopo the whole thing. I kept the actual grid of the vents as separate geo to save time. However this second round and morecomplex mesh wreaked havoc on my topology and now it looks heaps shit... lots of tris and lots of poles. I've done a bake in substance and it looks good, there are a few artefacts but I think I can paint them outon the normal map and it will texture o.k. but my pedantic side wants to improve the mesh (as I want to specialise in modelling).
SO... with that in mind I have a few questions:
-How can I improve the topology and flow of the mesh in all those messy sections.
- Do I need to improve the mesh if it doesn't need to deform or animate? As long as it smooths well and looks good in the render is it ok for top level production piplelines to have this current topology for the mesh.
- Do my UV's look alright? Also I've used 10 UDIMS for the mesh as I wanted to get hi-quality textures for my renders but is that just insane should I get in the habit of using 2 or 3 UDIMS max for this type of prop or object?
- Should I use more floating meshs eg. the vents and text on the back to make retopo and modelling easier or will that just cause me headaches in the texturing phase of the project?
- And lastly if i want to focus on becoming a modelling specialist and get a modelling TD job in a big production house should I not bother texturing and lighting my work and just showthe modelling work in my folio?
That's all the questions I can remember at the moment but feel free to tear it to pieces if you like.

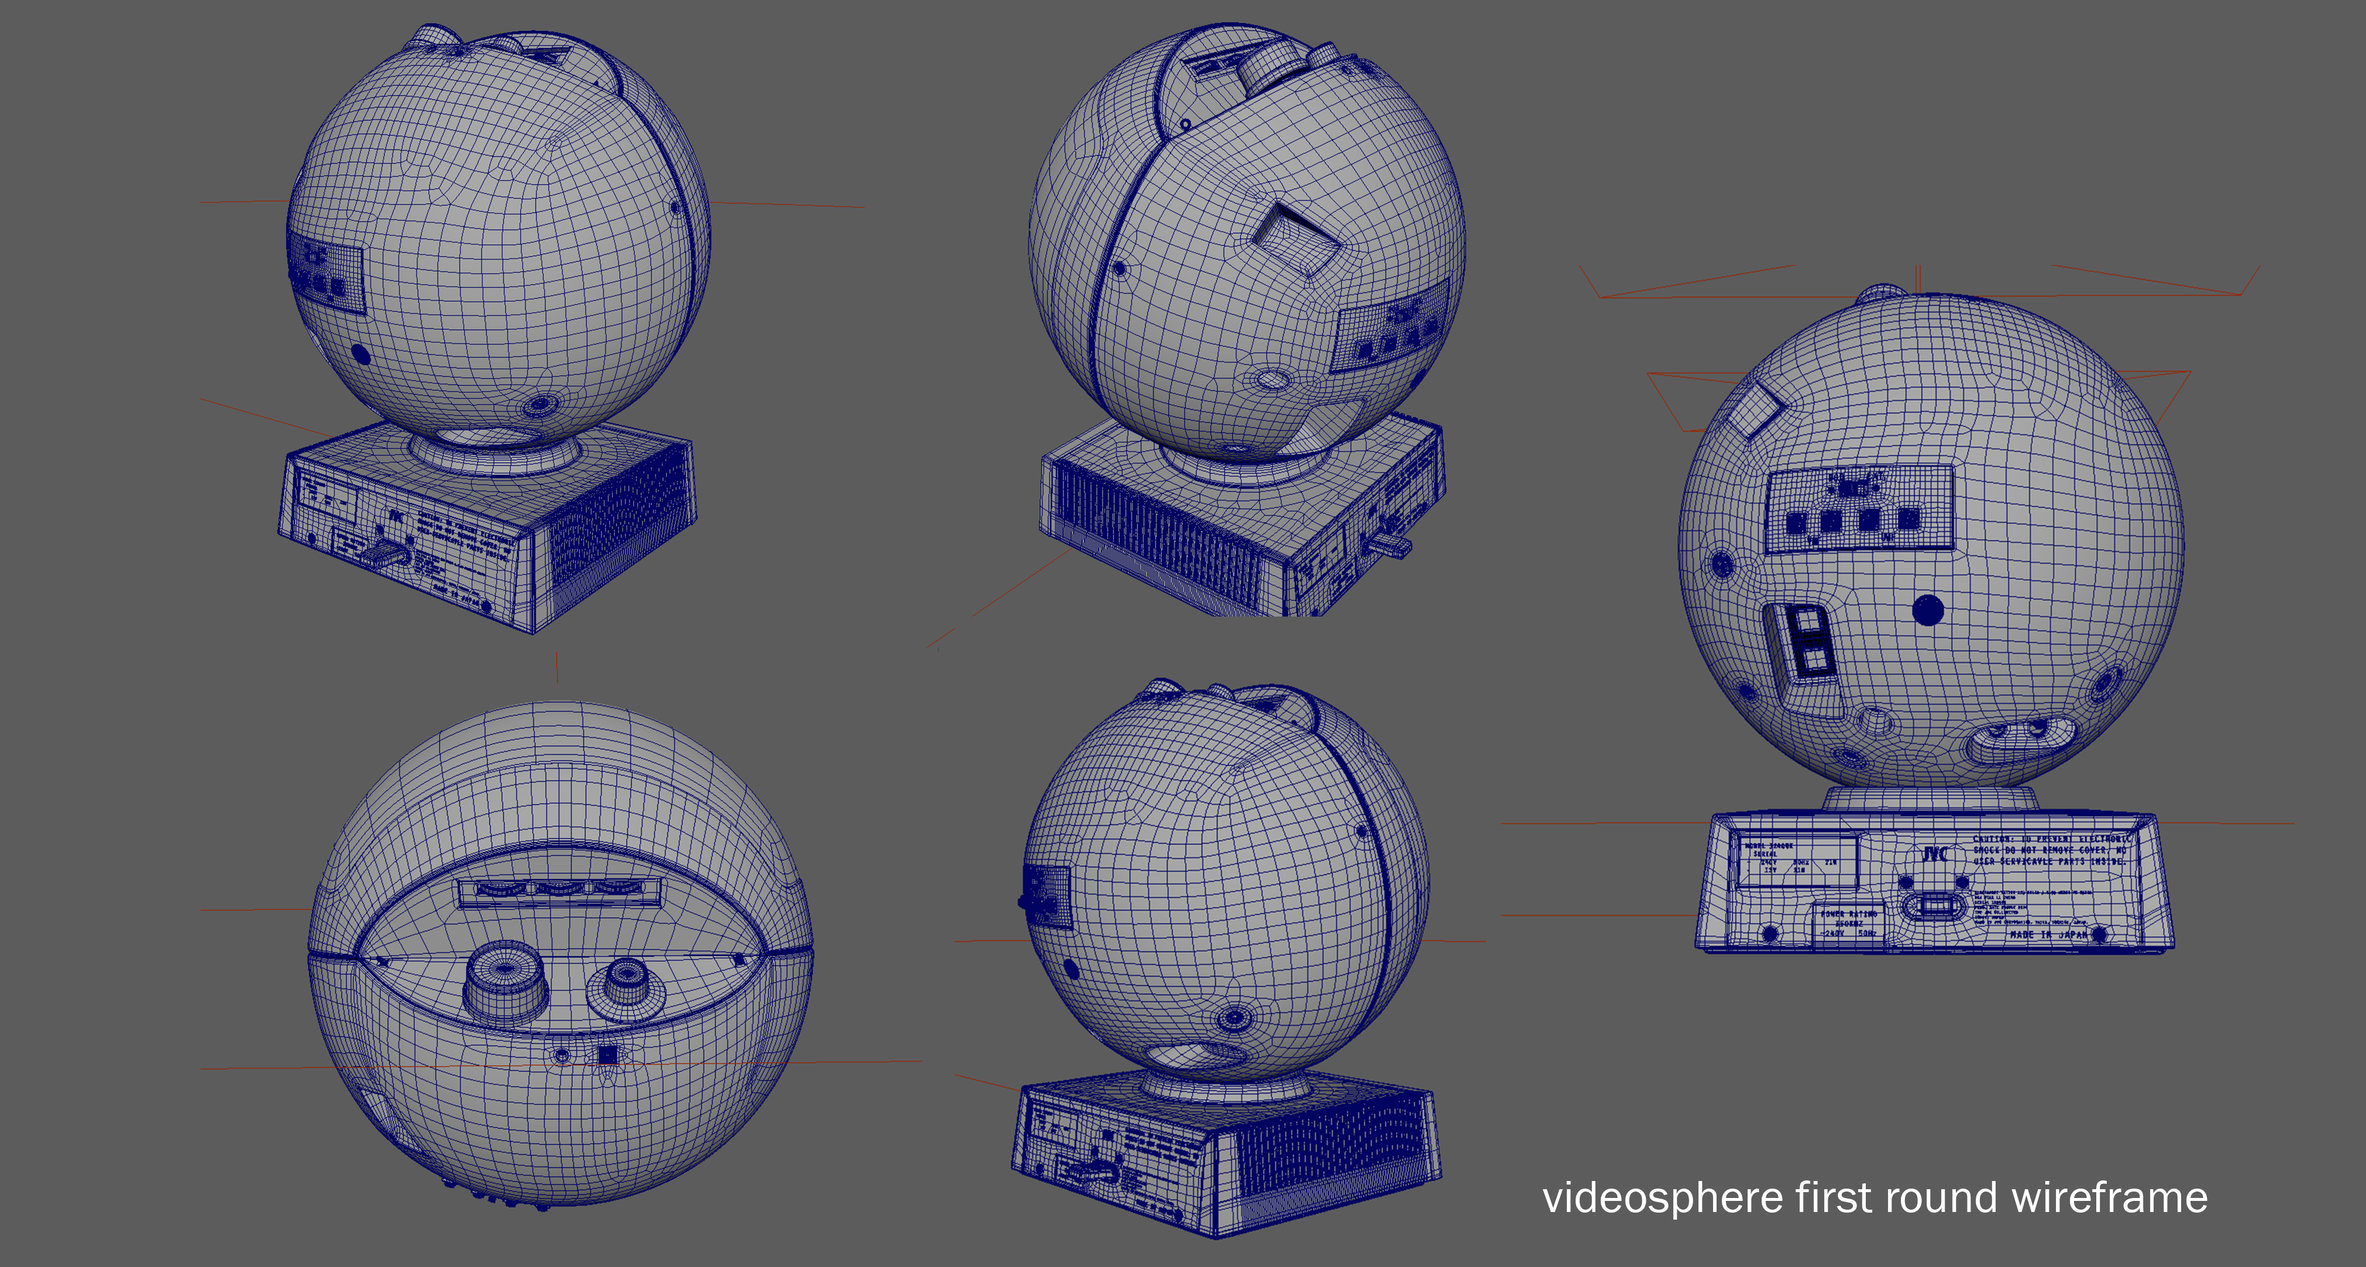
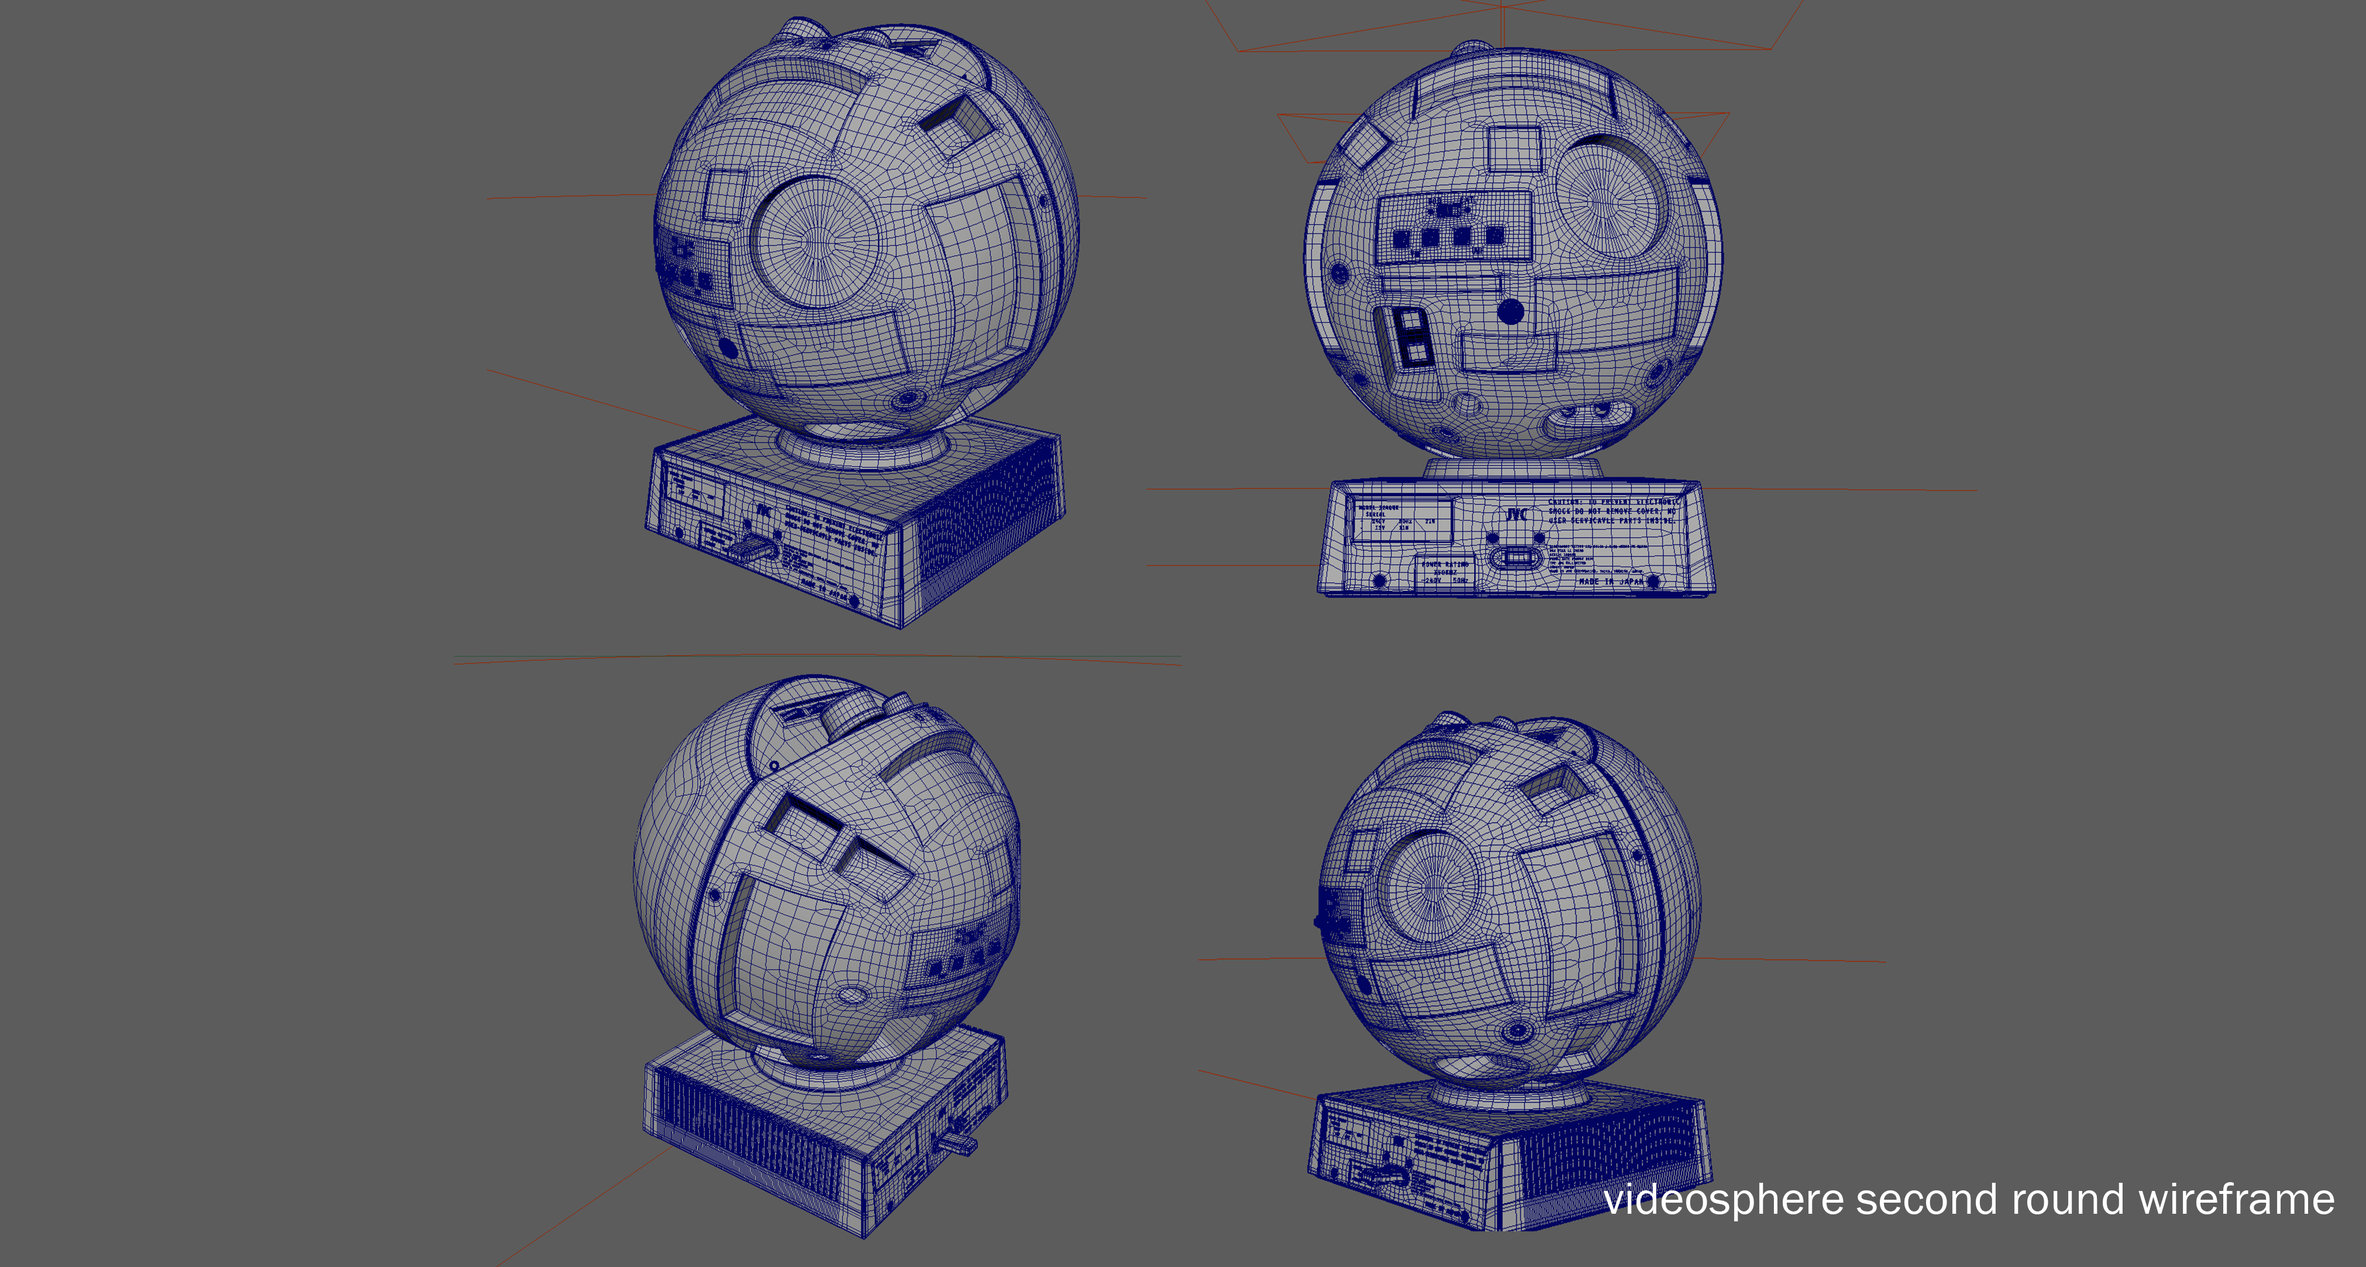
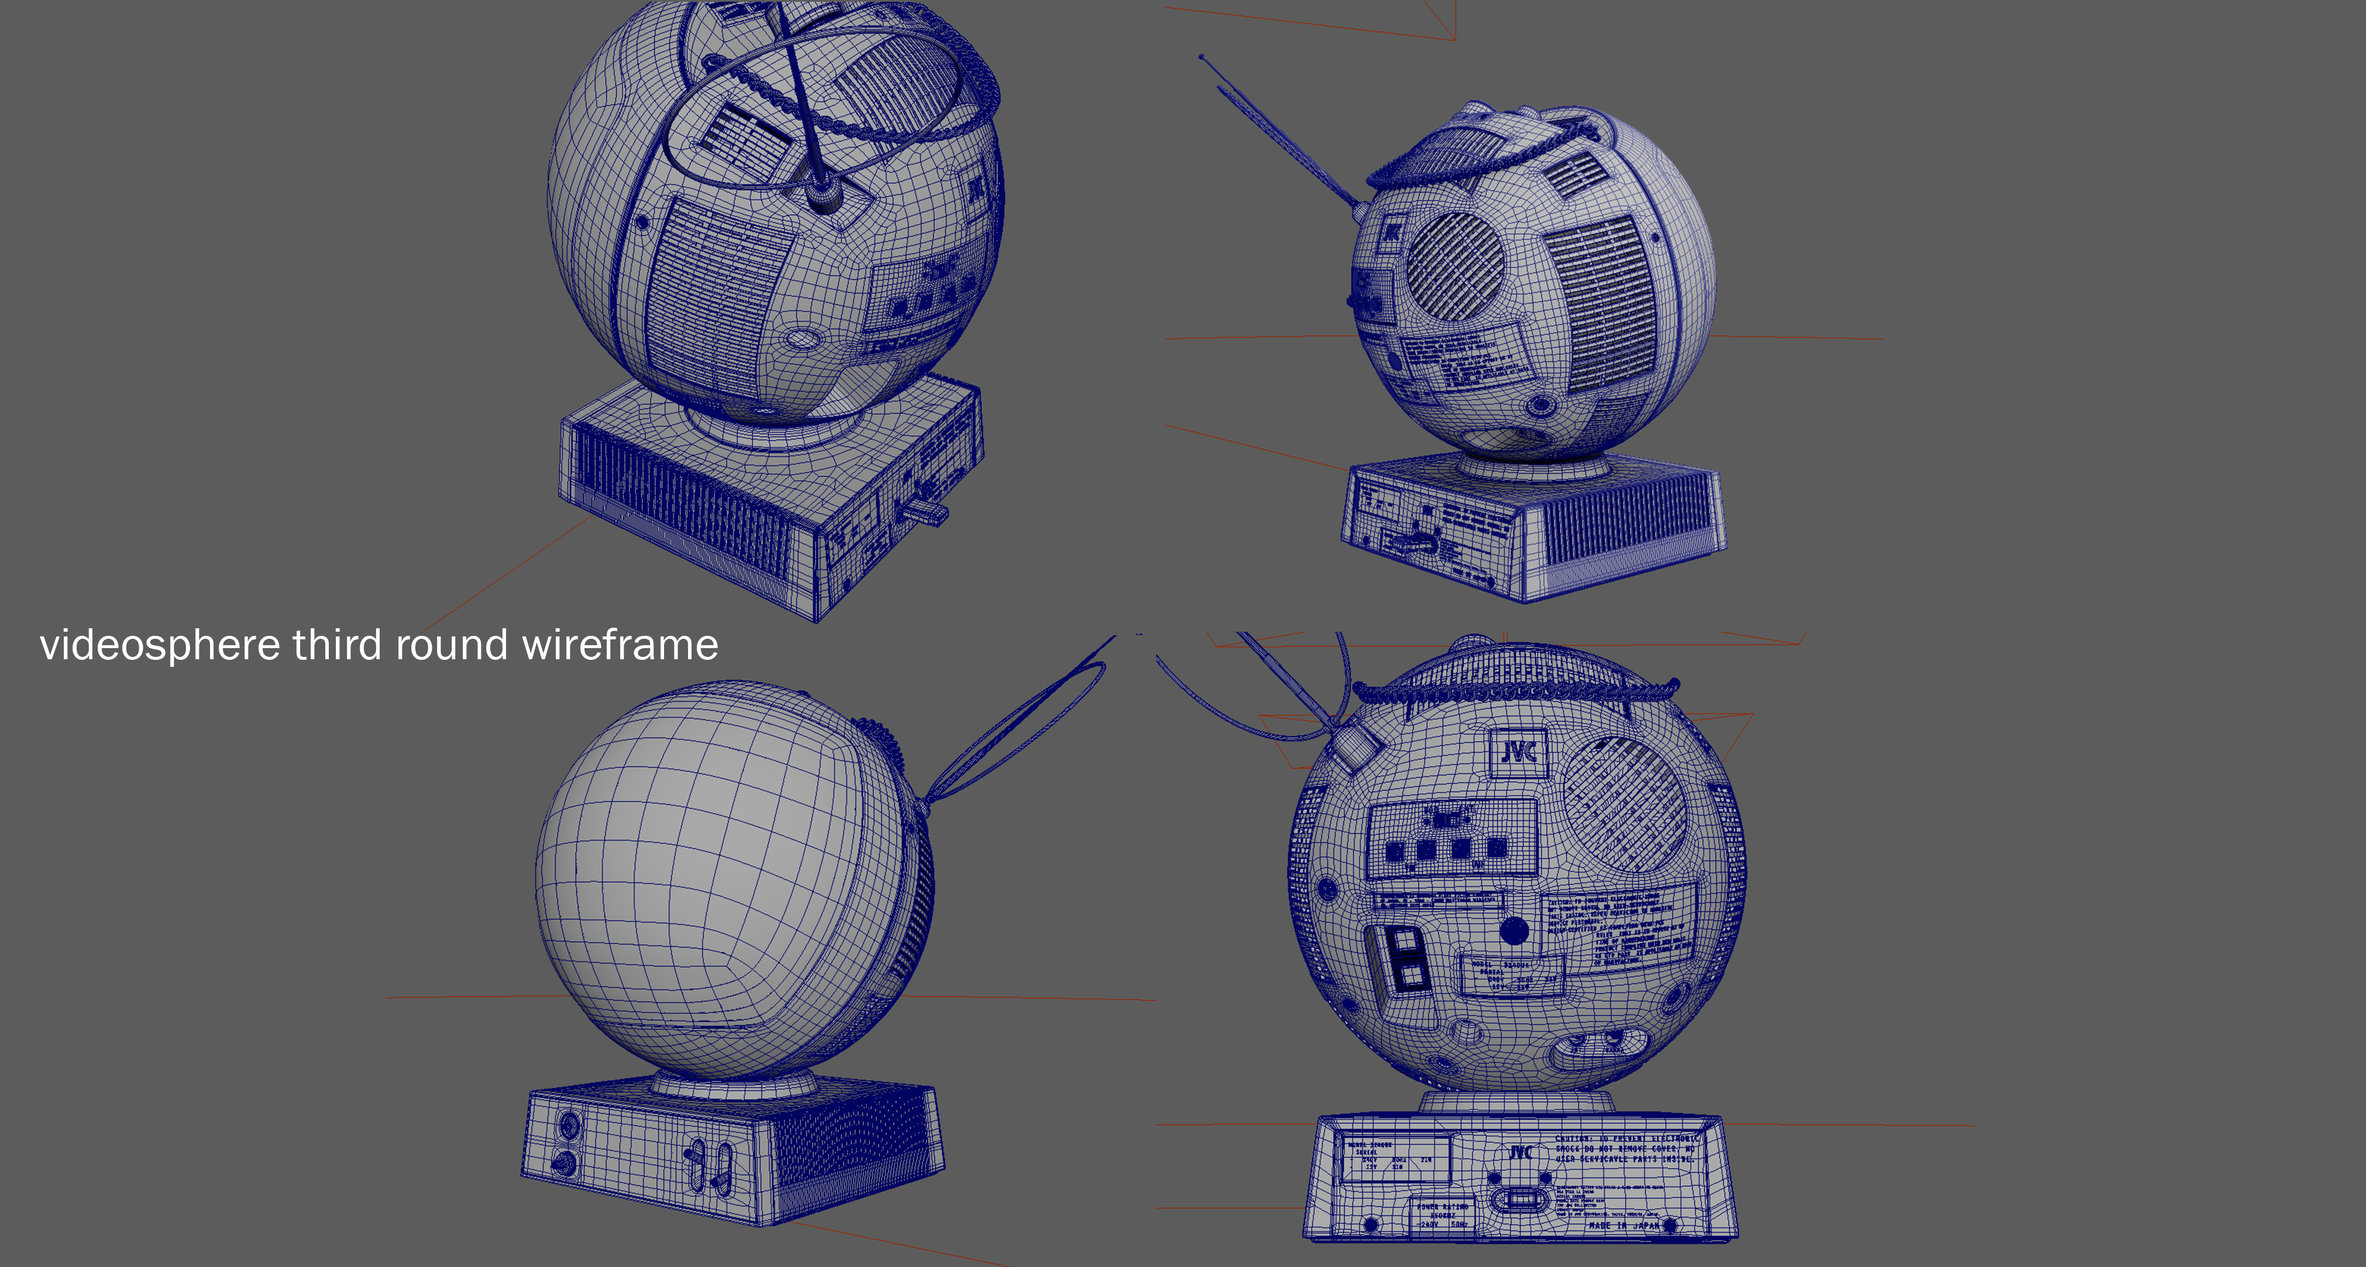
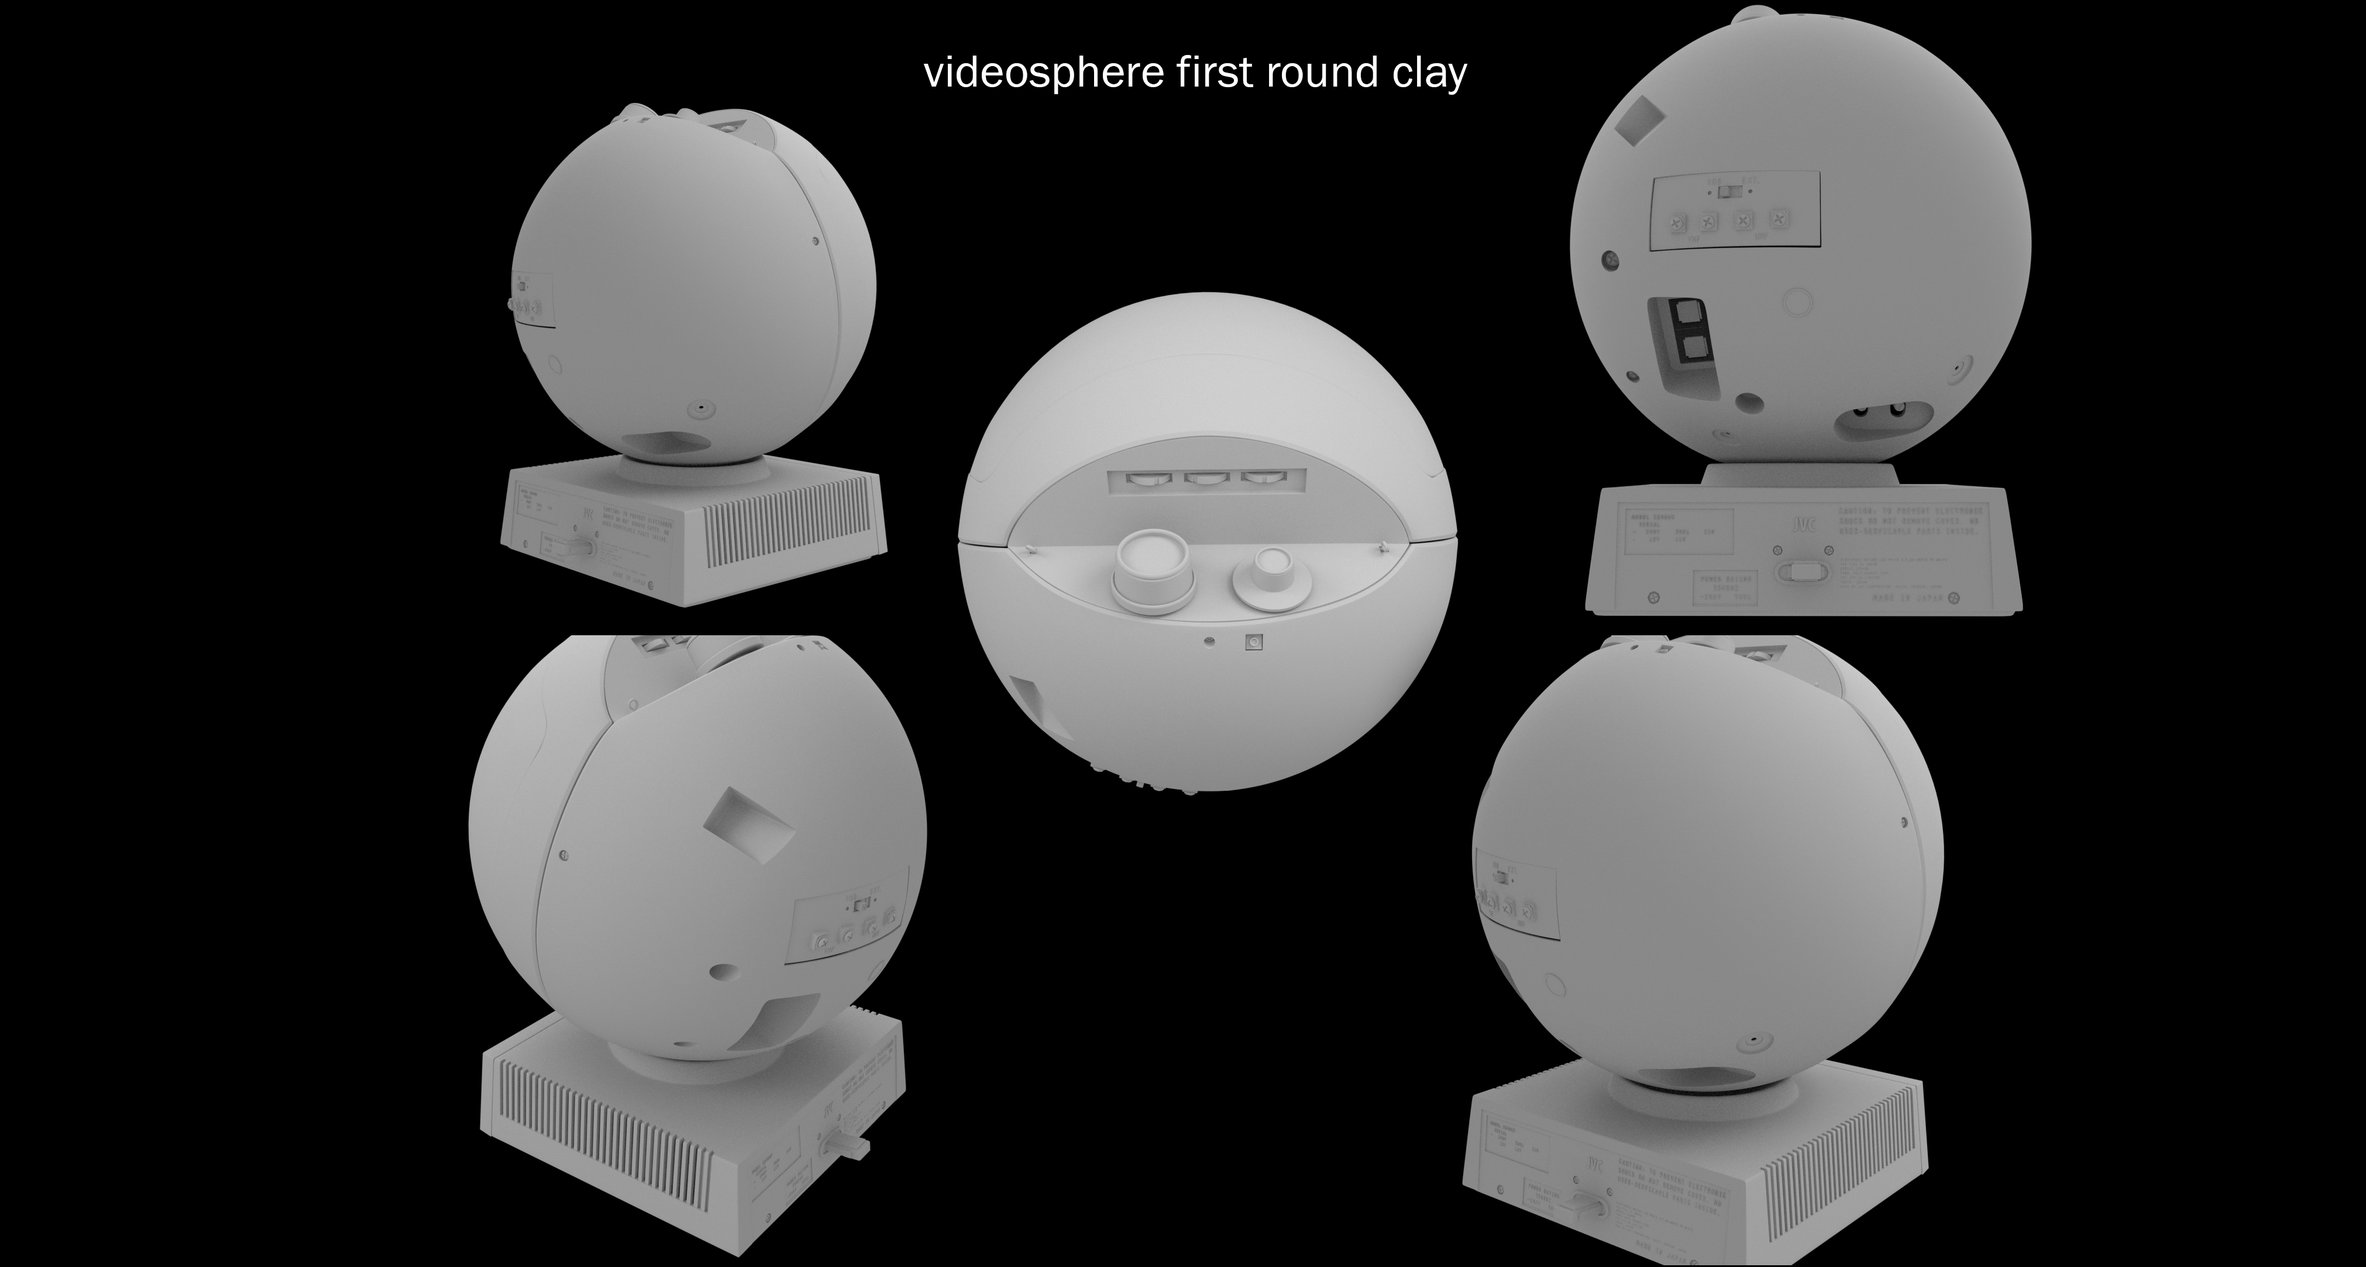
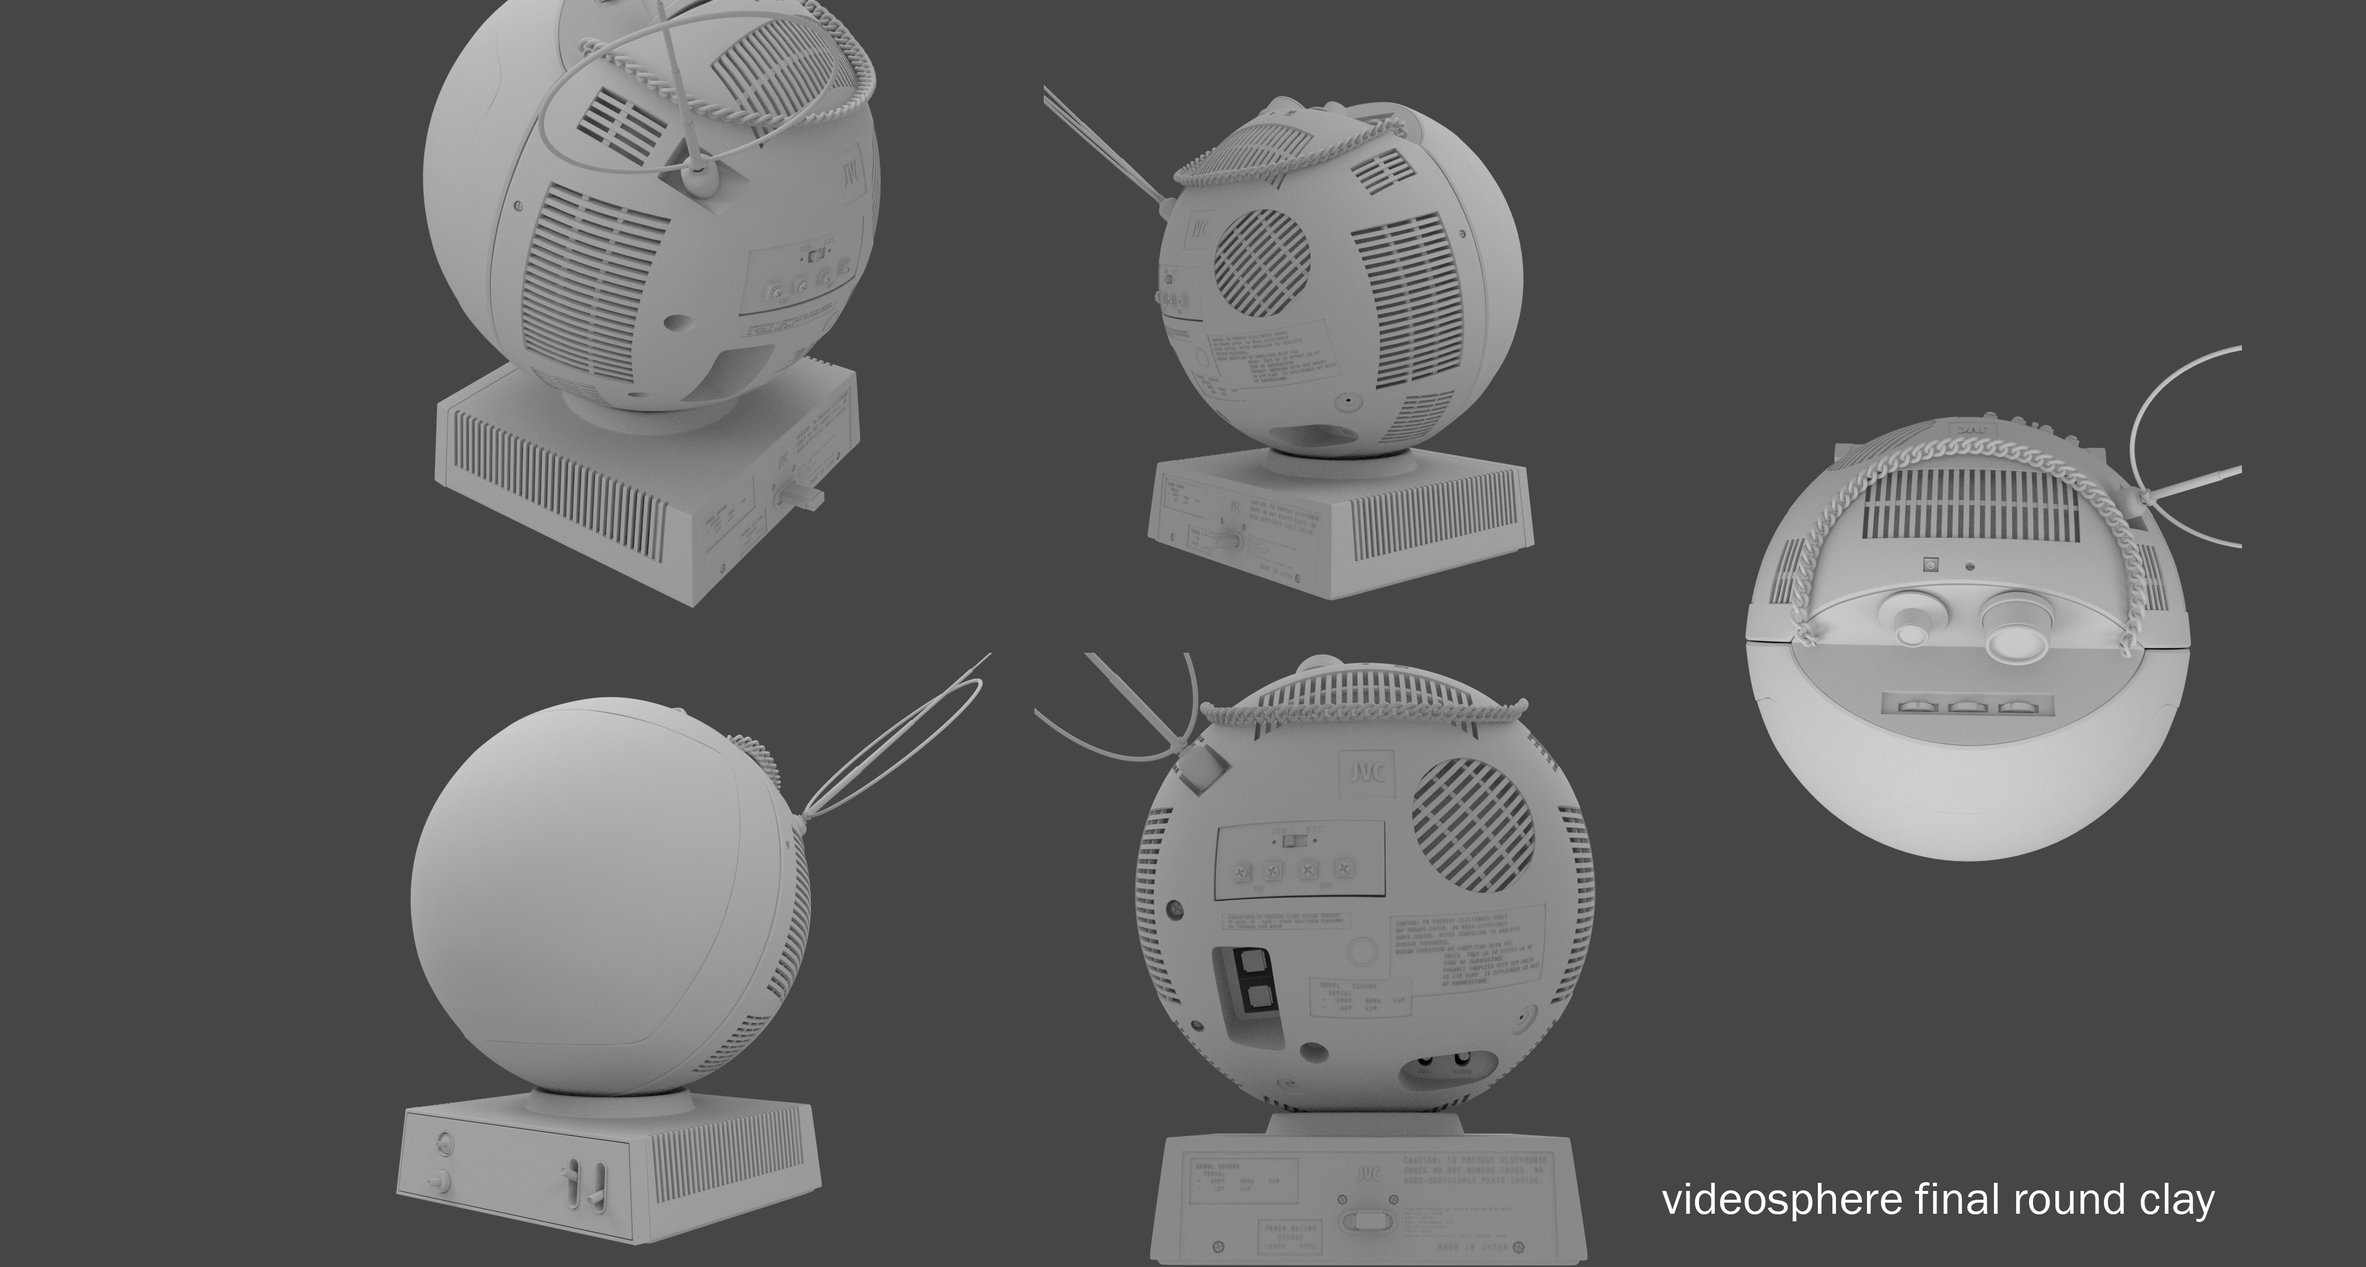
Below I have attached a small moodboard to you can see what the prop is as well as clays, wireframes and some UV's for you to see, compare and critque. I appreciate any time and feedback you are willing to give in advance!
Jon
I have been learning hard surface modelling techniques in Zbrush recently and this is my first proper attempt at a prop like this. I am going for photo real for Film and TV and using a reference to try and match as close as possible.
I created the model in Zbrush and then took it into Maya to UV and retopo the main back plate and the base with the side vents and I really wanted some feedback on the model and retopo if anyone can help.
I used the boolean techniques in zbrush to get to complex shape and then took it to maya to retopo because I wanted the mesh to be clean and smooth well. The retopo took me AGGGGEEEESSS so first any advice on speeding up workflow would be great. I used the usual quad draw retopo tool method. The first round images are well... my first round on it. I was trying to save myself time by not retopoing the vents as I thought I could bake the detail in from a hi-res mesh in substance painter but the results I got were really bad and I decided to retopo the whole thing. I kept the actual grid of the vents as separate geo to save time. However this second round and morecomplex mesh wreaked havoc on my topology and now it looks heaps shit... lots of tris and lots of poles. I've done a bake in substance and it looks good, there are a few artefacts but I think I can paint them outon the normal map and it will texture o.k. but my pedantic side wants to improve the mesh (as I want to specialise in modelling).
SO... with that in mind I have a few questions:
-How can I improve the topology and flow of the mesh in all those messy sections.
- Do I need to improve the mesh if it doesn't need to deform or animate? As long as it smooths well and looks good in the render is it ok for top level production piplelines to have this current topology for the mesh.
- Do my UV's look alright? Also I've used 10 UDIMS for the mesh as I wanted to get hi-quality textures for my renders but is that just insane should I get in the habit of using 2 or 3 UDIMS max for this type of prop or object?
- Should I use more floating meshs eg. the vents and text on the back to make retopo and modelling easier or will that just cause me headaches in the texturing phase of the project?
- And lastly if i want to focus on becoming a modelling specialist and get a modelling TD job in a big production house should I not bother texturing and lighting my work and just showthe modelling work in my folio?
That's all the questions I can remember at the moment but feel free to tear it to pieces if you like.


Below I have attached a small moodboard to you can see what the prop is as well as clays, wireframes and some UV's for you to see, compare and critque. I appreciate any time and feedback you are willing to give in advance!
Jon
Replies
2) No, you don't need to.
3) You could do 10 UDIMs, but at the zooms you're shooting at, how much bang for your buck are you really getting?
4) Depending on the optimization level for this, yes you could have used more floaters or done stuff in normal-painting.
5)