The BRAWL² Tournament Challenge has been announced!
It starts May 12, and ends Oct 17. Let's see what you got!
https://polycount.com/discussion/237047/the-brawl²-tournament
It starts May 12, and ends Oct 17. Let's see what you got!
https://polycount.com/discussion/237047/the-brawl²-tournament
AR15 Assault Riffle - Renders Study Stickman
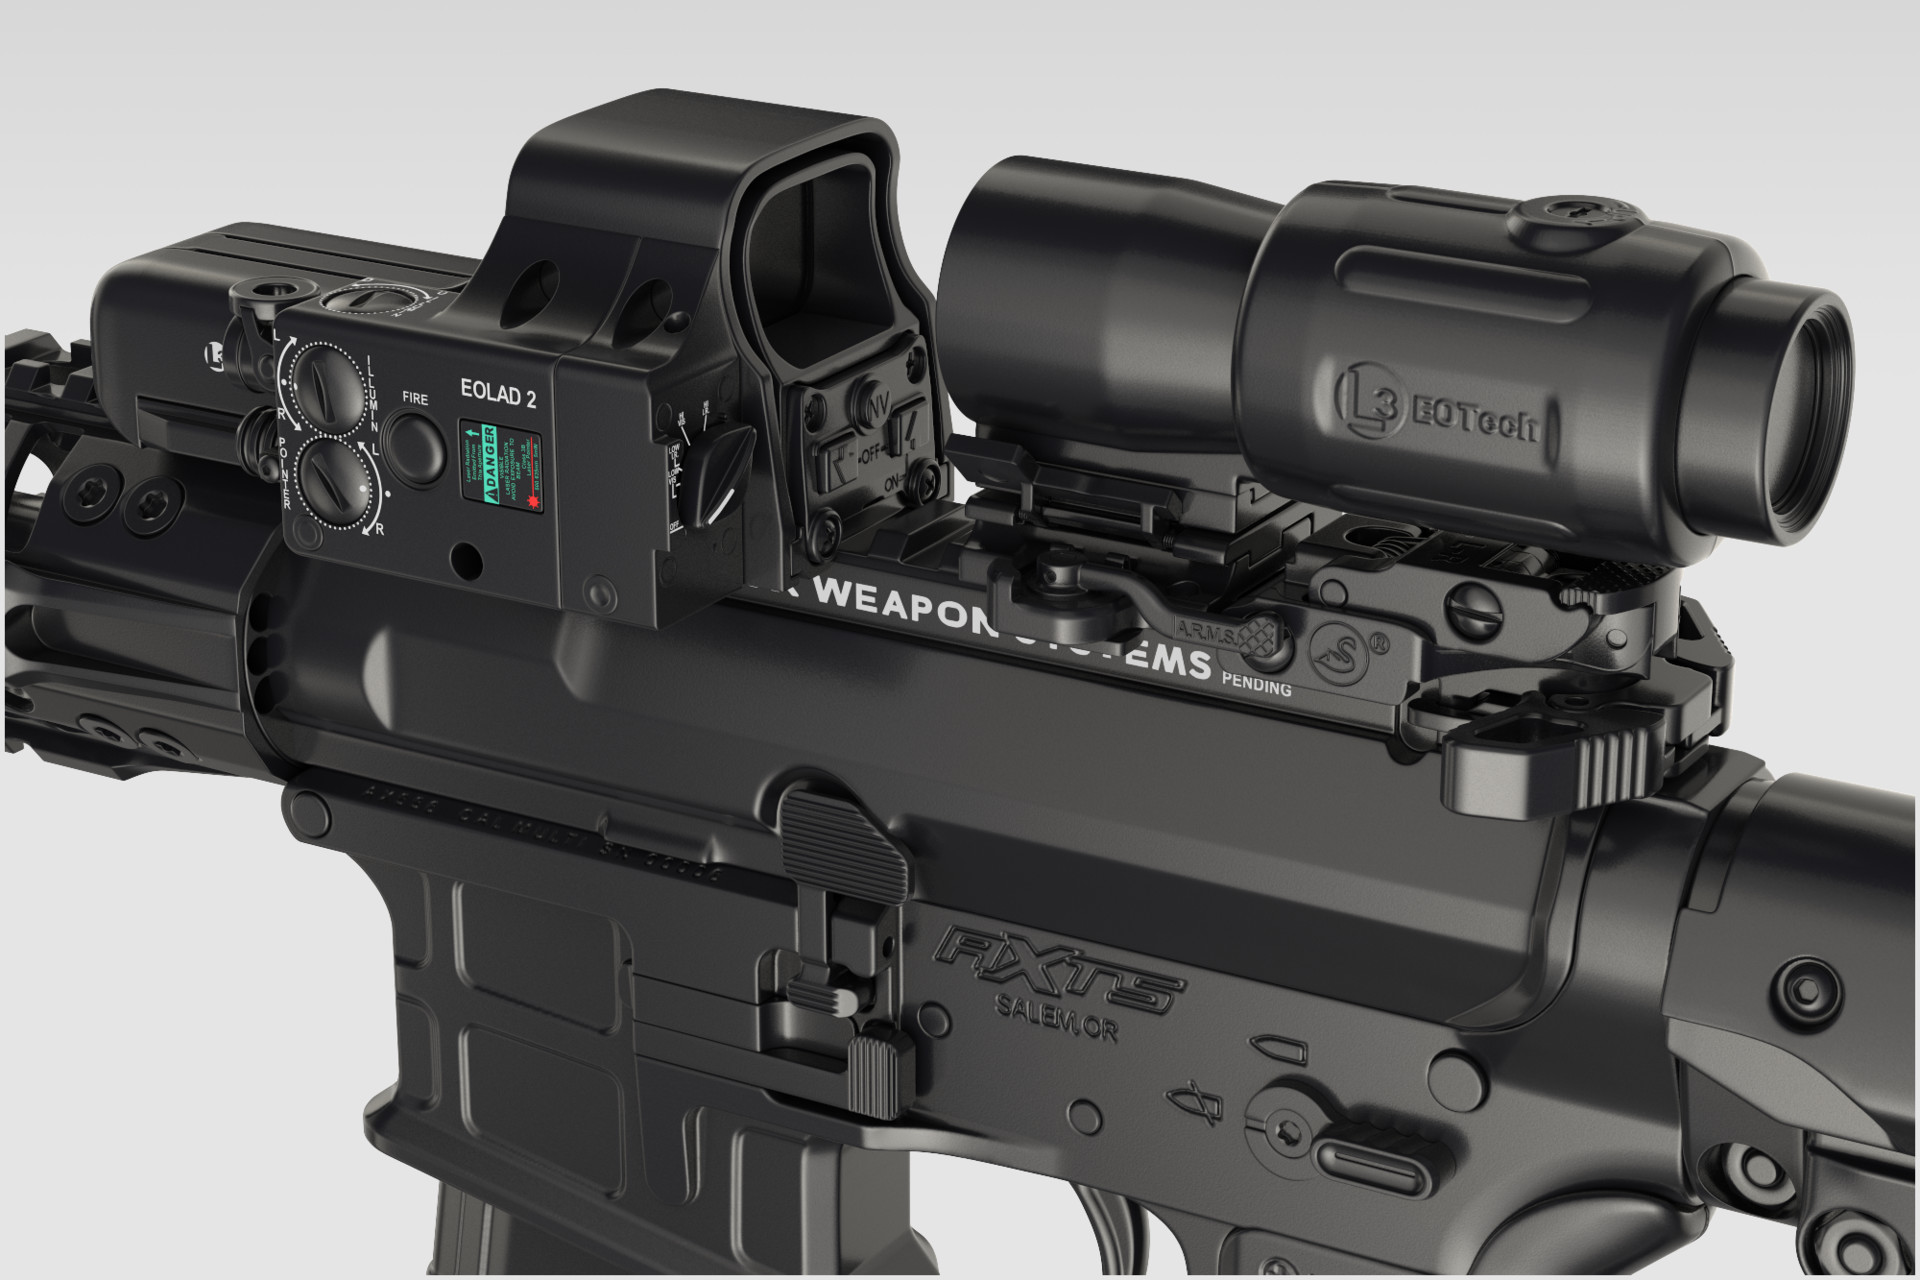
Starting to transition towards taking higher quality renders near photo-realistic (will be stepping out of Game Res Assets for personal work). Renders will be utilizing the high poly with as much detailed modeled; noises will be done via the material. This will exclude the inner workings in which you only see if you were to disassemble the product.
Current Progress:


I will begin with Black Renders, this will allow me to set the angel/composition of the shot (it will also allow me to glance over every now and then to spot glaring modeling issues). For now, expect individual renders of all the parts that make up my AR15 they will later transition to Stickman quality renders.
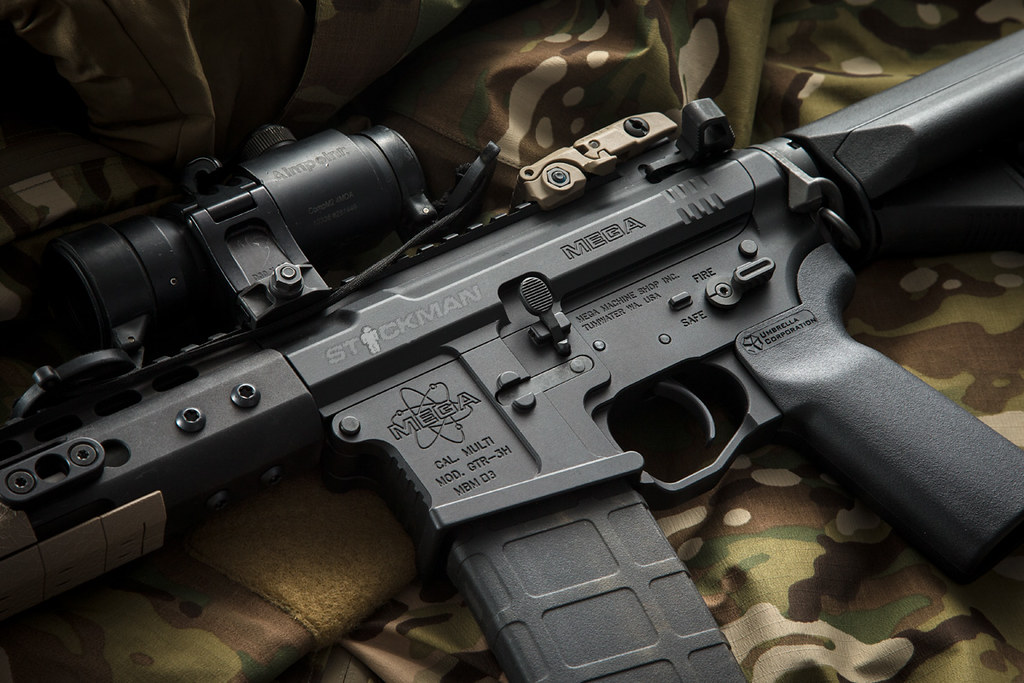
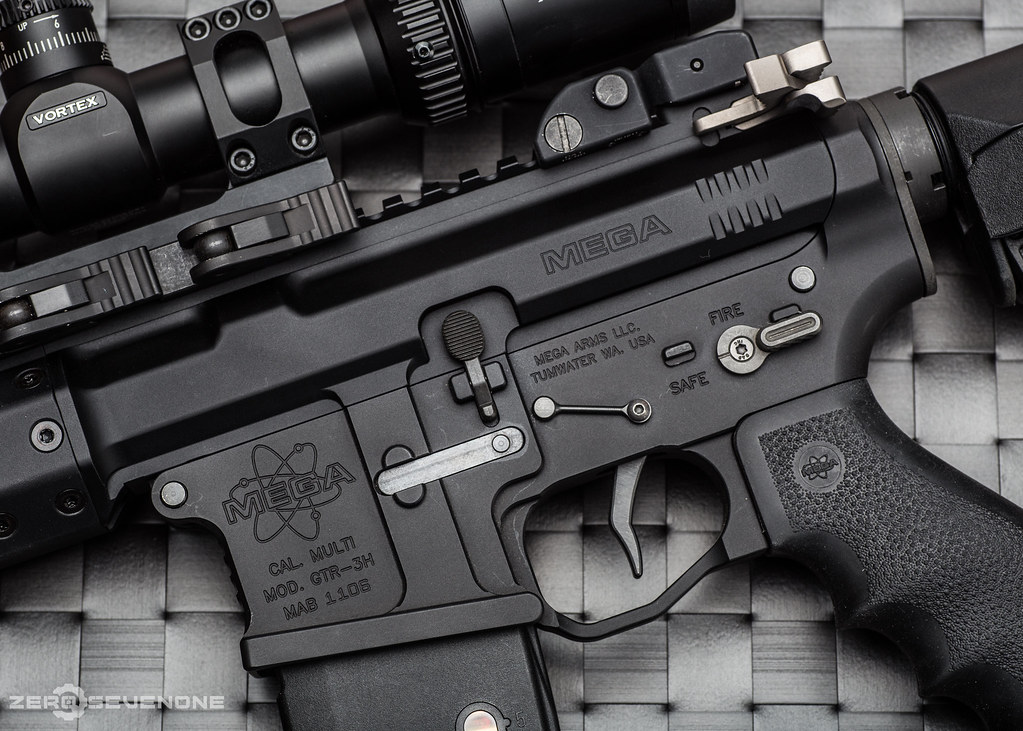
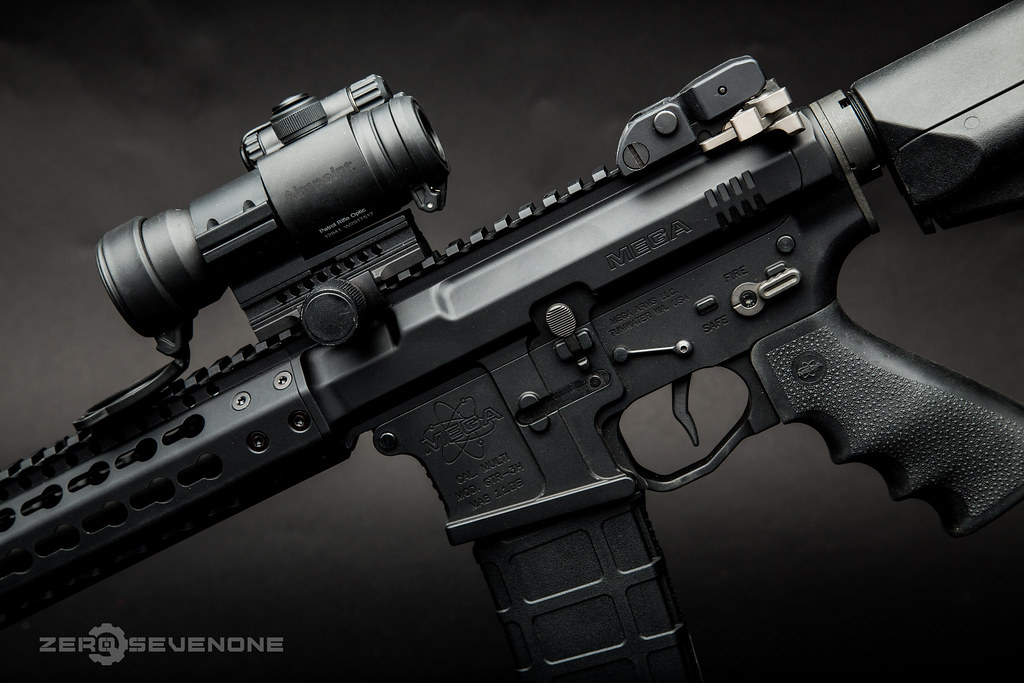
Below are stickman/gun renders found on online of my overall objective as I begin my study.

Love the fabric background and the lighting makes the folds/shadows really pop. Blends well with the weapon and gives it a grounded look. Although the fabric is a bit too distracting.

Lighting and shadow detail is subtle but strong amongst the curves

My overall preference for a subtle but layered down background. Good for a perspective shot but not as powerful when the gun is being laid on the flat.
As you can see I will be aiming for less of a full shot of the model and more of a close-up; I will incorporate a background towards the end once the shot is established.
Current Progress:


I will begin with Black Renders, this will allow me to set the angel/composition of the shot (it will also allow me to glance over every now and then to spot glaring modeling issues). For now, expect individual renders of all the parts that make up my AR15 they will later transition to Stickman quality renders.
Below are stickman/gun renders found on online of my overall objective as I begin my study.

Love the fabric background and the lighting makes the folds/shadows really pop. Blends well with the weapon and gives it a grounded look. Although the fabric is a bit too distracting.

Lighting and shadow detail is subtle but strong amongst the curves

My overall preference for a subtle but layered down background. Good for a perspective shot but not as powerful when the gun is being laid on the flat.
As you can see I will be aiming for less of a full shot of the model and more of a close-up; I will incorporate a background towards the end once the shot is established.

Replies
Found a great product display of a Dark Earth and decided it will be my main target as my first day of study. I started with Keyshot and began watching a couple of Youtube Tutorials. May switch to Vray in the next 2 weeks to receive a bit more control.
Attached to the right is the reference I had aimed for (need to fix some modeling issues as I had done a different grip). Need to get a better handle on the Pin light system inside the HDRI Editor to get some of the highlights to showcase more clearly. Will need to switch over to Painter to nail the materials then Keyshot material graph.
Model out Maya/Zbrush:
Reference:
Sights: http://www.primaryarms.com/SSP Applications/NetSuite Inc. - SCA Mont Blanc/Development/img/ARMS-71L-SET_00.jpg?resizeid=7&resizeh=0&resizew=2000
Let me try going for more of the reference found down below. I do agree it has many light glares/blinding areas.
Looks like I'll need to take a periodic break to have a fresh eye on the renders. During the time ill model out the rest of my parts.
I have had success with the HDRI on the Pistol Grip on white, but it does blow out the rest of the assets with fewer curves.
Ill start attempts at creating a 3 point light system.
Agree with the white on white visual problem, could you show us the result of your test with dark material with dark Bg?
For which part on the grip did u use Zbrush? And on the other parts?
Sure here one with a tone down on the HDRI and 3 pin lights:
I decided to model out a couple more pieces while work begins to ramp down. Should hopefully have everything modeled by the end of February. Pieces that remain include: Stock/Bolt Carrier/AFG/Magnifier
Took on a new shader that was more supportive with HDRI; I will need to revisit a 3 point light system with materials as I had little success with this new shader.
Below are my current results:
I am still in the process of developing the workflow to switch back over to Painter > Keyshot to achieve the results found below. Before the material pass, I am trying to nail the modeling to avoid having to go back and fix minor issues.
(Mainly at this stage I am trying to nail the angle and perspective/continue to tweak the lighting as the materials come in)
Are you doing the transition to CAD/Fusion with this AR15 or is this classic sub-d maybe with help of zbrush?
I currently don't see a need to use it working on assets for Call of Duty as ill spend more time cleaning up the mesh for in-game use then I would just spend doing it by hand. I take about a day to do a part; with Fusion, I could do it in half a day I suppose; then ill lose that time cleaning it up anyways.
With that regard, I have developed new workflows to speed myself up when doing it manually inside of Maya. Going to further develop this workflow as I wrap up the AR15. The stock will probably be the last challenging piece to get done.
My next project is going back and doing a detail pass on my KA52; adding in the paneling and bolts. I still haven't looked into a workflow where I am able to bounce between Fusion/Maya quickly without first having to toss it into ZBrush.
KA-52
https://upload.wikimedia.org/wikipedia/commons/b/b1/Kamov_Ka-52,_Russia_-_Air_Force_AN1610872.jpg
Your standard black material based on my white plastic from my previous submission.
Here a little update since my last post; I decided to do individual renders of each of the parts (for furthering my studies and have a tighter focus on materials one at a time)
https://www.artstation.com/alexrodriguez3d
https://www.artstation.com/artwork/Q450l
In the short free time, I began to start analyzing the full assembly of an AR15. Much like Stickman pictures and ones posted above; some are pretty hard to showcase on a simple white background. The white background works well with the Assembly Shots and Individual Shots which were referenced from the actual real-life display of the item. But with a full assembly, the use of a white background was scarce.
Individual: Single renders, where I can focus on each of the materials that make up each part. As seen on my earlier post of the Lower Receiver and Magnifier. Link to these: https://www.artstation.com/artwork/beGrE
Assembly: Created this setup while I was searching for build logs of an AR15; came across multiple images of the Receiver on wood stubs. Refined upon this idea and created a series of 8 images adding in a new part each time. Pistol Grip > Magazine > Stock...
Link to these: https://www.artstation.com/artwork/d5JBA
Assembled: Interesting angels which capture unique aspects of the gun as a whole. Here where I took what I had gathered and created a series of images. Towards the bottom I decided to remove some parts, to see some of the overall detail that is covered up with accessories.
Link to this: https://www.artstation.com/artwork/Q450l
Moving onto Decals/Warnings Labels which shouldn't take to long.
Next will be noise/normal surface detail for the Pistol Grip/Stock/Rail Panels/EOTECH
Used a bit of Fusion/Booleans but mostly Maya modeling.
Thanks, taking the early steps to get to Reno Levi quality
Small Update: As mentioned at the end of my last post I began adding the Decals/Warning labels; using Photo reference I created a series Alpha Images to 1 to 1 match each of the manufacturer markings.
With Decals