The BRAWL² Tournament Challenge has been announced!
It starts May 12, and ends Oct 17. Let's see what you got!
https://polycount.com/discussion/237047/the-brawl²-tournament
It starts May 12, and ends Oct 17. Let's see what you got!
https://polycount.com/discussion/237047/the-brawl²-tournament
Roman game assets based on scan
Hi!
In this post, i want to share my workflow wich i had to do in this project.
Game alpha deadline is 15 Jan, so I have to make an asset about in 1-2 max 3 hours.
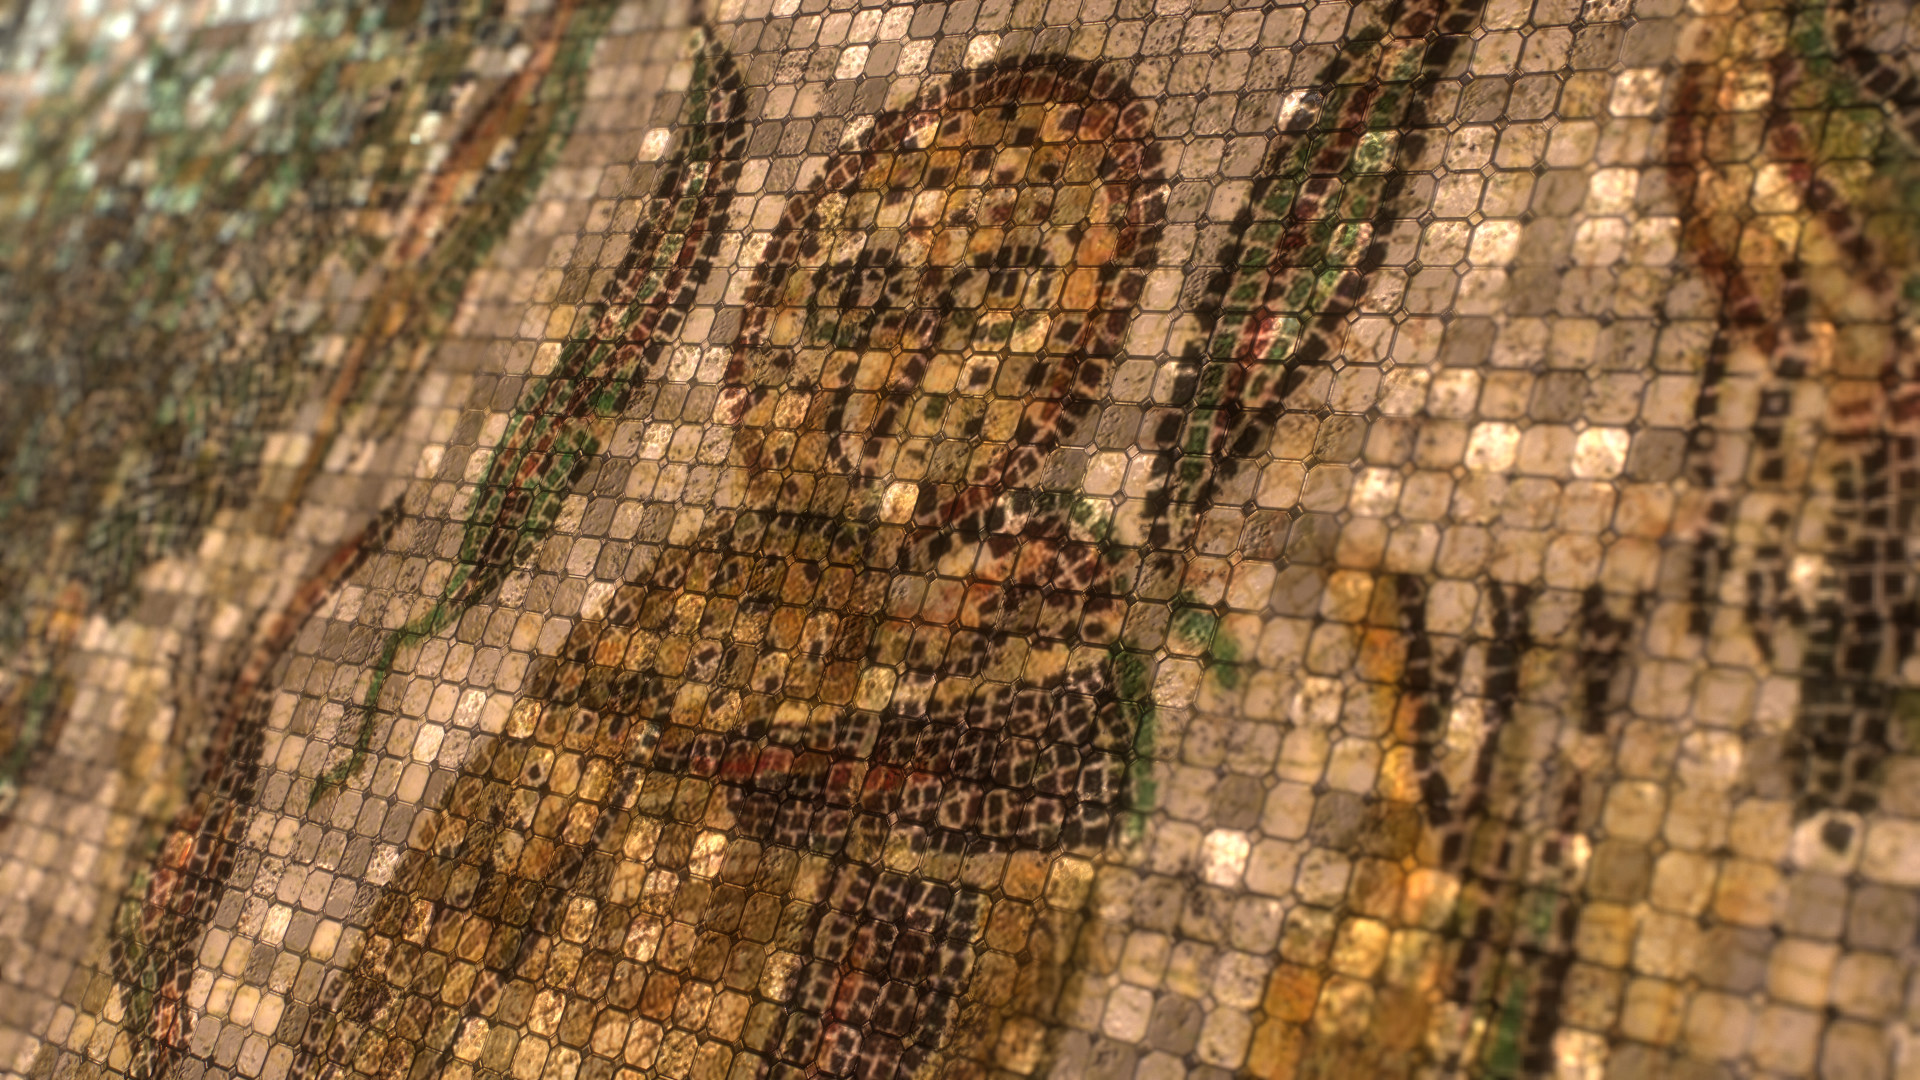
So I making assets for the game as hell fast as I can, I also recieved photos of the icons,and mosaics, and 3d scans wich i have to optimize, create UWs and materials.
First I do some corrections on the highpoly scan in Zbrush.
Lowpoly:
For the topology: Zbrush->Topogun->3ds Max
Baking: X-Normal, Toolbag 3, Substance Painter
Texturing: Substance Painter
Photoscans are from Louvre,and British Museum, from Sketchfab! And I only used the topology for normals, and occlusion.
You can find these images on artstation too with 3d view
https://www.artstation.com/artwork/Jn4Ez
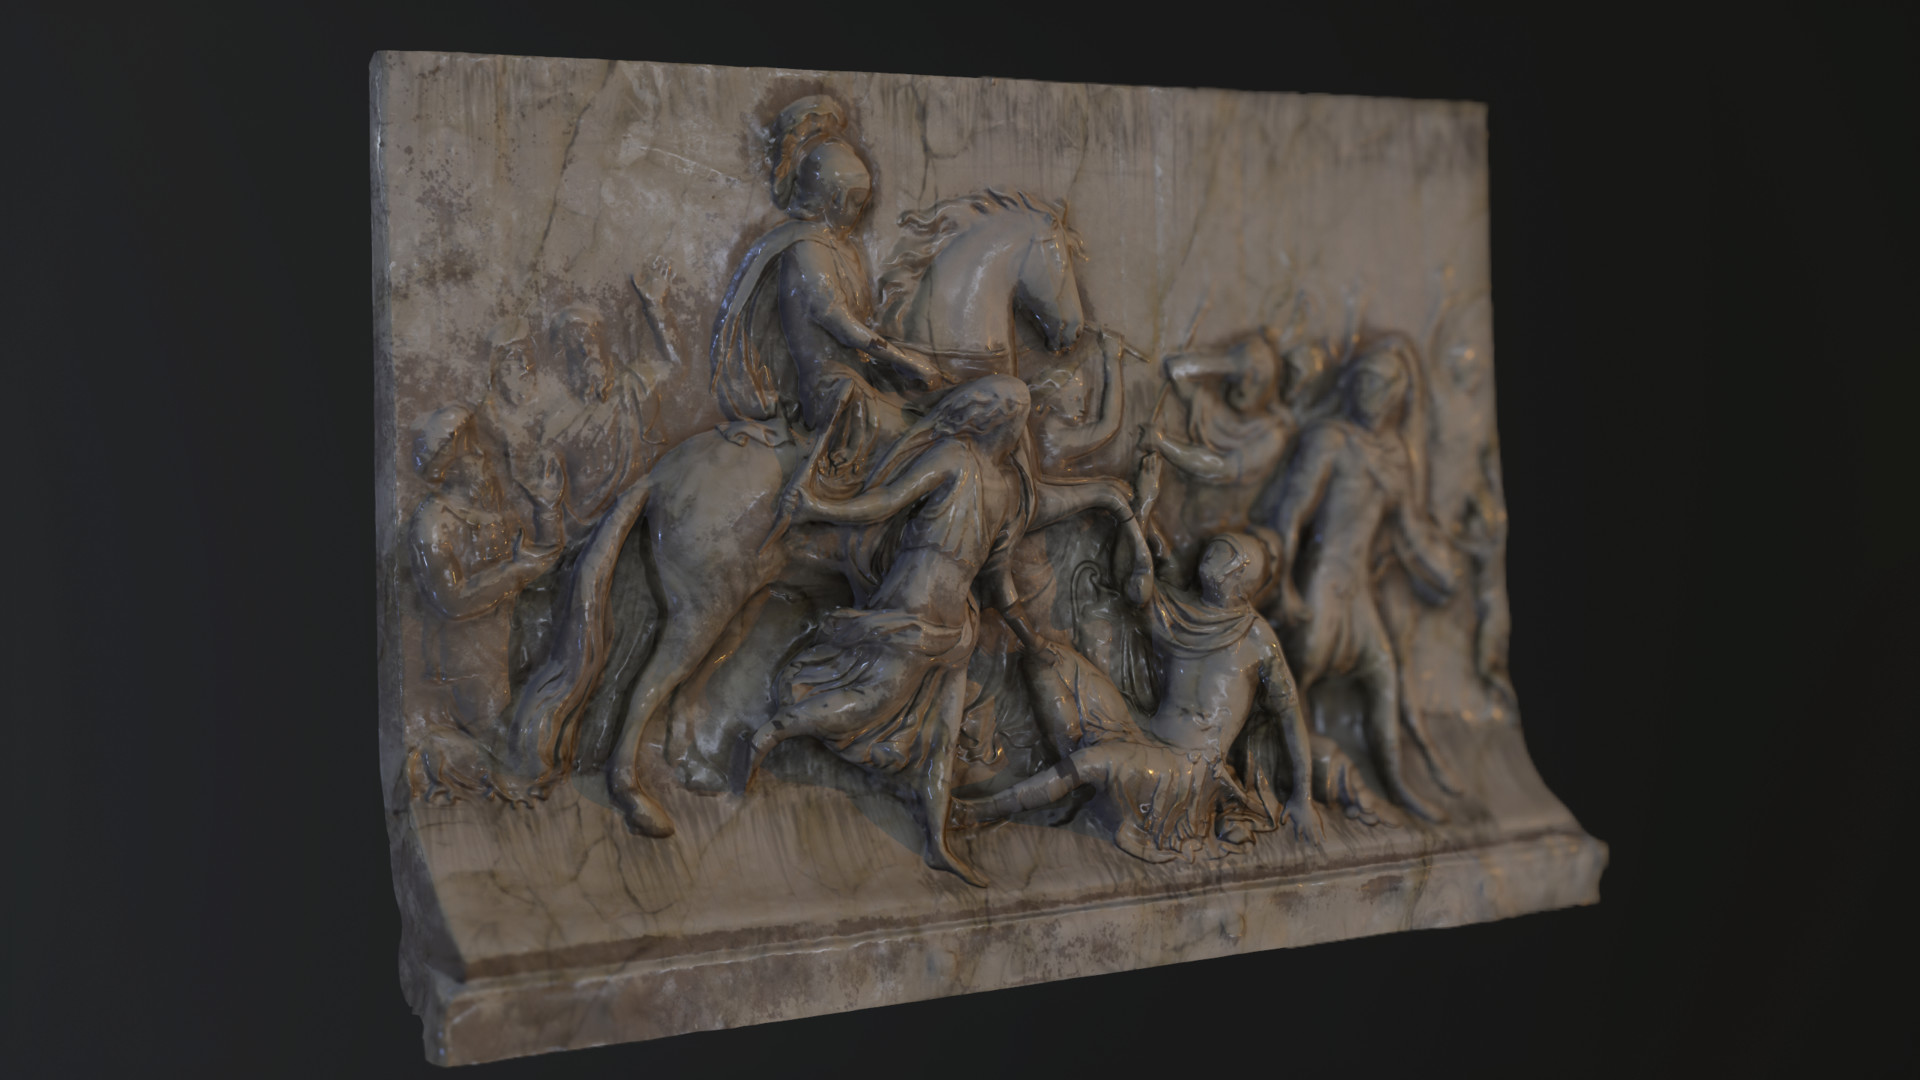
These modells are LOD0 wich means they have 2000-8000 polygons, and 1 UWmap/modell
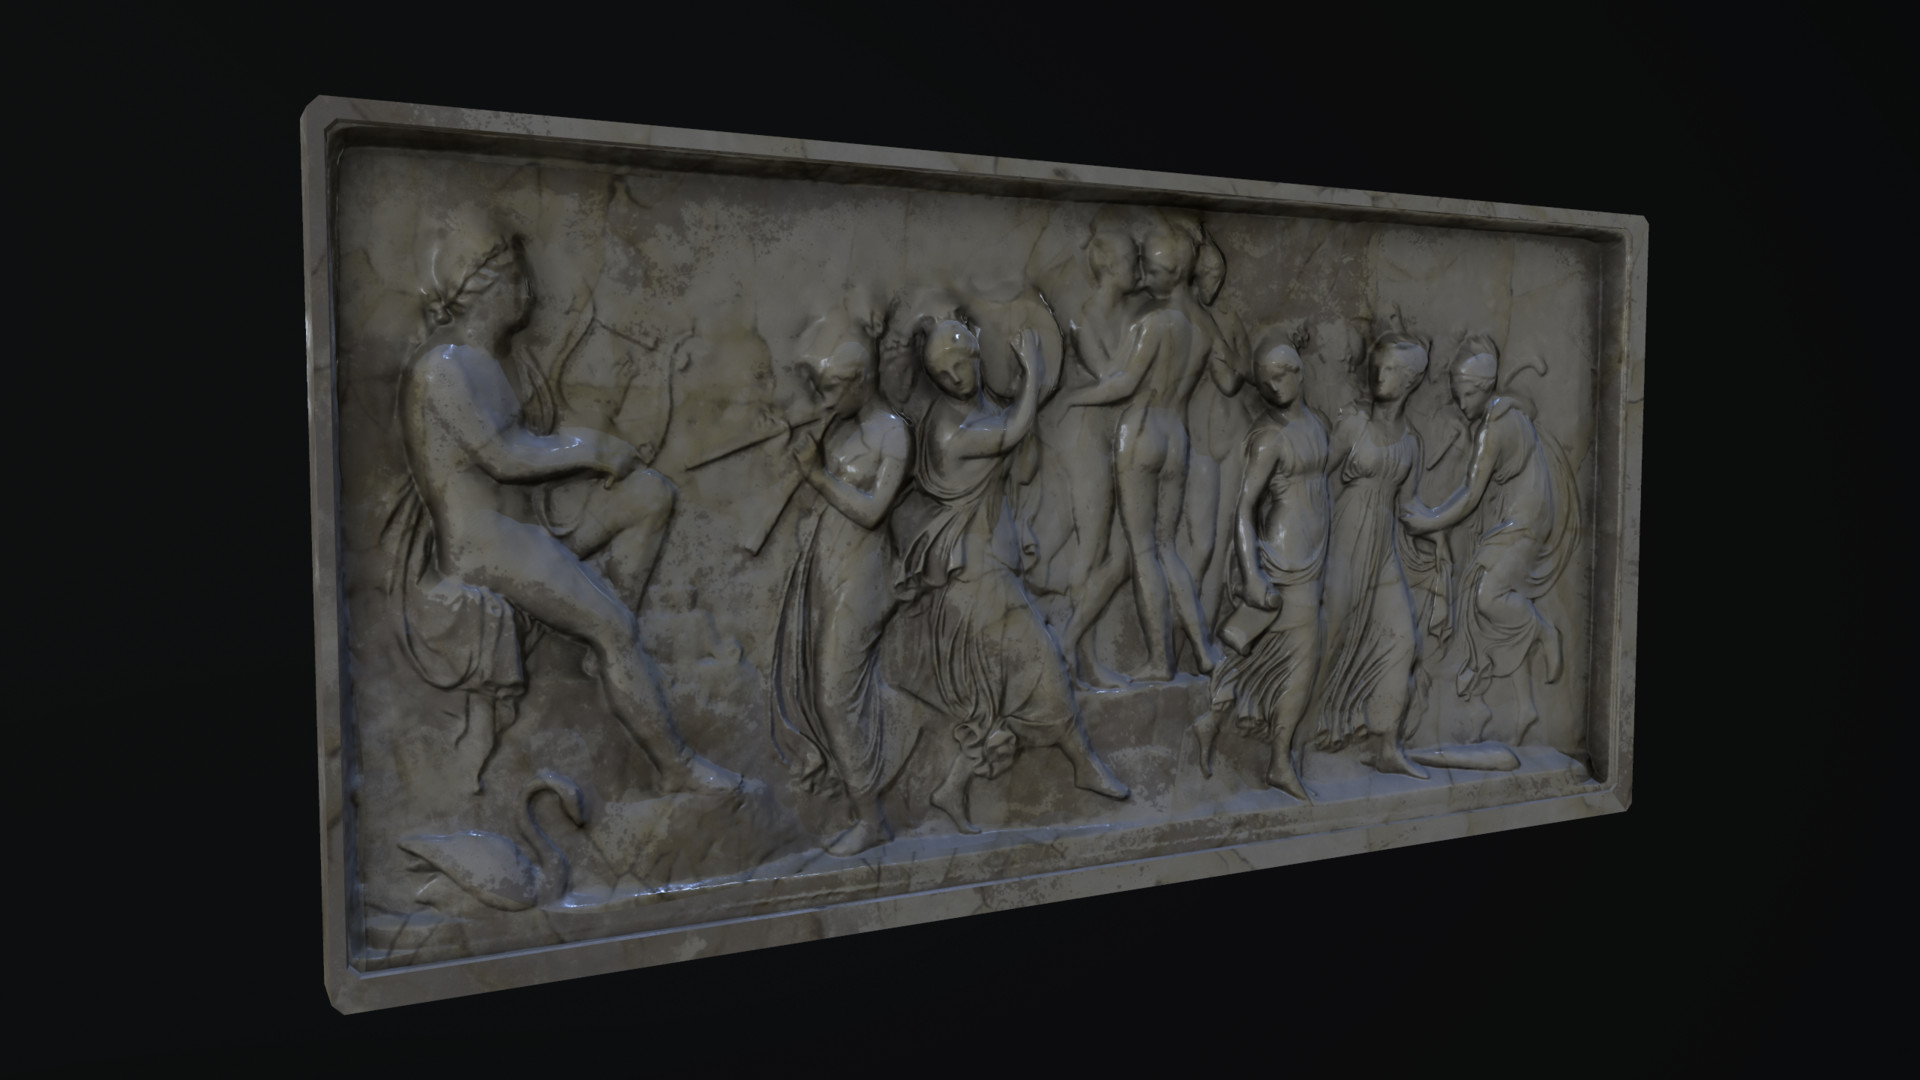
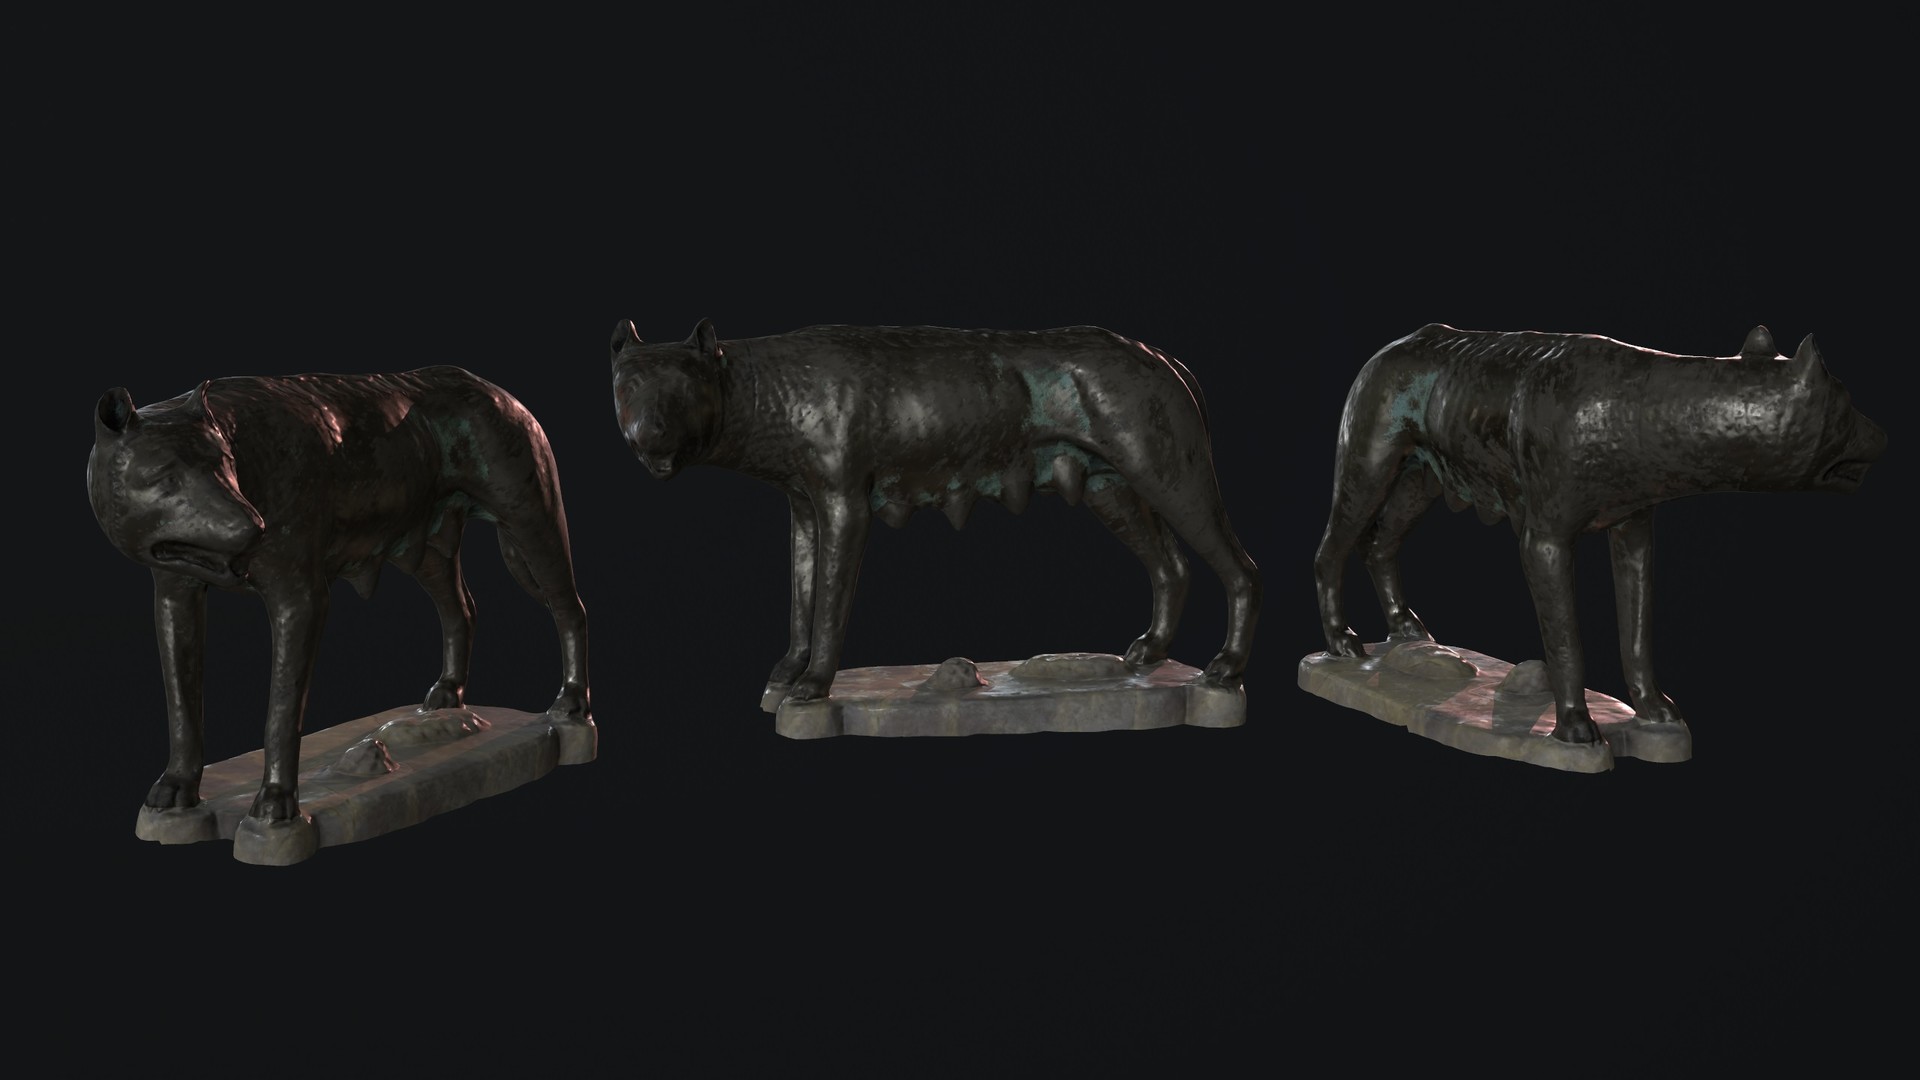
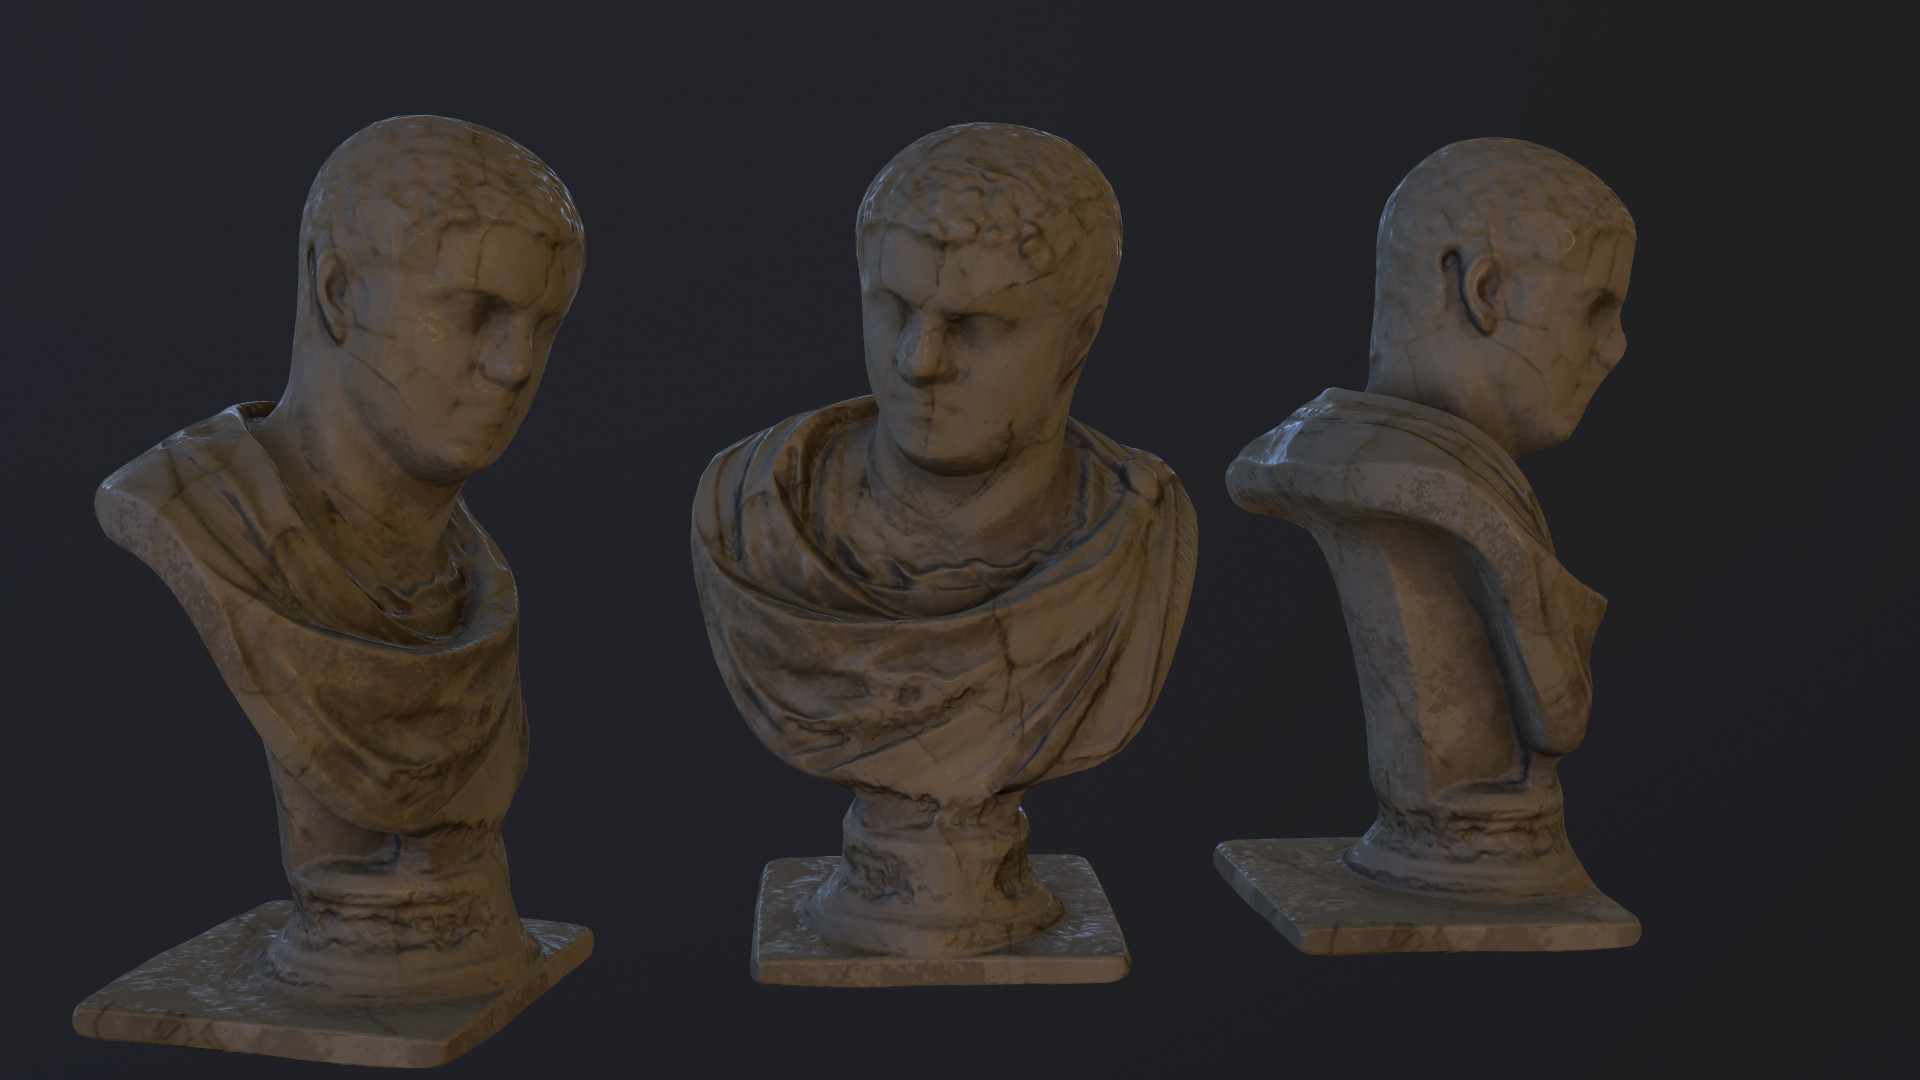
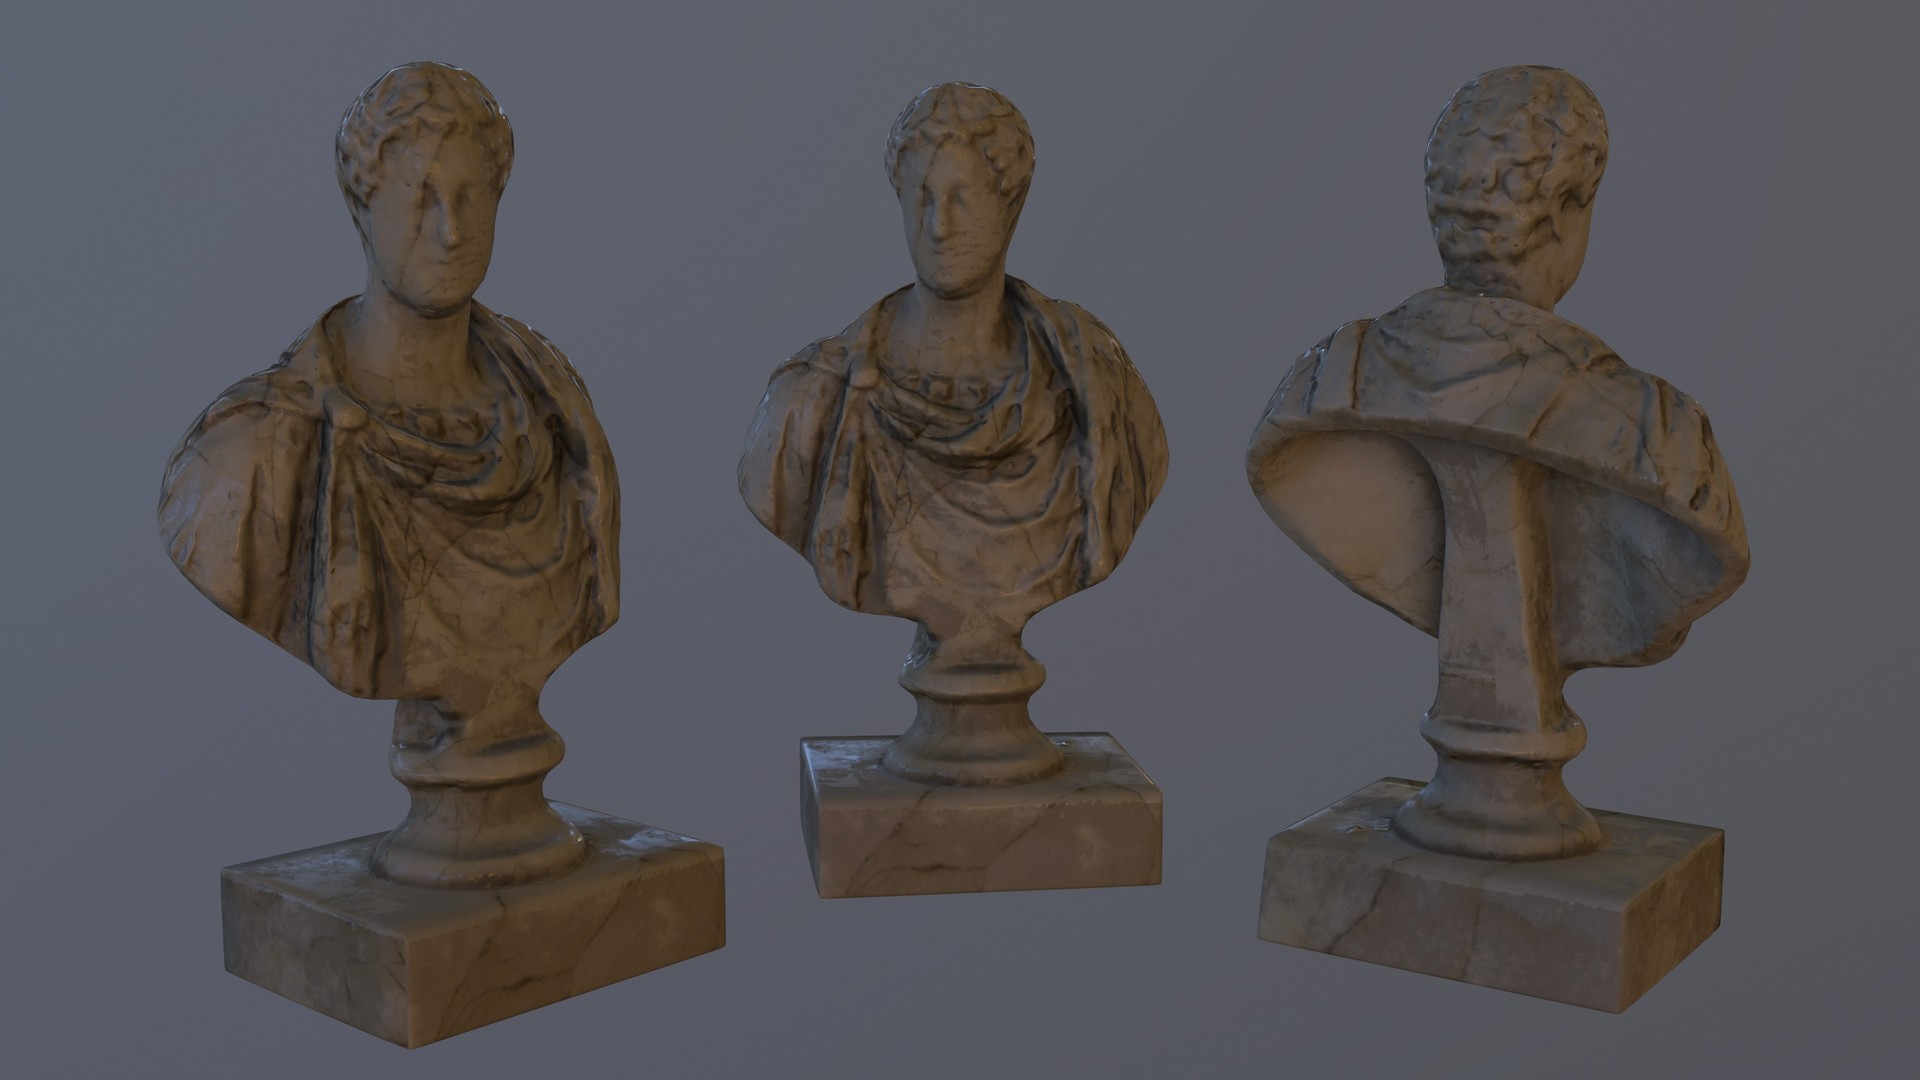
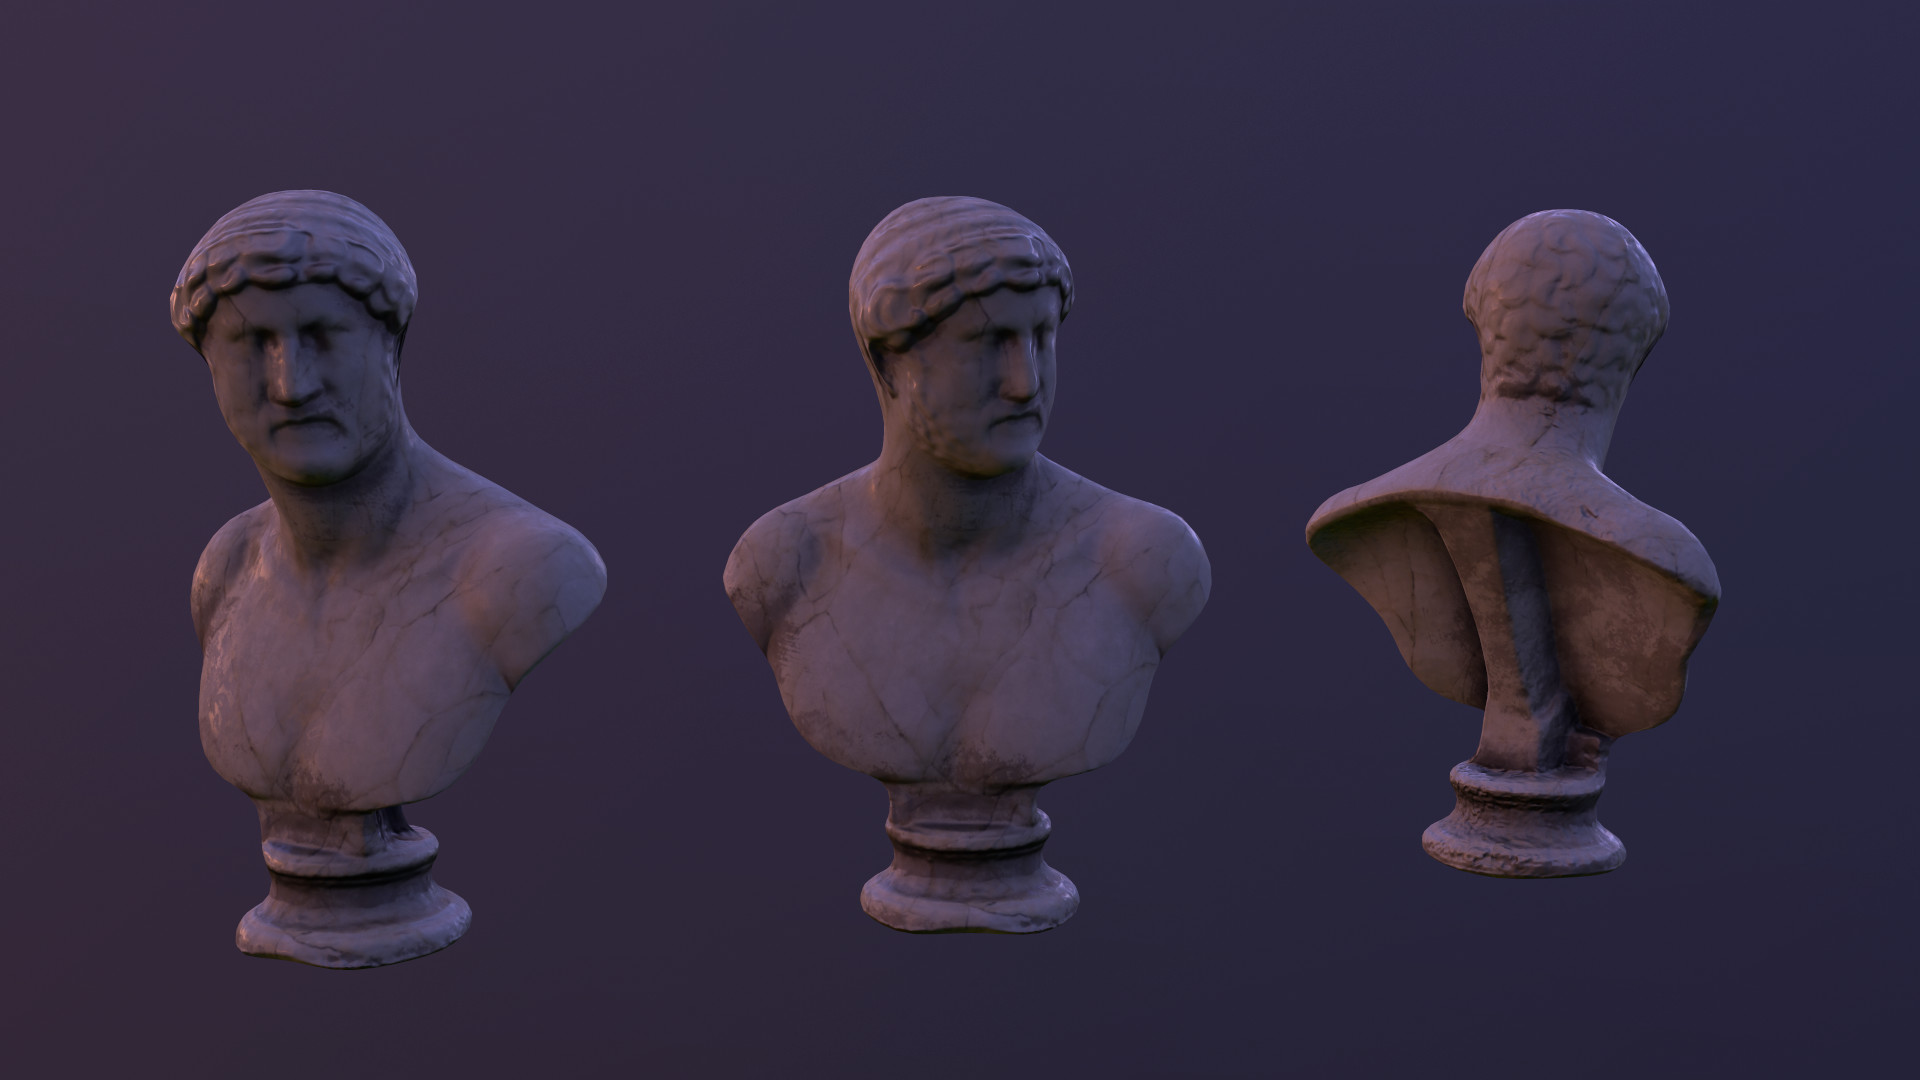
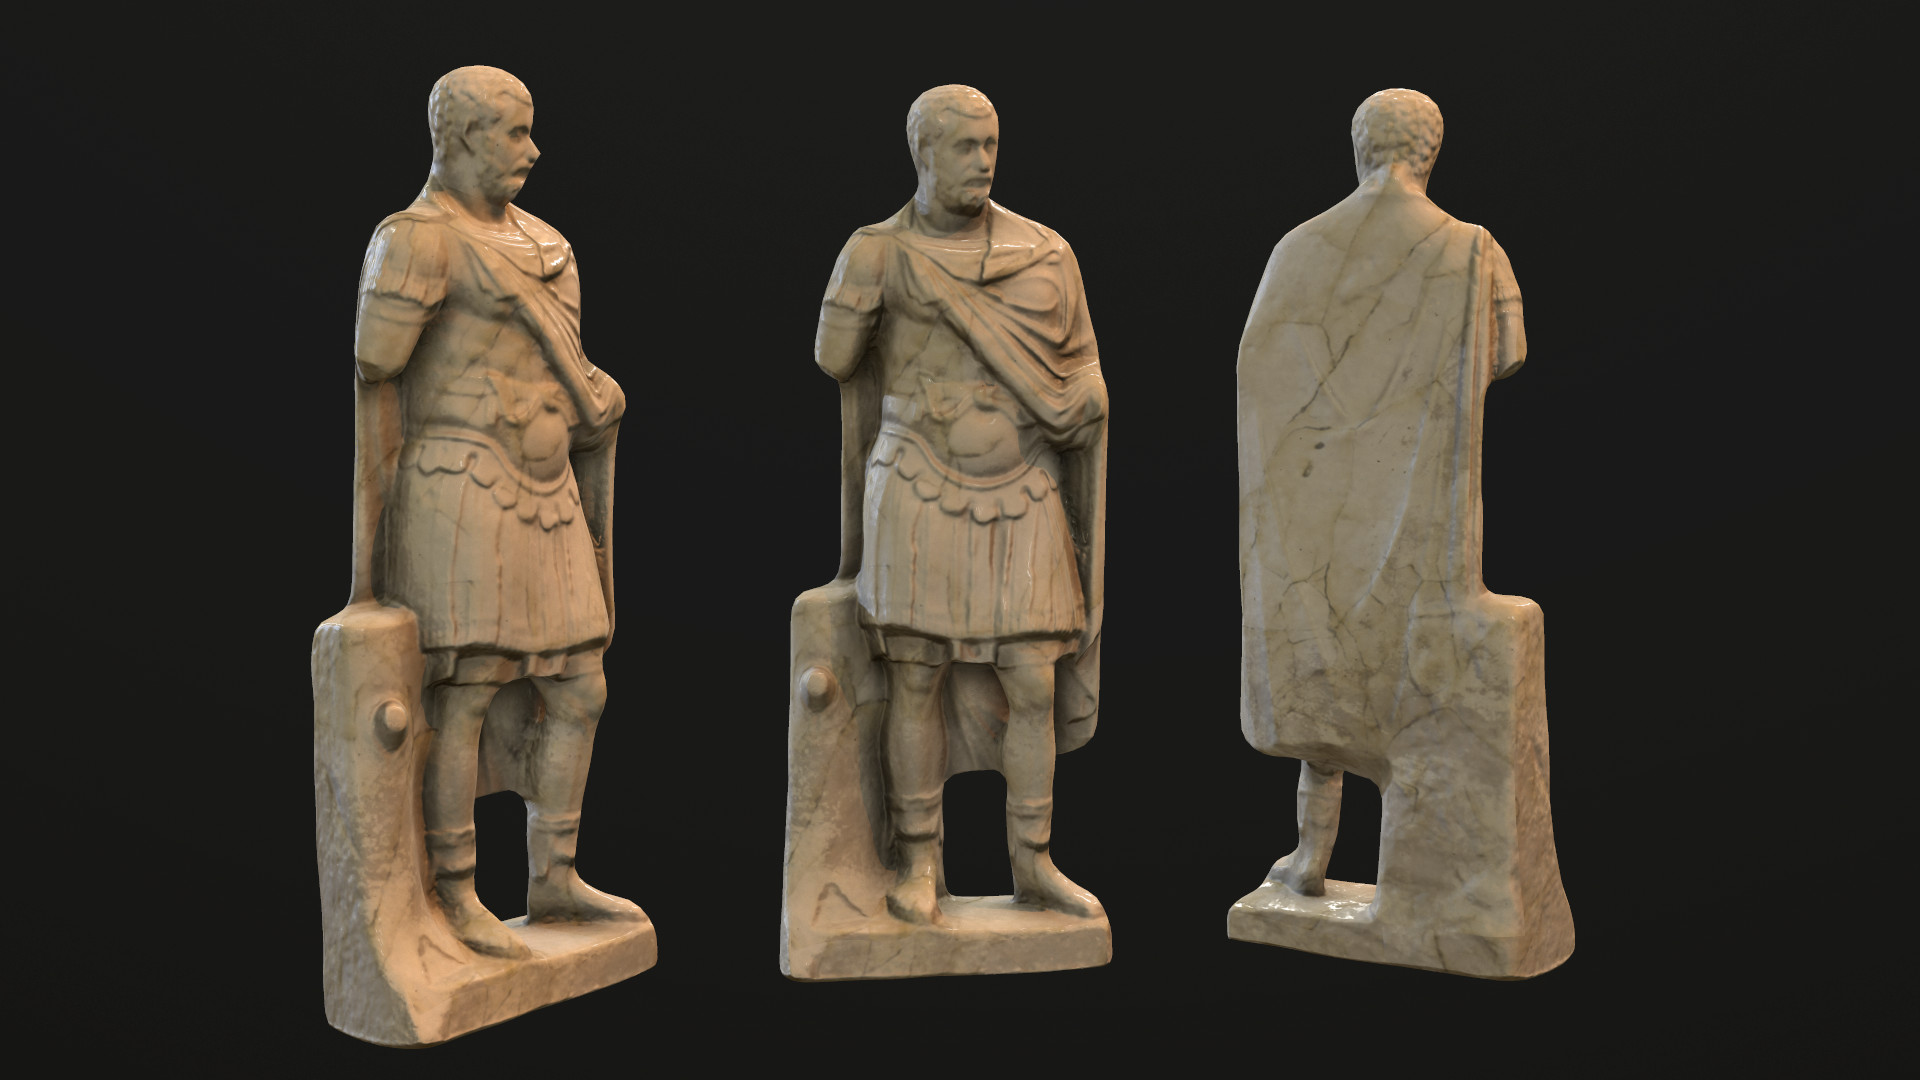
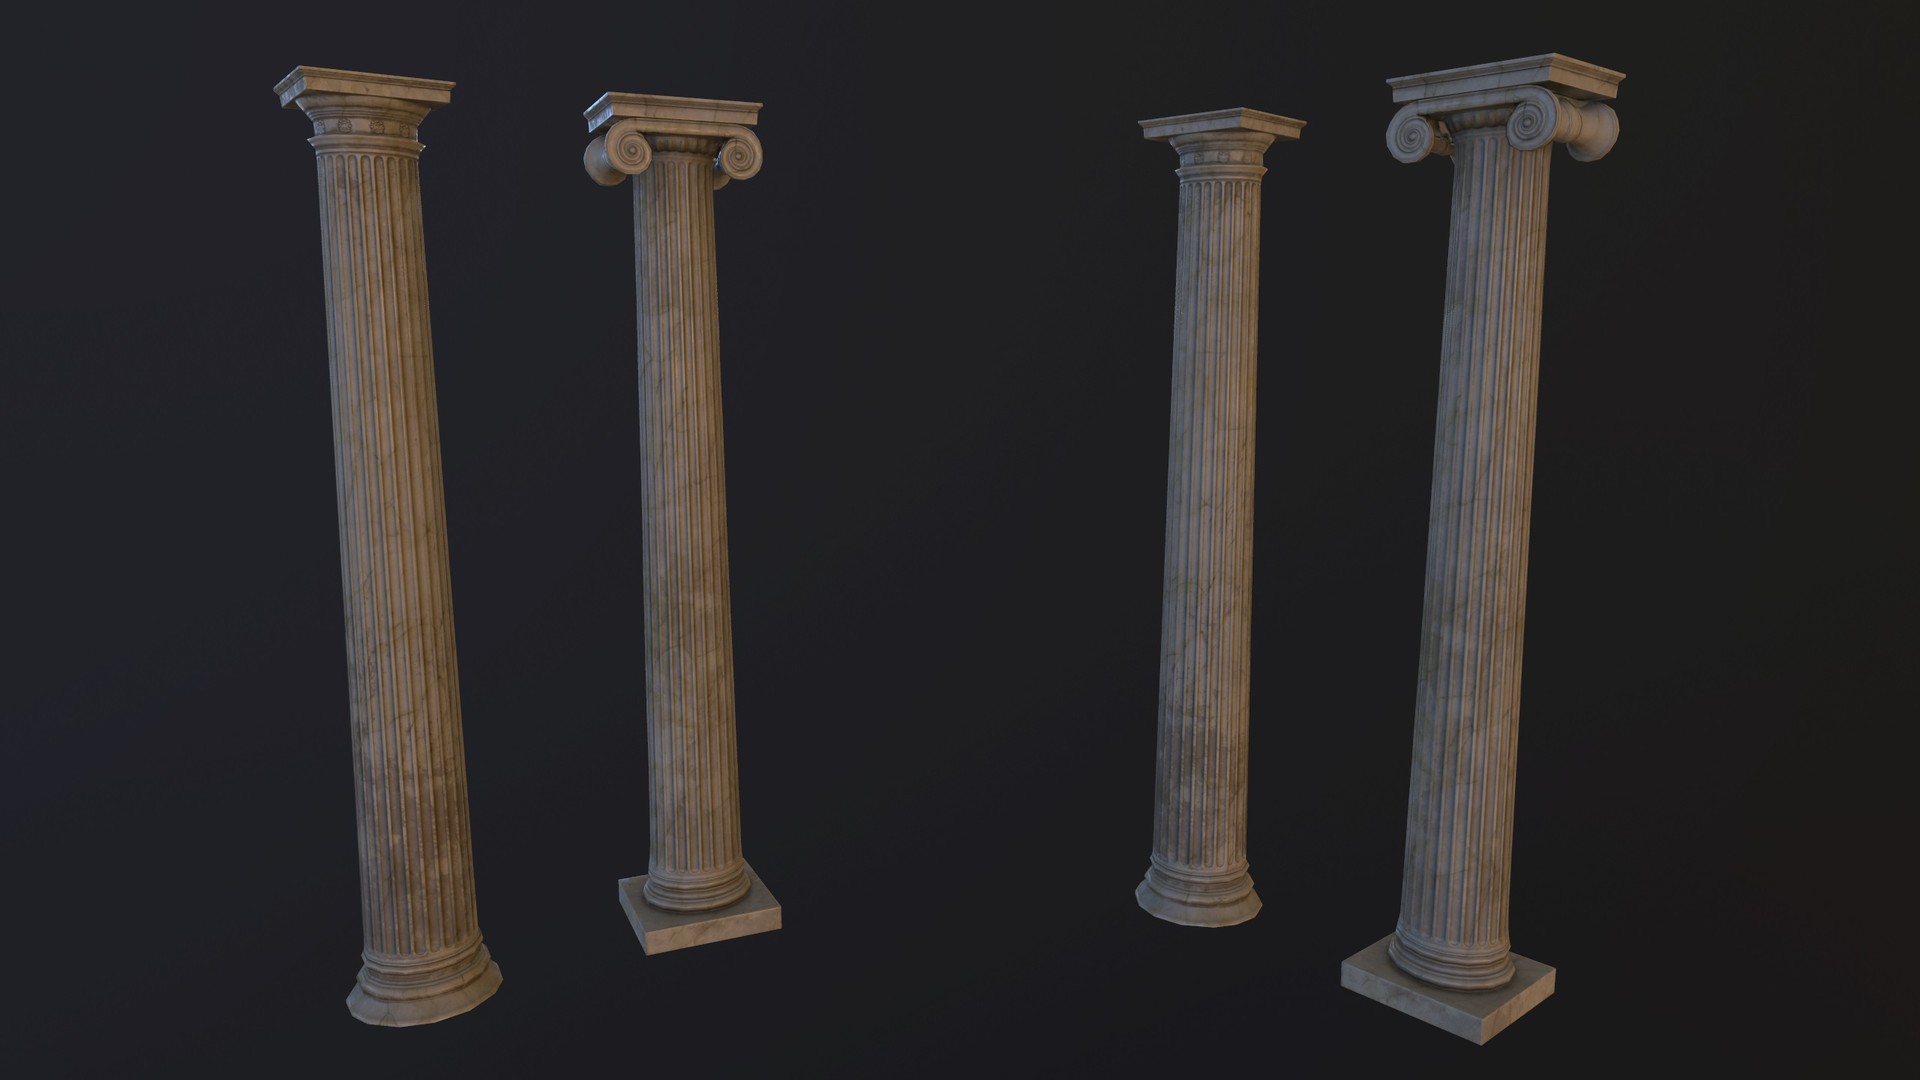

In this post, i want to share my workflow wich i had to do in this project.
Game alpha deadline is 15 Jan, so I have to make an asset about in 1-2 max 3 hours.
So I making assets for the game as hell fast as I can, I also recieved photos of the icons,and mosaics, and 3d scans wich i have to optimize, create UWs and materials.
First I do some corrections on the highpoly scan in Zbrush.
Lowpoly:
For the topology: Zbrush->Topogun->3ds Max
Baking: X-Normal, Toolbag 3, Substance Painter
Texturing: Substance Painter
Photoscans are from Louvre,and British Museum, from Sketchfab! And I only used the topology for normals, and occlusion.
You can find these images on artstation too with 3d view
https://www.artstation.com/artwork/Jn4Ez

These modells are LOD0 wich means they have 2000-8000 polygons, and 1 UWmap/modell


Replies
Roman wall fountain and lantern
Roman lantern number two
The deadline was very close, and there were more than 30 assests wich I had to deliver. So I had to make assets as fast as I can, and worked out relativley fast ways to do it.
First I received a list with full of sketchfab links.
These modells are under creative common license, and downloadable for free.
2: Position_rotate_scale
At first import the object is mostly floating in random coordinate,
and needs a proper rotating, and scaling to get the real world size.
Of course there where other issuses where I had to make correct smooting groups, make submaterials, fill holes, or sculp the highpoly mesh for a proper bake. If needed one highpoly for color map (original) and one for the correct AO, and normals.
3: Retopo
I used Topogun2 to make a new mesh.
It wasnt like hard surface modelling...even when the scanned object was it. Scans can be very chaotic, and there isnt things like symmetry, or smooth surface,correct chamfers, and so..
So the most accurate method is using topopgun, where I draw the topology vertex by vertex. Every pot and lantern made like this, because of the complexity
More complex things like the statues made with Zbrush. It was the fastest, but not so accurate.
I set Zremesher to half the polygon count, and step by step scuplted the lowpoly mesh, to get some more accuarte basic shape.
There were some standing statues, where I had to use both of the programs, the get some correction on the lowpoly mesh, and prepare to unwarp.
4: Preparing to unwarp
Some basic thing has to be done on the lowpoly mesh, check vertex, and face overlapings, normals, smoothing groups, material IDs, detaching for multi bake if need, and make sure everything is okay.
5: Unwarp
The main goal was to create a map with the less possible islands, and keep texel size to not get weird texture sizes.
I used UvLayouts for this, but this time not only because of the deadline, and my time managment.
This program helps me a lot to understanding how unwarping works.
6: Bake
I use many programs to bake textures from highpoly, and its always depends on how much time do I have.
I used mostly Marmoset Toolbag 3 for fast and nice bake, and I totally amazed by this little monkey!
This time I didnt used the specular and gloss bake, but this is my next thing on my list. Just have to make proper material IDs on the scan, set a correct pbr setting with scaned albedo, and bake the hell out of it!
7: Textures
Substance painter baker did an excellent job too, but in texturing has a leading role. Smart materials, dirt alphas, and other procedural material ninja things helped me get feel of a material.
The export was UE4 with merged AO, roughness, and metallic texture.
And Iam happy to share it with you and courius what you think about it!
Thanks to Bela Szabo (rigging,animation) and Pester Sekula (Rome Fantasy pack vol1)
Lightning ,enviroment,and some of the modells made by me.
UE 4.14