Environment Terrain Textures...
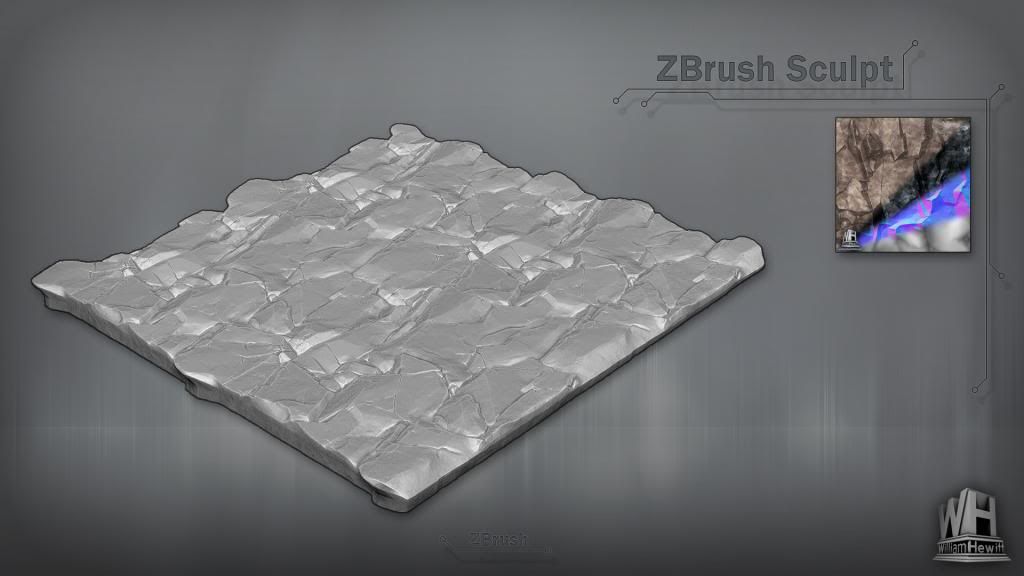
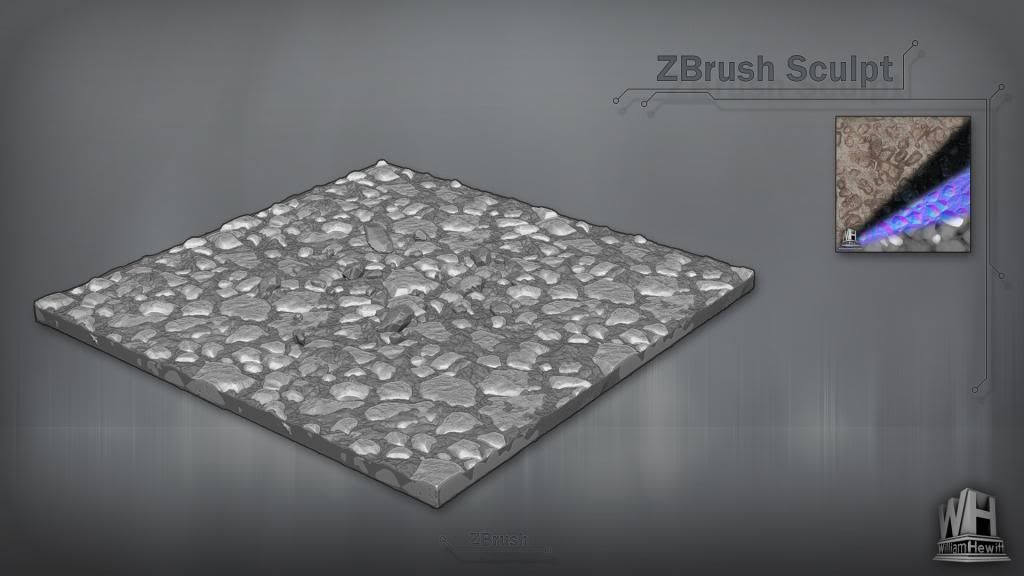
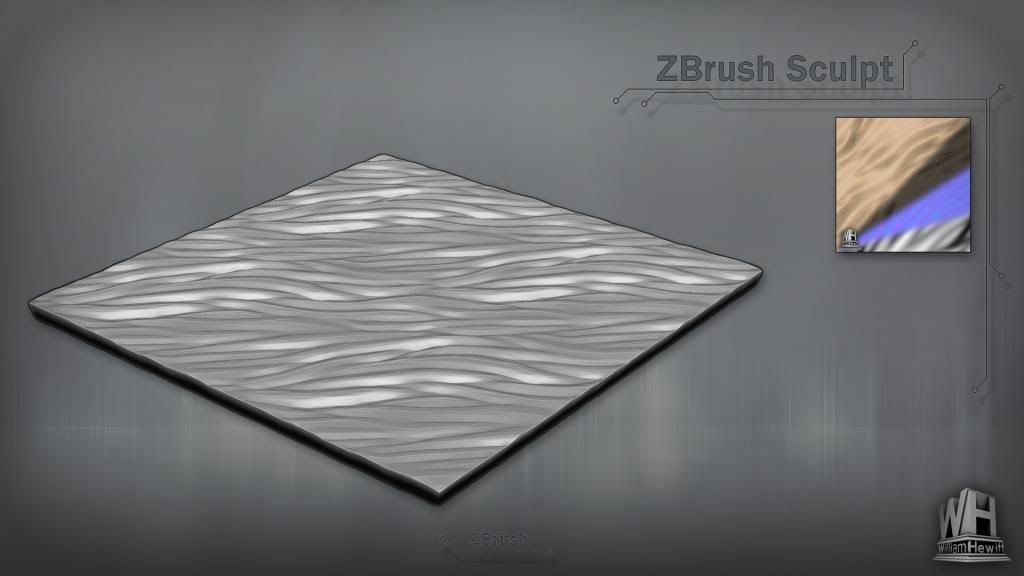
Hey everyone, here is a set of textures I made for use on terrain or for vertext painting as demo'ed. CC greatly appriciated. 
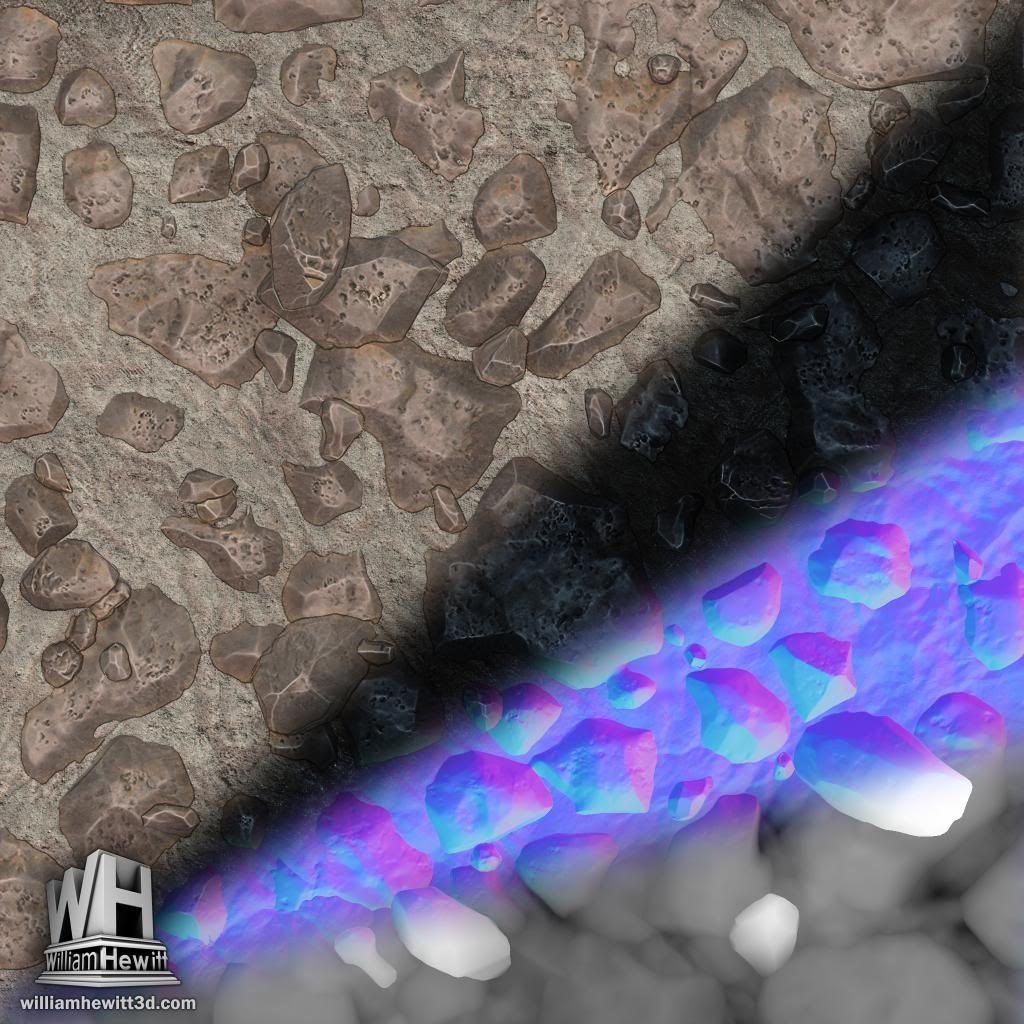
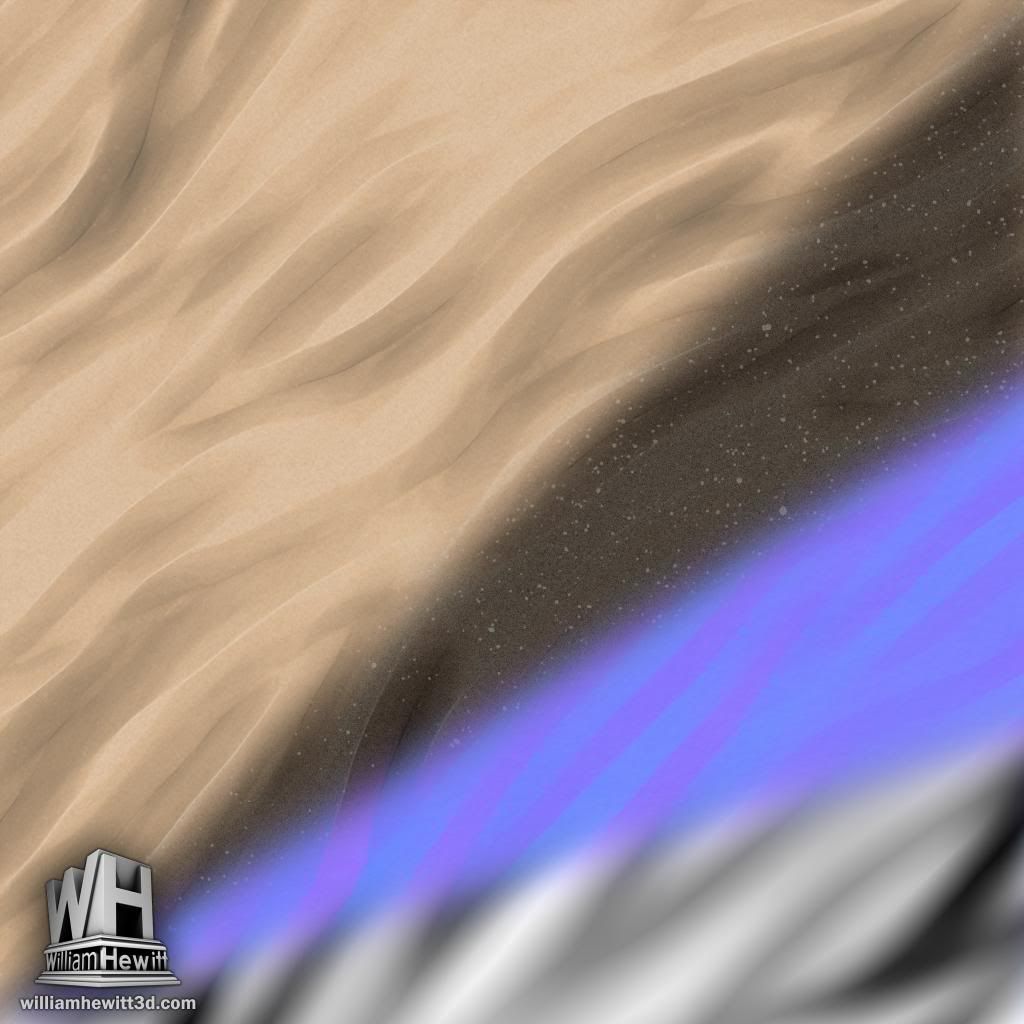
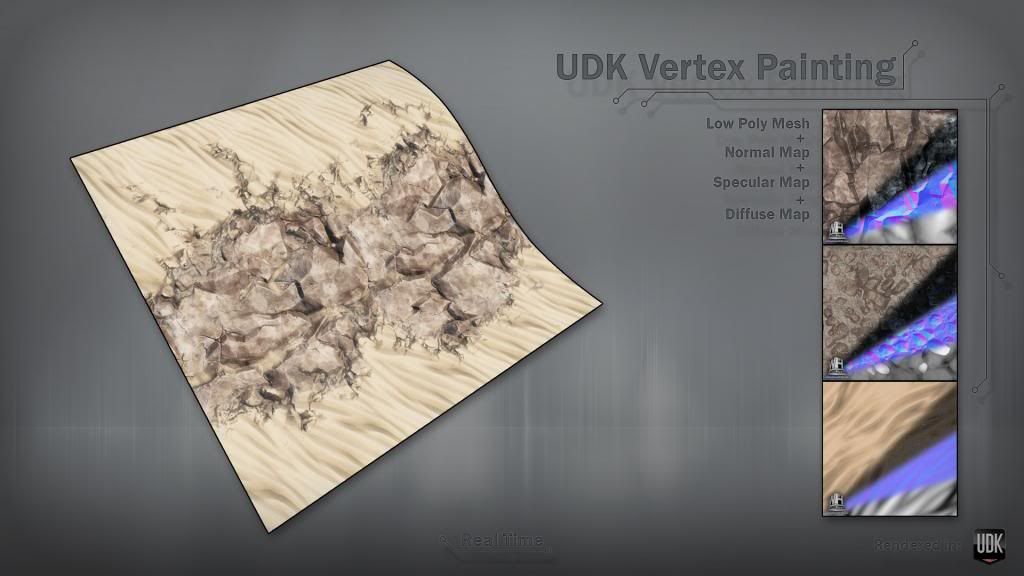
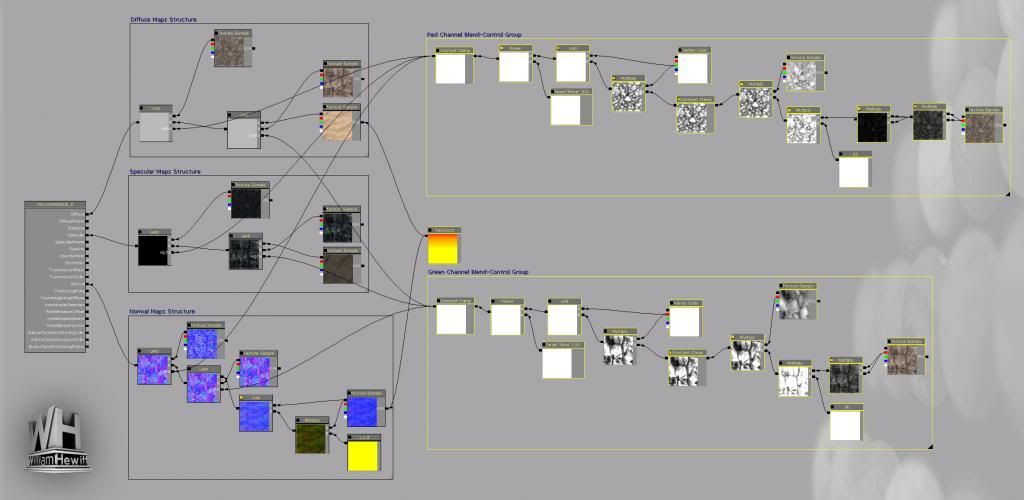
And a short video:
[ame=" https://www.youtube.com/watch?v=ohvdeimTWgs"]http://www.youtube.com/watch?v=ohvdeimTWgs[/ame]
Thanks for watching!


And a short video:
[ame="
 https://www.youtube.com/watch?v=ohvdeimTWgs"]http://www.youtube.com/watch?v=ohvdeimTWgs[/ame]
Thanks for watching!
Replies
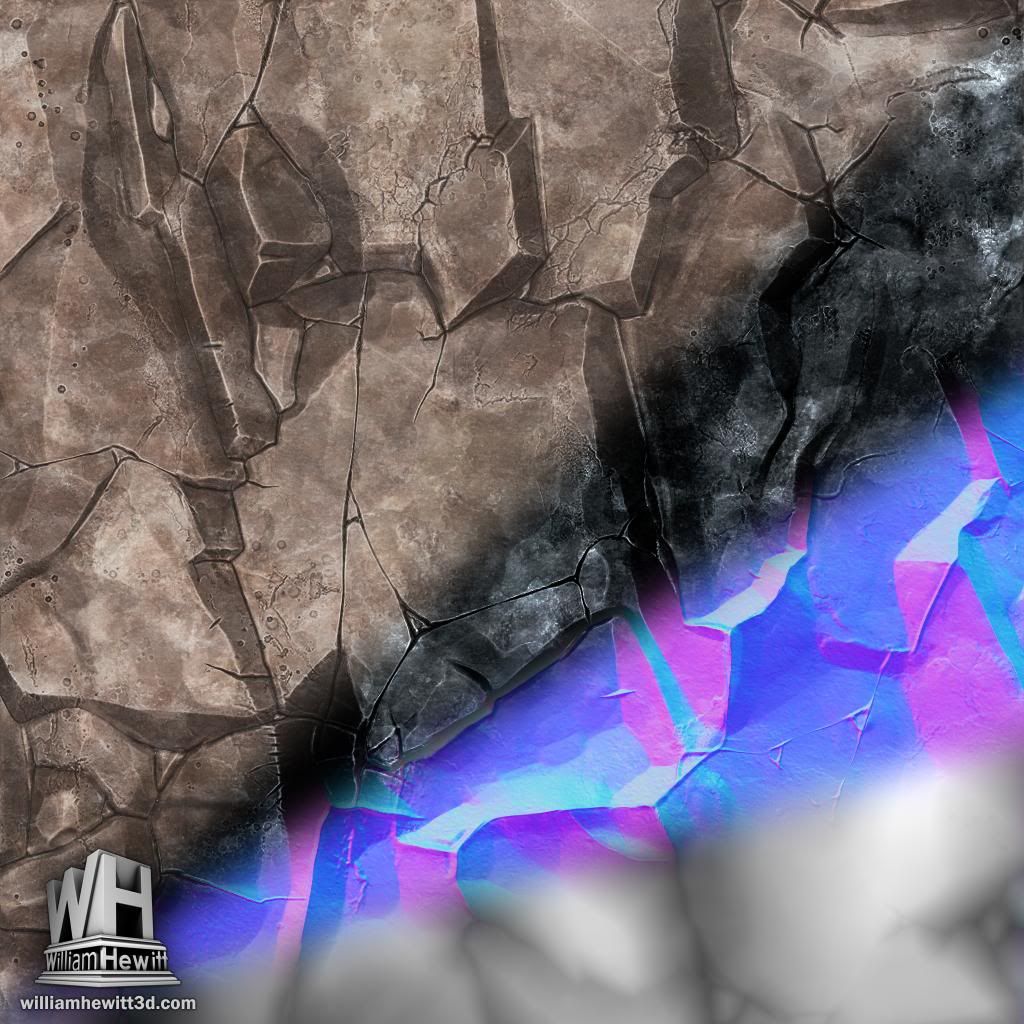
I'll start with the ZBrush sculpt and bring this to a really high polish while trying to keep out 'micro detail' which typically shows up in the baked maps as noise. Once happy with the sculpt, I'll bake out all the maps like the normals, ambient occlusion, and displacement. I'll also at this point save out a few different MatCaps from Zbrush for use with texturing. Using the normal map channels and the photoshop filter emboss, I'll create a much better cavity map than running the normal map through Crazy Bump. For the next step, I'll switch over to Photoshop for texturing. I'll find a base that I like using the MatCaps and other baked maps like the cavity map created using the normal map and the ambient occlusion map. I'll use the various MatCaps and the AO map as layer masks for the one photo texture, hue shifts, and various other layer adjustments. I typically use only one photograph in any given texture. I'll run this photo through the Paint Danube or pallet knife filter and set the layer to overlay. I'll then turn the opacity for this layer down to something around 30%. At this point, I'll start using a rendering engine like UDK or Marmoset to fine tune the texture. If I'm going to add a bit more painterly flare to the texture, this is the point where I'll do some custom painting. Once satisfied with the diffuse, I'll move on to the secular and gloss maps; typically turning up the contrast in both.
So that pretty sums up my technique in words. If you guys/gals try something similar and have any questions let me know. I'll do my best to answer them.
Would love to see these actually tiled + blended in a scene... sometimes they can look great as small square but discrepancies appear when put into a larger context.
I noticed the Skydome With Lightning on your site. Do you have a video of this in motion? I'm sharing some techniques with my students, and would love to see what you came up with. Do you have a bigger shot of your network too?
@ Eric Chadwick: Thanks for checking out the folio. Man, that was from back in school
And the Philosophy behind the material: