My Art Diary.
Hello hello!
I have a strong passion in game graphic and I can't hold it up. Showing my work is a great way to avoid being exploded.
I have started working on the following project for more than a week.
1/. Terrain.
It's going to be a large island, which means I need to spend quite some time on making terrain. I started off by sculpting a base layout in ZBrush.
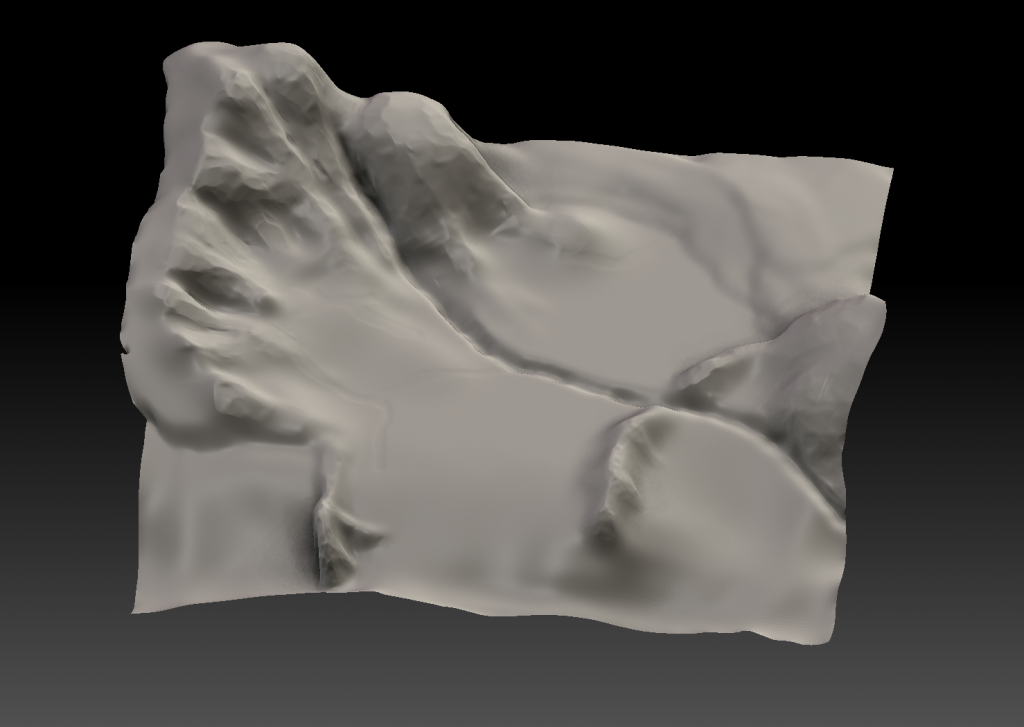
There's nothing fancy here, just some quick pushing the height out of a plane.
Next, I import it to World Machine and struggle with nodes (I really hate nodes. How about you?)
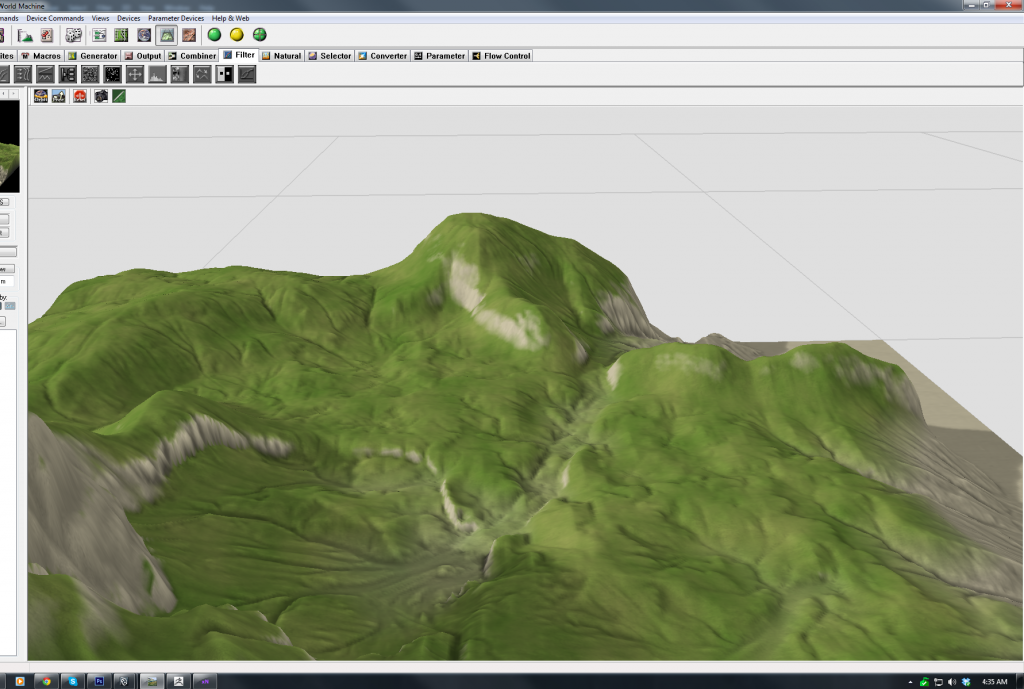
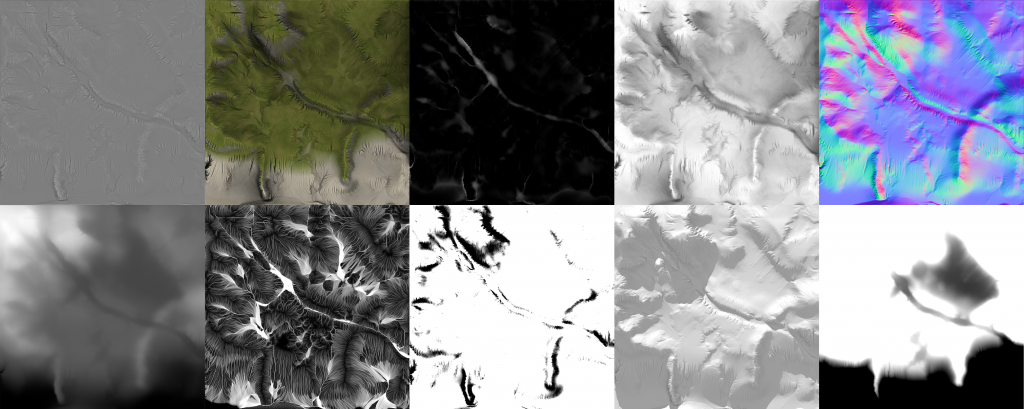
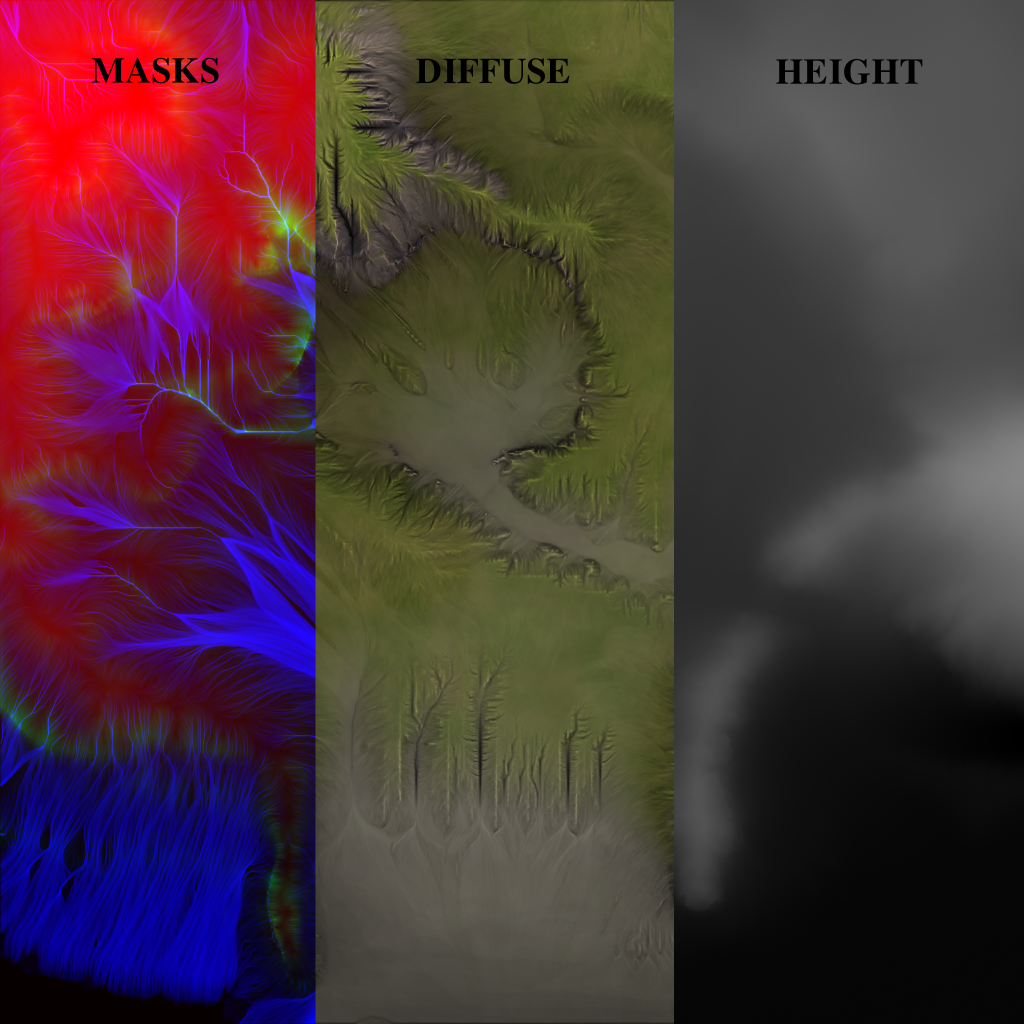
I've gotta admit that the textures look boring as my grandma (sorry grandma). So I decided to voodoo those textures in Photoshop. But wait! Textures must be rendered first. Here they are.
Then I bring them back to ZBrush to make some final tweaks.
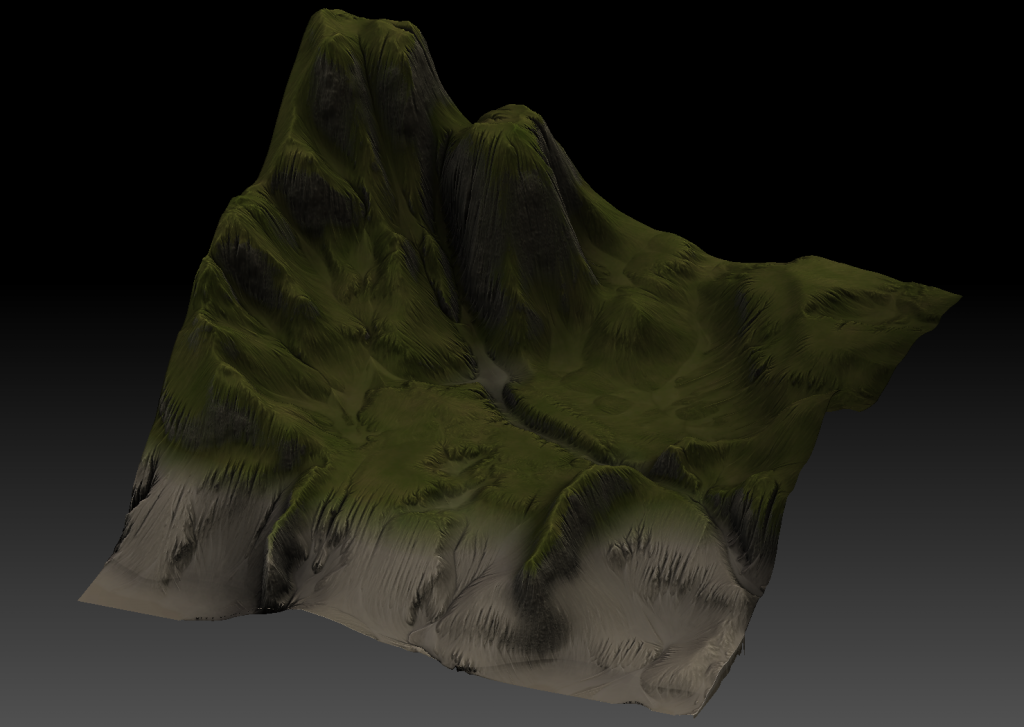
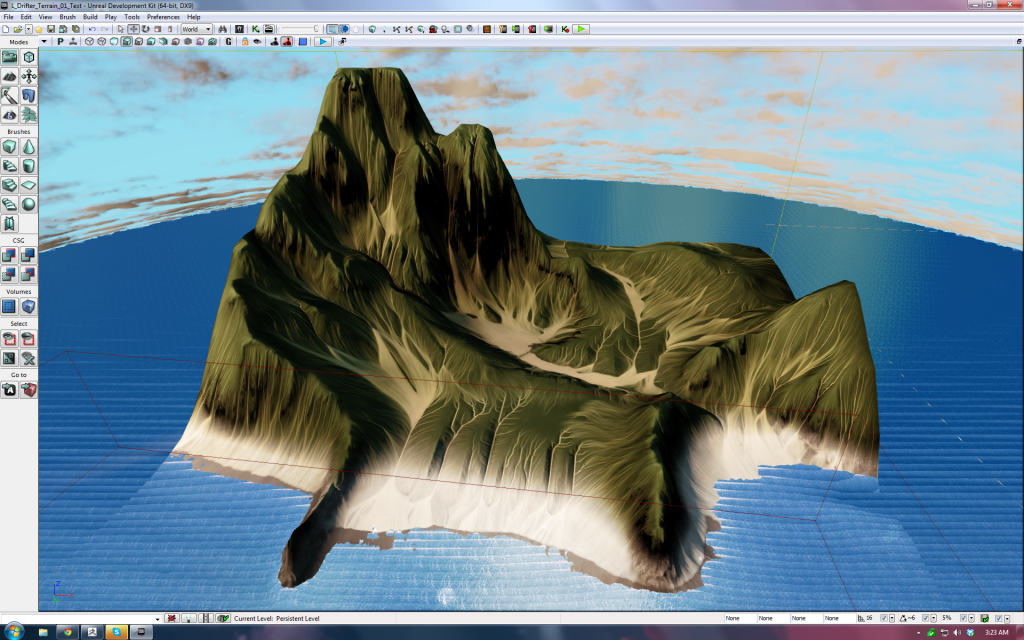
The river seems too deep and the ground is so slope. After tirelessly re-sculpting, I finally got my beautiful results (I guess).
I have a strong passion in game graphic and I can't hold it up. Showing my work is a great way to avoid being exploded.
I have started working on the following project for more than a week.
1/. Terrain.
It's going to be a large island, which means I need to spend quite some time on making terrain. I started off by sculpting a base layout in ZBrush.

There's nothing fancy here, just some quick pushing the height out of a plane.
Next, I import it to World Machine and struggle with nodes (I really hate nodes. How about you?)

I've gotta admit that the textures look boring as my grandma (sorry grandma). So I decided to voodoo those textures in Photoshop. But wait! Textures must be rendered first. Here they are.

Then I bring them back to ZBrush to make some final tweaks.

The river seems too deep and the ground is so slope. After tirelessly re-sculpting, I finally got my beautiful results (I guess).


Replies
UDK Landscape doesn't allow creating different material layers (don't know why), which makes setting up the material painful. I can't show the graphs here, since they are too big. I was basically creating material functions for my detailed textures, then hooking them up in the real set up. But as I said, one material only supports 12 texture samplers at the same time. So, I had to remove my fantastic normal maps
It turned out not so bad. Okey donkey! Let's move on.
To create the wet sand, I just multiplied <1 constant with the main sand shader. After that, it was just the matter of painting.
When reaching this stage, I had used 9 textures for the material, and I want to save the rest for later needs. I can't use specular maps here, so I decided to fake the effect by setting up a complex dot product. The result is great!
Huray! Mission accomplished!
The big deal is the waves. I tried to achieve it with dynamic tessellation, but it squeezed my PC so badly. World position offset is not so bad for this situation.
[ame="
Matinee, Matinee, Matinee! What else could it be? But to be honest, I did not know how to make it. :P. Thanks Epic for including the demo to save my life. Open the showcase map up, I found the solution. Though the set up made me dizzy, it did save my life.
[ame="
I always love vegetation glowing at night.
[ame="
[ame="
At the first place, I thought vertex painting in 3ds Max ( I master Maya though) could do the trick. Pathetically, I failed like a poor leaf. At that moment, my mind was flashing back and pulling out the Pivot Painting that I had heard of somewhere. Right away, I jumped in UDN and learned it. It worked like charm.
[ame="
Ok. For the bigger trees, I don't think using static meshes is a good move. Speedtree is @$!#@! easy to use.
This is the fun part. Lens flare is easy, but dirty lens required some thinking. Technically, I only want the effect to take place when the camera is facing to a pretty blazing light source. Of course the ground is darker than the sky, so it makes sense to use scene texture as mask.
[ame="
I started sculpting a cliff in ZBrush.
High poly version.