Search
-
Re: Darknut Redux (Zelda fan art)
 I think the reason he looks a bit overweight though compared to the actual picture of the armour is because the armour pic breast cover curves right in to the thinner waist, and the bottom of the chest plate clearly distinguishing it as a separate piece to the pelvic cover. With your guy the chest piece blends right into…
 -
Re: Space Baddie from 2XXX
 Some pointers: -Give us a wireframe shot, it would make this much easier to crit. -Don't use black as a background, it makes the model very hard to see, use 50% grey -It's hard to crit the head and its texture with the angle you've given us. I suspect you used this angle to hide texture stretching? -Learn how to paint the…
 -
Re: Futuristic bounty hunter (Another school project)
 the model textures are a bit boring in my opinion, they need some colour variation and some interesting details. Where has he been? what did he do there? these things might have affected his armour textures etc. At the moment it looks more like he just got his spanking new matt finish armour out the box. These are things I…
 -
Re: Recon Drone
 I managed to spend a couple of hours on the drone this morning. I am pretty happy with how it is looking now. I managed to bulk up the arms, incorporate the gills to the body itself which works alot better. I have also mirrored it across etc. I still need to make a few tweaks here and there, like the smoothing on the big…
 -
Re: Deamon Toughguy
 Great looking work, excellent attention to detail, surface and material in your modeling. I'm trying to do some hard surface work in zBrush right now and it's kicking my ass, so I'm jelly. Now one thing that stands out to me is that your armour design doesn't seem very functional, particularly in the joints. It doesn't…
 -
Re: [WIP] Lordling

 Thanks everyone! :smiley: Its a very simple 3 point lighting set-up. You use the sky as your Fill light, an omni positioned near the head as a Key Light and an omni behind him as a Rim Light. The global illumination setting adds nice reflections and bounced lighting (but slows everything right down :P ) Sure! Heres a…
 -
Re: Need Help seeing the big shapes of the character

 You might want to step back from this one and pick something that you feel more comfortable with if you're so unsure of yourself to tackle it. The primary forms on this are quite simply a human(if you discount the coat) The easiest way to attempt it in Zbrush is to start with a human basemesh, duplicate it and start…
 -
Re: Necromancer Wip
 Looking very nice, but yea, his hips are too low. (And as a result his legs are really short and torso is really long). I also can't tell what the material covering his chest is... looks a bit like a spandex kinda thing due to the shading, but that'd mean he is super ripped like chinups said, which makes me think it could…
 -
Re: Diablo 3: Reaper of Souls - art dump

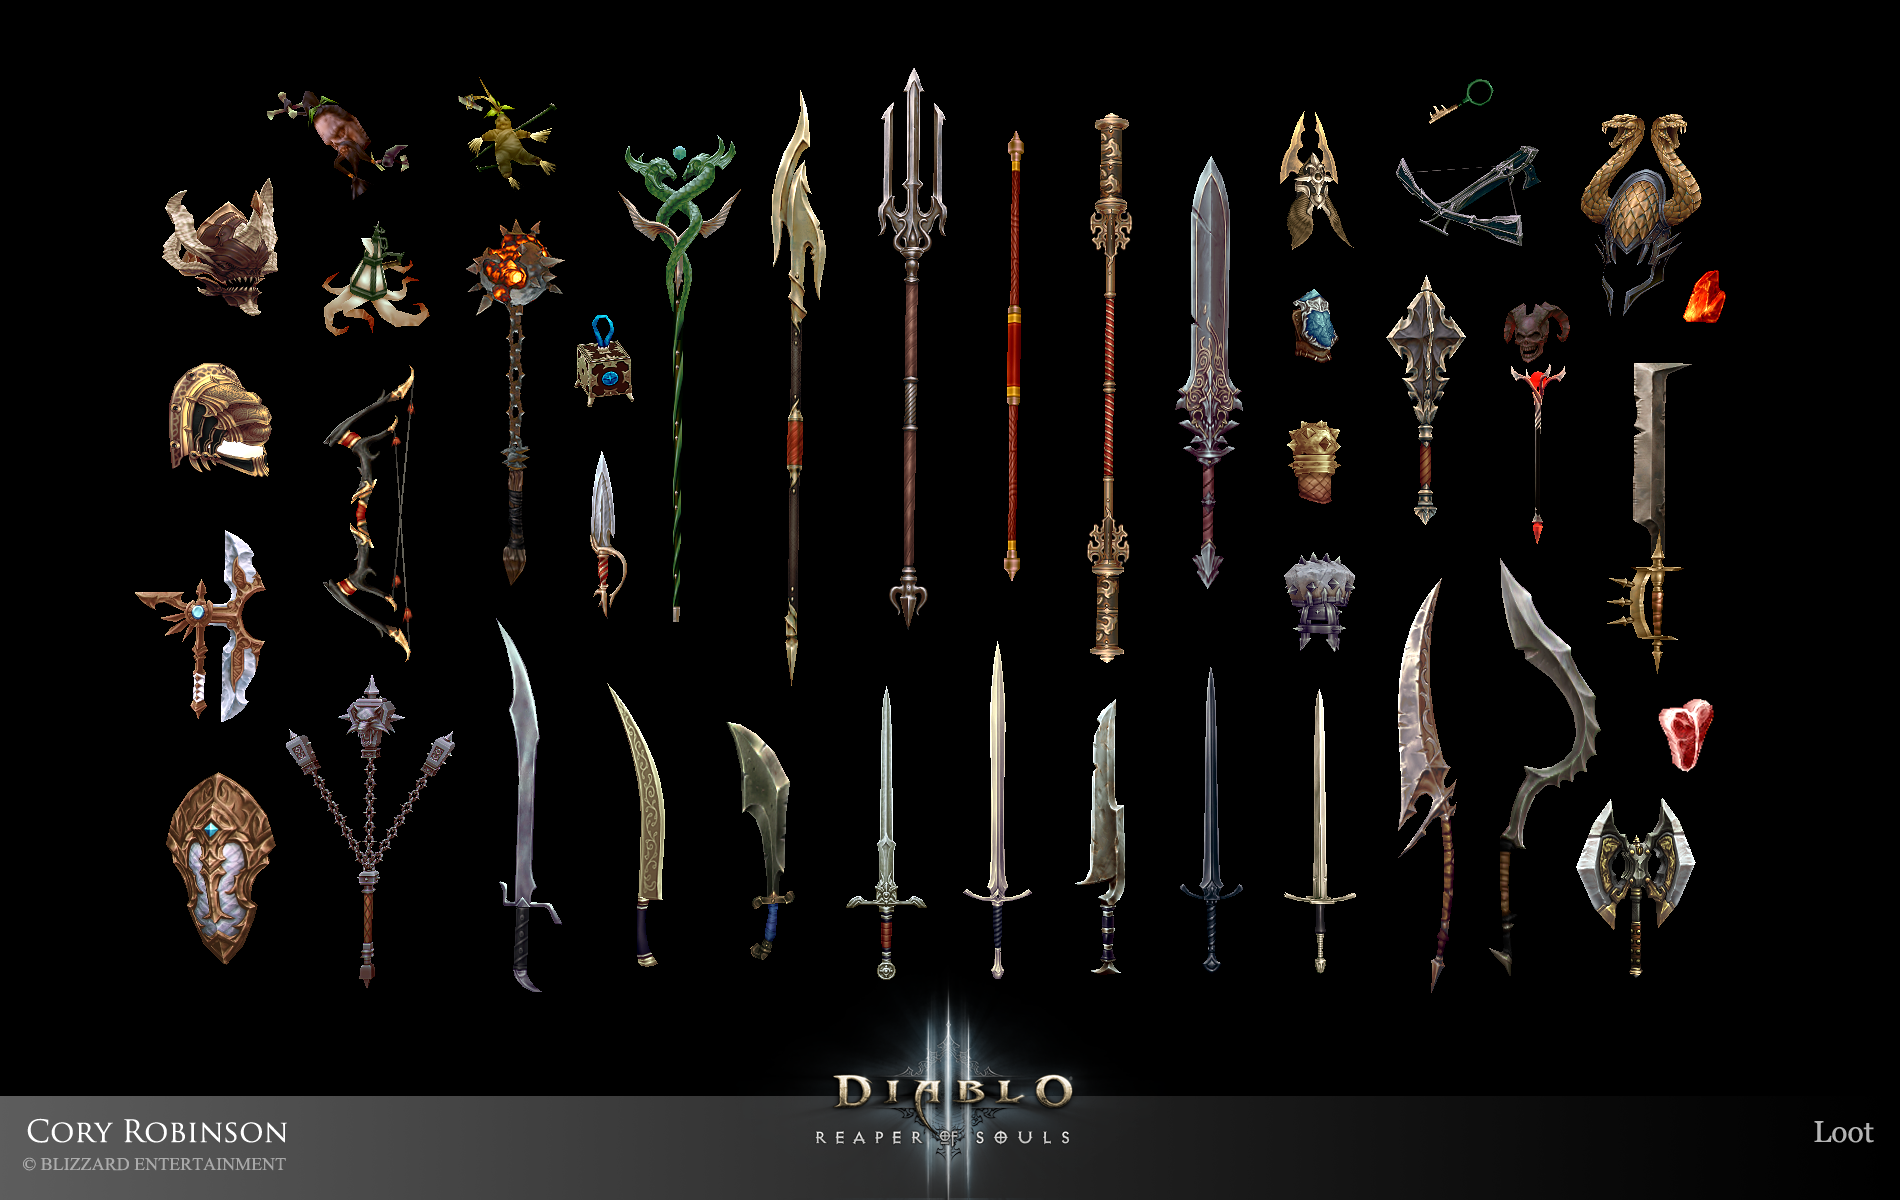 all of the hero armors i had made were hand painted using Photoshop. in a few cases, i had used Maya's paint projection tools to block-in more complicated themes across seams. i know one of our newer demon hunter armors were baked from a sculpt. separate textures are used for the helmet and shoulder pads but, a hero's…
 -
Re: Briefly about Retopology
 Ok thought id ask post on this thread as its accruing alot of attention and now I'm also confused on the same lines... I always thought it was: 1) low poly mesh (whether this is a simple block out, or using the zsphere in zbrush to create the required mesh) 2) Sculpt, sculpt, sculpt - anatomy; muscle detail etc.. 3) Create…
>6676 results