Search
-
Plasticity Learning Exercises

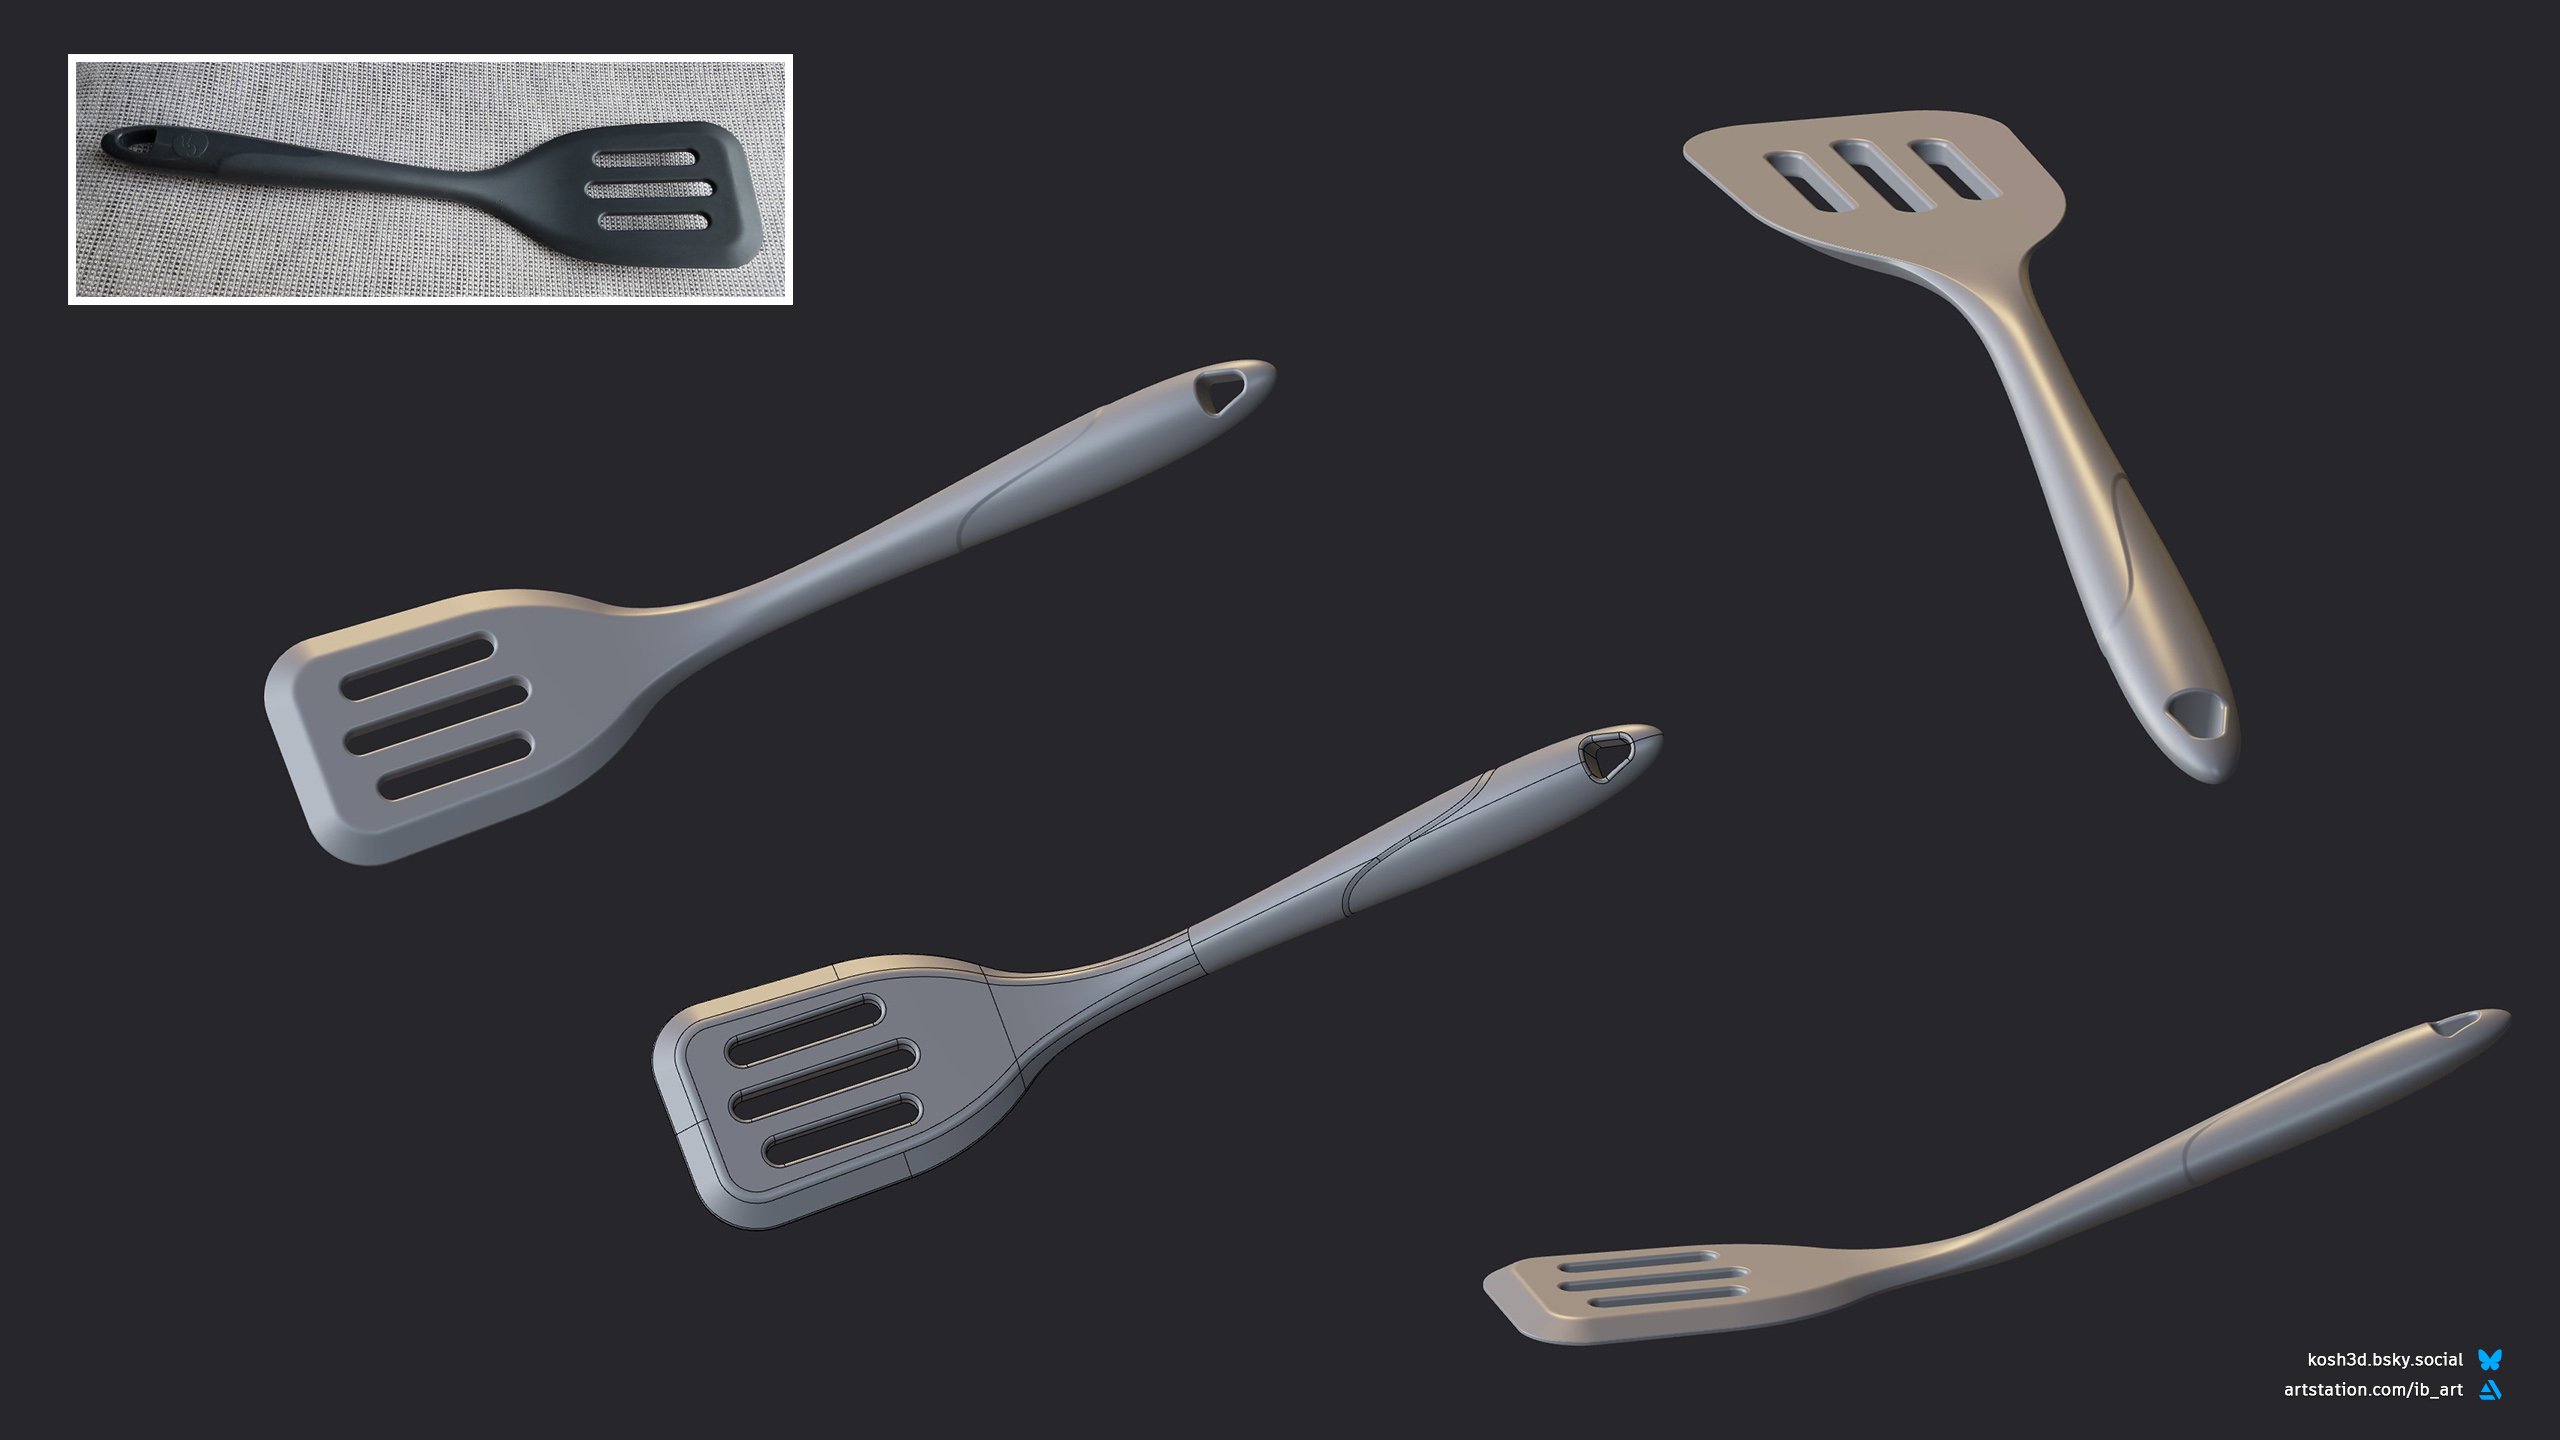 Hello! I started learning Plasticity recently and wanted to share some of my thoughts about the software. Maybe this will be interesting for people like me, who have a poly-modeling background and consider giving CAD a go. First of all I was pleasantly surprised how "artist" friendly Plasticity is. The interface is very…
 -
Re: Techniques / Behind The Scenes - Mixing realism and anime aesthetics?

 The shading seems to be the easiest part, it looks like they're using more shading steps than the Guilty Gear Xrd method, which uses only 2 steps (lit or unlit). You can see it on the orange vest there how it has 4 steps, and there's some smoothing on it too? On Guilty Gear Xrd they used the step shader instruction as a…
 -
Re: Texture baking features?
 So I assume the source object(leaf) is an actual high poly mesh and during AO bake where the rays (projected from the quad/bilboard) happen to miss we're left a black color instead of transparency, and we can't write a shader that uses black parts of the leaf texture as a transparency/opacity factor since some occluded…
 -
Exporting Smoothing information from Blender via FBX
 Hello everyone! My name is David, I am an avid Blender user and a soon-to-be Games Design student. I have done a series of tests to see what is the easiest way to set up smoothing in Blender and how to correctly export that smoothing information in FBX format for later use in Unreal Engine 4. I would like to share the…
 -
Re: How do I achieve this effect? Dynamic decal paths

 Based on A_Bs approach i found a decent solution. I achieved the overlapping blades of grass effect using different shades of green in my „Lerp-Alpha-Texture“ (mine is white and green instead of green and white or black and white). :) I place flat square shaped models with a polycount of 4 and rotate them the way i need,…
 -
Re: [WIP] CE3 side alley sttrip club
 You have some issues in your normal maps. There are a lot of gradients in them, which is caused by the low poly shading being taken into account during baking. Your normal maps should have a constant colour of '128, 128, 255', for the most part, with normal mapped details being alternate colours to depict changes in the…
 -
Re: A Link to the Past - HandPaint
 I was inspired heavily by the 3D illustrations of Polycounter Nix so for this piece I didn't want a very elaborate sculpt and tried to sell most of the detail in the polypaint. You can see this in the images below where I compare zBrushes Flat shading in the left to the actual shading on the right. I ended up making a…
 -
Re: Hand painted stuffs
 what i meant was iust save out a .jpg version of your texture every now and then, so one can see what color you applied first and so on.. u know what i mean? i especially see problems in the lamp shade's unwrap, as they are overlapping. if you gonna paint this you would try to add a fake ao map into the diffuse right away,…
 -
Re: Spygirl - Realtime model...
- Update. - Shaped hand with better bending joints. - Foot and arm mesh are updated and mapped again with better UVs for deformation. - Painted some detail to texture and fixed shadows & removed black edges.. - Head texture has now more painted lighting/shading. - More contrast in hair - Env map in shades - More dirt here… -
Reference Sharing Thread
 So, I know that there is an archived thread with links to some websites, and there are at least a couple of tumblr pages with some misc stuff. However, I thought it'd be cool to share collections of reference images we have already gathered ourselves. I feel like it'd be interesting and fun for inspiration and time saving.…
>56807 results