Search
-
Re: What's the best way of saving all your texture maps from one PSD?
 I only recently started using layer comps, and the "Layer Comps To Files" that is built into Photoshop. You just Name the layer comp whatever you want the map to be called, and add a prefix in the script. I did have to edit the default script because it would add 4 digit number to the filename outputs but it was easy…
 -
Re: advice on work for portfolio
 Thanks slosh. Rigging is what I really struggle with (mostly from a lack of practice), and I was working on a rig for a character I had made. For some reason I did not make all the bones for the fingers, and I did not notice this until I had finish skin weighting everything but the fingers. The thought of having to redo it…
 -
Re: QUAKE 4 custom Models
 space monkey. for hard edge would it be better to take your model; the LP one . -add meshsmooth and some well place smoothing group - render it to texture (Gray scale) -convert the map to Nmap with nvidia plug-in -set the mode to overlay Pshop? -add your sbrush Nmap i remember Pior did some quick tut about merging to Nmap…
 -
Re: Moving uvmap and texture simultaneously?
 Add a UV Unwrap modifier save out your layout call it channel1 or something. Add another UV Unwrap modifier on top of your existing one. (yes you can do it all in the same but there are sometimes hickups so I use 2) Change the channel to 2, redo your layout. Save it as Channel2. Set the UVW Unwrap back to channel1, check…
 -
Re: Juggernaut skin
 Looks really nice. The original shots aren't working for me so I can't compare so see what was changed, but whatever you did it looks pretty good. The only suggestions I can think of right now would be to add some shading to the orange part on his calf cause it's looking a little flat at the moment, change the light gray…
 -
Re: Demon Hunter
 This is very nice work! Very clean topology and really nice textures. My only CC is the eyes need a little work. the whites of the eyes are too white and to me, don't look super realistic. Did you add a ring of geometry around the eyelids to add that extra layer of gloss around the eyes? have a look (if you…
 -
Re: Watchtower - UnrealED
 Some stuff I did late last night and early this morning before I went to bed. I still have some UV wrangling on the tower bit, the big ass seam on the rocks, add in the wooden structure, moss growing (I have an idea for this one...), grass to break up the ground more, I still did not do anything to fix the seam issue on…
 -
Re: Cloth folds topology help

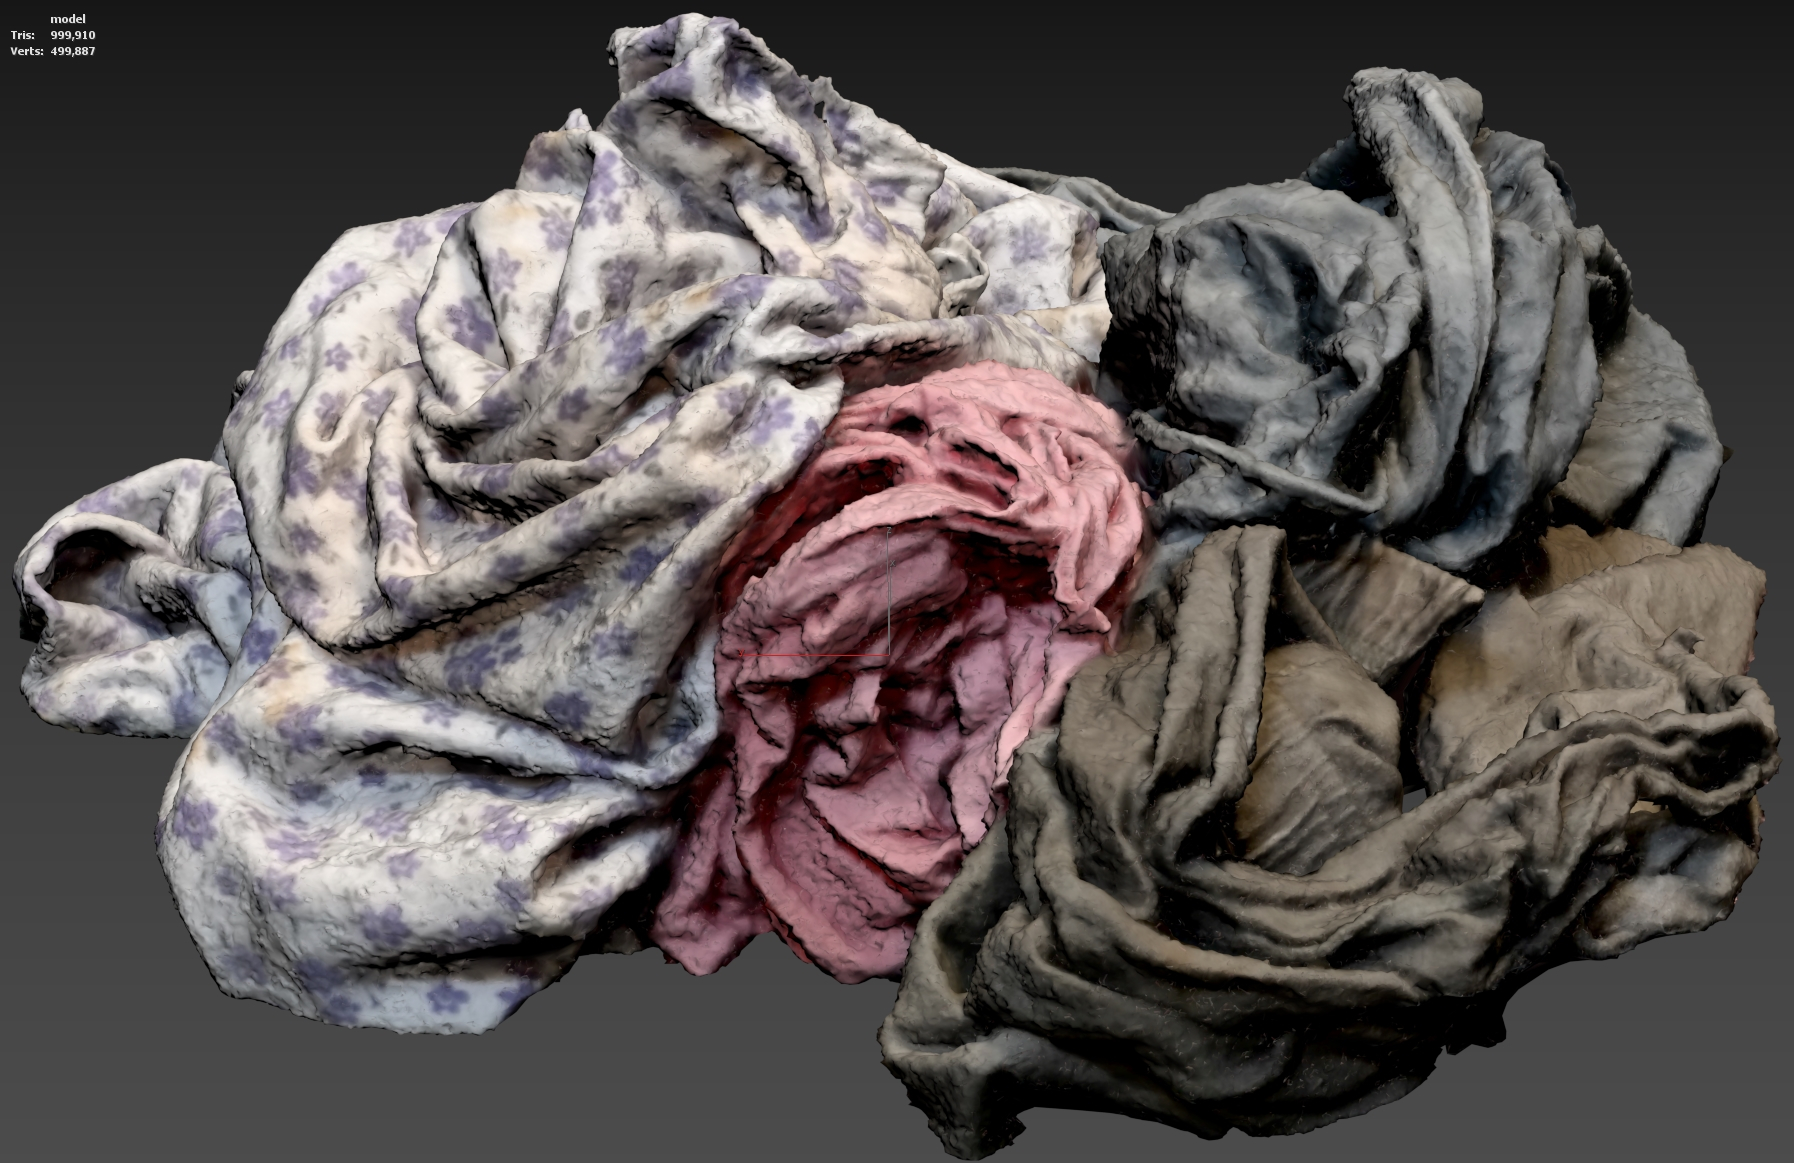 I'm curious what an auto-retopo would do with this kind of shape. Did a quick test with "RealityScan - Cloth" (https://skfb.ly/oMvPD) by orbis, using the Retopology modifier in 3ds Max 2025.
 -
Re: Allewway Project

 *Edit* I got mixed up in who-said-what and mistook some of the things Giggabitten posted, for posts from the artist of the scene we are all talking about. Sorry for any confusion. I have changed this post to be less awkward but I left the image alone* Ok, so you are going for a Film Noir/high contrast kind of look. That's…
 -
Re: My Year Long Trek
 (Those bold lines in my shot are UV seams, no wacky double edges going on or anything) I definitely understand the importance of keeping stuff as low as possible, however my decisions aren't haphazard. I am adding a more than usual amount of topology in my low poly models for a few reasons. This project is another piece…
>68058 results