Search
-
Re: ZBrush Subdivision creation / Normal maps
 * When using zspheres to retopologize, don't rely on the adaptive skin's density to get the full resolution for the detail. Keep it low enough that you wind up with the base that you want (the silhouette matters most, not the surface detail) . After the skin is converted into an actual polymesh object you can subdivide it…
 -
Re: Spending your time outside of work
 ^QFT awesome post, I'm glad other people feel the same way. What torch says & Or you all can keep tooling It up whatever you enjoy most. Edit: I know some people don't have a choice, I don't mean you. I took a 6 mile walk today awesome weather, so glad I did it felt awesome when I got back. Your post reminded me of the new…
 -
Re: Trying to model a tiling rope mat.

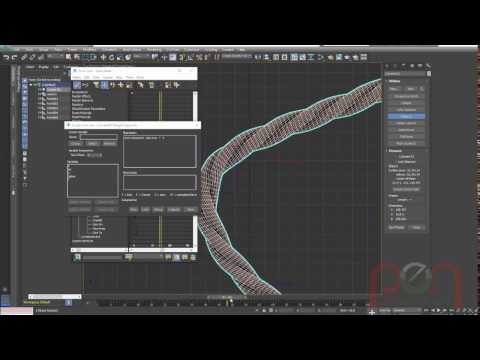 I'm not sure what software you are using but Paul Neale has a great method using a displacement modifier and a few gradient maps in 3dsmax. https://www.youtube.com/watch?v=cd42LLTBl5g You can also use a spline, sweep and a profile shape. https://www.youtube.com/watch?v=QV7fzd1sckE Also Substance Painter has a pretty good…
 -
Re: Anyone know how to replicate this material in Mental Ray?
 Yeah I work in Maya. You can easily do the same thing in 3DsMax since the MIA material are the same (it called Arch and Design in 3Ds I guess). You can find IOR (index of reflection) parameter in the BRDF tab, and FG (final gathering) in your render settings. Also, yeah sure, you can tweak the material ;) ! ps: actually,…
 -
Re: Environments of "The Unknown" - a TPP action/adventure Crysis modification
 I'm still thinking about the most effiecient way to do it. I could use brute force and just model the lowpoly from the scratch, but I am pretty sure there has to be a better way. So far I've been thinking about decimating the highpoly mesh and importing it into 3dsmax. Then, I would attach all the bricks, select the faces…
 -
Re: Tron Inspired Environment WIP
 Took a break from working on Flynn's Arcade and instead finished Flynn's Lightcycle. Texturing it took a surprisingly long time because I wasn't sure how to created the glossy shine. Most tutorials I read said to stay away from white diffuse color...which didn't work because the Lightcycle supposed to be white. I finally…
 -
Re: 3ds Max 2012 & 2015 Normap Map Viewport Issues
 It might help if you actually stated your workflow. Or better post a simple model and texture that isn't working for you. Here's a couple of common issues. 1. If you have gamma enabled, make sure your normal map texture has Gamma Override set to 1. Otherwise Max is gamma correcting it as if it were a color map.…
 -
Re: Am i too old?
 As another "oldy" I too got into it way in the later game. I spent 8 years in the Marine Corps before I even knew what a "3dsMax" was. Went to school for a few years and started at High Moon after that where I've been since. Some of the more successful students are people who are more mature and serious about this and can…
 -
Re: Faster ways to polygon model anime hair in maya, modo, or zbrush?
 Brute force is the best approach to make hair in my opinion. So get ready to duplicate tons of hair strands. However you can make it easier on yourself by making a quick block out sculpt to get a good idea of the volumes of haircut you want to achieve. I personally like to use hair and fur in 3dsmax to quickly spread the…
 -
Re: Sword appears smaller, and not in place.
 Check this website http://www.dota2.com/workshop/requirements There you check on the hero you are modeling for. There should be the name of the correct bone on which you need to skin your weapon. Next thing you do is download the original model of the hero (found on same website). The you import the original weapon into…
>7594 results