Search
-
Real-time Self Portrait

 Finally finished this self portrait I've been working on. It has been halted many times so it took a while to finish it but I like the end results. Sculpted and modeled in zbrush, some aspects including the hair cards are done in maya. Textured in SP and xnormal, rendered in marmoset toolbag 3 and post processed in…
 -
How to disable Cavity/Oclusion maps when HDRI is enabled/no lights?

 I´m unable to achieve a light turnaround when i have those occlusion/cavity maps( used for accentuate the tertiary details in the skin mostly) and having an sky HDRi enabled for reflections and additional lightning. This was using Marmoset Toolbag 3. Is there anyway via custom shaders/using the new Timeline editor with a…
 -
3D artist seeking for job

 Hi guys! I am an experienced 3D artist looking for a part-time job, a full-time job, a contract or a remote job.I work with 2D or 3D graphics. I have experience in creating content forUnity and Unreal. I also worked with the usual "internal" game engines. Portfolio: https://www.artstation.com/andrettiEmail:…
 -
Re: Change baker preview material default settings?
 Hey Nick, The preview material should use the default material configuration. In Toolbag 4 we updated this to use metalness/roughness. You can also save a custom default material by creating a blank material, setting up your base settings, and then going to Edit > Templates > Set Template Material. The baker should use…
 -
Re: Render passes - difference between alpha mask and transparency?
The primary difference between these two is that the Geometry > Alpha Mask pass displays the result of the masked geometry. So for instance, if you have a bunch of overlapping hair cards, you would see through the gaps between the hairs in this mode. The Texture> Material Values > Transparency shows the raw material… -
Re: [WIP] Nissa MTG Real Time Fan Art
 Hey Guys! Its been quite a while since I have updated this. I have been quite busy creating the hair and some of the clothing. I also spent some time moving the project over to toolbag 4. Still figuring out some of the new awesome shaders especially for cloth but I am totally in love with the raytracing. I also decided to…
 -
Re: Texturing in Substance Painter with Low-End Hardware[Guide]
 This is giving me some flashbacks man, until the beginning of this year i had a ''2 duo/1x 4gb ram/gt 630'' and a 720p screen that had warm colors on top, and cool color at bottom for some reason KEKW. But with that config i could already have a couple dozen layers in 2k and use particles brushes, with lag of course. Also…
 -
Re: Baking artifacts Question
 What you are seeing is the AO from the entire composition being baked onto that face, My question to you is do you need to remove that object for whatever your target purposes are? The shadows in the interior of that main outline are the grooves from the removed object, most likely caught on that plane due to a cage…
 -
Re: serious 3ds max uvm glitch. need help

 M8ym8, your UVs aren't the issue. This looks like a triangulation issue due to the concave polygon and the fact that each software is using different triangulation methods, so they give different results. The example below shows two different methods to triangulate a mesh. There are many more. Different triangulation =…
 -
Re: I'm beginner, please help.

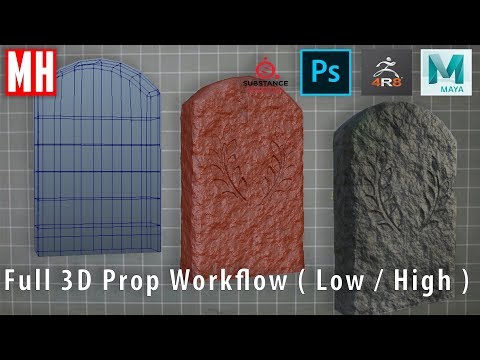 You can bake vertex colors with Marmoset Toolbag, if that hasn't been mentioned already. In addition to what's been mentioned about making your hi-poly object a cache for viewport performance, if you are working with Maya quad draw I recommend periodically breaking your new geometry off into separate objects -- for me this…
>5502 results