Search
-
How do I bake a correct normal from a hollow sphere?

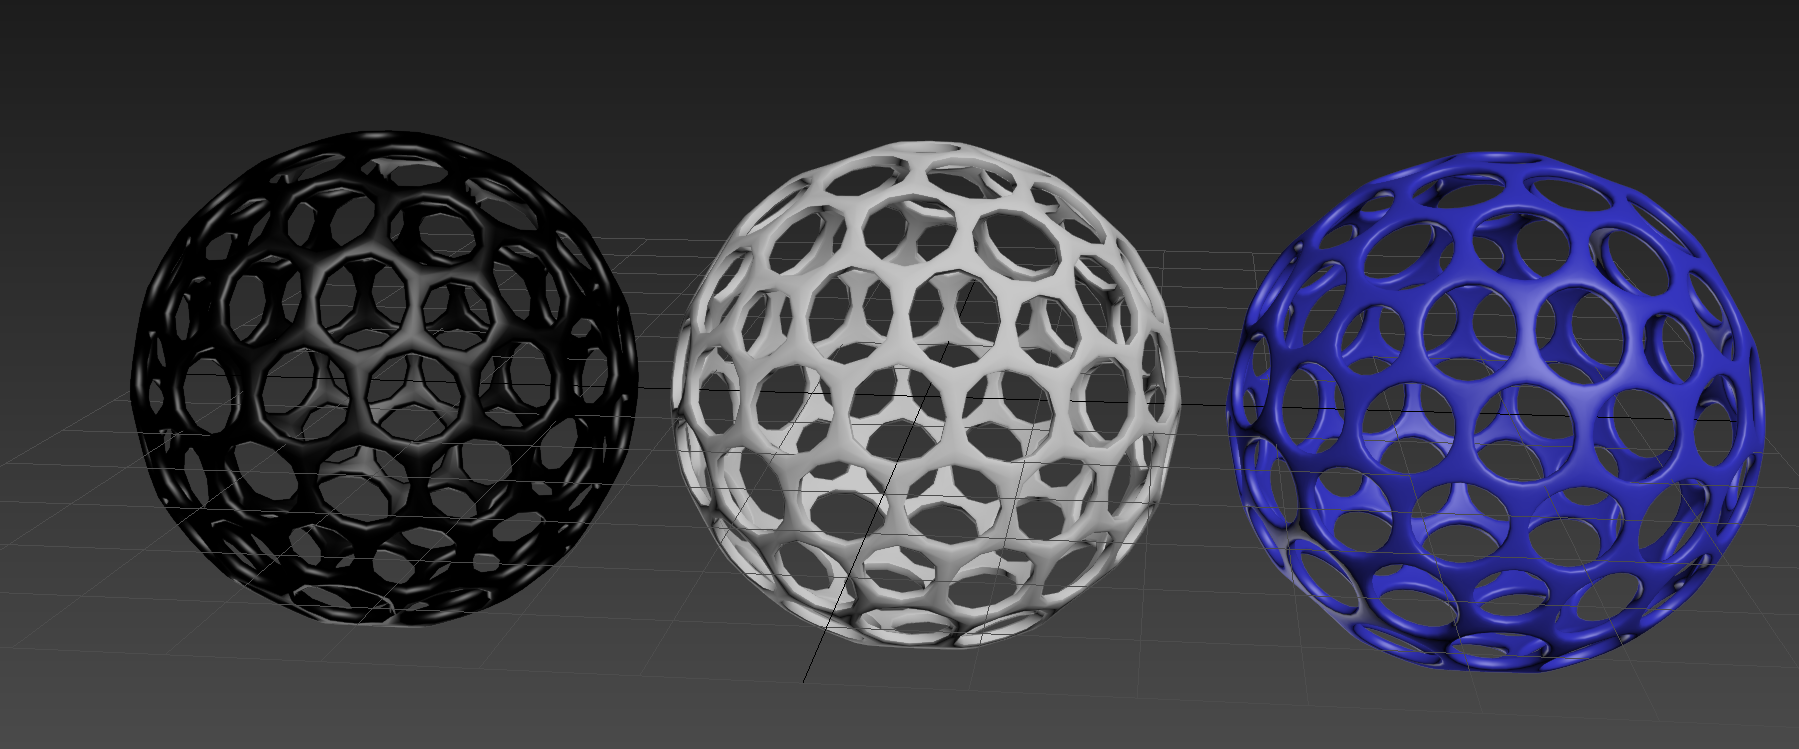 So, I've made a hollow sphere in 3DS Max and cannot get a good bake on the inside portion of the mesh. Here is the UV layout: Here is the resulting normal map from xNormal: I've made sure there are no overlapping/inverted polygons on the UV shells at all, and I still have no idea how to fix the artifacting issue.
 -
Re: Unwrapping mesh to existing UV map?
 Can you show the model you're starting from? It may not be as unusable as you think. Generally it's tough to reuse an existing uv layout for a character mesh. Hard surface models tend to be more forgiving, as with trim sheets. Here's a great example of a modular character workflow:…
 -
Re: Test my temporary Portfolio website
 I also like the carbonemade, faster, better layout (the other site is a bit overwhelming wit small images everywhere). i like scrolling away and just taking one images at a time. And also i think you should change or remove the background for the resum
 -
Re: My Indie MMO - Legends of Firestorm
 We've got a bunch of interconnecting tiles that fit together with rules to connect them and then I can paint the layout using the hex value of pixels with roads, rivers, towns or whatever in a PNG. There's also manual override in the map tool if I need an exact tile or orientation.
 -
Re: Testing the new DX11 features of ma2013.5
 This is remarkable. From sculpt, to detail, to texturing to everything! VERY well done! UV layout also seems extremely well executed. It's hard to find any critique to give. My only request would be, if it's possible, to get a non-triangulated wireframe. It would be easier to read.
 -
Re: Cintiq 12wx
 I think the size is nice, but the screen is kind of shitty, and the button layout is way out of date compared to the newer models. Frankly, I would wait until they come out with a new version, which can't be too long since the current model is years old.
 -
Re: UV mapping in Maya 2018 with 3D cut and sew tool, free tutorial.
I got maya 2017 to do the same more or less. I made a cut uv seam button and a unfold and layout button. it doesn't work as pretty as in 2018. I have to use Maya 2017 at school. blender and Modo have had this for years though... -
Re: Student Demo Reel Piece
 Really nice work mate, have you graduated? I think that all models could use a bit more work, like UV-layouts, more work on spec-maps etc. Really nice sculpting skills though, lighting was really nice as well.
 -
Re: How do I convert a curvy UV to a rectangluar UV?
 Holy crap, the R key in headus UV layout is extremely powerful. It was exactly what I was looking for. Guys, I made a quick tutorial jpeg image file. You can rapidly create hair cards with perfect UV's, making sure they are rectangular. Enjoy!
 -
Re: The Temple's Gate
Hello community =) Right after my layout, i began very fast sculpting my environment. Way too fast. Actually i lost a week doing shit >< So i took 2 days to make a concept that will help me building the scene. :)
>8530 results