Search
-
Re: What is a 'wearmask'?
 It would be a map that uses that image as a 'mask' where another texture/material will be displayed when certain conditions are met (ie the weapon becomes damaged/used). For a similar use you can see chivalry's blood mask: https://tornbannerjira.atlassian.net/wiki/display/CHIVCOM/Tutorial%3A+Weapon+Bloodmasks
 -
Re: [WIP] Quetzelcoatle
 Excellent execution :) You could also have the feather mask on one color channel in a separate texture. That way you can use the 2 remaining channels for another set of masks, or to define emissive area's. It doesn't even have to be the same size as the rest of your textures if memory is an issue
 -
Re: Motenai - Dota 2 Workshop
 nice works mate i got a question how do i save mask 2 as one file without losing all the layers (spec collor, gloss etc,) becuase when i save it as TGA and open it again with photoshop it is one image and all the layers of the mask gone
 -
Re: Material Preview Model
 Even if their is a 3d model for the sphere, we actually composited maps to get these thumbnails (to keep consistency and make the mask effect the most visible as possible). So we rendered ambient occlusion, world space normal, curvature..etc in 2D and applied the mask generator on it. I'll post an example later..
 -
Specular showing on alpha
 hey PC I'm getting this problem in my renders. I've got this griffon masked out with an alpha, but for some reason, all of my alpha'd planes are only masking out the diffuse channel. I'm using max and haven't done anything unusual with my shader. How can i make this stop, to get a nice crisp clear render without this ghost…
 -
Re: Finishing projects. The struggle is real.
 (Planning For Success) Pretty sure that basically everybody has trouble finishing projects. Hell, I have about four projects right now that I'm completely ignoring. That said, I'm still able to finish things if I decide to focus on them. Here's what I do if I want to start a project, maintain the energy to see it through,…
 -
Re: How to avoid borders deformations when sculpting with zbrush?
 In the smooth brush modifier under brush menu you can change the minimum number of connected edges. For other brushes I think you could look in the automasking subpallete, again under the brush menu. You can also use the mask subpallete in Tool menu and mask by borders and such.
 -
Re: Sketchbook: RGBeard

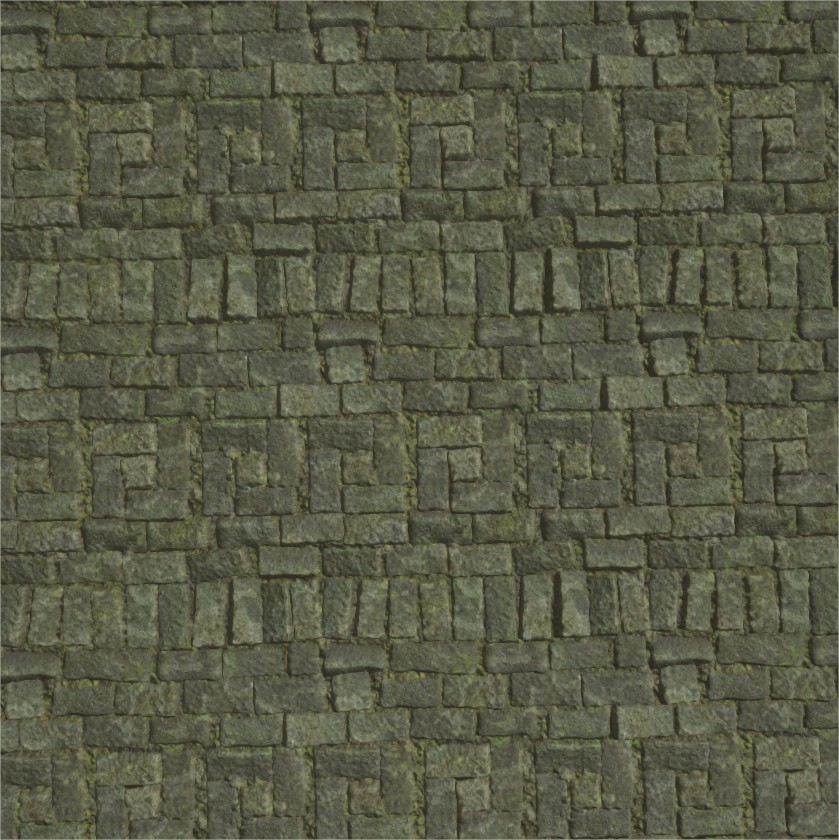 I continued with the albedo in Photoshop with masked created in zbrush. But did the mistake of limiting myself to 1k, should have gone bigger and down rezed. )): Found some new way of thinking about doing the masks form different textures, will bring these with me to designer and Photoshop alike. Albedo texture:
 -
Re: [UE4] Subway Station Environment
 [ame]https://www.youtube.com/watch?v=9KN6Q4yVwGo[/ame] I also used a texture mask to mask out the glass, and used the bump offset node. The heightmap is very rough as you can see, but it works. I generated it in 3ds max using simple meshes, then used render to texture.
 -
Re: Variety in 'modular textures'
 Here we make use of a lot of grime masks set to either different tiling rates or using world space positions. Really helps break things up. You can pack a few different grimes into an RGB mask and overlay them at different rates and intensities. Similar to this tutorial.
>40567 results