Search
-
Re: A bit about my Workflow.
 This actually helped! I go about the concept in 2 ways, Either create a base mesh, or create a mesh from z-spheres and edit mesh I dont re-topo entirely. I will try to use this one you suggested on my next project. :)
 -
Re: FINAL Daniel Boles - Environment

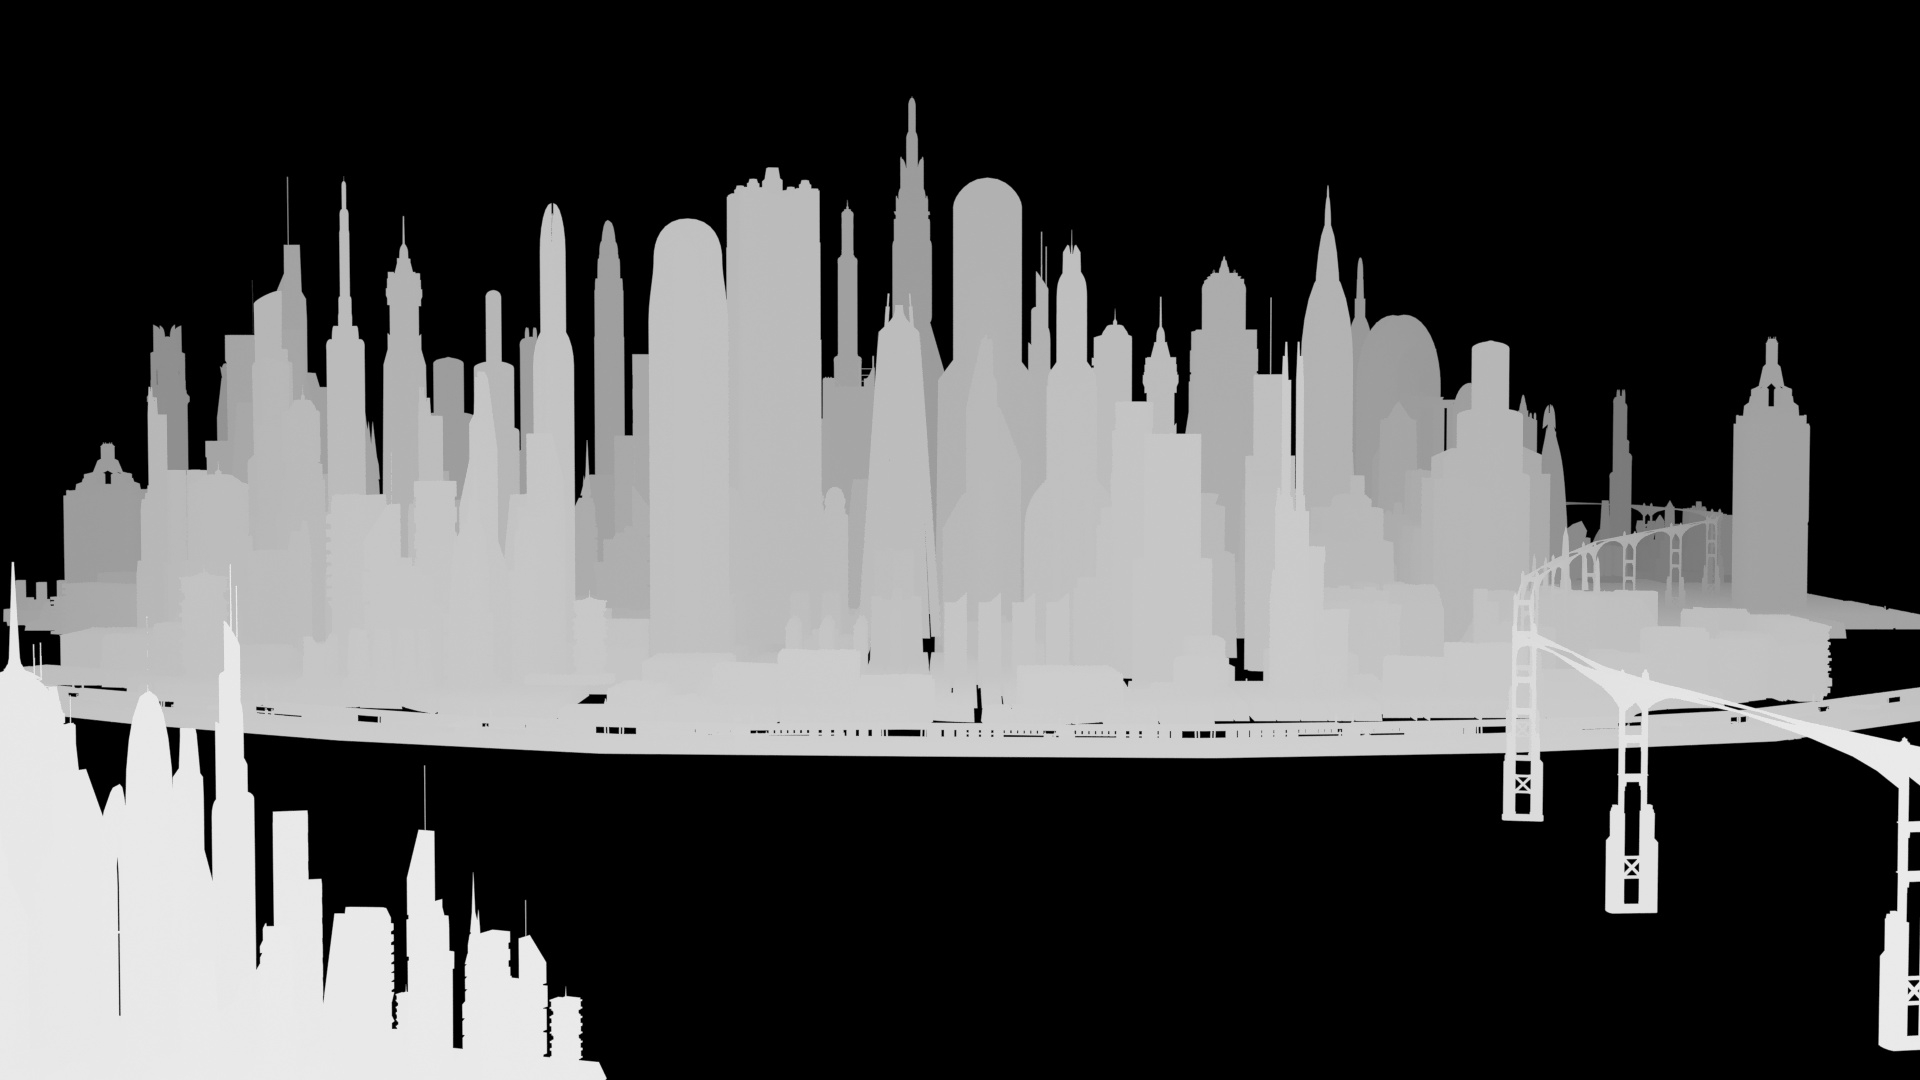 I liked what you said, Cat and Alex, so I scaled or moved the buildings around as needed to better match. Here's a Z-depth render of the city to get a little better feel for the volume of the city. (Plus I just think they look cool.)
 -
Re: Material - Dynamic Shield anyone (Turtles Included)?
 Best guess would be to make a holographic material (tonnes of stuff on here and on the webz) and then through kismet, figure out the x,y,z of where the player got shot (There is a projectile landed event and seems to give reference to the projectile) feed that into a mesh and play a matinee sequence.
 -
Re: quick one
 have history turned on, go to hotbox > polygon tools(or 'mesh' if you are on version 8+) > move component > then drag the blue arrow with a yellow circle at the end or input a number in Z (I believe) (thats from the top of my head, not sure about the menu names!)
 -
Re: Pandemic on the DOD payroll?
 probably for unfair trading, damn those countrys that ban our video games. would US aurthorities ban a north korea - missile command game, or a taliban sponserd flight sim, i think so. not too sure of the point i was trying to make there :-Z
 -
Re: Wip
 Love the variety of projects you have going on here. I think your pig guy would look cool with some kind of mechanical arm replacement; but that doesn't really lend well as a z-brush practice. Either way, keep up the good work
 -
Re: Parameter wiring on local axis?
 Ahh yea that does work, I completely spaced it. I wasn't using a slider, I was using the Z position of an object to drive the wire parameter and was running into different problems. When I used a slider and converted to radians it works like nezach said. Cool!
 -
Re: Sawnoff O/U Baikal Shotgun WiP
 Hi, Whats the big deal with Ngons? Surely all importers sort them out when you import them into an engine? All engines only see tris so surely they can be easily converted? Is it still a problem? Is it a problem getting them into z brush?
 -
Maya "walk" camera vertical axis.
 I have "up" set up to be Z axis in maya. However, the "walk tool" completely ignores thit fact and still operates as if Y was the "up" direction. Which completely messes up the controls. I was wondering if there's a way to change the "up" direction for walk tool? I couldn't find an option to do so and no results in google.
 -
Maya XYZ coordinates
 I'm a newbie with Maya, just started last night with it. I have a cube which I want one of the faces to have an Z coordinate of 33. I entered the coordinate into the Transform box on the status line, but the Channel Box/Layer Editor shows a coordinate value of 32 while the Component Editor shows 33. Why are these values…
>45494 results