Search
-
Re: maya instanced Mirror
 Sounds really similar to the way I work. I wrote something a while back to speed things up a bit. It's a really basic script that I have on a shelf button. When first run, it creates two instance groups, one with a -1 scale value on the axis of your choice. When it's run with objects selected, it'll add them to the groups…
 -
Re: Any way to achieve these kind of trees in unreal engine?
 Well save that second mesh there as its own thing, just be sure the UV's are the same. I'm not sure what tools you have available, but if you have substance designer, it has a built in world space normal baker. I believe Xnormal does also. That will be the simplest way. There's also the render to texture options in 3ds…
 -
Re: Retopologize already retopologized model to a lower poly variant
 If you use object space normal map, with almost same UV layout, you might end up with an extremely similar looking object. But to be honest, Object space normal map isn't really a popular thing now because it doesn't work well on deformed models. (Thou it would look better than any other types of normal map on a static…
 -
Re: Using Left Over UV Space For Decals
 You also have to be careful of your shader(s) and that your solid object doesn't have problems sorting with other transparent textures. Most of the time that means breaking off the transparent object from the solid and applying a separate shader that has opacity mapping. Leaving the solid object with a solid shader no…
 -
Re: Should I always normalize the whole UV map?

 After trying with the normalize script inside of textools (which doesn't work with multiple objects) and relaxing all the UVs, I used the normalize tool of the Polyunwrapper demo after reseting Xform for all the objects (http://www.polytools3d.com/polyunwrapper/). I would have prefered something within 3ds Max, but that…
 -
Re: Floating Geometry in Maya?
 It's as simple as a new object, such as a screw head, duplicated and placed around your other model as needed. I usually create these sorts of models away from my actual model, then duplicate and place the copies. Having a sensible object pivot makes life easy; especially if you can get away with snapping to your 'base'…
 -
Re: Specular color help
 in real life there's no specular. Smooth objects reflect more light in the same direction than rough objects. a layer of water on top of a rough object tends to make the surface more smooth and so it reflects light more readily when its wet. Specular is a quick way of simulating that reflection in computer world. So…
 -
Re: 3ds max constraints
 Sure...here you go...I hope you can decipher my scribblez... Bucket is linked to the Control Object (a simple renderable Spline), The Control Object is linked to the Arm. Then I created a 3-Bone Chain (2+End) from the Joint you called '2' in your screen across the Piston Joint to the Second Joint at the Bucket (the…
 -
Re: Recommended 3D Software
 Character studio is a tool that let you deform objects like a human does for example. Rigging is the process of attaching a model to a set of objects that act like bones, to deform the object. Character studio is Max way of doing what in XSI can be done with the biped guides and the animation mixer. When you get used to…
 -
Re: Game-Ready Vampiress Character — Geisha & Insect Hybrid (Finished)

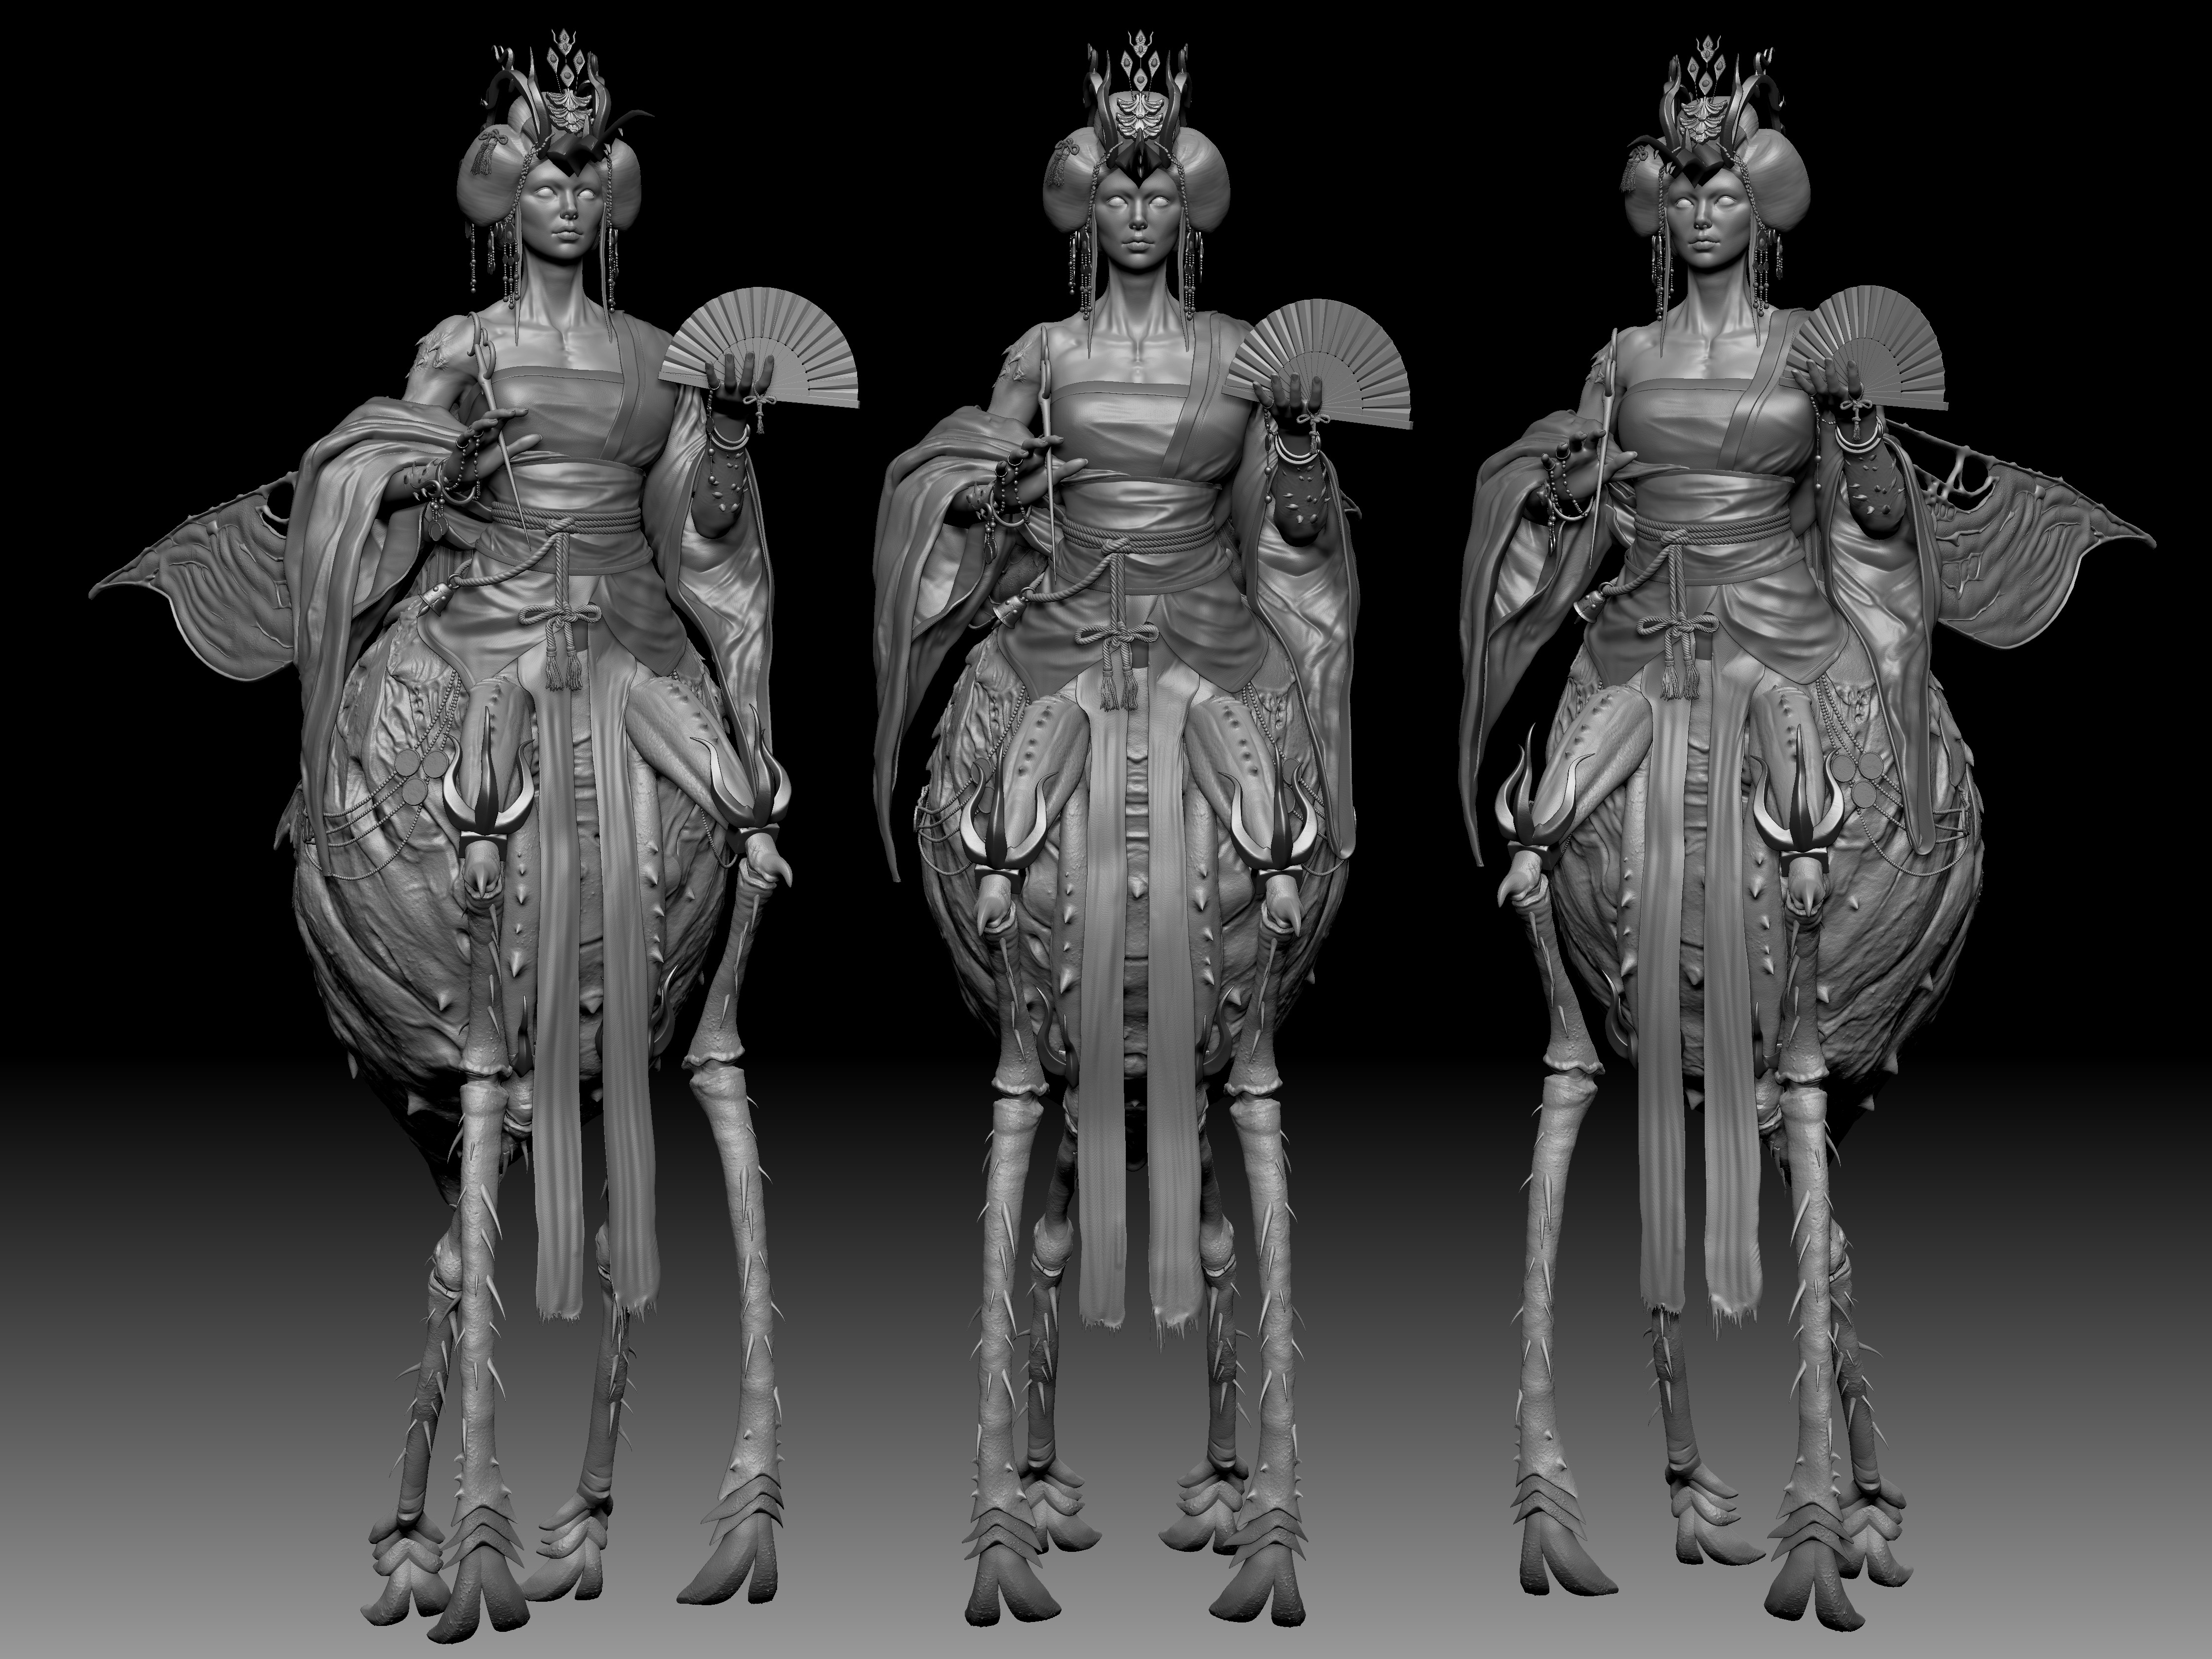 I began by blocking out the entire model, focusing on accurate anatomy and correct proportions. The organic 'bug' elements and soft meshes were sculpted in ZBrush, while the remaining components were created using both Maya and ZBrush. For pore detailing, I used Texture XYZ scans with ZWrap. The rest of the model’s surface…
>26407 results